
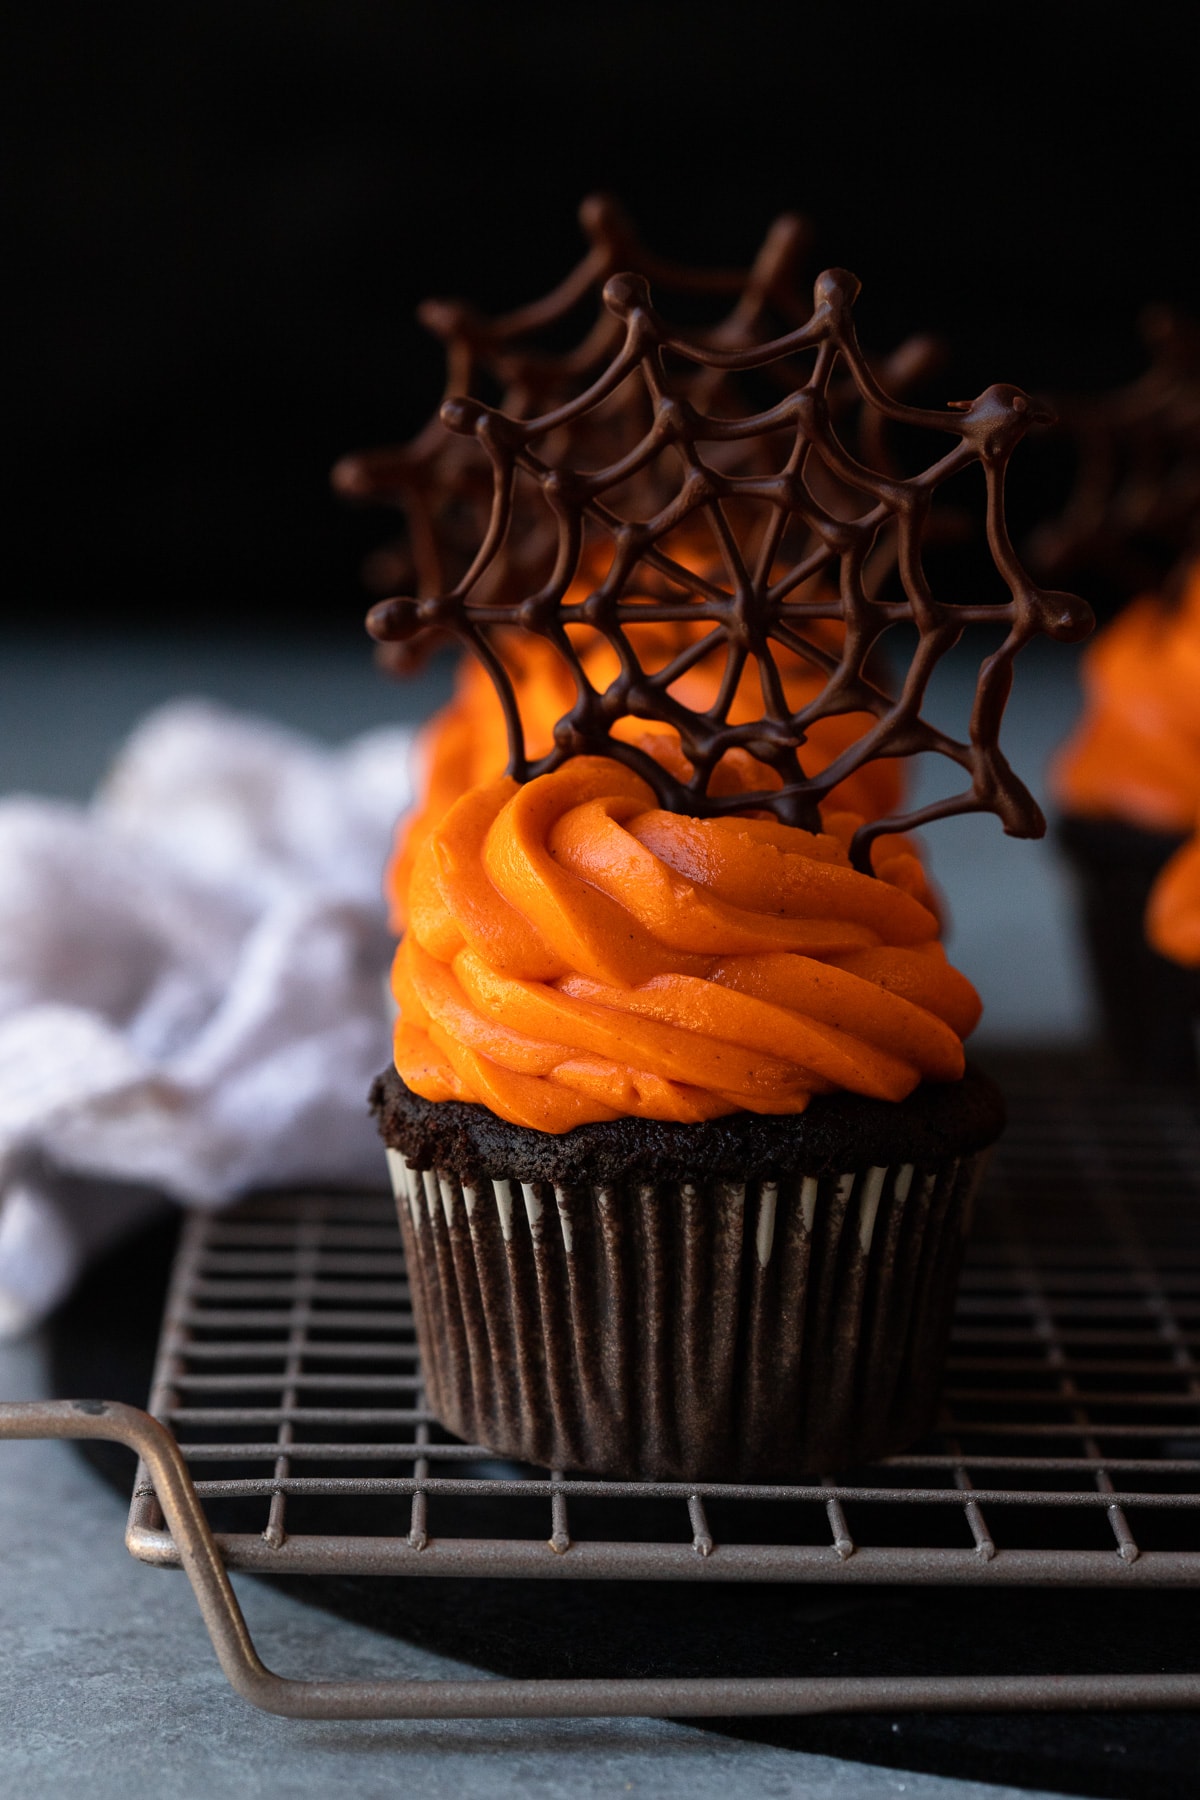
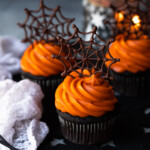
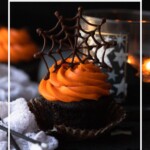
These spider web cupcakes are perfect for a fun and festive Halloween dessert that bridges the gap between spooky and cute. Combining a moist pumpkin chocolate cake with spiced cream cheese frosting, they leave nothing lacking in flavor either! The chocolate spider webs garnishing these cupcakes are also a great option for decorating store-bought cupcakes if you don't have the time to make yours from scratch.

If you're looking for a Halloween dessert that's as appealing to look at as it is to eat, you've come to the right place. These spider web cupcakes check all the boxes, with a rich chocolate flavor balanced by just the right amount of pumpkin spice, and a spooky-cute aesthetic that's perfect for any Halloween party, for kids and adults alike.
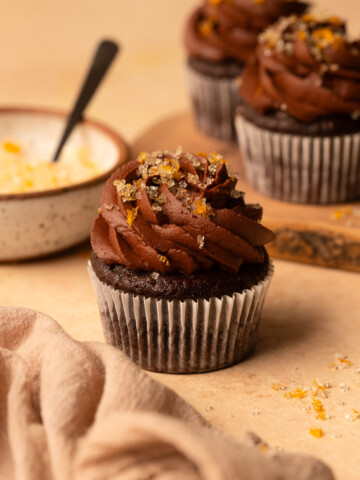
To amplify the fall flavors (and festive vibes), these are topped with a thick, spiced cream cheese frosting colored a rich shade of orange, and homemade chocolate "spider webs". If that feels intimidating - don't worry! The webs are easier to make than you'd think.
Jump to:
Spider web cupcake ingredients
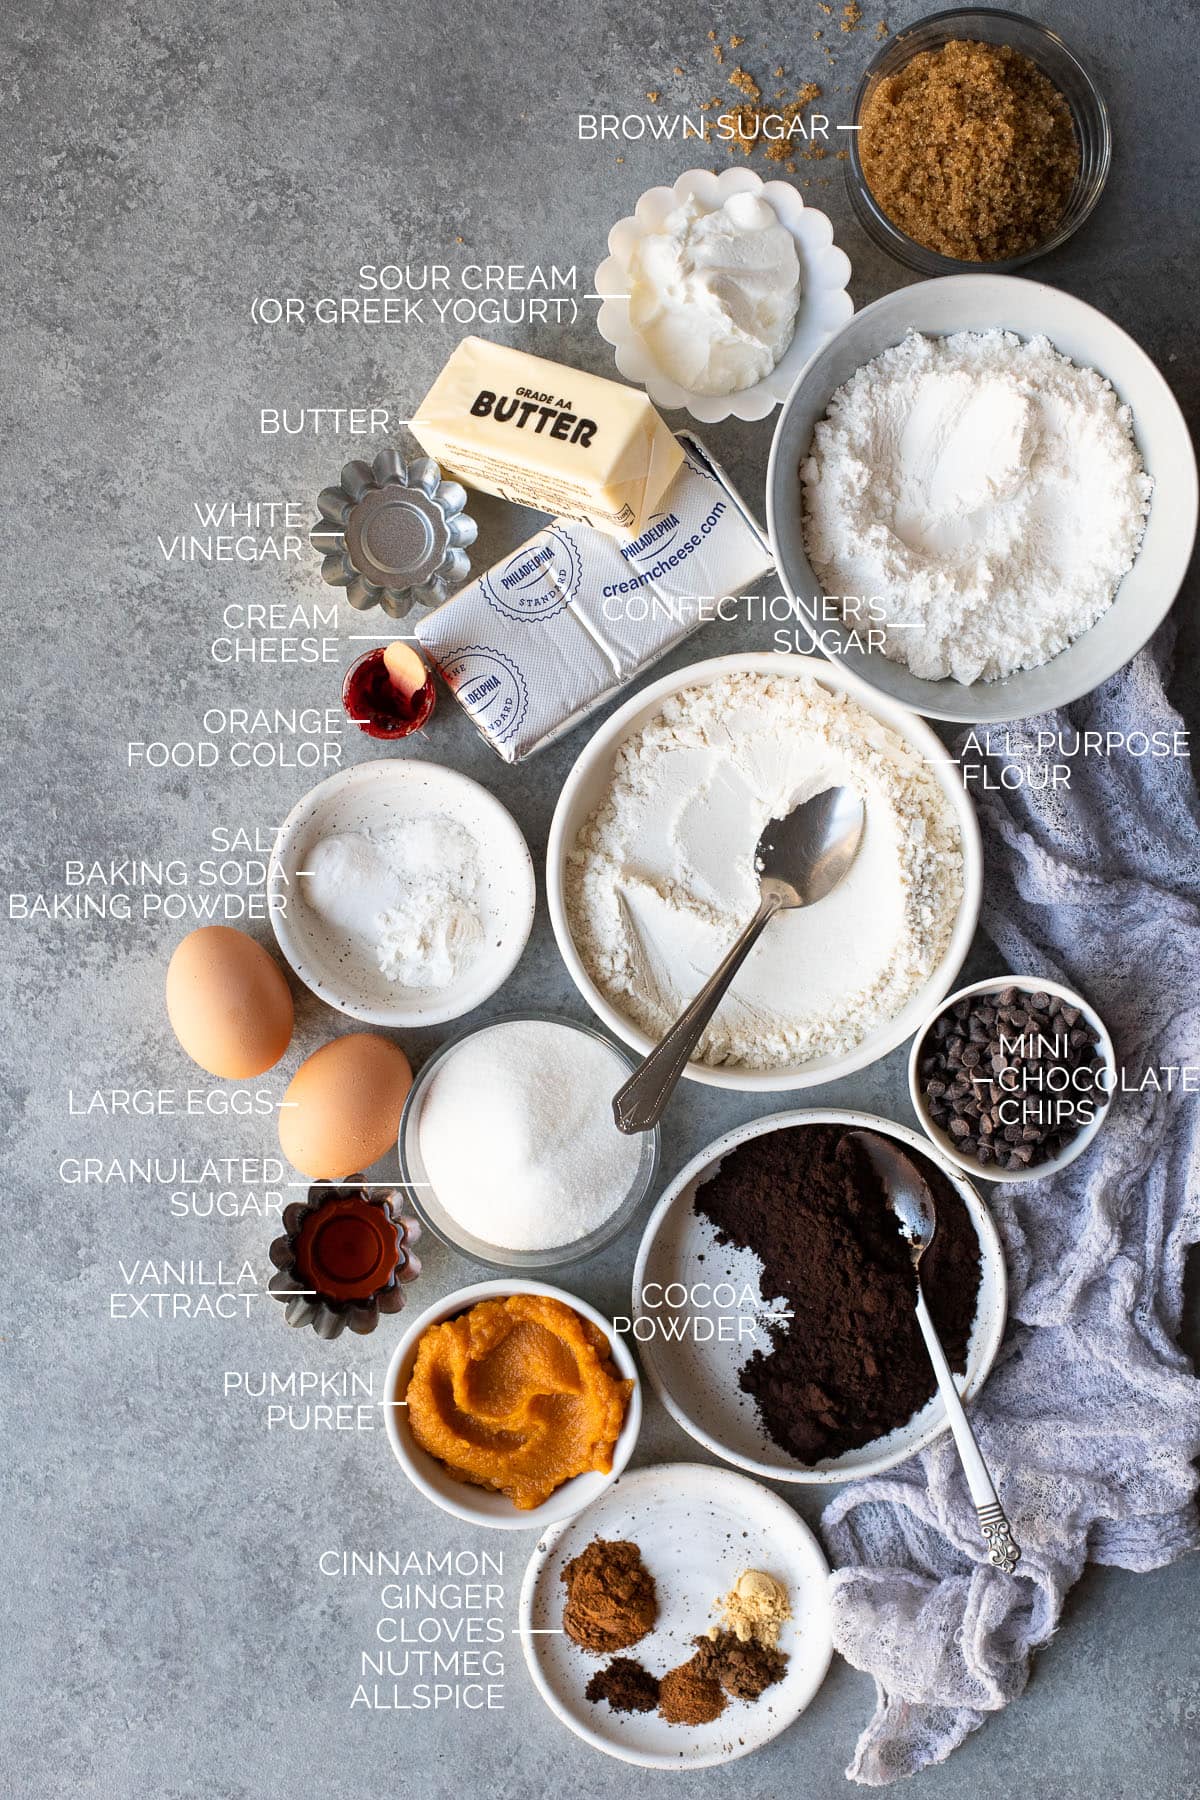
There are three parts to this Halloween recipe: the pumpkin chocolate cupcakes, the spiced cream cheese frosting, and the chocolate spider web cupcake toppers. Here's what you'll need on hand to make all three components:
Ingredient notes and substitutions
- Flour: Any all-purpose flour can be used, including gluten-free options. If you're opting to make gluten-free cupcakes, I always recommend choosing a gluten-free all-purpose flour that contains xanthan gum or guar gum, which will result in a better texture.
- Cocoa powder: You can use any kind, but I'd recommend Dutch process or black cocoa to give your cupcakes a more intense chocolate flavor and darker color. And when it comes to any sort of chocolate-forward dessert, whether it's cake, cupcakes, or brownies, I always suggest using the best cocoa you can afford.
- Greek yogurt/sour cream: Use either one to help keep your cupcakes moist and tender. If you use yogurt, it should be plain (unsweetened and unflavored). Full fat is best!
- White vinegar: You can substitute this with apple cider vinegar if preferred.
- Butter: This recipe calls for unsalted butter. If you want to use salted, reduce the salt in the cupcakes to ¼ teaspoon and consider skipping the added salt in the frosting entirely.
- Chocolate: Since we love a double dose of chocolate around here, I've included the option to mix mini chocolate chips or chopped chocolate into the cupcake batter. You'll also need extra chocolate for the spider webs. Dark/bittersweet chocolate is best, but semisweet is fine as well. As with cocoa - don't skimp on quality here!
- Cream cheese: Always use full-fat, brick-style cream cheese for frosting, or you risk it being too soft.
- Food color: Gel color is best for frosting since it won't thin it out like liquid food color can. This is especially true when you're aiming for a rich, vibrant color like we are here. I used Wilton's orange icing gel.
How to make these spider web cupcakes
Before you get started baking, be sure to bring your eggs, yogurt/sour cream, and butter to room temperature. You'll also need softened butter and cream cheese for the frosting.
To make the pumpkin chocolate cupcakes:
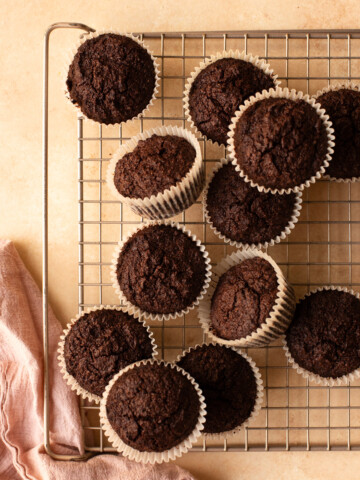
Step one - Oven and pan prep: Preheat your oven to 350ºF and line a 12-cup muffin pan with paper liners. This recipe tends to make a baker's dozen, so if you have an extra muffin pan, it's a good idea to have it ready!
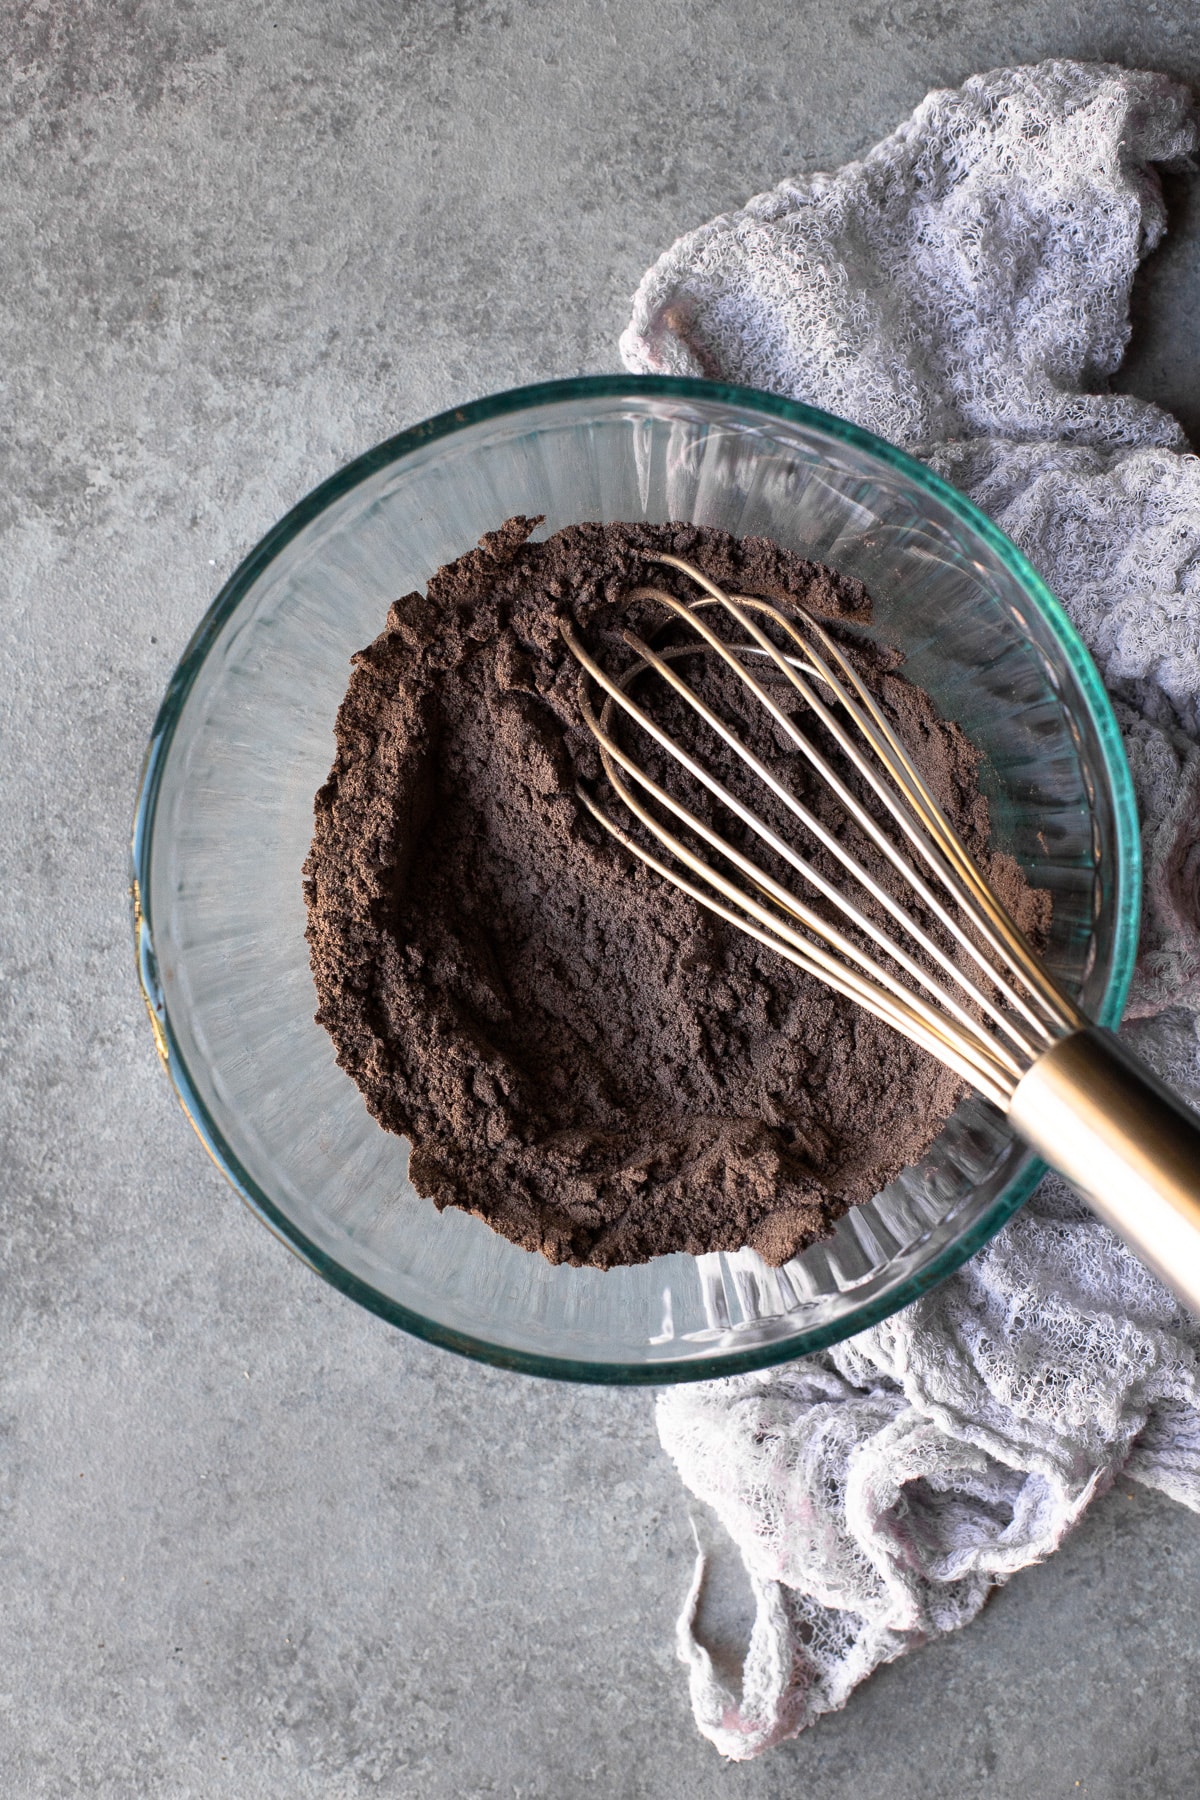
Step two - Combine the dry ingredients: Sift (yes sift!) the flour and cocoa powder into a medium mixing bowl. If you don't own a sifter, you can also use a fine-mesh sieve; the idea is simply to eliminate any clumps of flour/cocoa. Then, add baking powder, baking soda, cinnamon, nutmeg, ginger, cloves, allspice, and salt, and whisk everything together well.
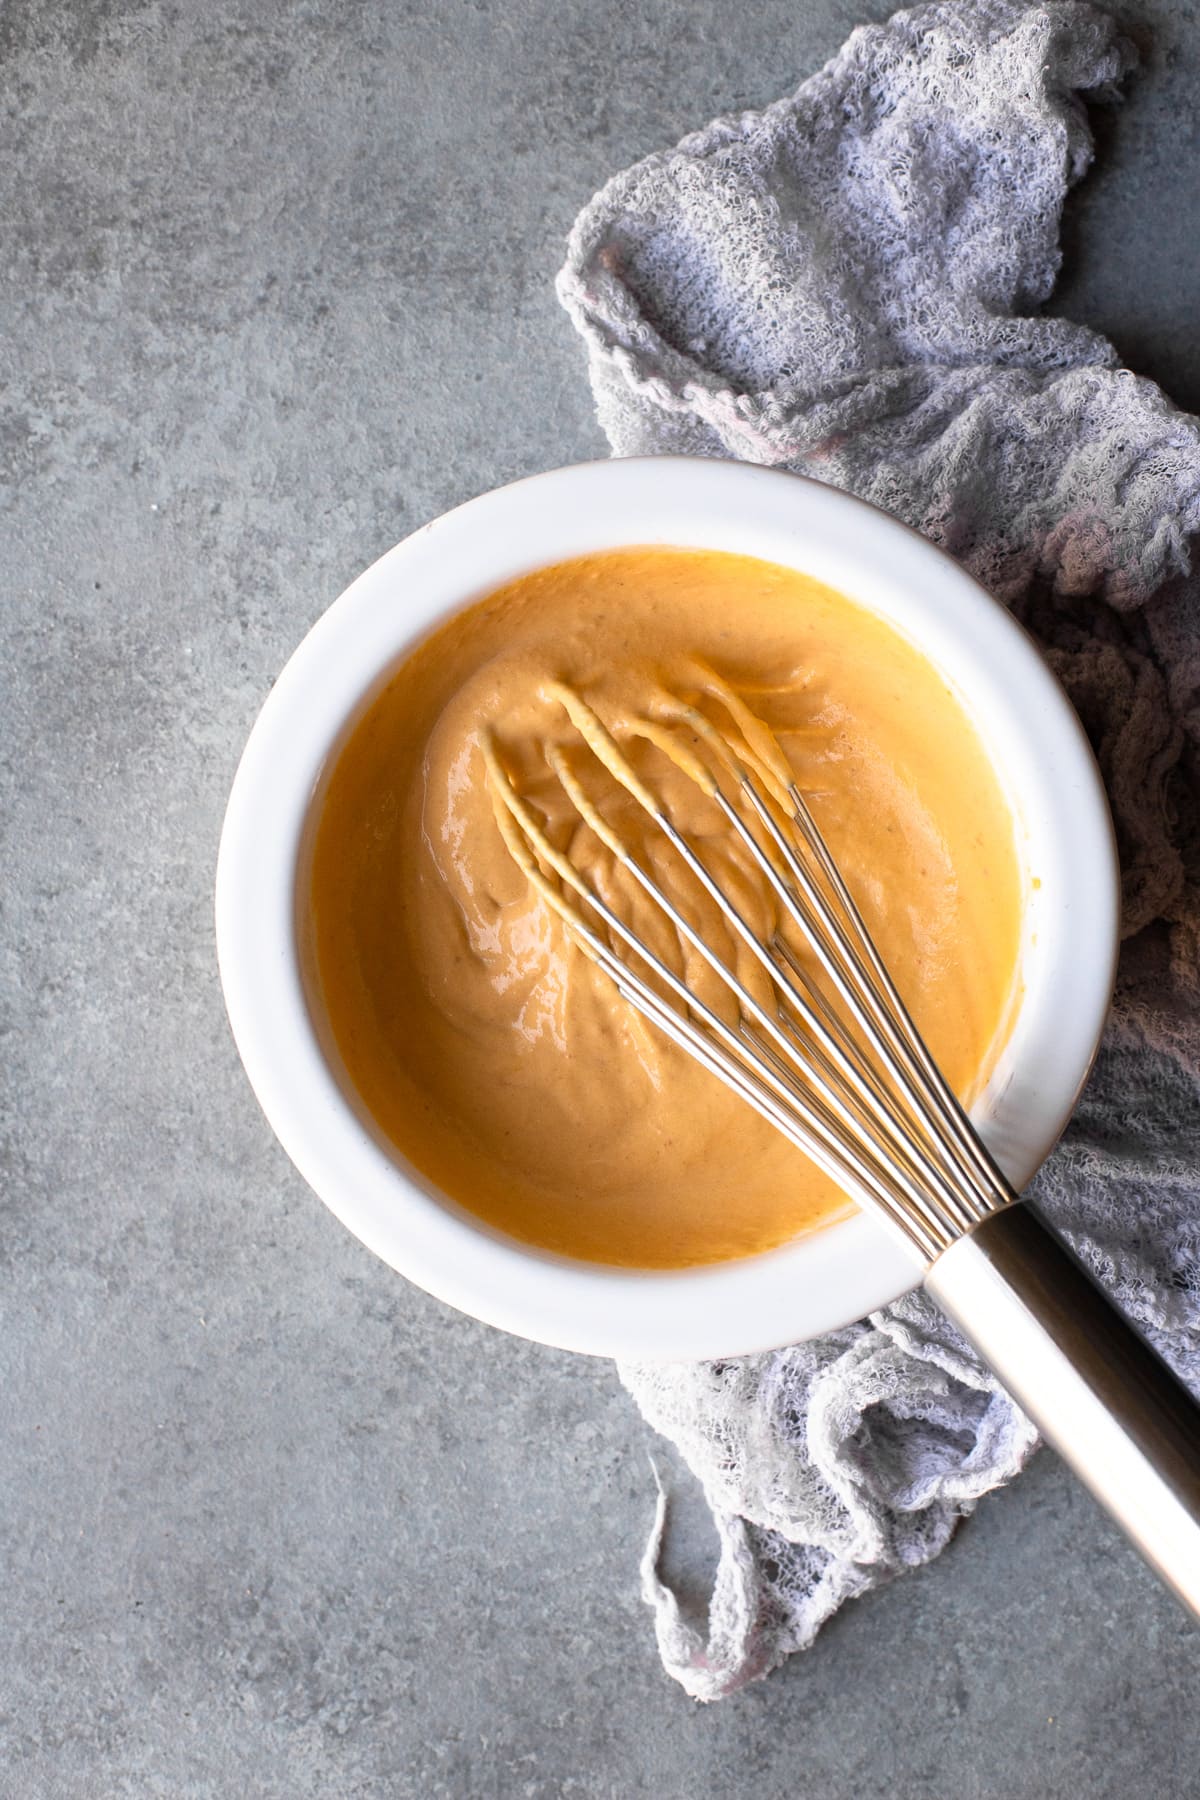
Step three - Combine the wet ingredients: In another medium mixing bowl, whisk together pumpkin puree, yogurt/sour cream, vanilla extract, and distilled white vinegar until smooth.
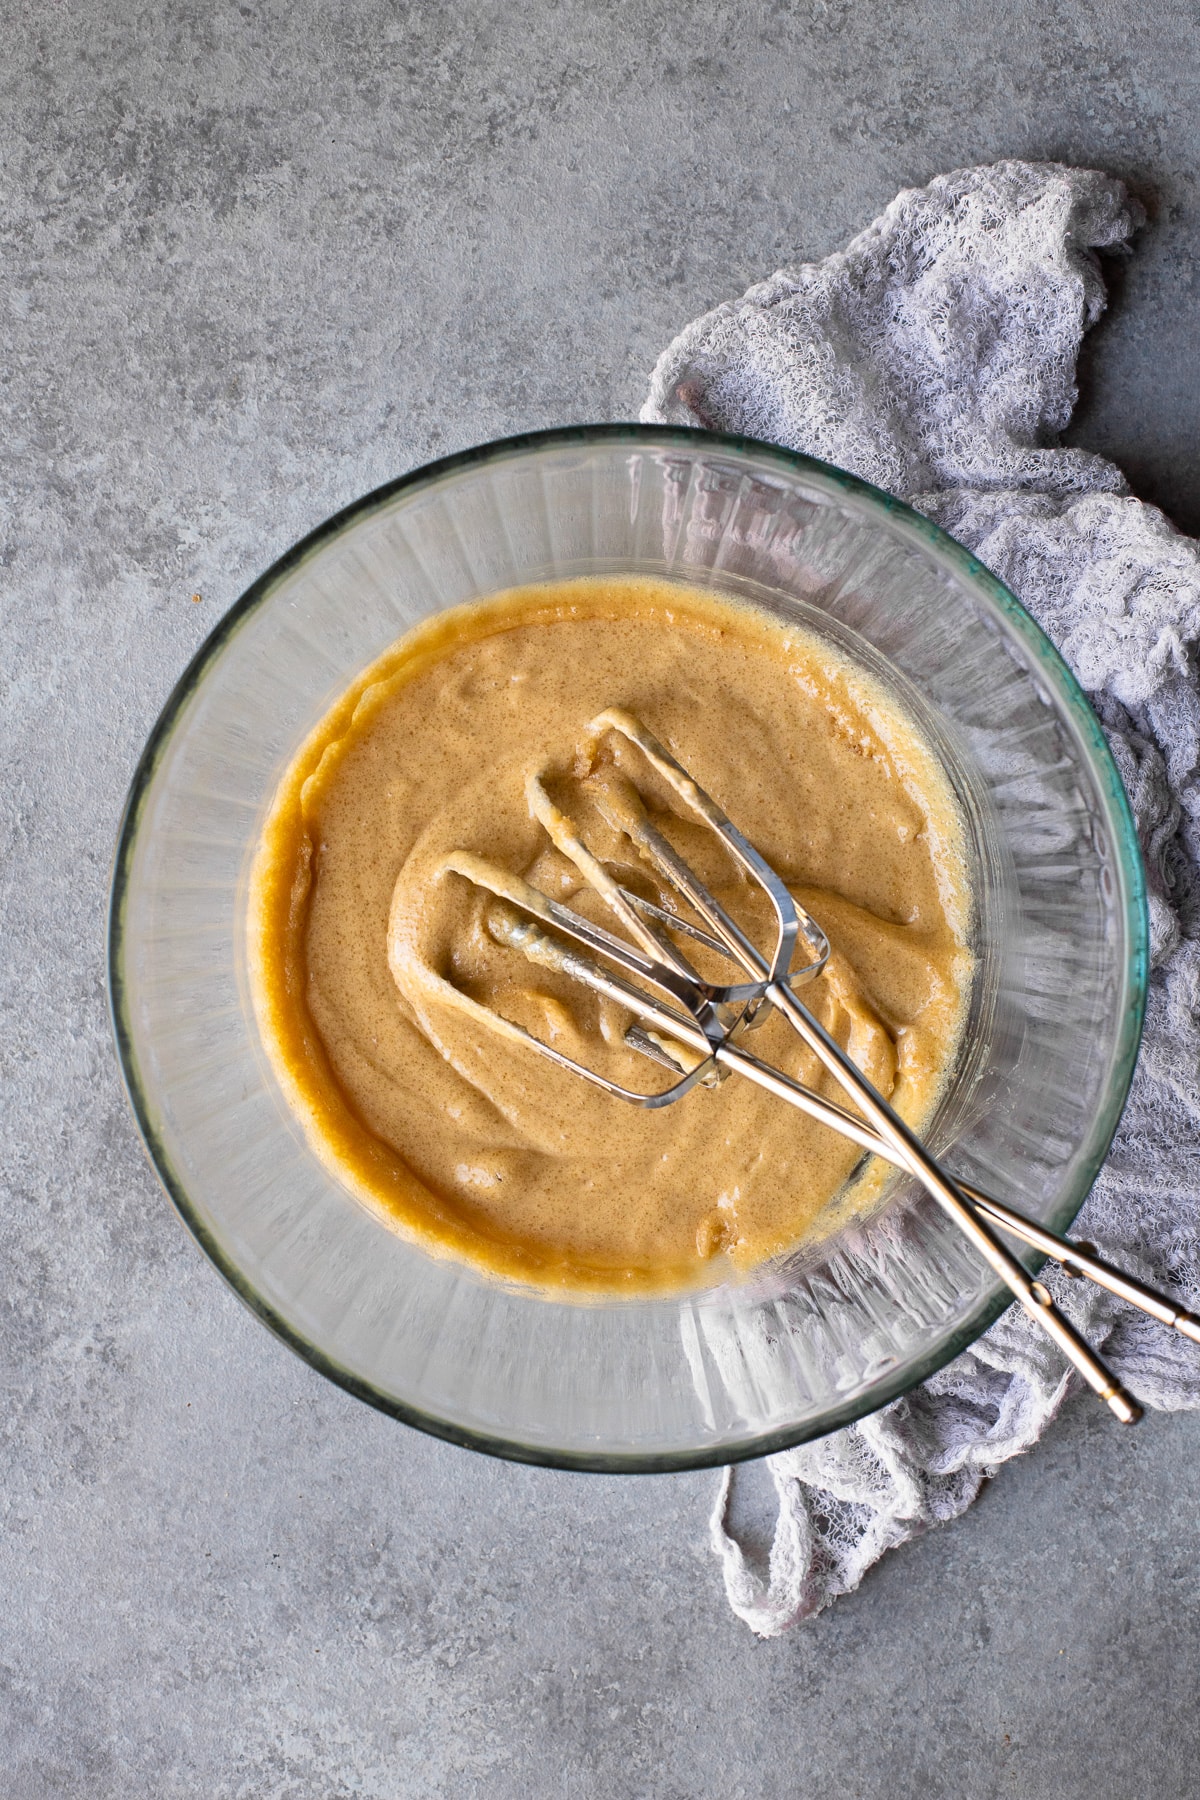
Step four - Cream butter and sugar: Using a stand mixer fitted with the paddle attachment, or a bowl and electric hand mixer, beat together softened butter, brown sugar, and granulated sugar on medium speed until the sugar is well-incorporated into the butter. The mixture should be starting to look creamy.
Next, beat in a whole egg and an egg yolk - one at a time! - until each is thoroughly incorporated. Use a spatula to scrape down your bowl and beater during this process so everything gets combined.
Step five - Combine the wet and dry ingredients: With the mixer on its lowest speed, slowly add ⅓ of the dry ingredients, followed by ½ of the wet (pumpkin) mixture. Continue in this manner until the last of the dry ingredients have been added, mixing just long enough for everything to be mostly combined.
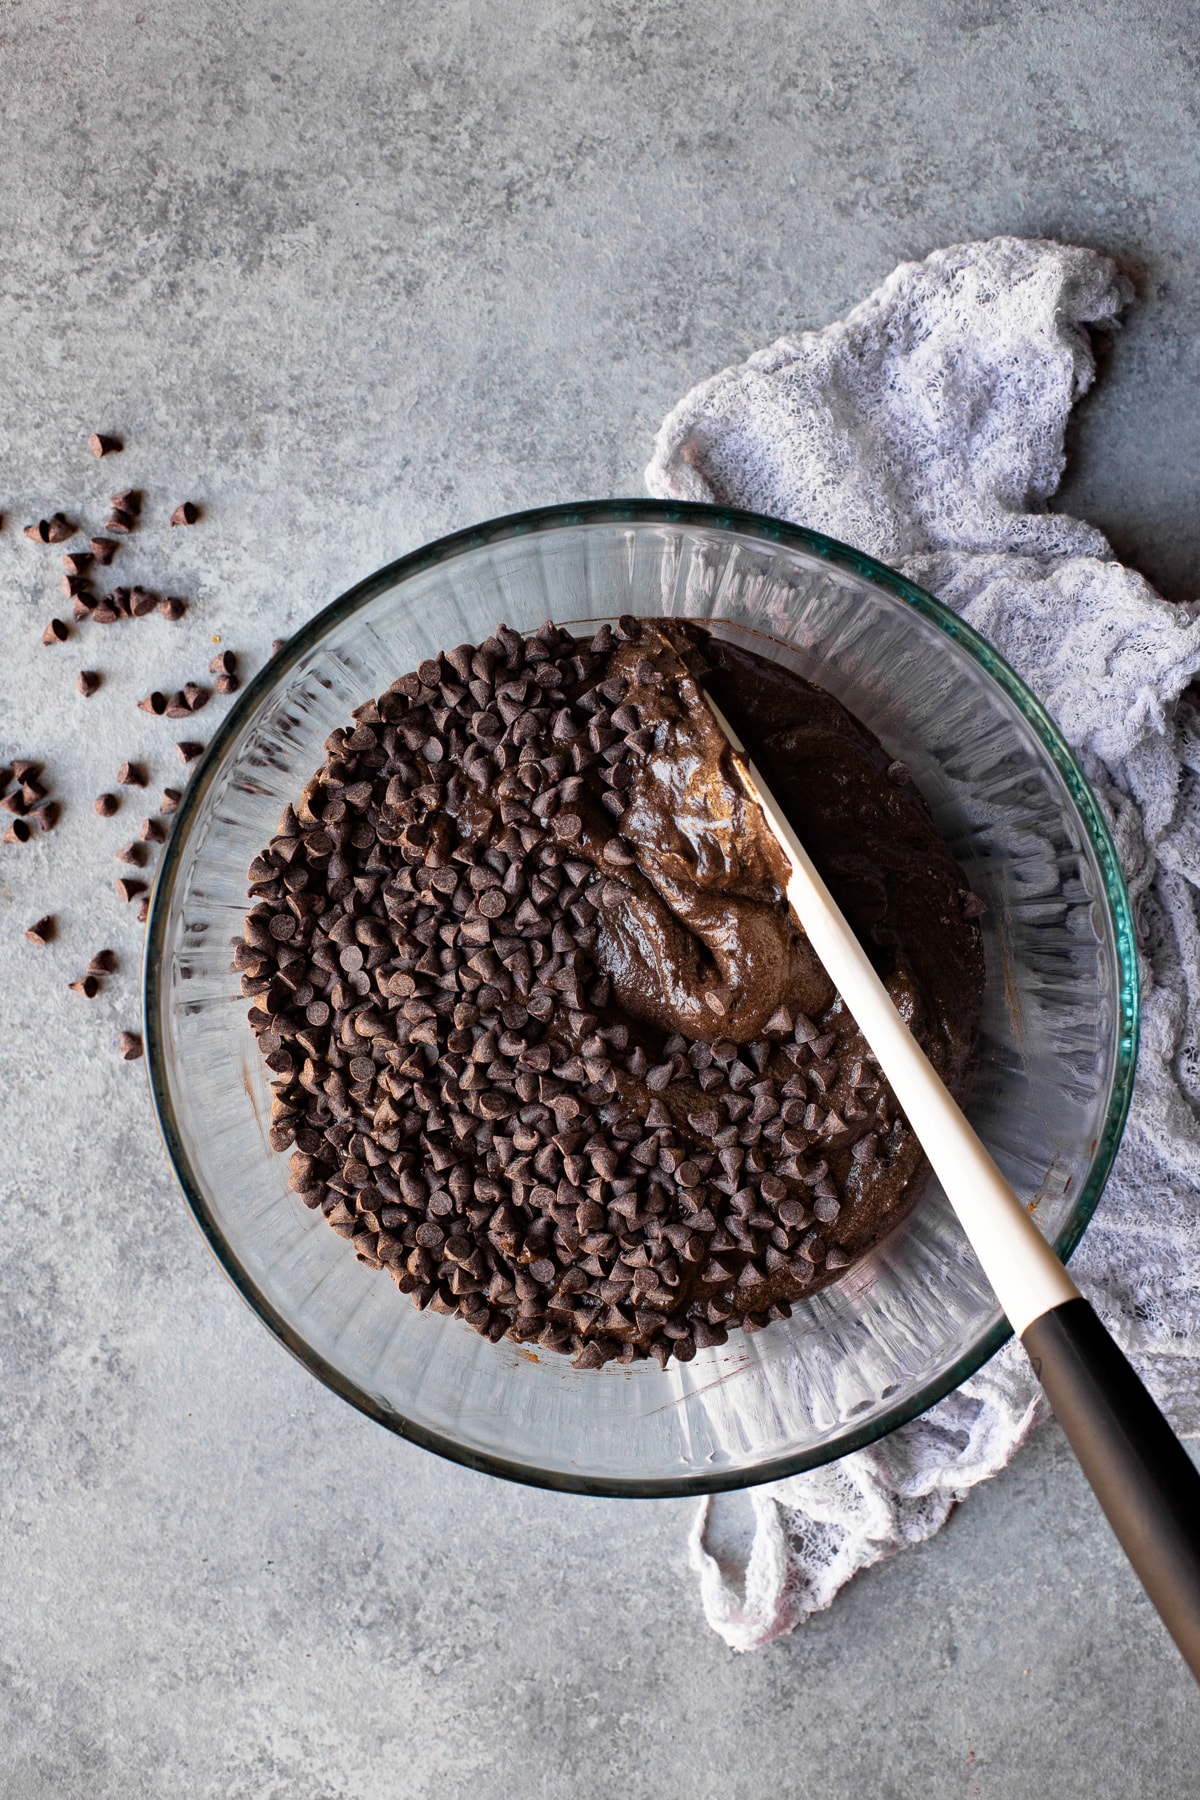
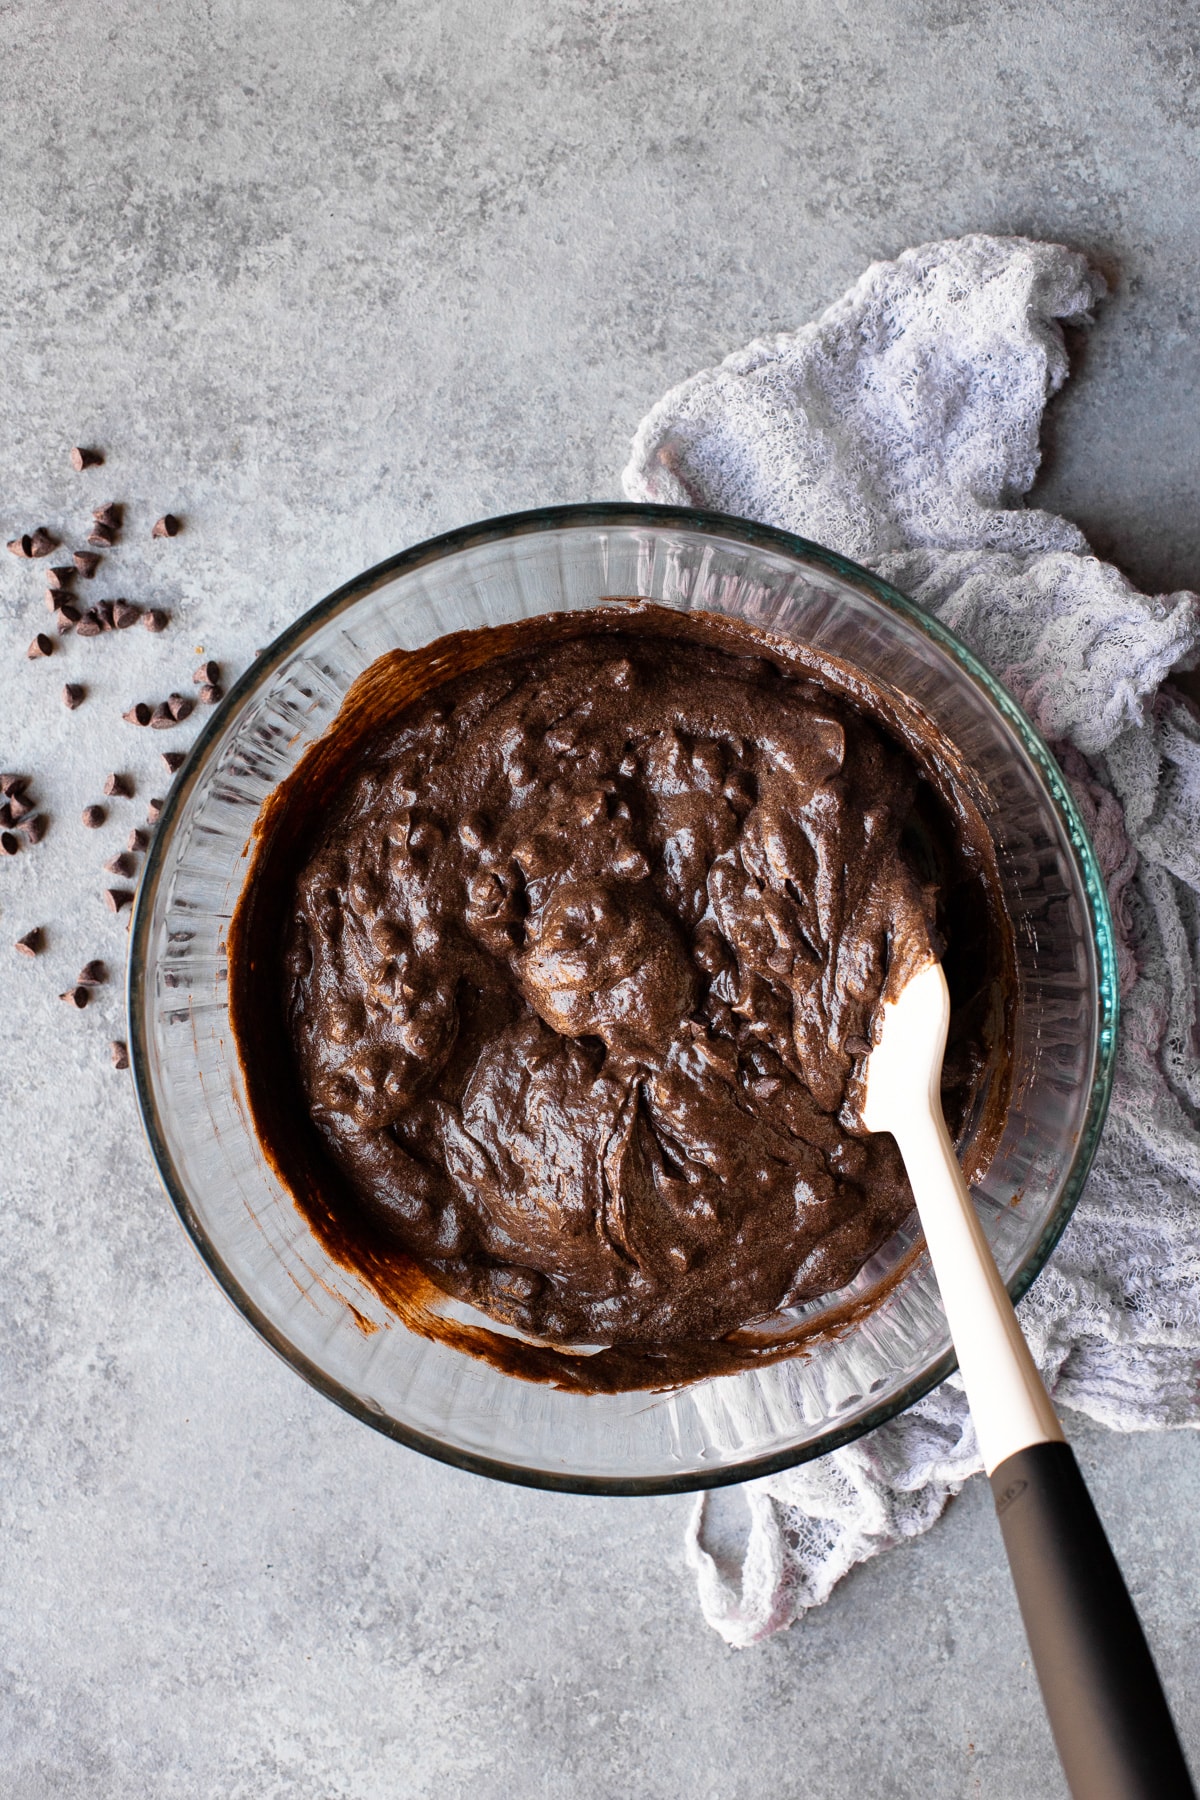
Then, fold in mini chocolate chips or chopped chocolate with a rubber spatula, working just until the chocolate is evenly dispersed. Always be cautious not to overmix.
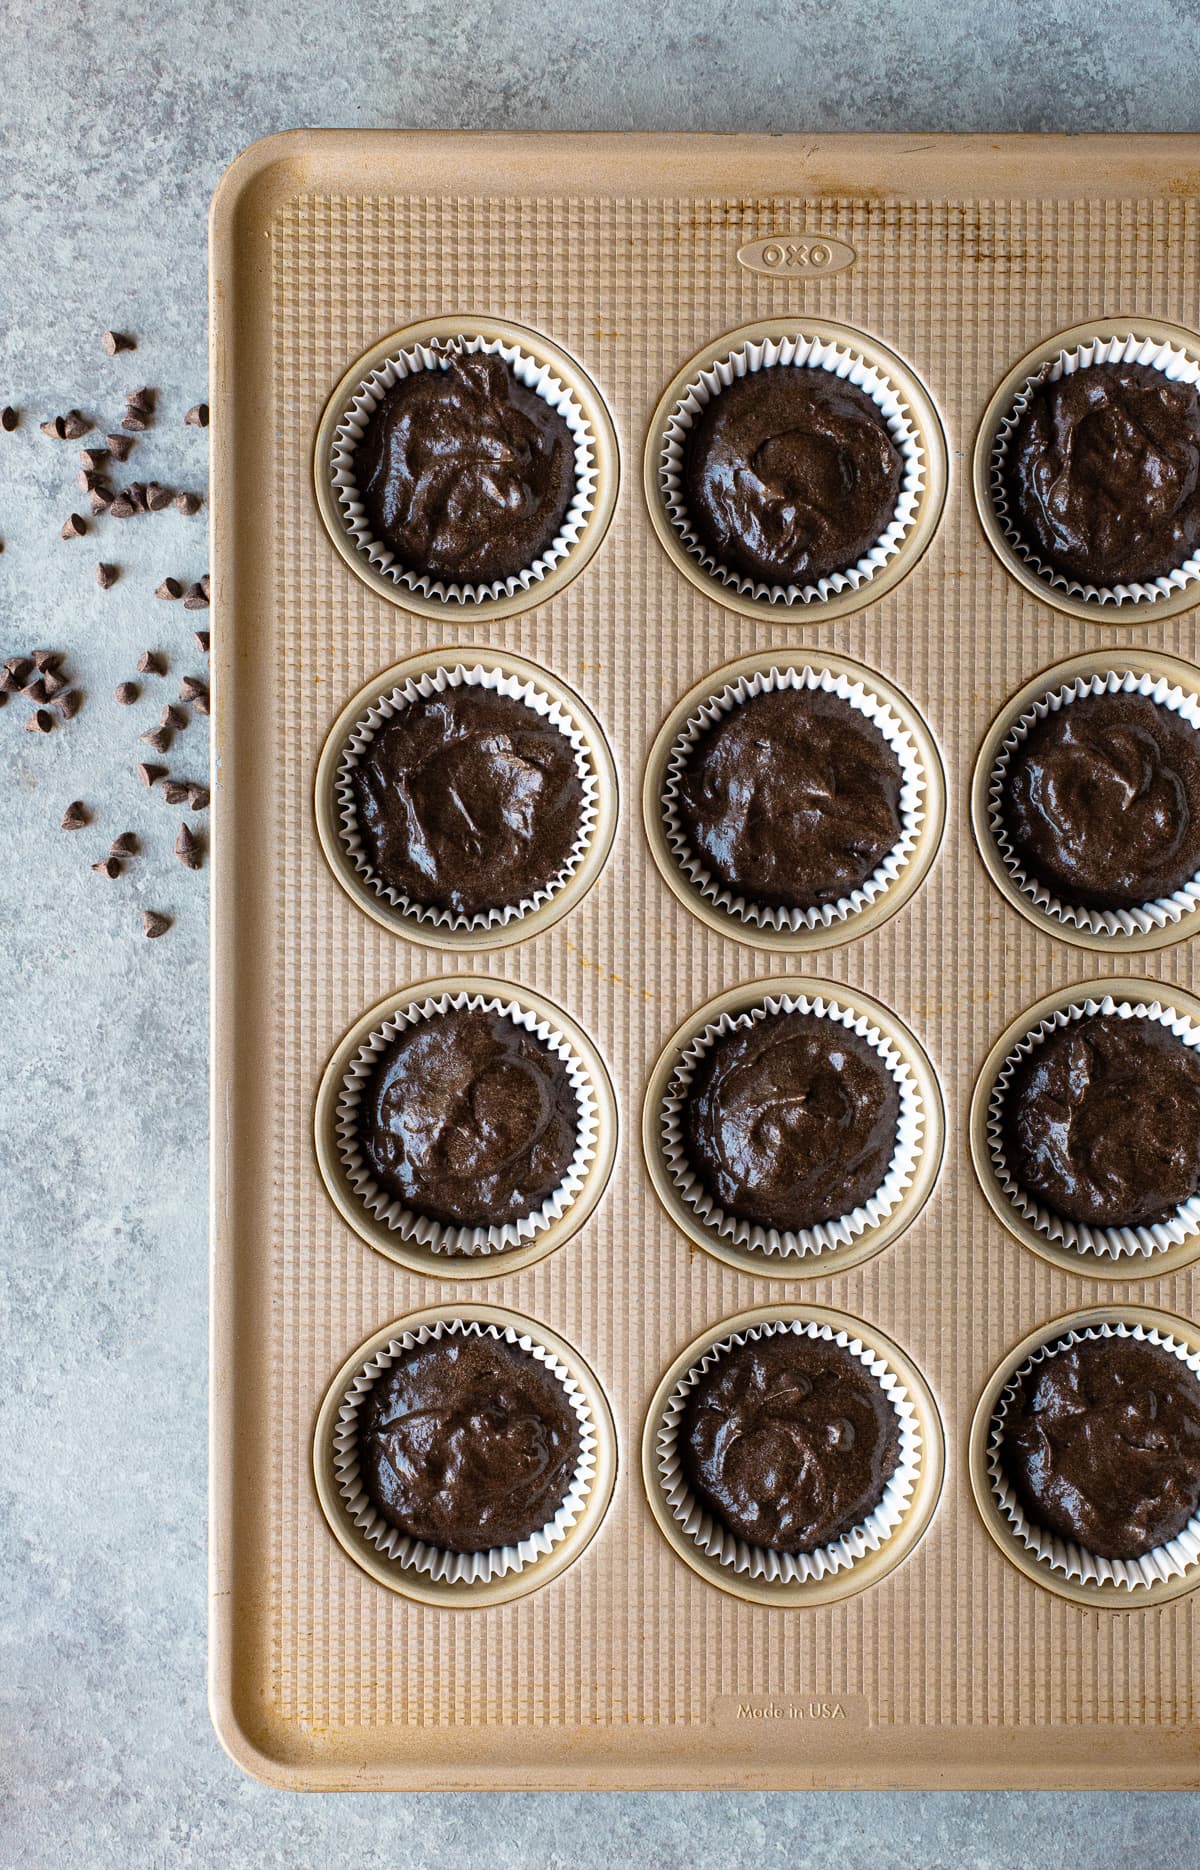
Step six - Transfer to muffin pan: Using a spoon or small cookie scoop, transfer the cupcake batter to your lined muffin pan, filling each cup no more than ¾ full. (This is important! If you overfill your muffin pan, your cupcakes will end up misshapen.) If you have enough batter for a 13th cupcake, bake it in a separate muffin pan or a free-standing (silicone) cupcake liner.
Use your fingertip or the back of the spoon to smooth out the tops of each cupcake if needed before baking.
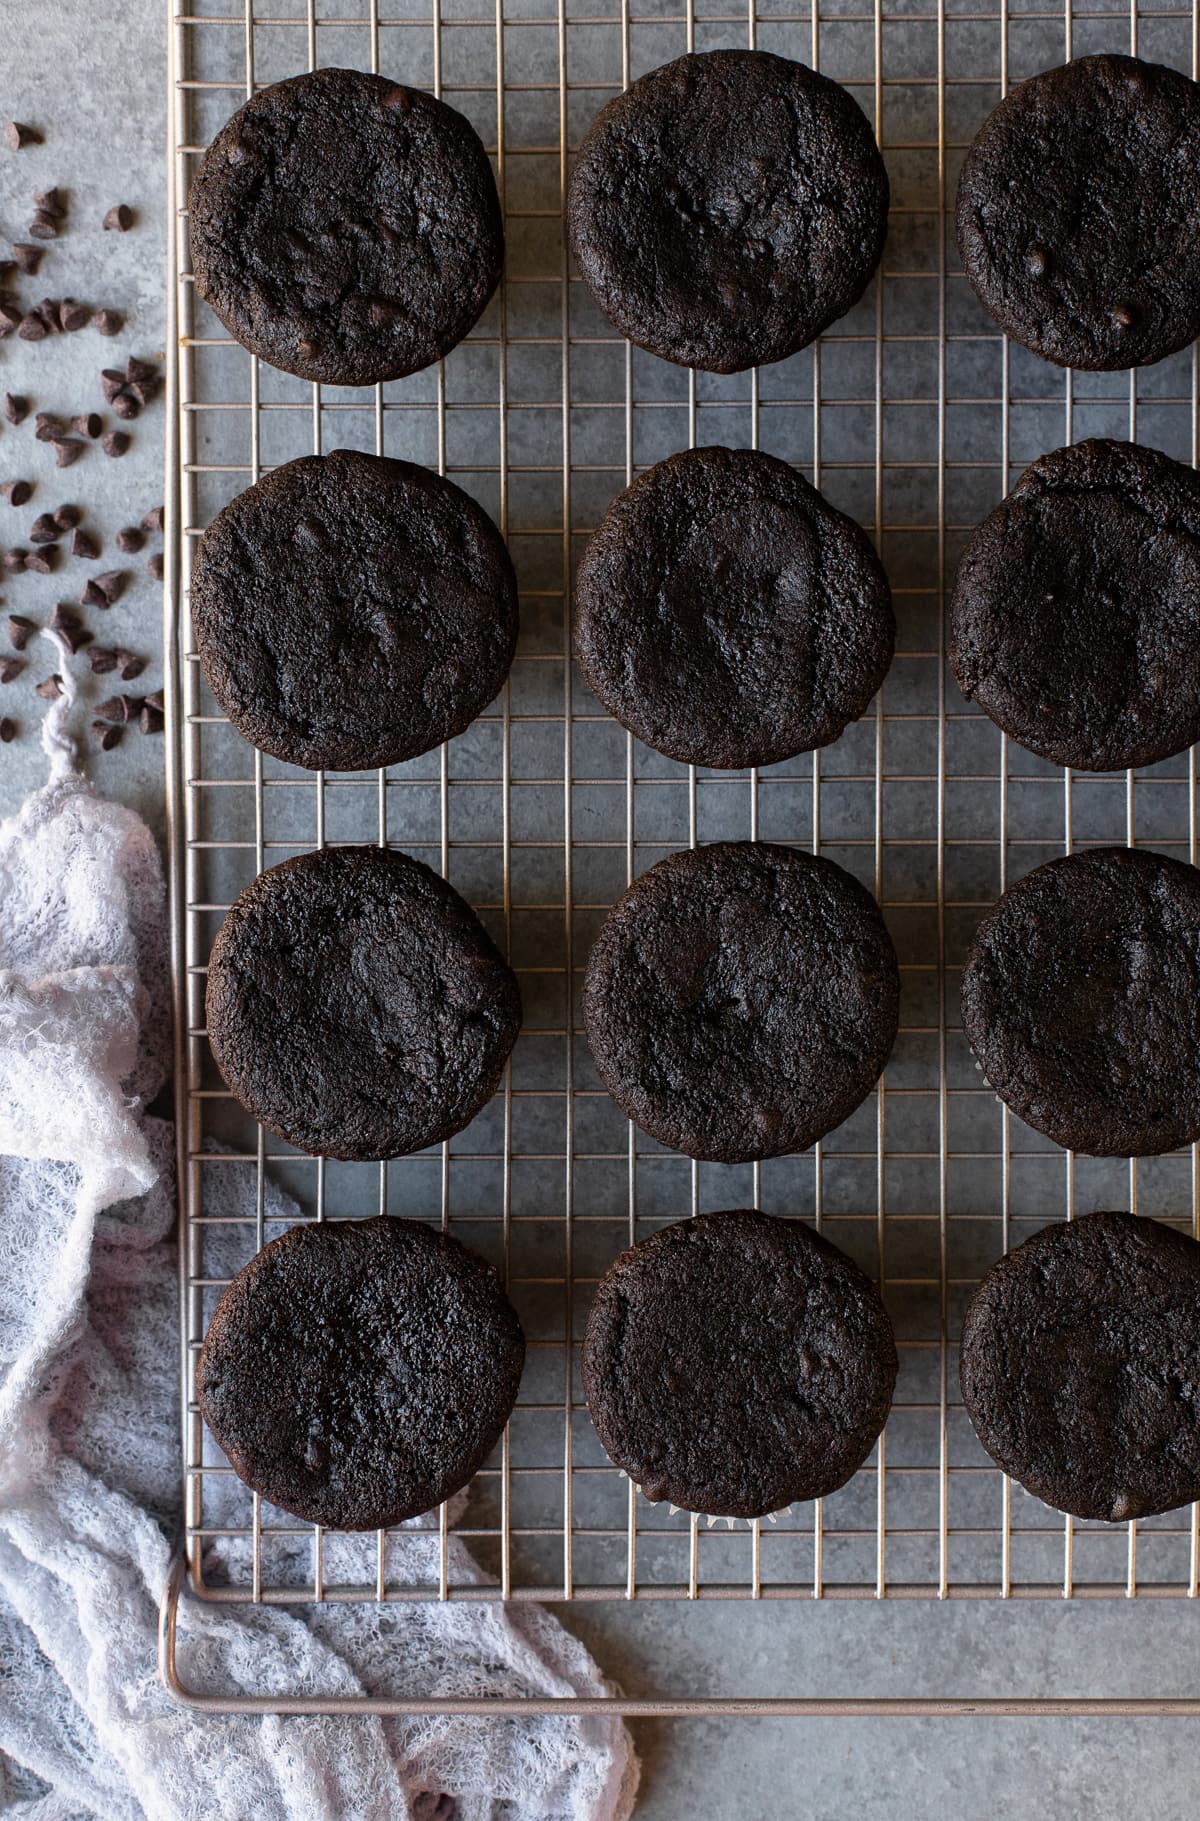
Step seven - Bake: Bake the cupcakes in the preheated oven for approximately 25 minutes. You'll know they're done when a toothpick inserted into the center of one comes out clean, or if you gently press on the top of one with a fingertip and it springs back to its original shape.
Let the cupcakes cool in the pan for about 20 minutes before carefully moving them to a wire rack to cool completely. These are fragile when they're warm, so it can be helpful to use a small icing spatula to lift them out of the pan without breaking them.
To make the chocolate spider webs:
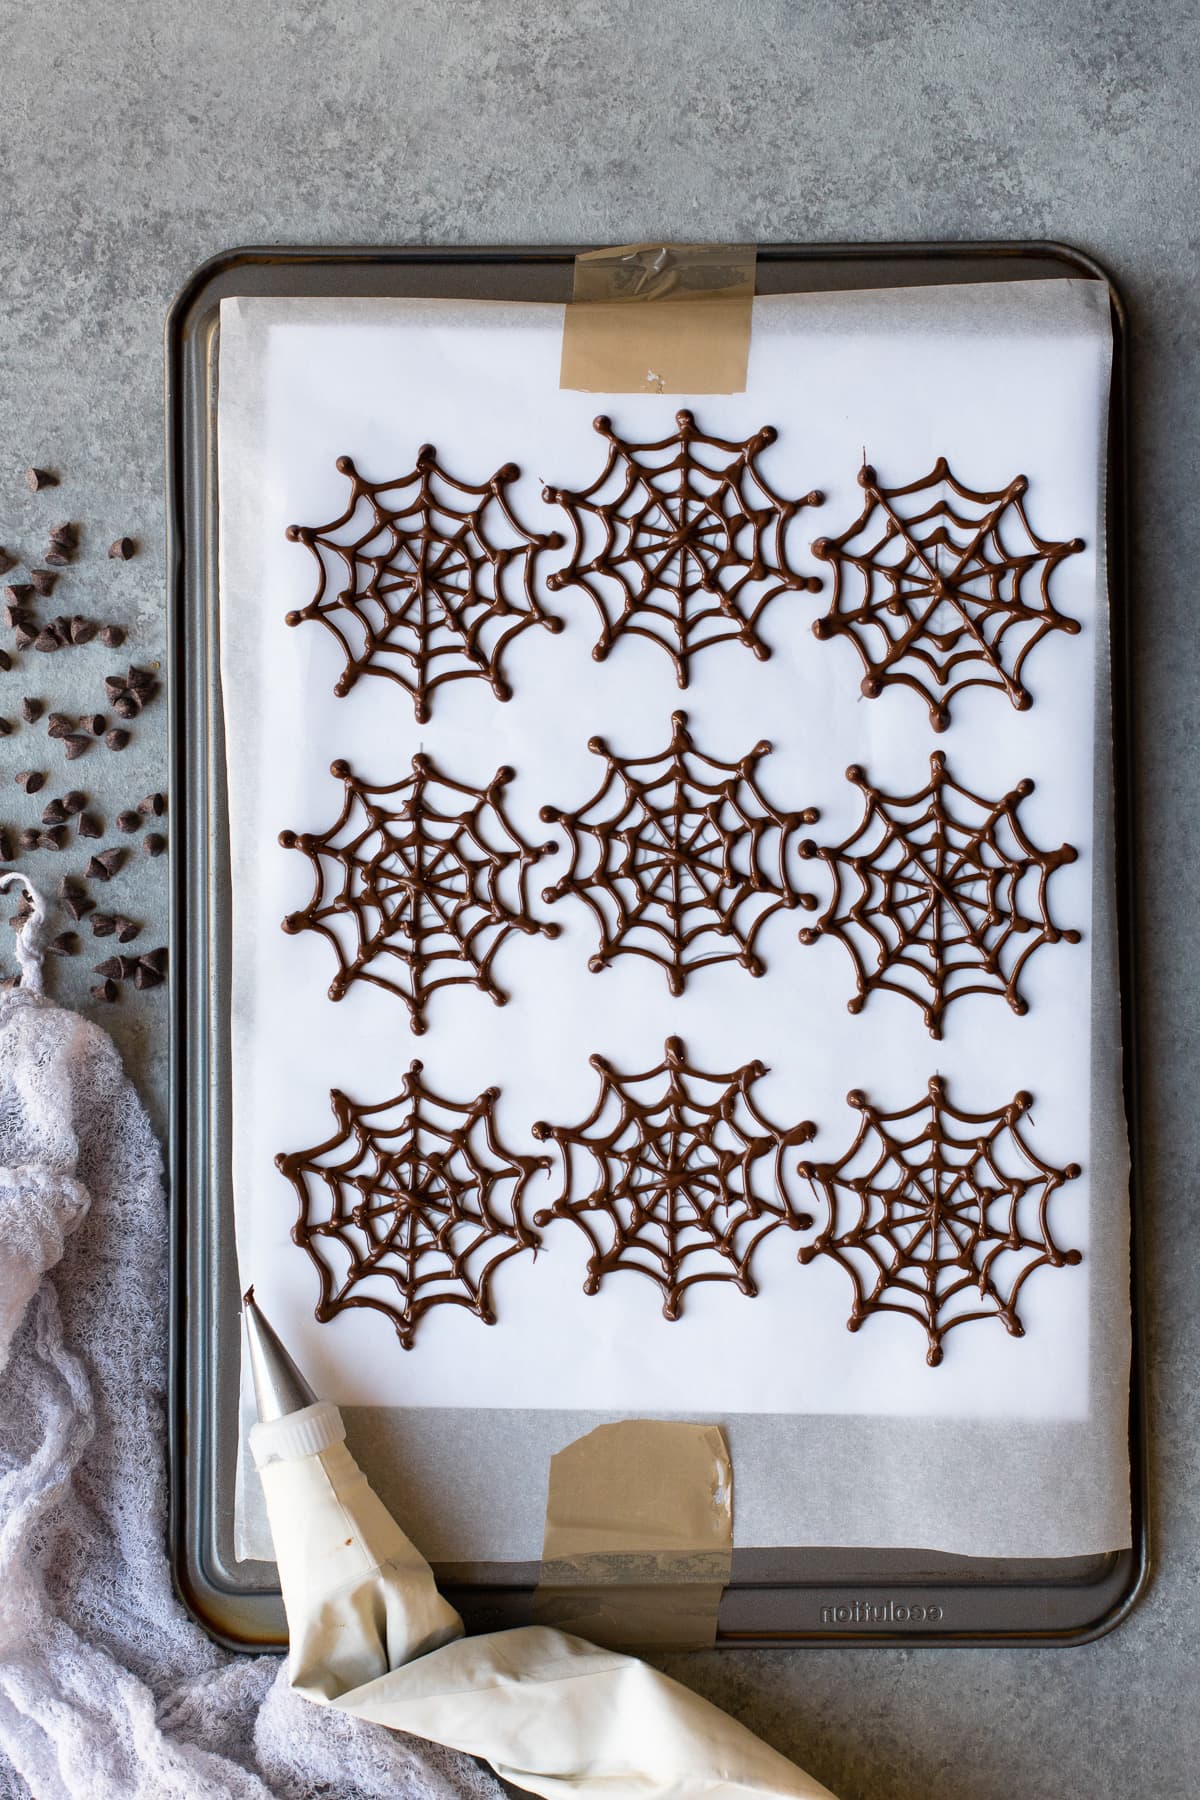
Step one - Prep: Line a large tray or baking sheet with parchment paper, and fit a piping bag with a small round tip. (I used Wilton's No. 2 tip.)
If you feel comfortable piping the spider webs free-hand, you can move onto step two. Otherwise, you can create a template for yourself using one of two options:
- Draw the spider webs on the parchment first, and then flip it over to the opposite side.
- Print out spider web clip art and place it under the parchment paper.

Keep in mind that the goal is to make at least as many webs as there are cupcakes. That said, it's not a bad idea to make a few extra in case one gets messed up.
Step two - Melt the chocolate: Place chocolate chips or chopped chocolate in a small, microwave-safe bowl. Microwave for 30-second increments, stirring in between, until the chocolate is smoothly melted. If you want to go the extra mile and temper your chocolate, that's even better!
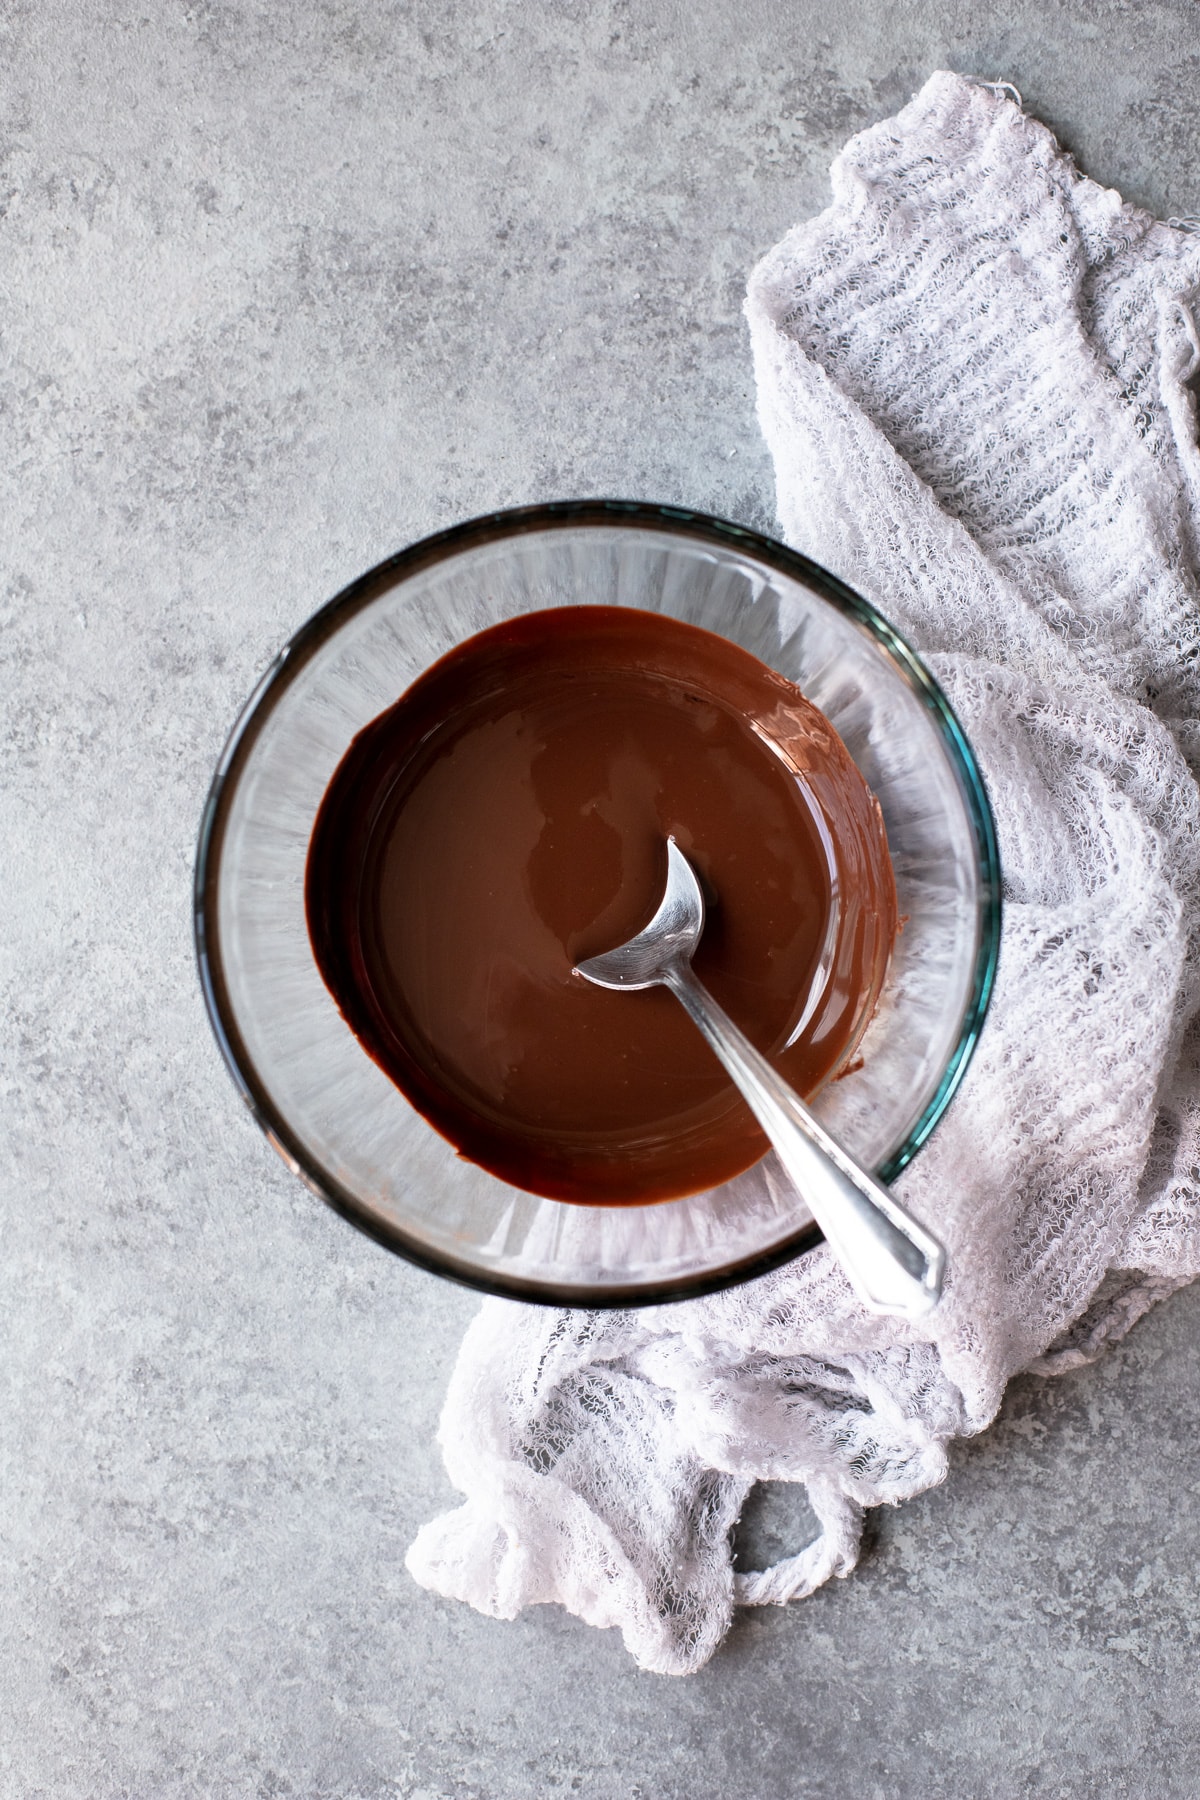
Step three - Pipe the spider webs: Now comes the fun part! Transfer the melted chocolate to the piping bag and carefully pipe spiderwebs on parchment. When you're done, let the webs sit at room temperature until they've set, or transfer them to the refrigerator to speed up the process. (Keep in mind that if you tempered your chocolate, it should not need to be refrigerated.)
To make the spiced cream cheese frosting:
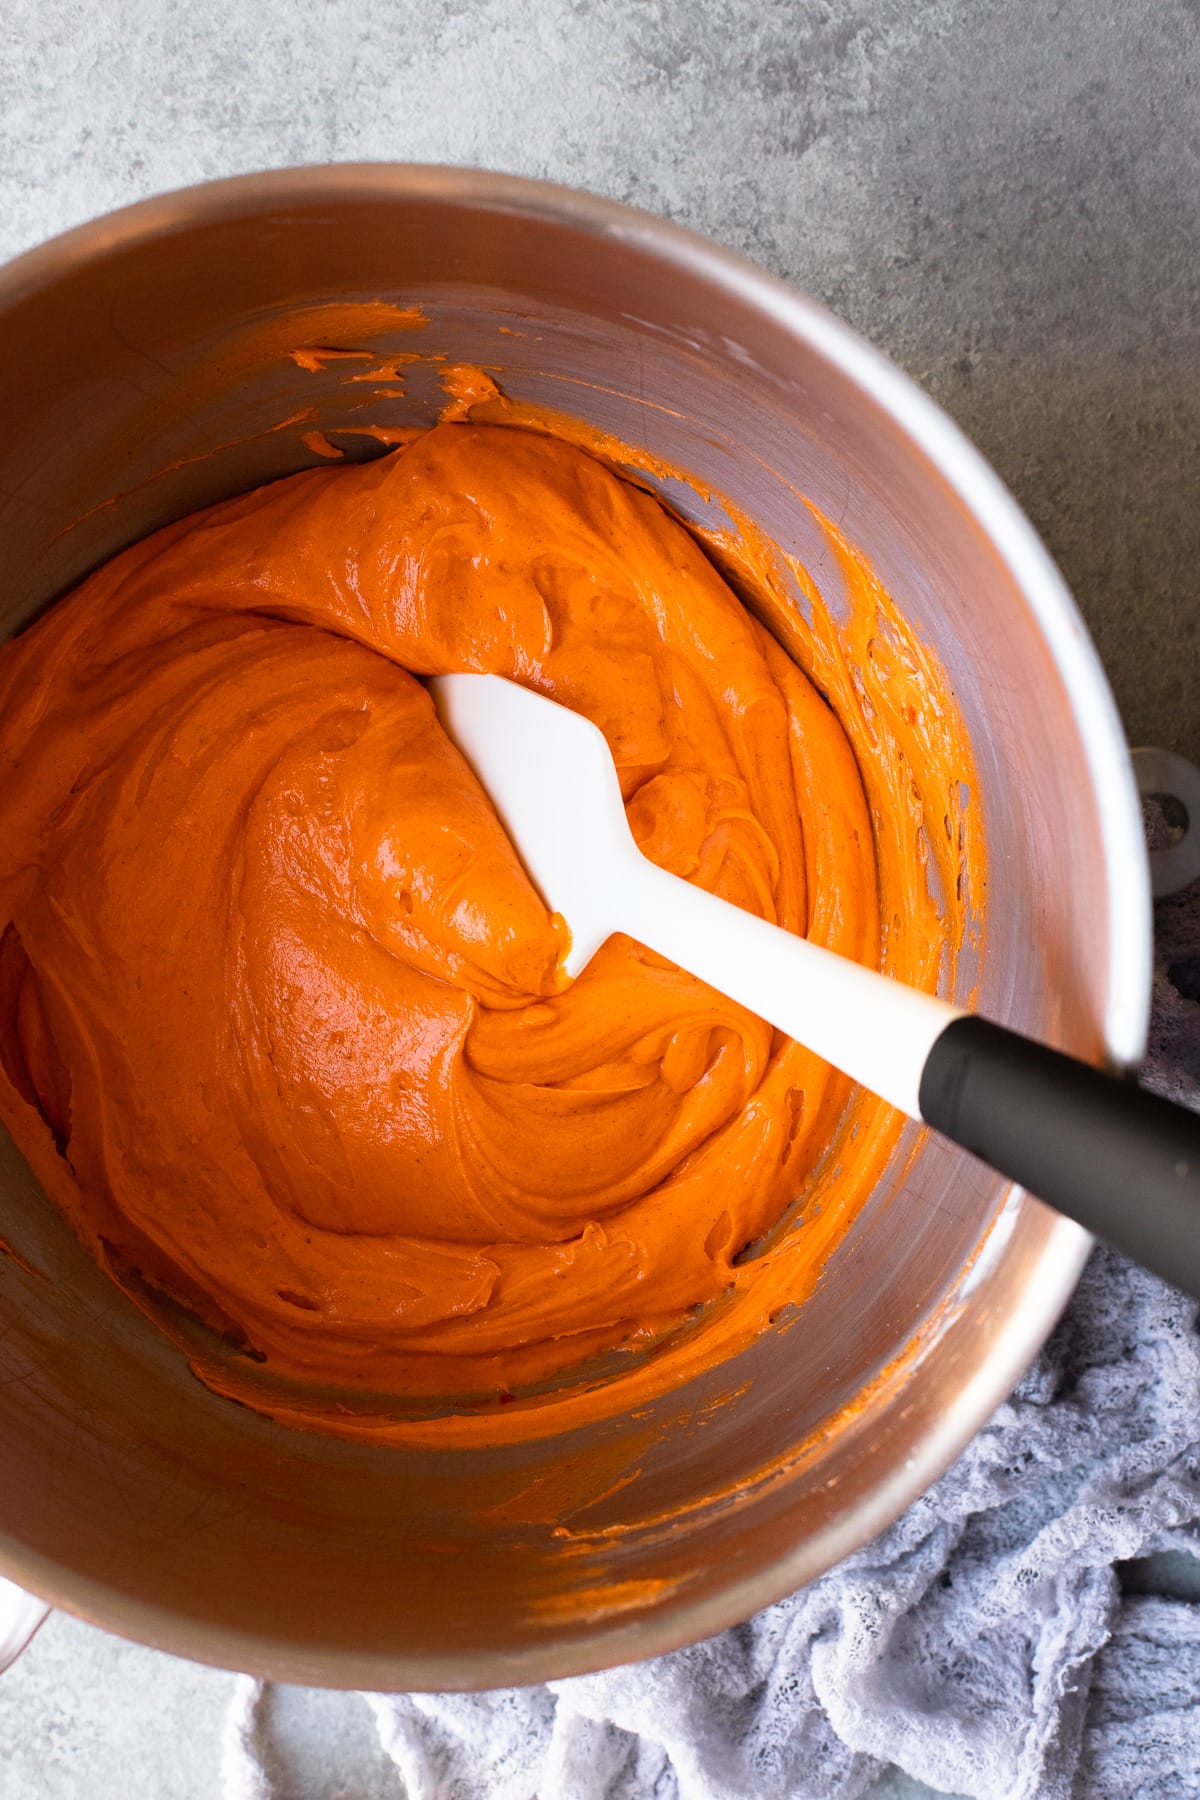
In the bowl of a stand mixer fitted with the paddle attachment, beat together softened butter and cream cheese on medium-low speed until the mixture is smooth and creamy. With the mixer on low speed, slowly add confectioner's sugar. Finally, add vanilla, cinnamon, nutmeg, ginger, cloves, allspice, and salt. Continue beating, wiping down the bowl and beater as needed, until the frosting is smooth.
Add a small amount of orange gel color to the frosting and mix it in with a spatula, adding more as needed, until you've reached your desired shade.
Assembling the cupcakes:
Transfer the frosting to a large piping bag fitted with the tip of your choice (I used Ateco 827) and pipe frosting onto the cooled cupcakes. Top each with a chocolate spider web - you can place them vertically over the cupcakes like I did, flat, or at an angle. I've seen readers who have made this recipe do all three!
Expert tips and tricks
- Use a small cookie scoop to measure your cupcake batter to avoid ending up with unevenly-sized cupcakes.
- When piping the spider webs, it's helpful to draw the perpendicular lines first (as if you were drawing an asterisk (*) sign. Then, connect those lines with curved lines in a concentric pattern, working from the outside towards the center.
- If your cream cheese frosting seems too soft to pipe, place your piping bag in the refrigerator for about 30 minutes and then try again.
- Need a Halloween dessert but don't have time to make cupcakes from scratch? You can still make the chocolate spider webs and use them to garnish store-bought cupcakes.
- Although these cupcakes have a Halloween design, you can easily give them more of a fall theme by make chocolate leaves instead of webs. You can make the frosting various shades of red, orange, and yellow to match the mood!
Recipe FAQ
Yes! Every component of this recipe can be made in advance. If you don't plan on assembling the cupcakes right away, store the cupcakes themselves in a zip-top bag or container at room temperature, and keep the frosting refrigerated. The frosting will need to be softened slightly and re-whipped before using.
Once fully assembled, these cupcakes should be kept refrigerated in an airtight container. They'll keep for at least 1 week.
Absolutely! Just use gluten-free all-purpose flour in the cupcake batter - I prefer Bob's Red Mill 1:1 Baking Flour or King Arthur Measure for Measure Flour. You do not need to alter the recipe in any other way.
More festive fall desserts
Use your leftover canned pumpkin from this spider web cupcake recipe to make one of these fall favorites!


Have you made this recipe?
If so, I'd love to hear your feedback; you can leave a rating and review in the comments section below! It's also so helpful if you help spread the word by sharing this post on your favorite social media channel. If you happen to snap a photo of what you've baked, be sure to share it on Instagram and tag me (@brighteyedbaker) so I can give you a shoutout!
Halloween Spider Web Cupcakes
These spider web cupcakes make the perfect festive Halloween dessert, combining moist pumpkin chocolate cake with spiced cream cheese frosting and easy-to-make chocolate spider webs as a garnish.
- Prep Time: 50 minutes
- Cook Time: 25 minutes
- Total Time: 1 hour 15 minutes
- Yield: 12-13 cupcakes
- Category: cake and cupcakes
- Method: baking
- Cuisine: American
Ingredients
Pumpkin Double Chocolate Cupcakes
- 3 ⅛ ounces (¾ cup, spoon and level) all-purpose flour
- 1 ⅛ ounces (⅓ cup) cocoa powder (preferably Dutch process or black cocoa)
- 1 teaspoon baking powder
- ½ teaspoon baking soda
- 1 teaspoon cinnamon
- pinch of ground nutmeg
- pinch of ground ginger
- pinch of ground cloves
- pinch of ground allspice
- ⅜ teaspoon salt
- 6 ounces (¾ cup) canned pumpkin purée
- 4 ounces (½ cup) plain Greek yogurt or sour cream, room temperature
- ½ teaspoon distilled white vinegar
- 1 teaspoon vanilla extract
- 2 ounces (¼ cup) unsalted butter, softened
- 3 ¾ ounces (½ cup, packed) brown sugar
- 3 ½ ounces (½ cup) granulated sugar
- 1 large egg plus 1 egg yolk, room temperature
- 3 ounces (½ cup) bittersweet or semisweet chopped chocolate or mini chocolate chips, optional
Chocolate Spider Webs
- 2 ½ ounces bittersweet or semisweet chocolate, finely chopped (or chocolate baking chips)
Spiced Cream Cheese Frosting
- 8 ounces (1 cup) unsalted butter, softened
- 8 ounces full-fat brick-style cream cheese, softened
- 1 lb 8 ounces (6 cups) confectioner's sugar
- 2 teaspoons vanilla extract
- 2 teaspoons cinnamon
- pinch of ground nutmeg
- pinch of ground ginger
- pinch of ground cloves
- pinch of ground allspice
- pinch of salt
- orange gel icing color
Instructions
Pumpkin Chocolate Cupcakes
- Oven and pan prep: Preheat oven to 350ºF. Line a standard 12-cup muffin pan with liners.
- Combine dry ingredients: Sift the flour and cocoa powder into a bowl. Add the baking powder, baking soda, cinnamon, nutmeg, ginger, cloves, allspice, and salt and whisk to evenly combine.
- Combine wet ingredients: In a separate bowl, combine the pumpkin, greek yogurt/sour cream, white vinegar, and vanilla extract and whisk together until smooth.
- Cream butter and sugar: In the bowl of a stand mixer fitted with the paddle attachment, or using a handheld electric mixer, beat together the butter, brown sugar, and granulated sugar until the mixture is well-combined and beginning to look creamy. Add the whole egg and egg yolk one at a time, beating each in until incorporated. Scrape down the bowl and beater with a spatula as needed.
- Combine wet and dry ingredients: With the mixer on its lowest speed, add ⅓ of the dry ingredients followed by ½ of the wet ingredients, continuing in this manner until all ingredients are mostly incorporated. Add the chocolate chips (if using). Use a flexible spatula to fold all of the ingredients together JUST until evenly combined.
- Transfer to muffin pan: Scoop the batter evenly into the prepared muffin pan, filling each cup no more than ¾ full. Smooth out the tops gently if needed.
- Bake: Bake cupcakes in preheated oven for about 25 minutes, until a toothpick inserted into the center of one comes out clean or the tops gently spring back to the touch. Cool cupcakes in pan for about 20 minutes, and then use a small icing spatula to carefully lift the cupcakes out of the pan and transfer them to a wire rack to cool completely.
Chocolate Spider Webs:
- Prep: Lay out a large sheet of parchment paper on a baking sheet or tray. If you'd like to draw out your spider webs on the parchment first as a guide, do so with a pen or pencil and then flip the parchment over so you can pipe on the clean side. You can also download and print a guide online to place under the parchment if you're not comfortable with drawing your own webs. Fit a piping bag with a small round tip (I used Wilton No. 2).
- Melt the chocolate: Placed chocolate in a microwave-safe bowl and heat for 30-second increments, stirring in between, until smoothly melted. Alternatively, temper chocolate.
- Pipe spider webs: Transfer chocolate to the prepared piping bag and pipe spider webs on the parchment paper. Allow to sit at room temperature until fully set, or transfer to the refrigerator to set faster. Once set, carefully peel back parchment to release chocolate webs.
Spiced Cream Cheese Frosting:
- Make the frosting: In the bowl of a stand mixer fitted with the paddle attachment, beat the butter and cream cheese together on medium-low speed until smooth and creamy. Reduce speed to low and slowly add the confectioner's sugar, mixing it in until fully incorporated and scraping down the bowl and beater as needed. Add the vanilla, cinnamon, nutmeg, ginger, cloves, allspice, and salt and continue to beat until smooth. Gradually mix in icing color with a rubber spatula until desired color is achieved.
Assembling Cupcakes:
- Transfer frosting to a piping bag fitted with your tip of choice (I used Ateco 827) and pipe frosting onto cooled cupcakes. Top each frosted cupcake with a chocolate spider web before serving.
Notes
Ingredient notes:
- All-purpose gluten-free flour can be used in this recipe to make gluten-free cupcakes.
- White vinegar can be substituted with apple cider vinegar.
- If using salted butter, reduce the salt in the cupcakes to ¼ teaspoon and consider skipping the added salt in the frosting entirely.
If you have extra batter:
- You may have a very small amount of extra batter after filling the 12 muffin cups. If you overfill them, you'll end up with slightly misshapen cupcake tops. Instead, you can bake any extra batter in a free-standing cupcake liner or a second muffin pan.
Piping tips:
- I find it helpful to pipe the webs by doing the straight lines first - almost as if you were drawing a snowflake or an asterisk sign - and then piping the curved lines to connect the straight ones.
Storing cupcakes:
- Store cupcakes in an airtight container in the refrigerator for up to 1 week.
Cupcake recipe adapted from Pinch My Salt, originally from Country Living.
This recipe was originally published in 2013 and has since been updated with new photos and enhanced instructions.

sandra
You are so creative! I think your recipes are awesome.
Marie Rose
magnifique ! n'hésite pas à participer à ce concours
http://www.750g.com/creez-votre-cupcakes-personnalise-au-pere-noel-a12525.htm
Jamie@Milk 'n' Cookies
The spiderwebs topping these cupcakes are amazing! What a great idea -- can't wait to try it out. And I love that you incorporated a little pumpkin into these cupcakes. It's a perfect way to keep the cupcakes moist without adding a lot of fat. Thanks for the inspiration!
Consuelo @ Honey & Figs
I wish I could make cupcakes this beautiful! They look spectacular and your pictures are gorgeous :D
Nora @ Buttercream Fanatic
These look seriously good - not just adorable but I'm sure they taste delicious too!
Shikha @ Shikha la mode
I really want to make these, but I'm not sure how to make the spider webs. I only have a limited amount of piping tips and I'm not sure I have the one you're talking about! Suggestions?
alexandra
Any small round piping tip will work for the spiderwebs; I have a link to the one I used in the notes section of the recipe if you want to see a photo. Otherwise, you could probably use a ziploc-type bag with a very small section of the tip cut off, or a piping bag with only the very tip cut off to make a small hole. Hope that helps!
Laura (Tutti Dolci)
I love the spiderweb topper!