
Learn how to properly grease, flour, and parchment-line a cake tin for easy breezy cake removal, every time.
There's a famous quote about preparation you might've stumbled across a time or two. "By failing to prepare, you are preparing to fail." (It's a Benjamin Franklin one, by the way.) Granted the Founding Father probably wasn't talking about baking a cake when he said this. But hey, the statement still rings true here. If you've ever poured cake batter directly into an ungreased, unlined pan, you know what kind of disaster ensues. Your cake comes out of the oven absolutely STUCK to the pan. By the time you get it out, you either have a pan that may never come clean, or a cake that's more suited for being mashed into cake balls than frosted and decorated. So it's true; by failing to properly prepare your cake pans, you're preparing for a failure of a cake.
The good news? Preventing the aforementioned disaster is easy. In less than five minutes, you can have your cake pans greased, floured, and lined with parchment, and totally prepared for any cake batter that comes their way.

Jump to:
Why cake pan preparation is important
Here's the thing: just because a cake recipe is good, that doesn't mean you're in the clear. Even the best of cakes can stick to your pans when they come out of the oven; it all depends on the type of pans you use, the moisture level of the cake, and other recipe factors. So the way I see it, why leave things to chance? You can put in the work baking a cake and pray to the cake gods that it comes out cleanly, or you can take a few extra minutes to properly grease, line, and flour your cake pans and be assured your cakes will slide right out.
This is a straightforward method that works for nearly any cake baked in a round pan, so there's really no reason not to follow it.
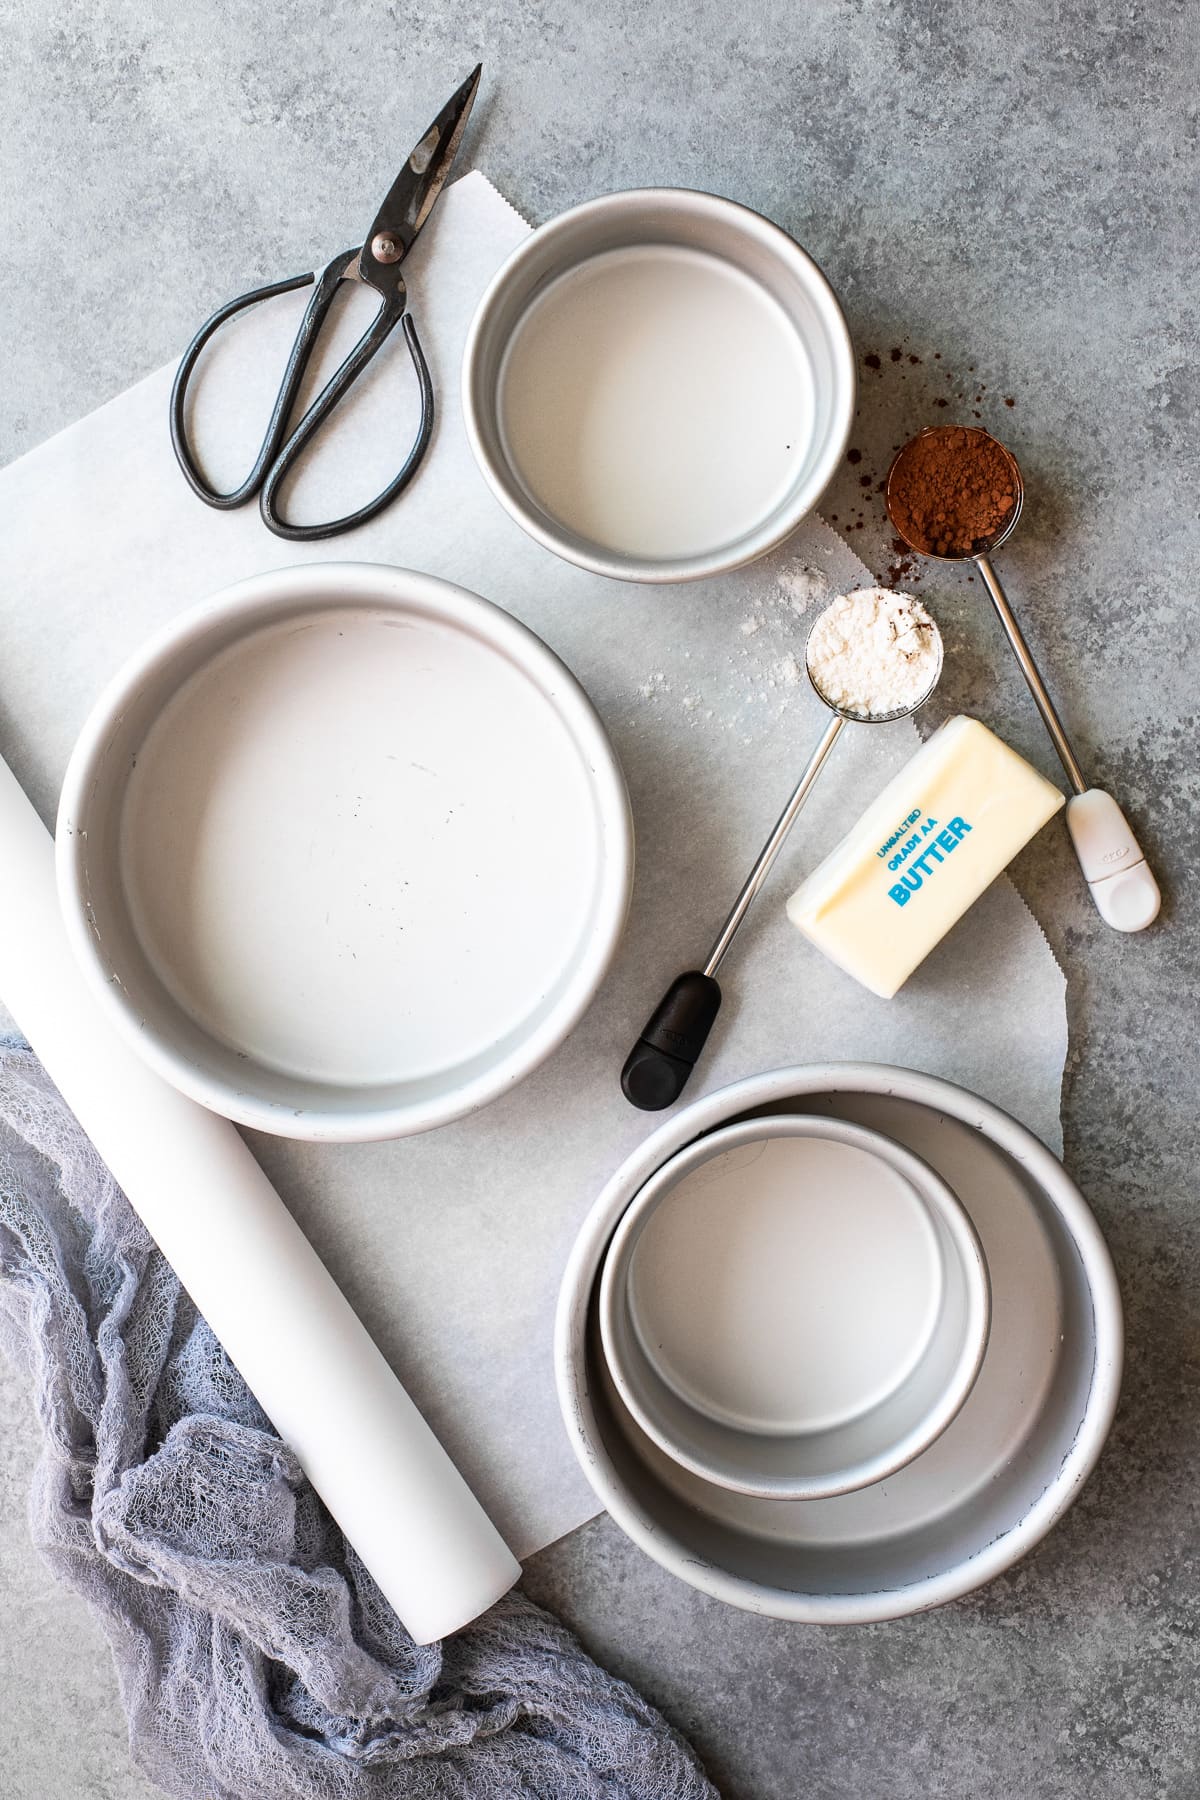
What you'll need
- round cake pans
- parchment paper or parchment circles
- scissors (to cut your own parchment circles)
- butter or shortening
- flour (or unsweetened cocoa powder, for chocolate cakes)
- small mesh strainer or dusting wand (optional, but recommended)
Instructions
Time needed: 5 minutes
Prepping and lining a cake tin in 3 easy steps:
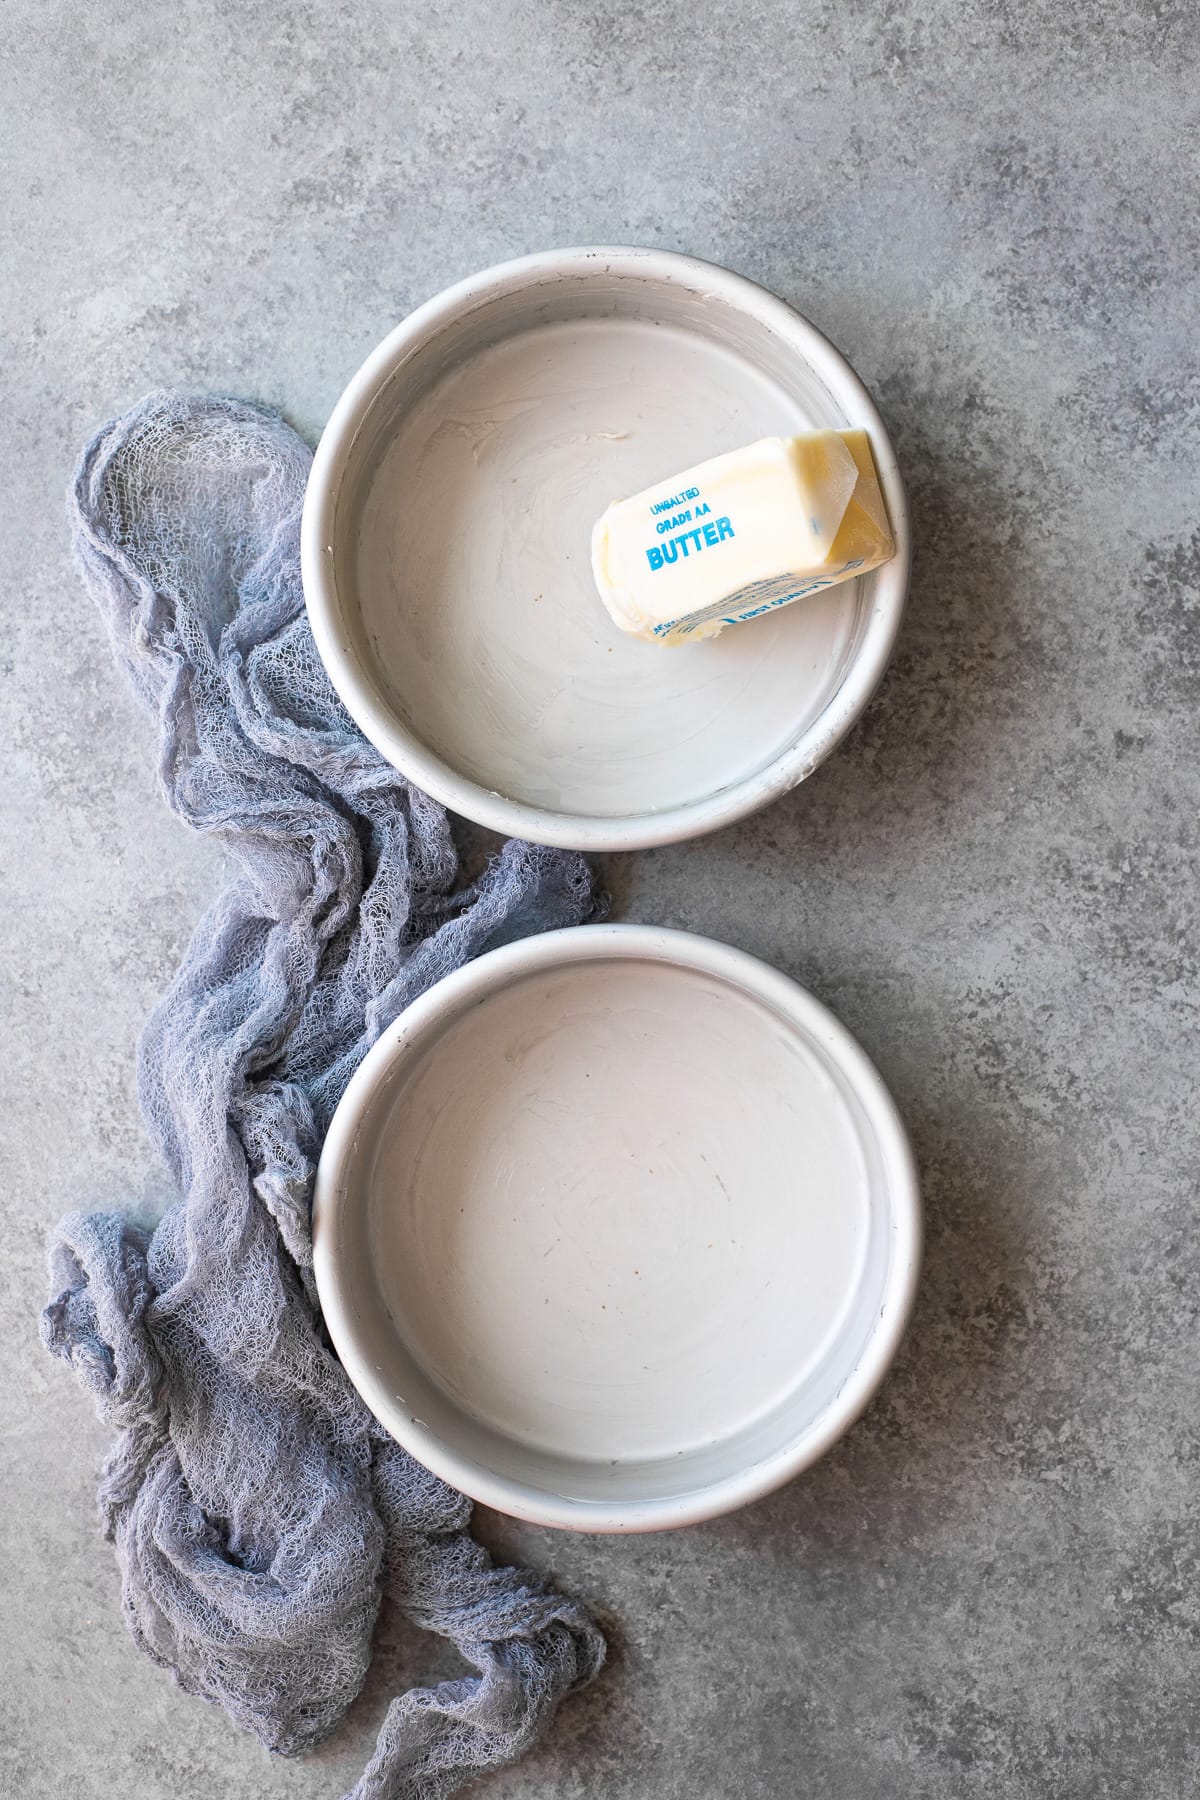
- Grease the cake pan:
Using cold or lightly softened butter - or shortening - grease the bottom and sides of your cake pan. Be sure to cover the entire surface, all the way into the inner edge, as best as possible. You only need a thin layer here, so don't overdo it.

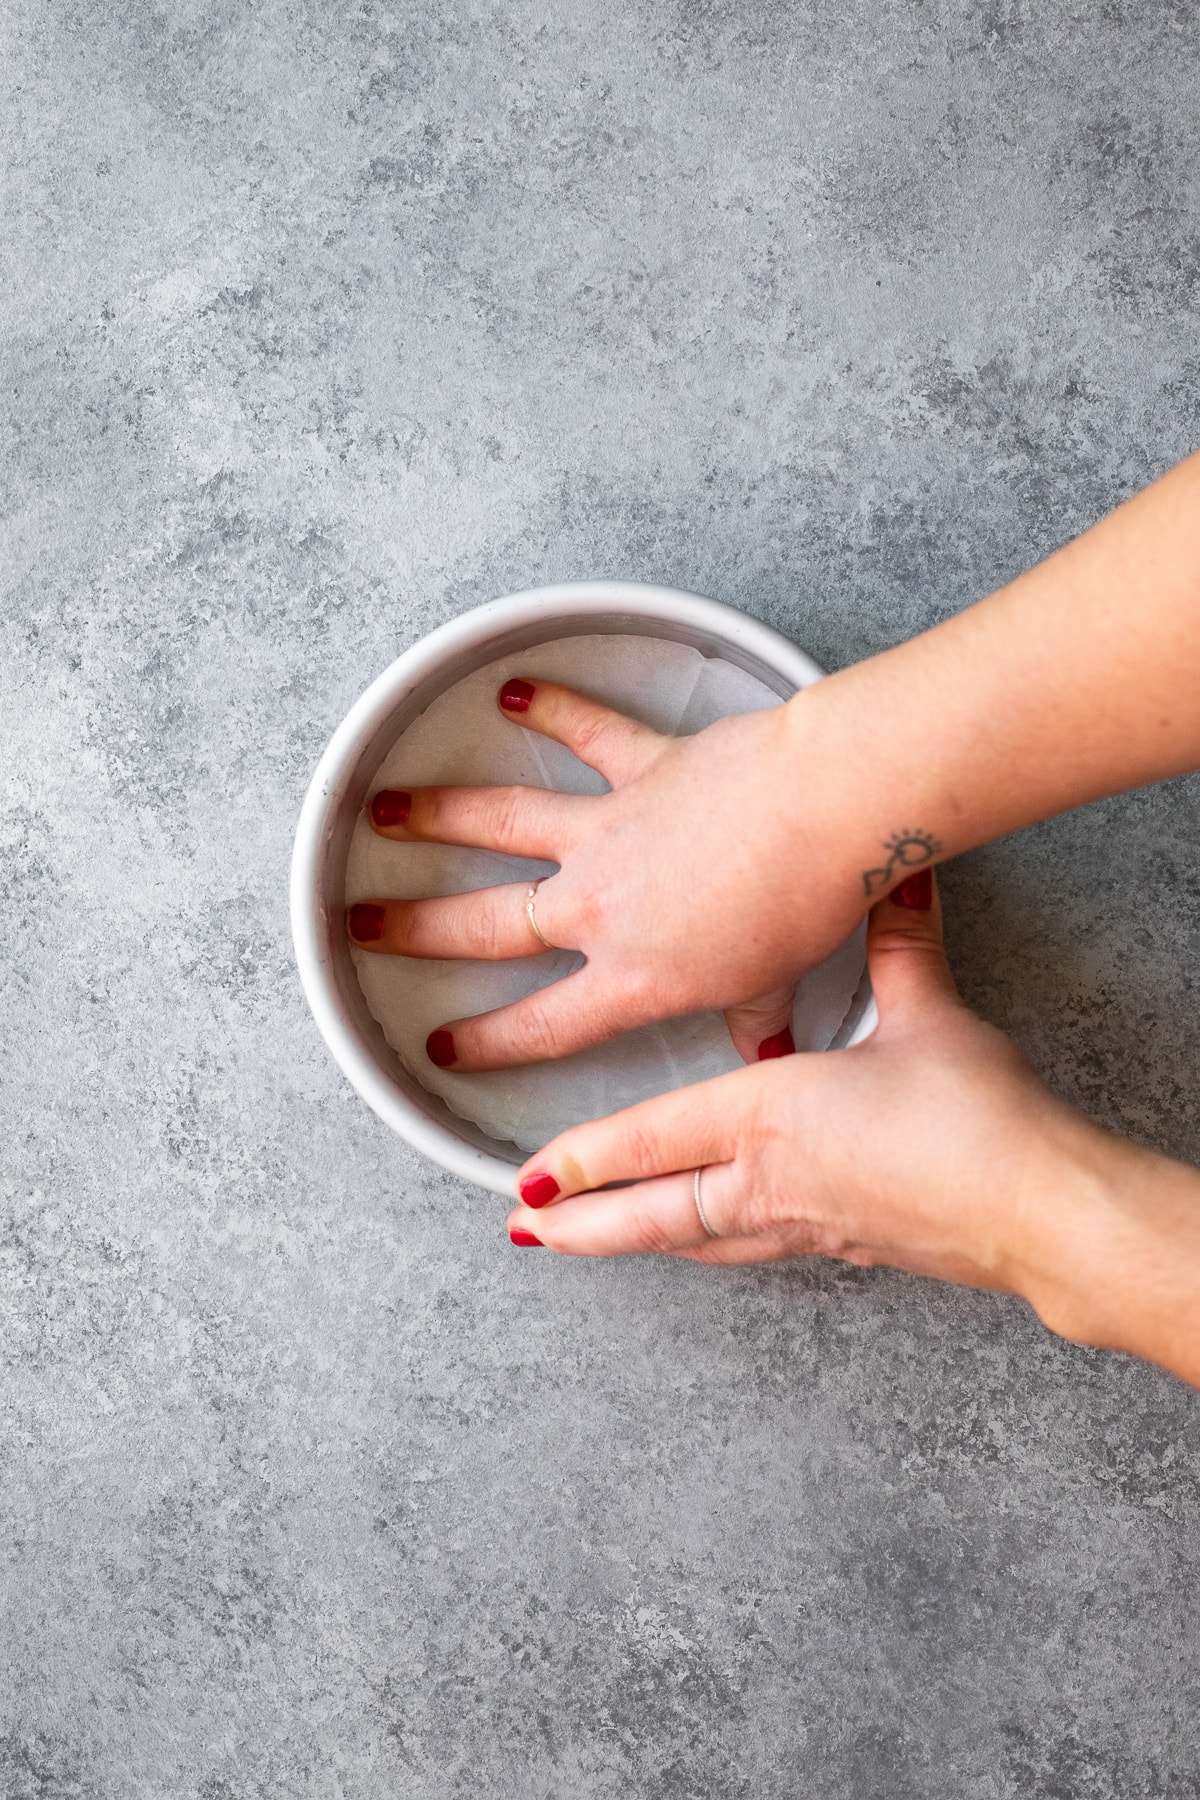
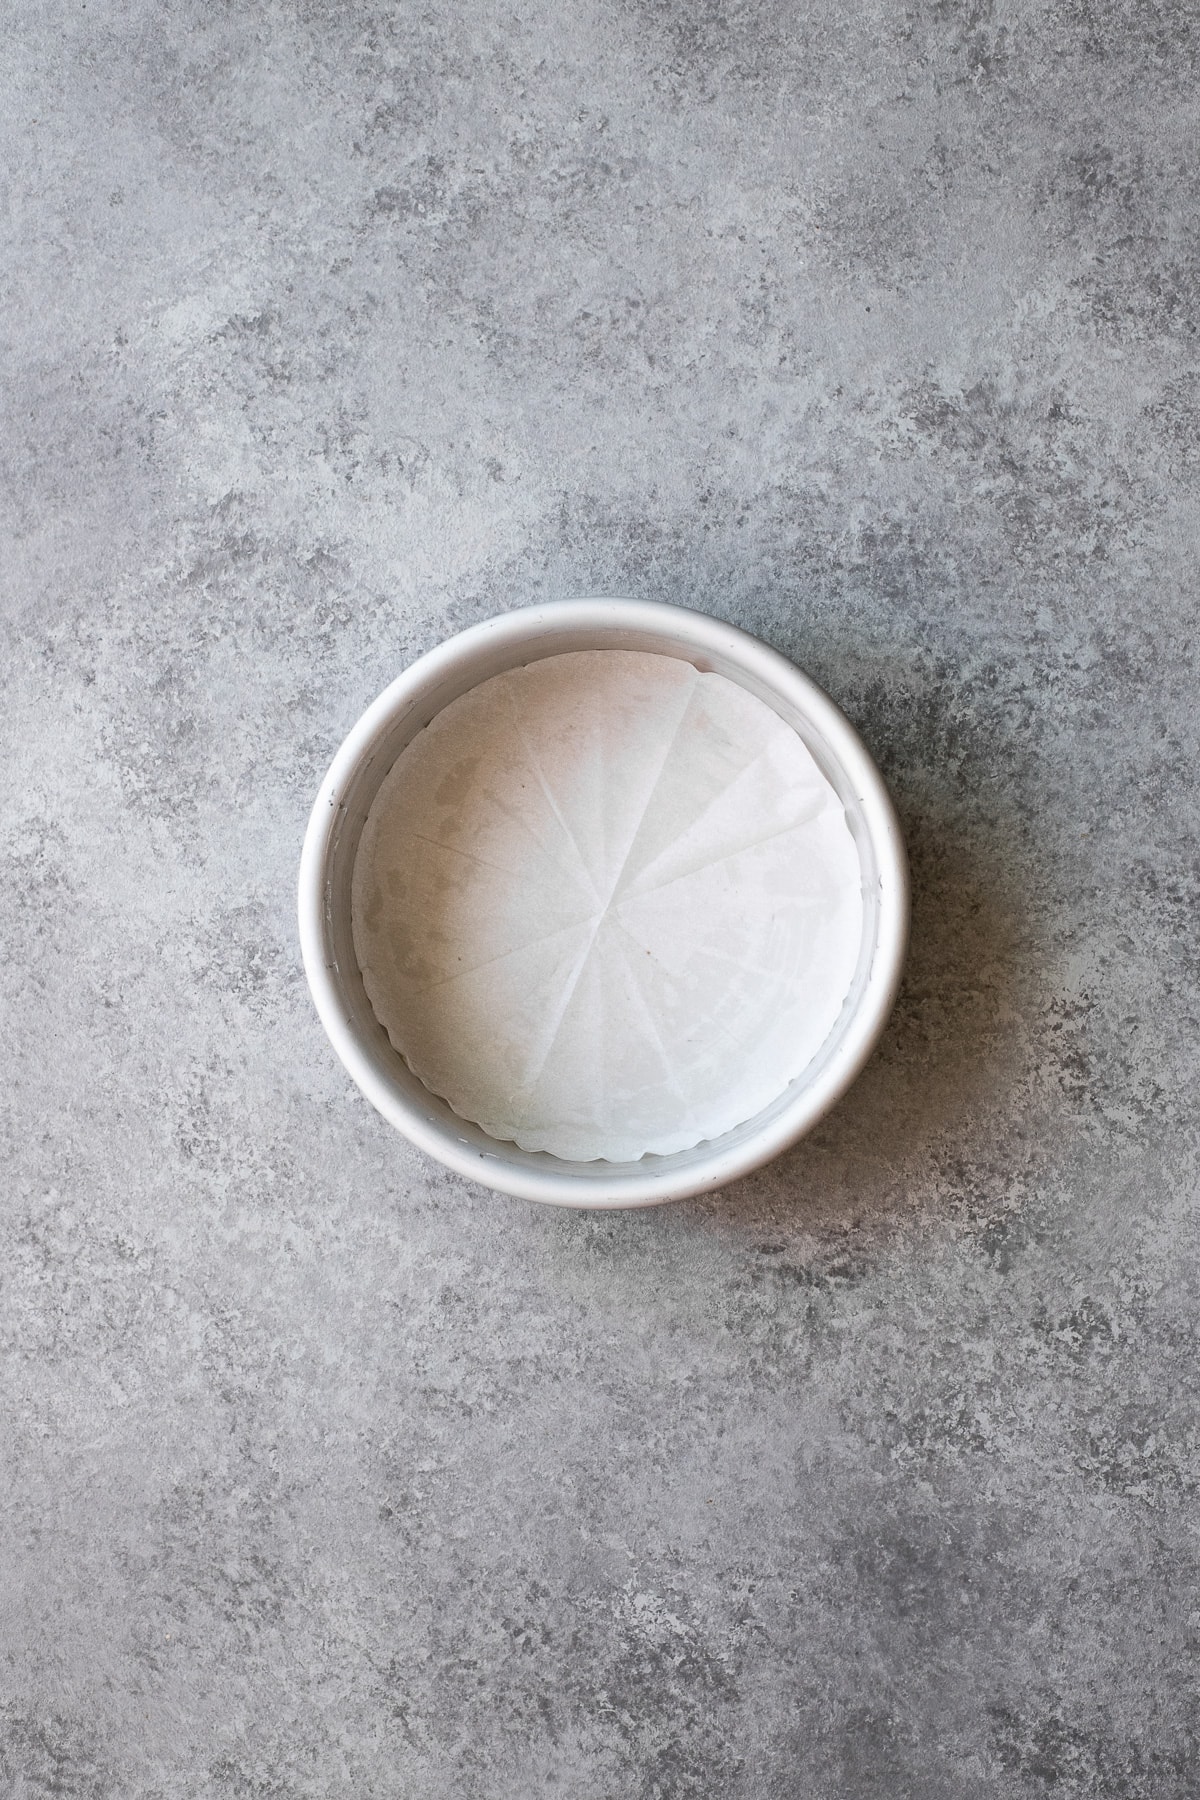
- Line with parchment:
Press a parchment round into the bottom of your pan; the grease should help it stick.
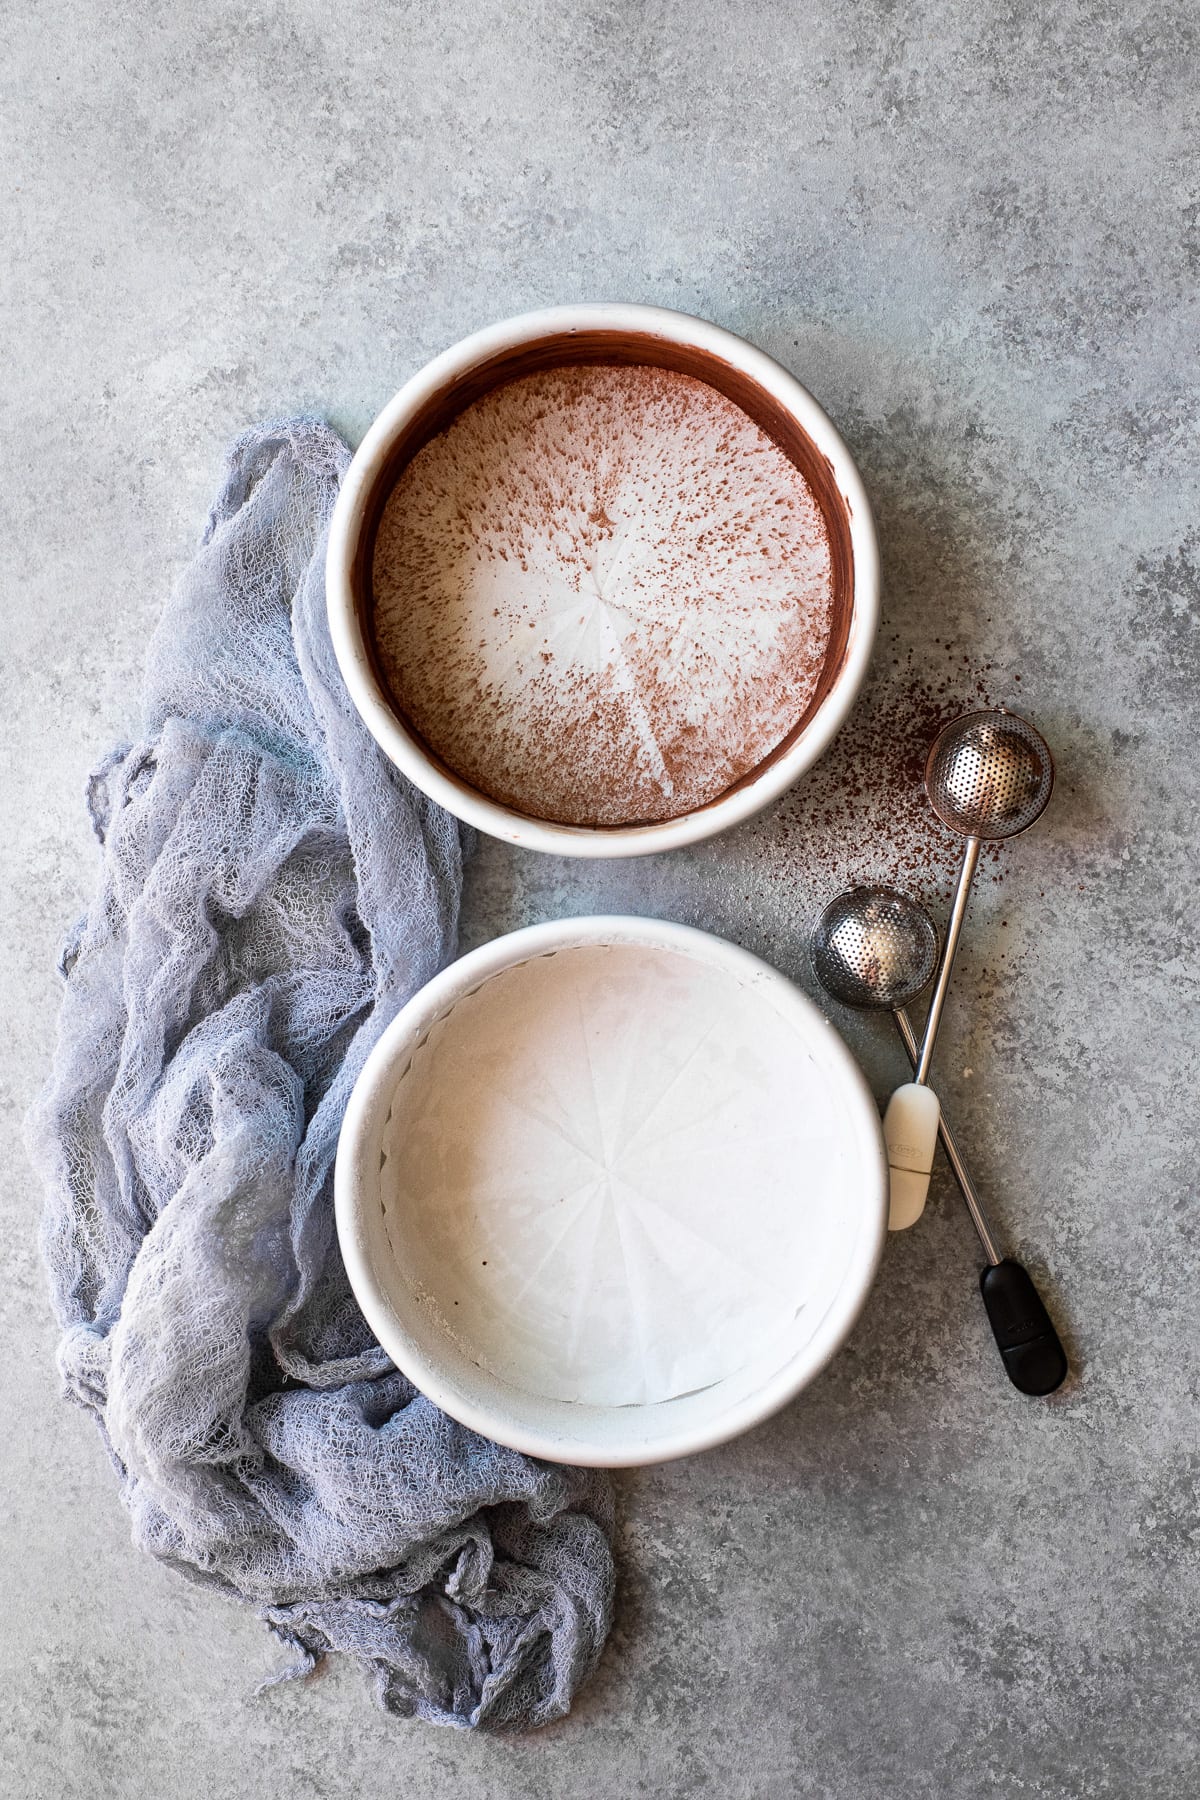
Tip: You can buy pre-cut parchment cake rounds to fit most any size pan, or cut your own rounds out of a regular sheet of parchment. - Dust with flour or cocoa powder:
The final step is to "flour" your cake pan. I use that word loosely because you can actually use cocoa powder here too if you're baking a chocolate cake. In fact, cocoa is preferable in that case, since it'll be less visible once the cake is fully baked.
Whichever you use, just scoop a bit into a small mesh strainer or dusting wand and dust it onto the sides of the cake tin. Then, tap out the excess over your sink, so you're left with just a thin coating around the entire circumference of the pan.
Tip: If you don't have a strainer or dusting wand, you can just sprinkle the flour/cocoa powder into the pan with your hands. BUT, I highly recommend picking up one of these tools. They're inexpensive, make the job much easier, and also come in handy for dusting finished desserts (like this financier cake) with powdered sugar or cocoa powder.
Removing cakes from pans
If you've followed the steps above and taken the time to grease, line, and flour your cake tins, the cake removal process is bound to be a breeze. You shouldn't need to do anything more than simply turn your pan over, and perhaps give the bottom a quick tap. That being said, in some cases, you may need to gently loosen the sides of the cake from the pan with an offset spatula first.
As a general rule of thumb, I usually let my cakes sit in their pans, set over a wire rack, for about 30 minutes. Then I turn them directly onto the rack to finish cooling.
Cake pans I recommend
Aside from properly preparing and lining your cake tins, the best thing you can do to prevent cake from sticking is to invest in good pans. This is a 2-for-1 deal - a good pan will also help your cakes bake more evenly and prevent them from over-browning. I recommend a high-quality, heavy-duty pan with a light finish. Fat Daddio's anodized aluminum pans are my go-to.
FAQ
In my opinion, it doesn't hurt to grease, flour, and line your tins for any recipe baked in a round cake pan. These are typically the only recipes where you'll need to remove your cake from its pan in one piece, which is when things tend to get dicey if you're not prepared.
It might not always be necessary, but it certainly won't hurt. Unless you've made the recipe before in the same pan without a problem, you might as well cover all your bases. What's worse, spending 2 extra minute prepping your pans, or 60 extra minutes repeating the entire recipe a second time if things literally fall apart?
In rare instances, I've used a light coating of non-stick spray on my pans, or rubbed them with cooking oil, but I personally prefer using butter. It's a cleaner process, and helps your parchment and flour/cocoa powder stick better than oil.
Cake recipes you'll love
Now that you absolutely know you've prevented any and all cake-sticking issues, it's time to bake cake! Here are a few of my favorite recipes:
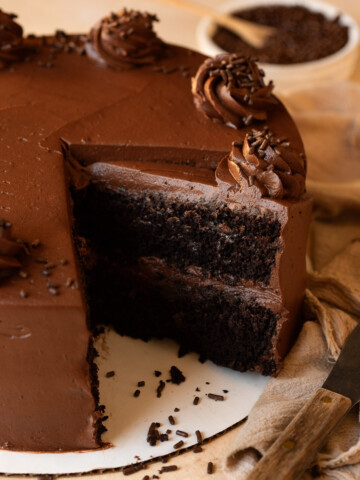
- Let's start with the classics: this chocolate fudge cake recipe is the best of the best. It's incredibly rich and moist and absolutely PACKED with chocolate flavor.
- This triple-layer brown butter cookie dough layer cake is BEYOND good. Three layers of rich, espresso-laced chocolate cake, brown butter brown sugar frosting, and big chunks of edible cookie dough on top - it's impossible to overhype this one.
- When the holidays come around, this boozy chocolate peppermint layer cake is a must-make. It's studded with candy cane Kisses and frosted with an incredible vodka-spiked white chocolate buttercream. And don't take boozy lightly - you may catch a buzz from a thick slice!
- If you're a fan of the classics, this mini funfetti cake with chocolate cake batter buttercream will make your heart happy.
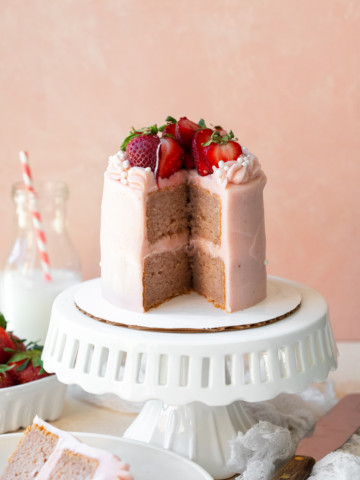
- If I ever recommend a cake that doesn't involve chocolate, you've gotta know it's stellar. This strawberry layer cake is made completely from scratch. It uses roasted strawberries for intense, juicy flavor, and has a frosting that tastes like a milkshake.
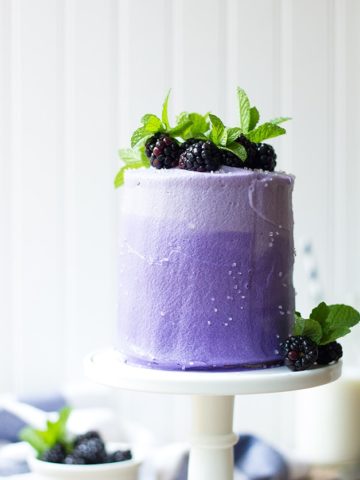
- Also berry-forward - and also perfect for spring and summer - is this chocolate-vanilla marble cake. It has the most vibrant purple ombré frosting made with fresh blackberries and cream cheese.
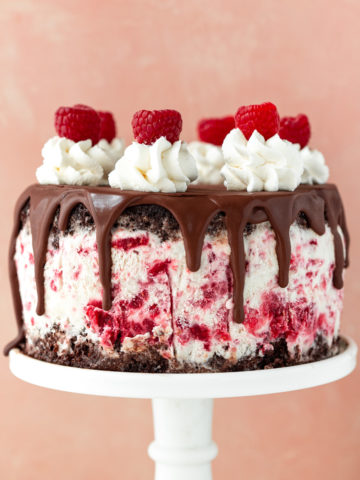
- And obviously, there's the cake that's not just cake. This chocolate raspberry ice cream cake has a little something for everyone. It's a rich chocolate cake, with smooth vanilla ice cream, and a sweet, fruity raspberry swirl.


Jo
Your tips were very helpful, Thank you. Sharing this to my friends!
Sarah Baumeister
"flouring" the pan with cocoa powder is legit genius! Thanks for that tip.
alexandra
Yes! It works so well and disappears into the cake once it's baked so you're not left with any white "dust" on the sides. ;)
Biana
Thank you for sharing all these tips! I love being able to easily be able to get the cake out of the pan, so these are the ideas that I need.
Sandra
Bravo. These are wonderful tips. Thank you for sharing!
Anjali
Thank you so much for these helpful tips!! I have had problems in the past with my cake sticking to my pan, so I'm hopeful with your post I'll achieve a perfect cake every time!
Emily Liao
This was a great rundown! Loved all the tips in ithis post.