
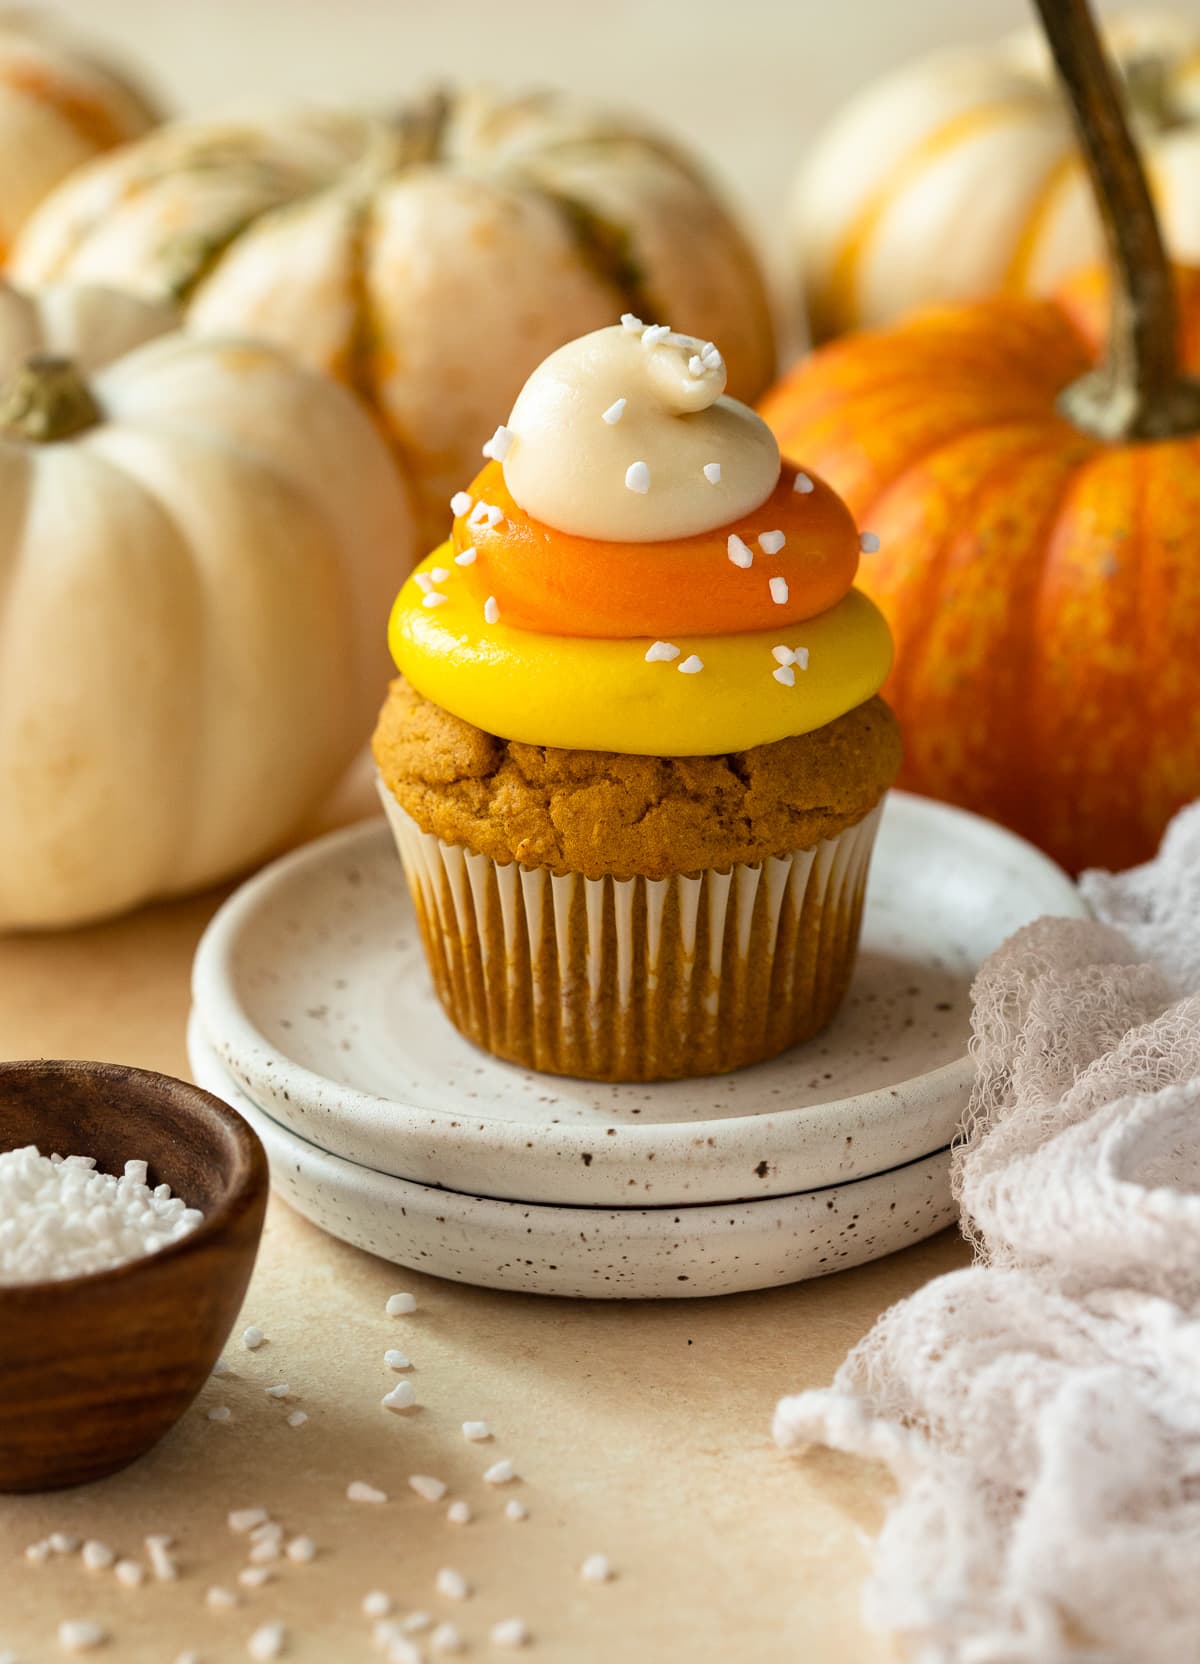
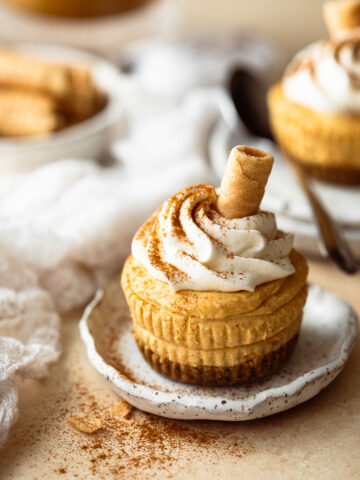
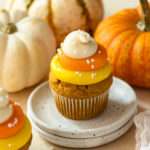
These soft and moist pumpkin cupcakes are cozied up with warm spices and topped with a tangy cream cheese frosting that's colored to resemble candy corn. This easy recipe is gluten-free friendly and perfect for fall - especially Halloween and Thanksgiving!

If you're looking for an easy Halloween treat, these pumpkin spice cupcakes are it! In the same vibe as my favorite spider web cupcakes, these are just as festive as they are delicious with their soft, tender texture, silky cream cheese frosting, and candy corn aesthetic. And when Halloween is over, skip the colored frosting for a dessert that's perfect for the remainder of the fall season!
Jump to:
Why you'll love this recipe
- It's surprisingly simple. There's only about 45 minutes of hands-on time required, and you won't even need to pull out your mixer until it's time to make the frosting (because washing bowls mid-bake is the worst!)
- It's festive, without sacrificing on flavor. Is it just me, or are the cutest desserts too often the most disappointing to eat? Not this one! These Halloween-y pumpkin cupcakes may look like candy corn, but they taste like nothing but warm pumpkin spice flavor and tangy-sweet cream cheese buttercream frosting. Of course, if you do happen to love candy corn, feel free to use it as a frosting garnish!
- It's versatile. Want to skip the candy corn vibes? Go for it! Leave the cream cheese frosting uncolored to make a classic pumpkin spice cupcake that's perfect for any fall occasion, Thanksgiving included!
- It's easily made gluten-free. Although you could likely swap regular flour in this cupcake recipe if preferred, using a basic gluten-free blend makes these pumpkin cupcakes perfect for serving any friends and family who might be gluten-intolerant.
Ingredients
The ingredient list for these cupcakes is fairly straightforward. Here's what you'll need!
For the pumpkin cupcakes:
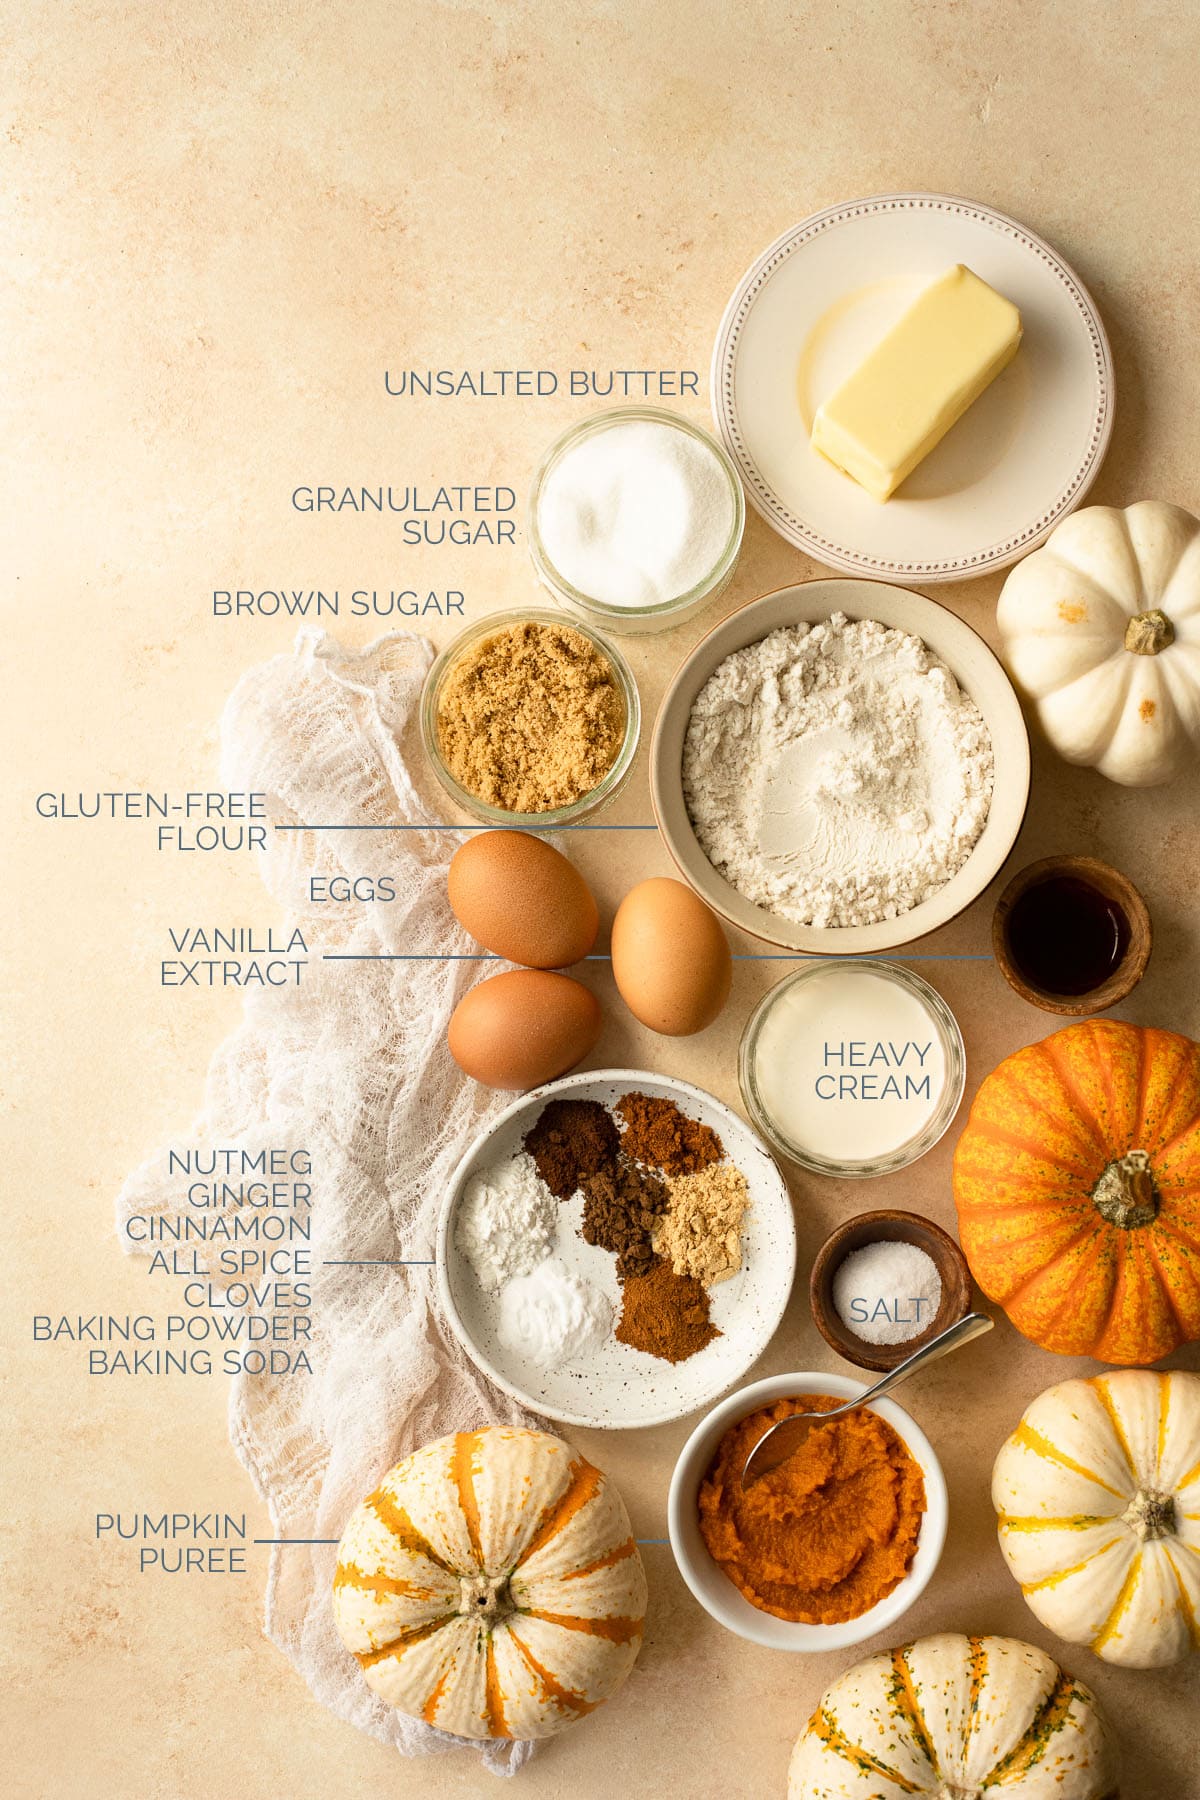
A few things to note:
- Be sure to use an all-purpose gluten-free flour blend that contains xanthan gum.
- Rather than using individual spices in this recipe, feel free to sub them all for a total of 1 ¾ teaspoons of pumpkin pie spice. (Note that this doesn't include salt!)
- When shopping for pumpkin puree, make sure you don't accidentally pick up pumpkin pie filling! Although the cans look similar, they're not the same. Your pumpkin puree should be at room temperature. (Although you could likely use homemade pumpkin puree, I haven't tested it myself!)
- Any type of cream should work for this recipe (light, regular, or heavy). It should also be at room temperature to ensure your batter comes together properly.
- This recipe calls for melted and cooled, unsalted butter. I like to microwave my butter right before I start baking, so that it has enough time to cool off a bit before I need to add it to the batter. If you must use salted butter, I'd suggest cutting back on the salt in this recipe to just ⅛ teaspoon. Oil would likely also work (think melted coconut oil, avocado oil, or even vegetable oil), but you may be sacrificing on flavor a bit.
- Your eggs should also be at room temperature. A quick and easy way to do this is to put them in a cup and fill it with warm water. Then, just let them sit for about 5-10 minutes before you use them.
For the cream cheese frosting:
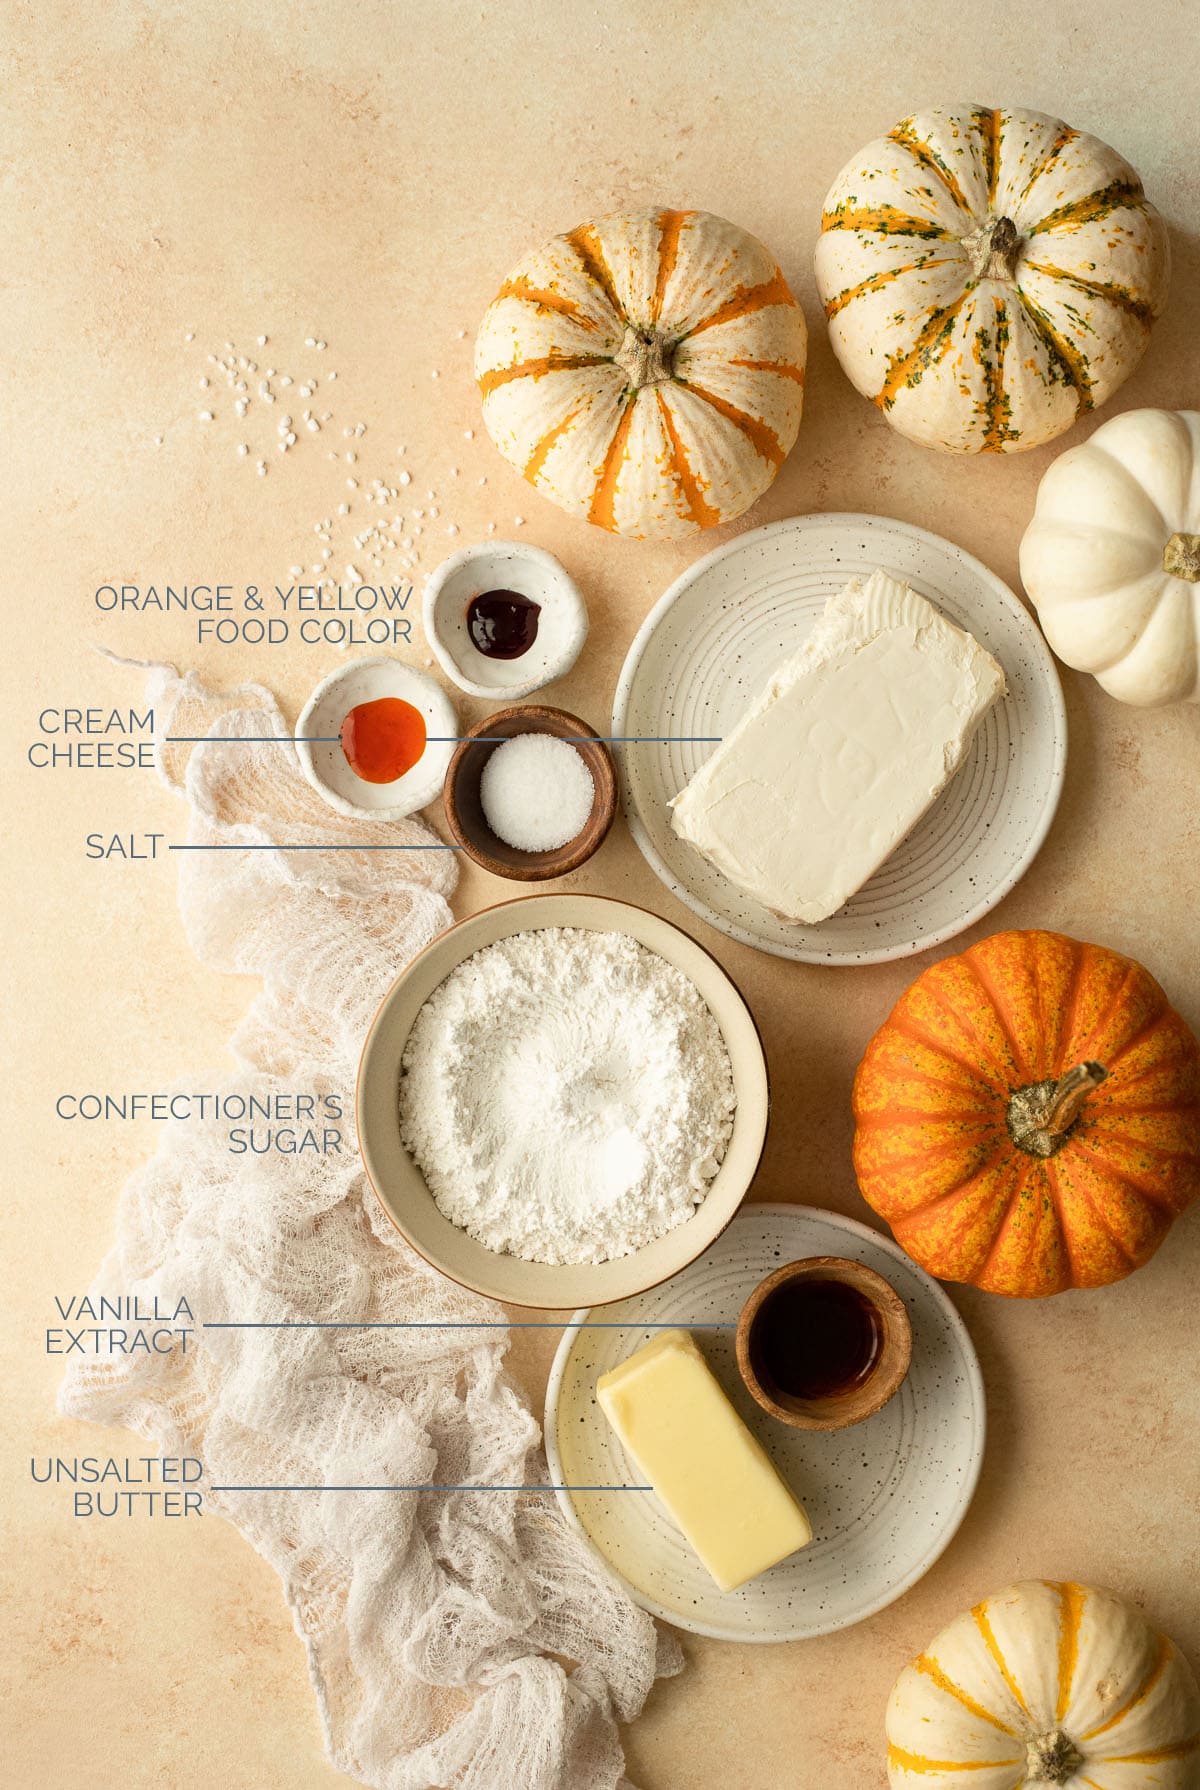
- Your butter should be softened in advance. If you can press a finger into it and make a light indent, it should be good to go. I used unsalted butter, but if you go with salted, just skip the added salt.
- Always use full-fat, block-style cream cheese when making frosting (or really any recipe where you're relying on the cream cheese to help something "set", like a no-bake pie filling). Unlike butter, the cream cheese is best used cold to avoid a runny frosting.
- If you're going all out with the candy corn-colored frosting, gel food color works best; it's vibrant and won't thin out your frosting like a liquid food color might.
- Feel free to get creative with the garnish on these cupcakes! I used sprinkles, but actual candy corn would be fun too.
Step-by-step instructions
Note that the step-by-step photos below were taken while making a half batch of this recipe, so the proportions may look smaller than what you see while baking.
For the pumpkin cupcakes:
These easy, gluten-free pumpkin spice cupcakes come together in minutes - no mixer needed! They're light and tender, perfectly spiced, and not overly sweet, which makes them the perfect base for a heavy layer of cream cheese frosting.
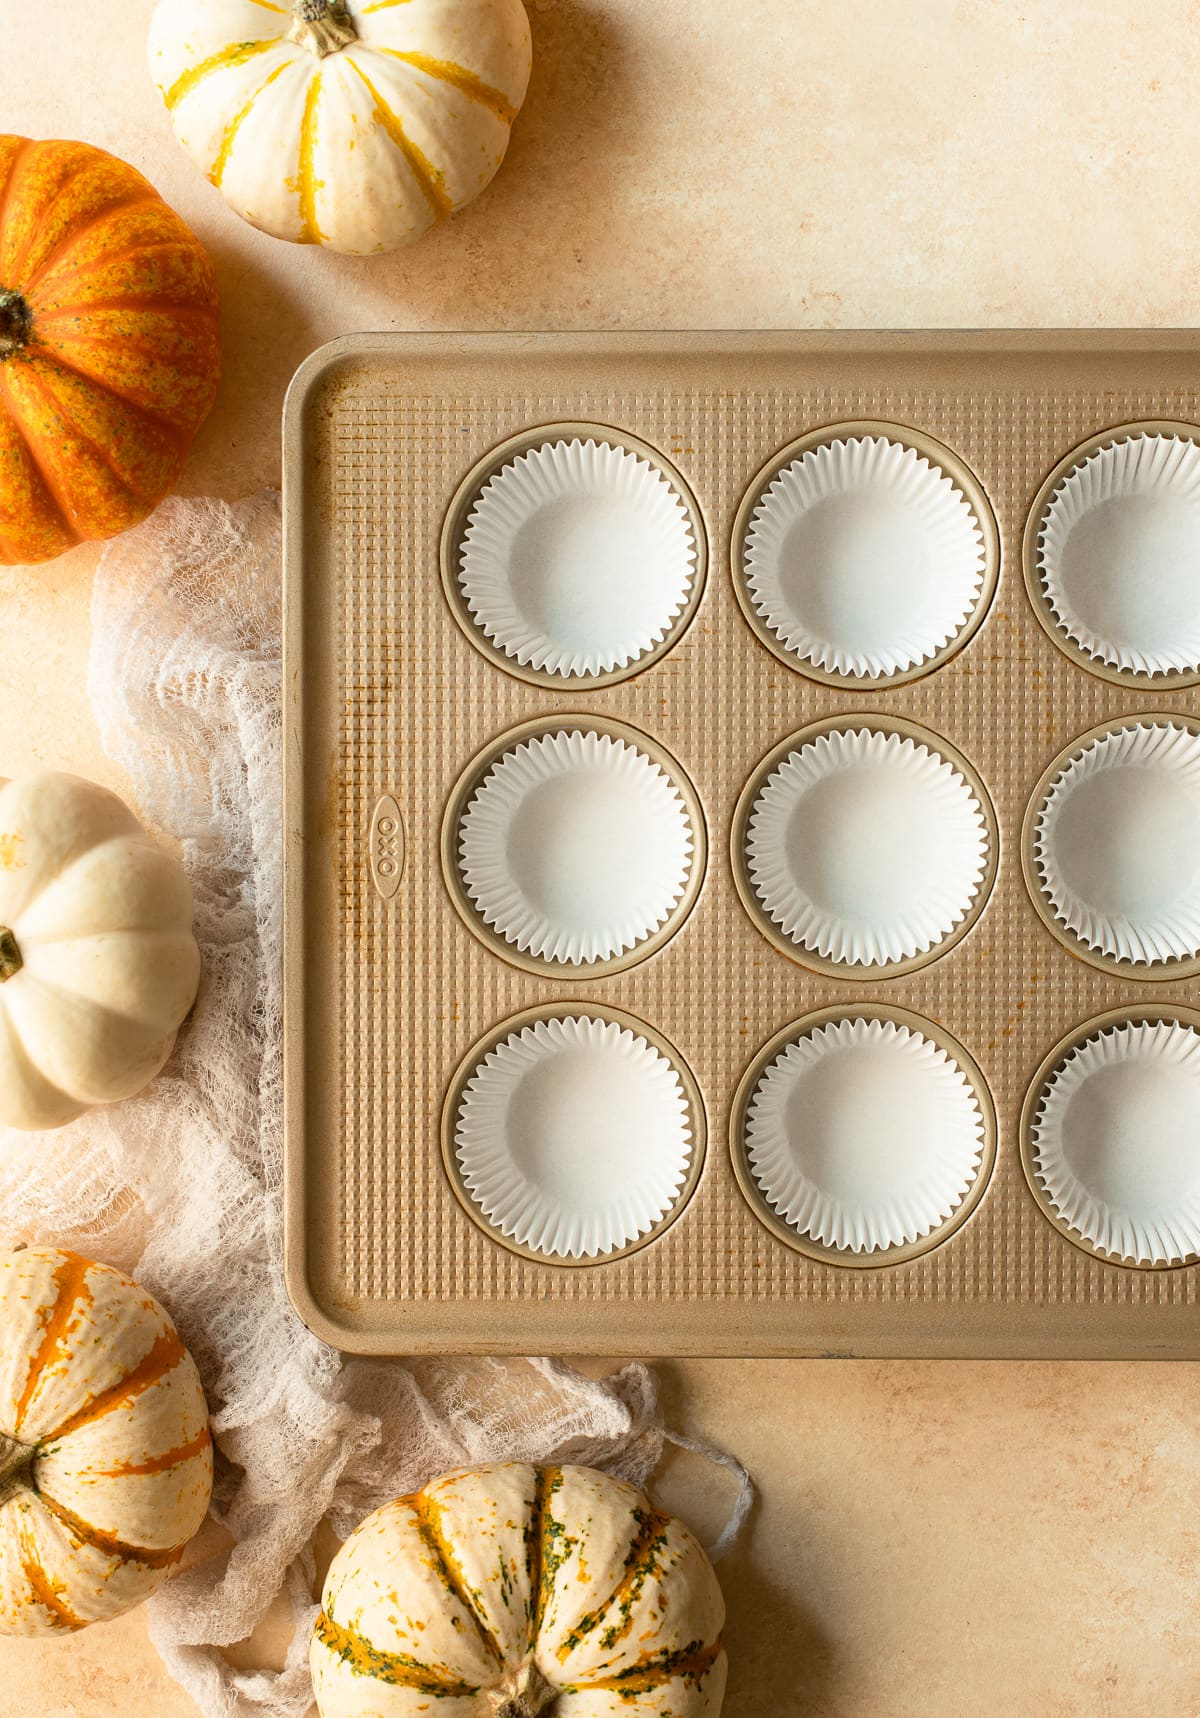
Step one - Oven and pan prep: Preheat your oven to 350ºF and line a standard-size 12-cup muffin pan with paper liners.
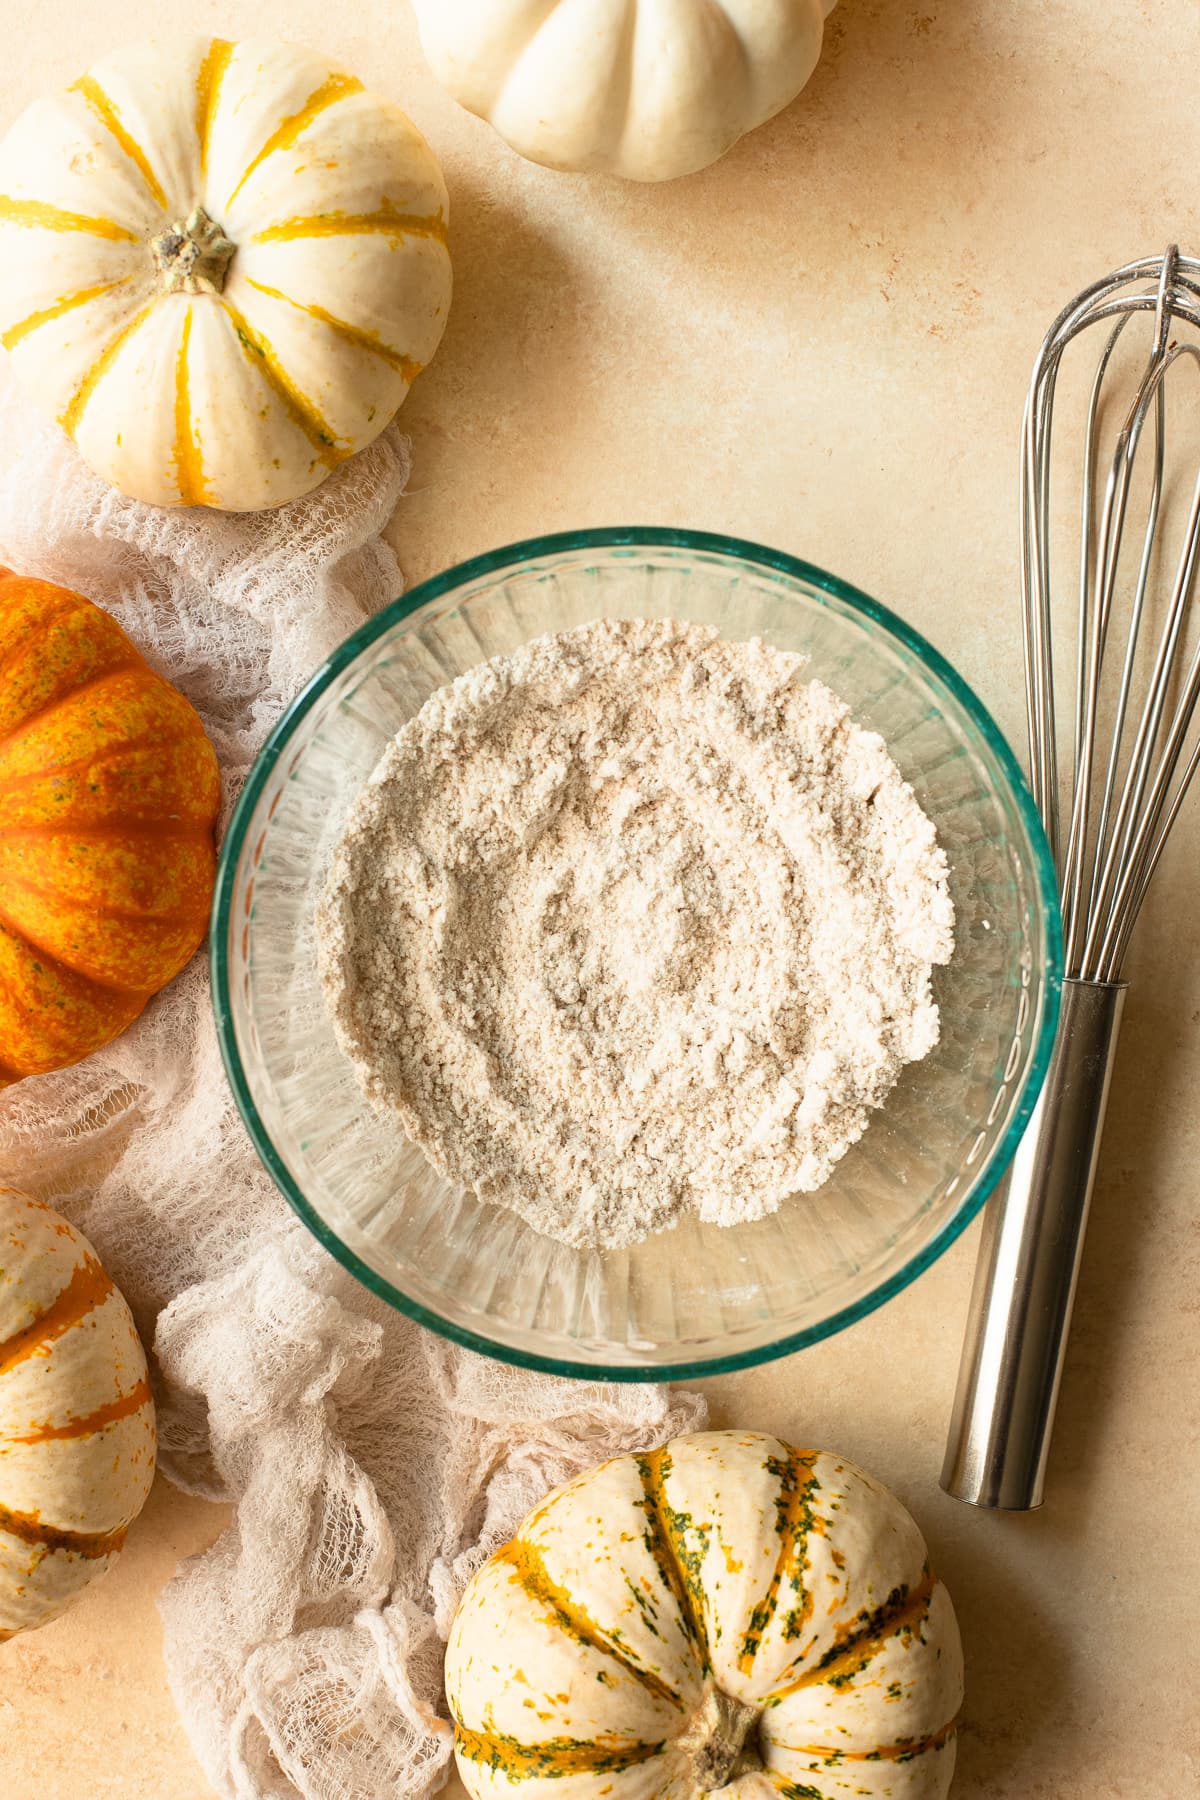
Step two - Mix the dry ingredients. Grab a large mixing bowl and add your gluten-free flour, brown sugar, granulated sugar, baking powder, baking soda, salt, cinnamon, all spice, ginger, nutmeg, and cloves. Whisk them together thoroughly.
Tip! Measuring flour
It's always important to measure your flour correctly, but even more so when it comes to cake and cupcake recipes, where a little too much flour can lead to a dense, heavy cake. I recommend weighing your flour if possible, but if not, use the spoon and level method to make sure you're measuring as accurately as you can.
Step three - Mix the wet ingredients. In a second, medium mixing bowl, whisk together the pumpkin puree and heavy cream until smooth. Keep whisking while you slowly pour in the melted butter. Finally, add your eggs and vanilla extract, and continue to whisk until everything is smoothly and evenly combined.
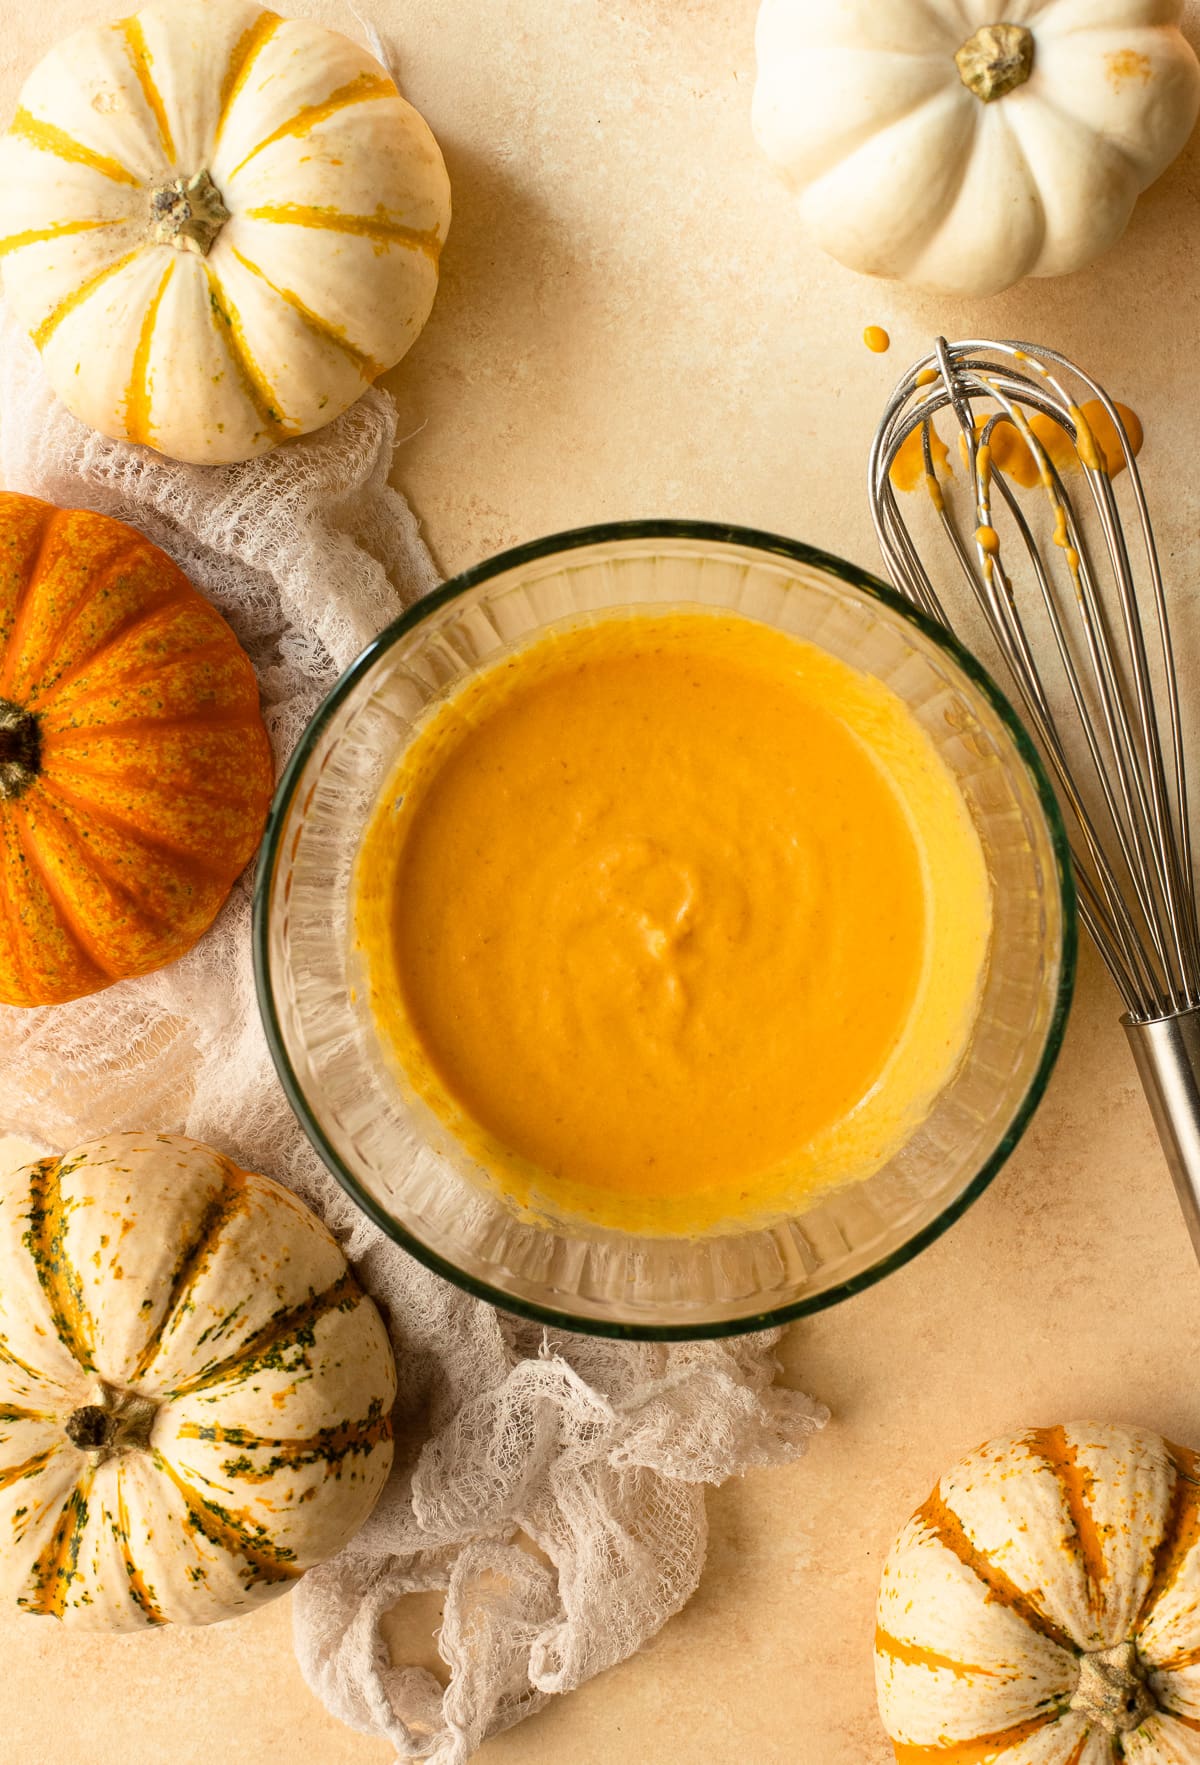
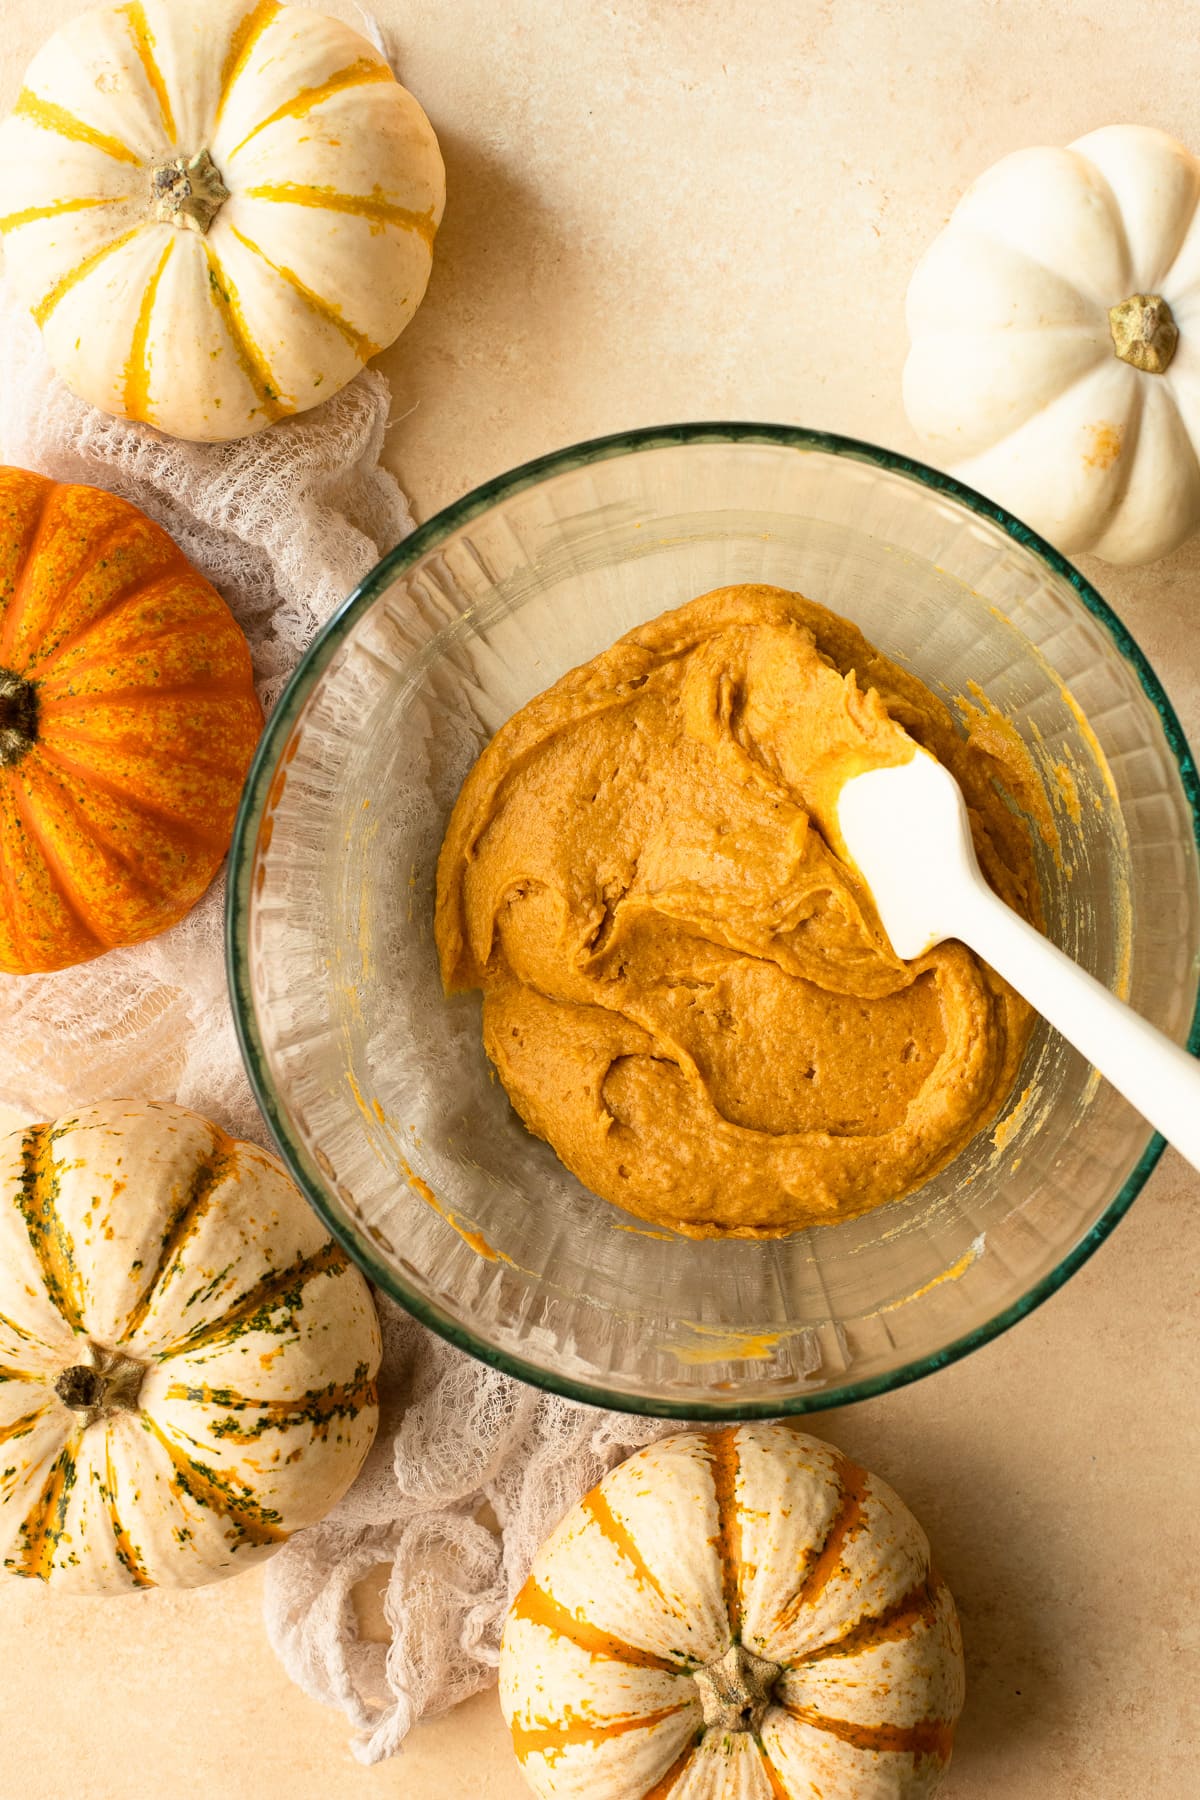
Step four - Combine. Add the wet ingredient mixture to the dry, and fold it in with a spatula just until fully incorporated; avoid overmixing. The batter will be fairly thick.
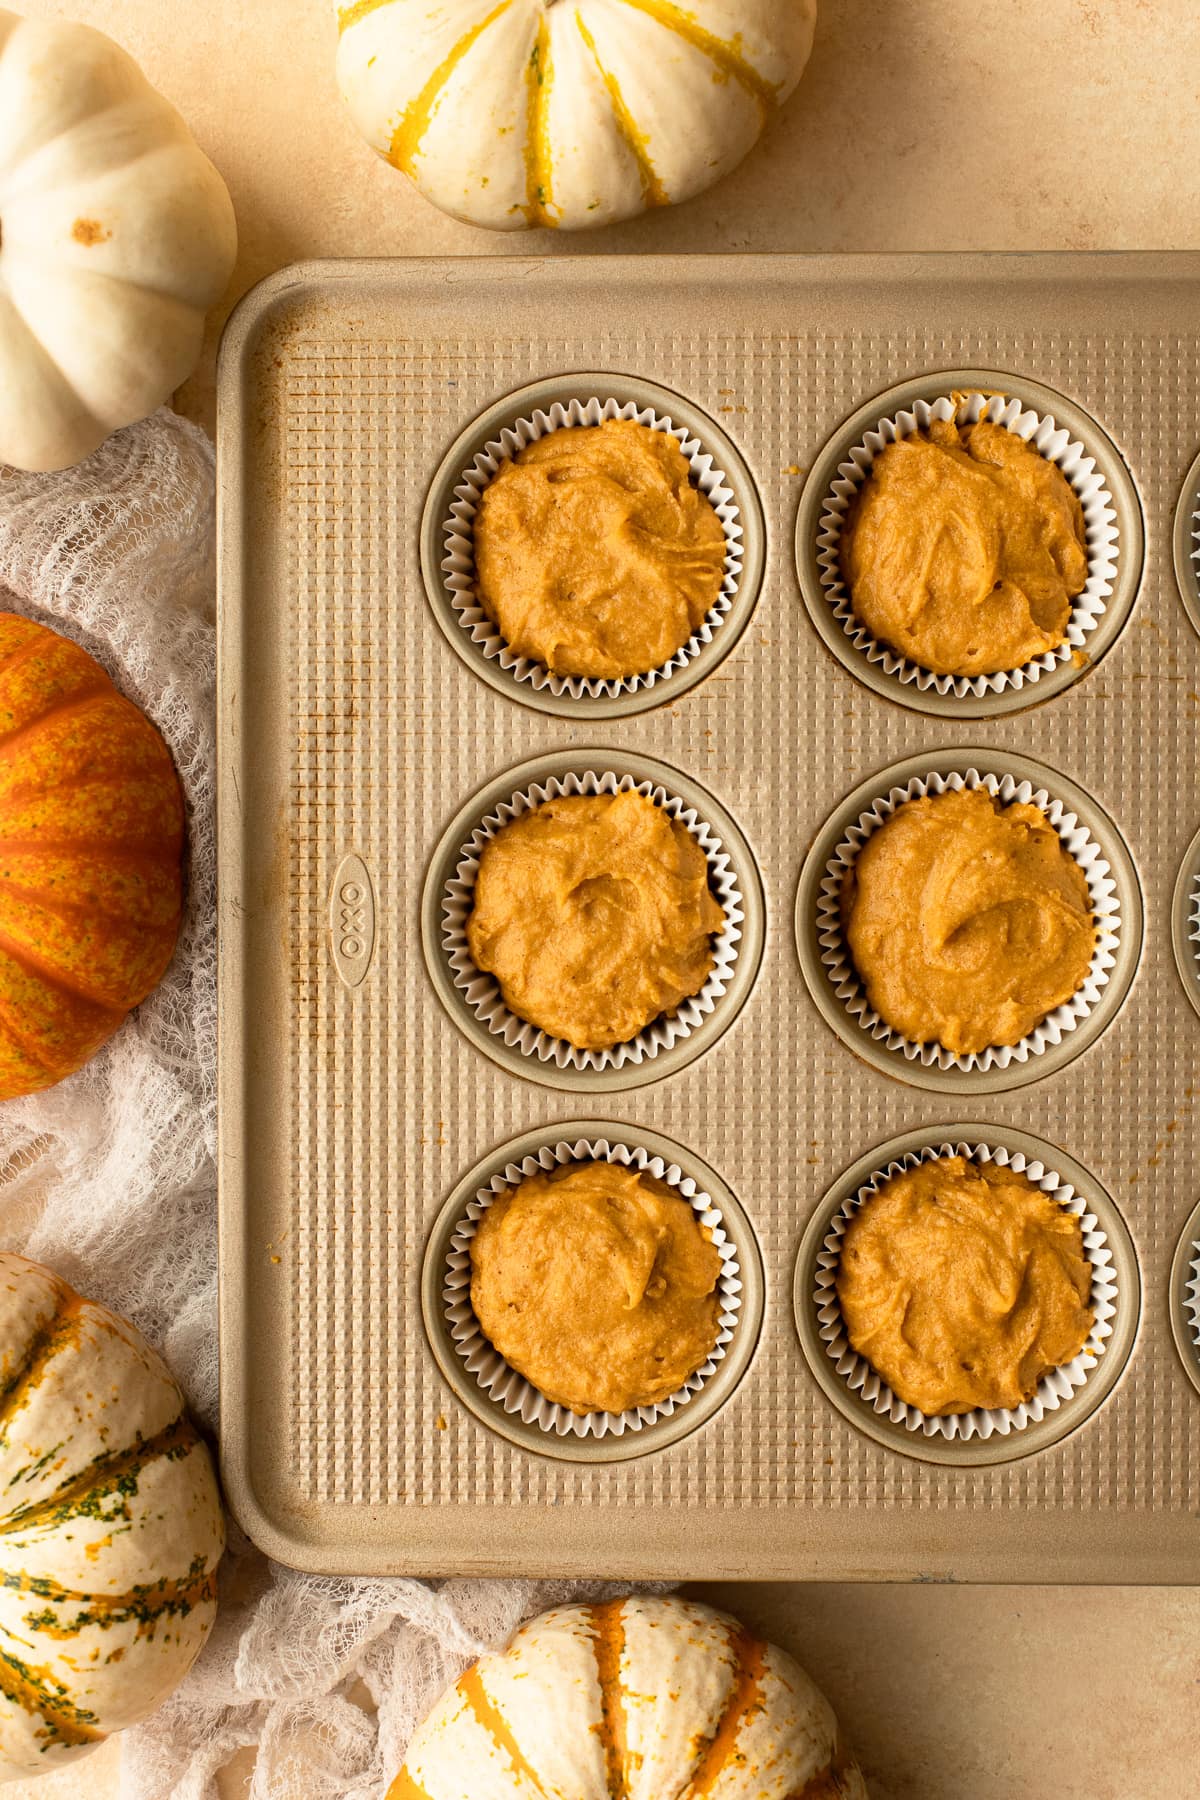
Step five - Bake. Divide your cupcake batter evenly between the 12 lined muffin cups, smoothing the tops out lightly as you go. The muffin cups will be nearly full - this is ok! Bake the cupcakes for 18-22 minutes, until a toothpick inserted into the center of one comes out clean or with just a few moist crumbs (but no wet batter).
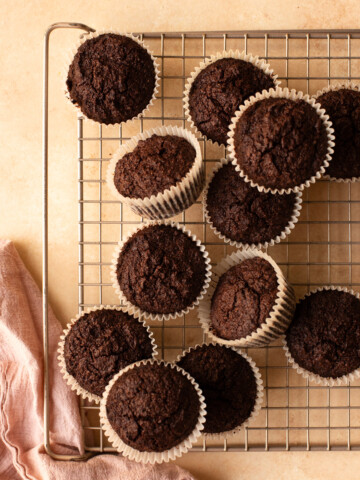
Step six - Cool. Let the cupcakes cool in their pan for about 10-15 minutes before moving them to a wire rack to finish cooling. They should be completely cool before frosting.
For the cream cheese frosting:
This is a classic cream cheese frosting - thick, silky, and perfectly tangy-sweet. You can color one portion of it yellow and another orange to make candy corn cupcakes for Halloween, or leave it uncolored for an everyday fall cupcake.
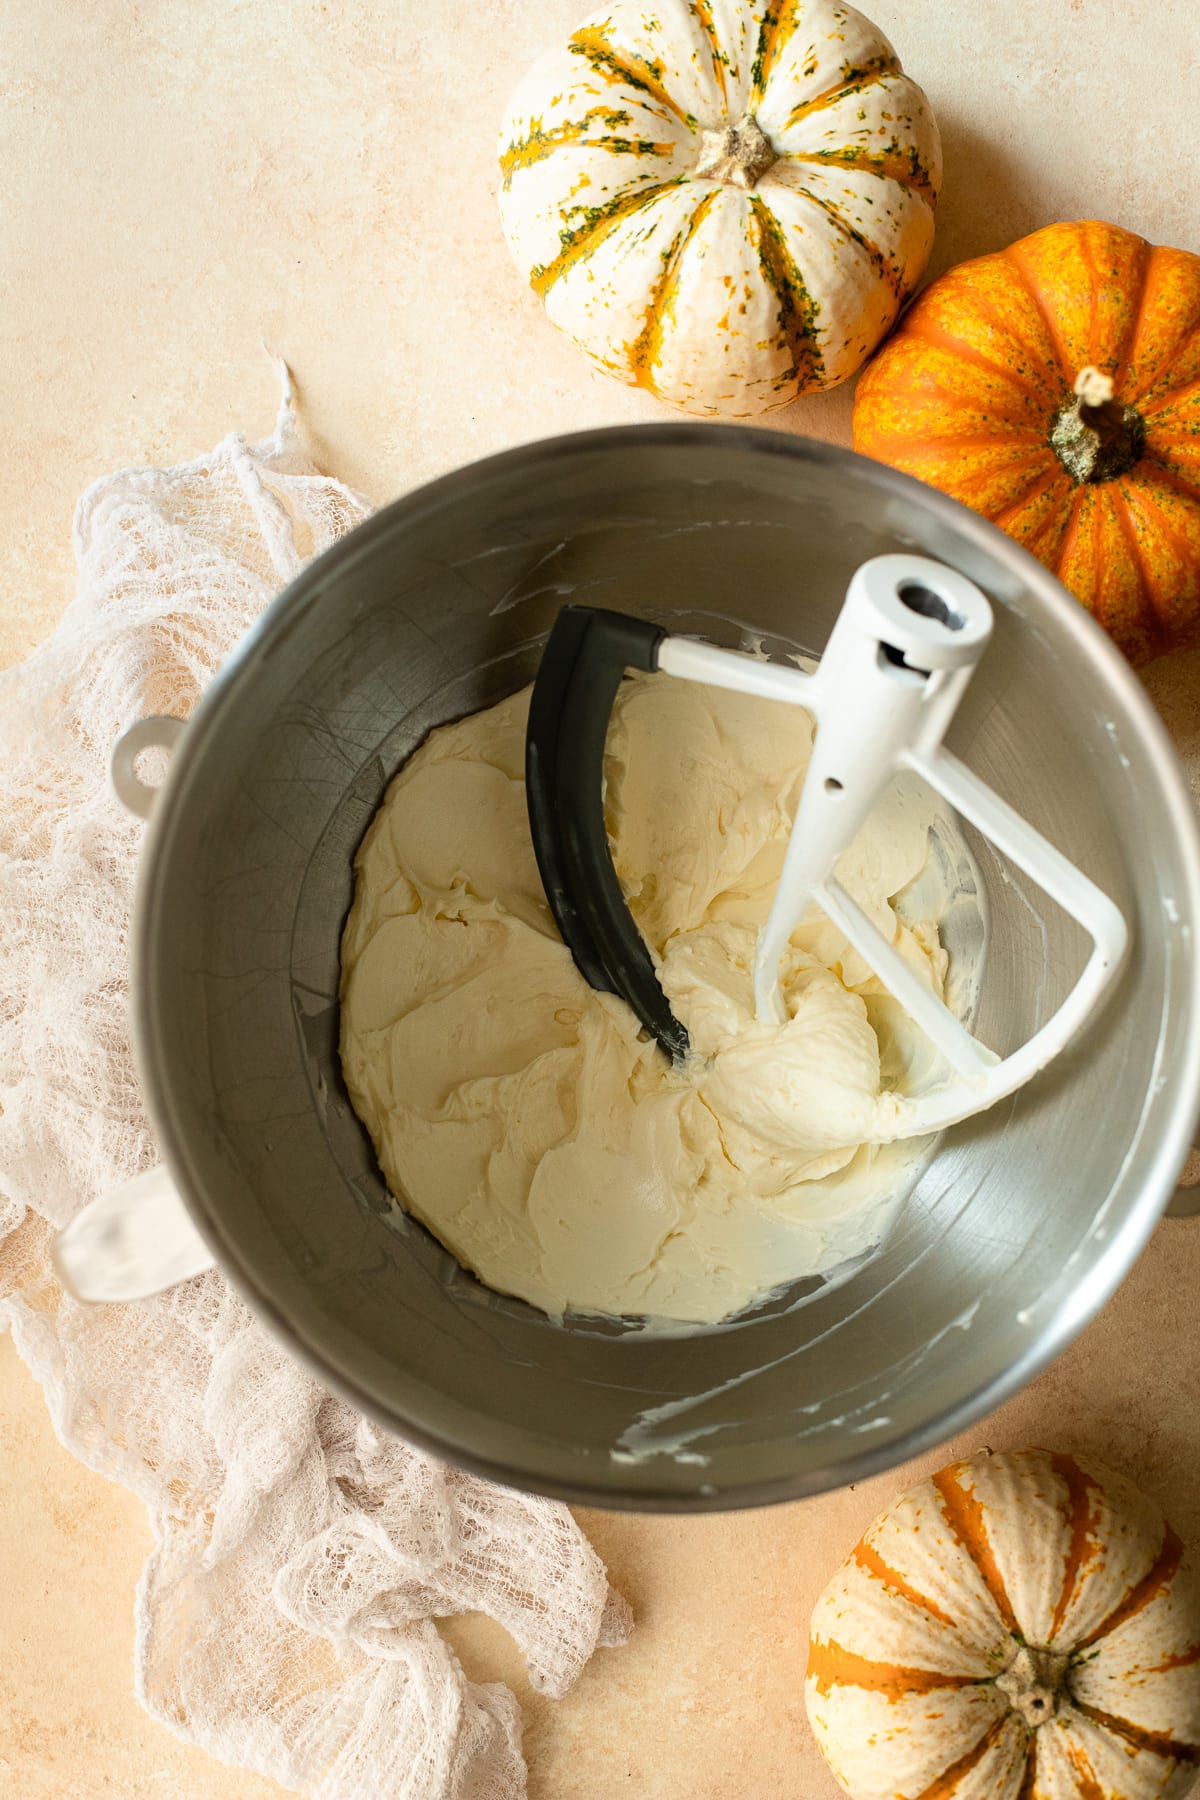
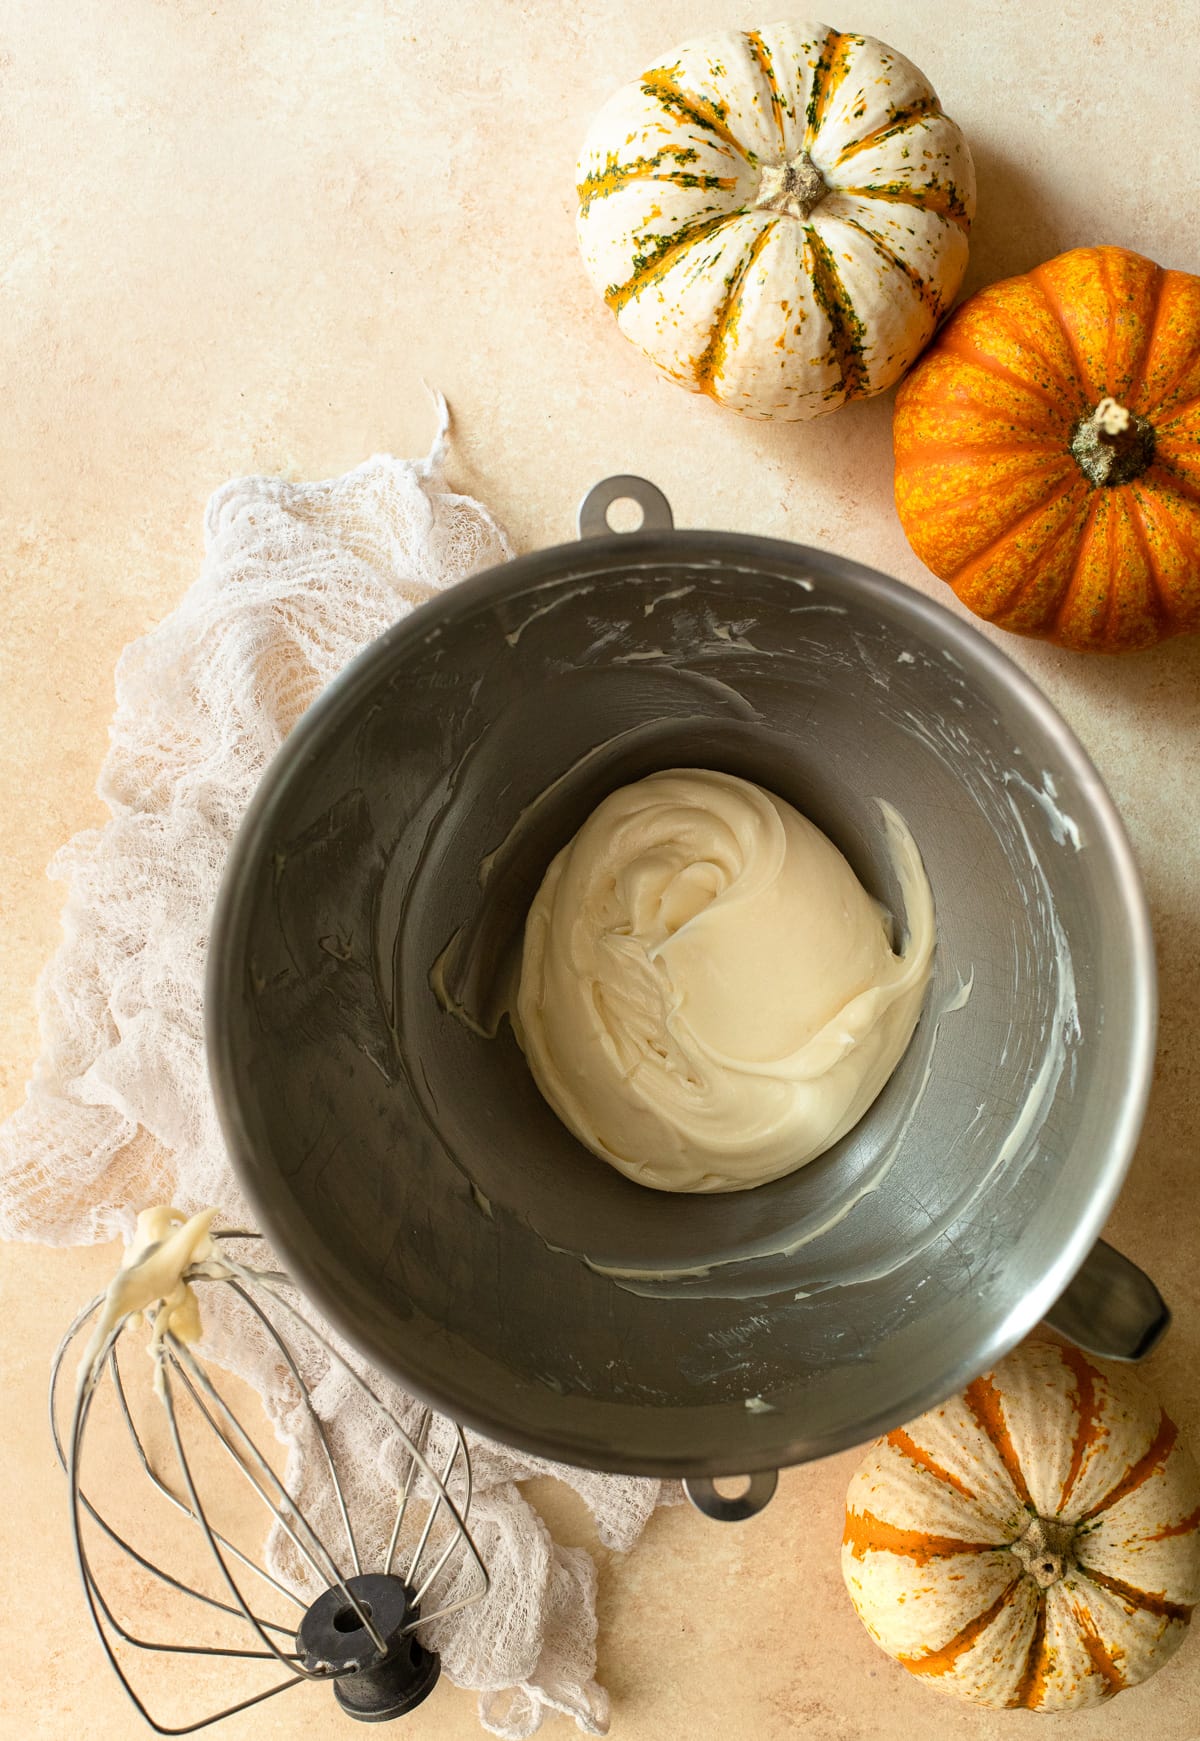
Step one - Beat butter and cream cheese. Using the bowl of a stand mixer and the paddle attachment, beat the softened butter and cold cream cheese on low speed until the two are well-combined, smooth, and creamy. Be sure to scrape down your bowl and beater as needed with a spatula.
Step two - Add remaining ingredients. Switch your mixer to the wire whip attachment, and add the confectioner's sugar, vanilla extract, and salt. Continue to beat on low speed until everything is evenly incorporated into a smooth, thick frosting, again scraping down the bowl and beater as needed. It's always a good idea to give the frosting one last stir with a rubber spatula at the end, just to make sure everything is well-mixed.
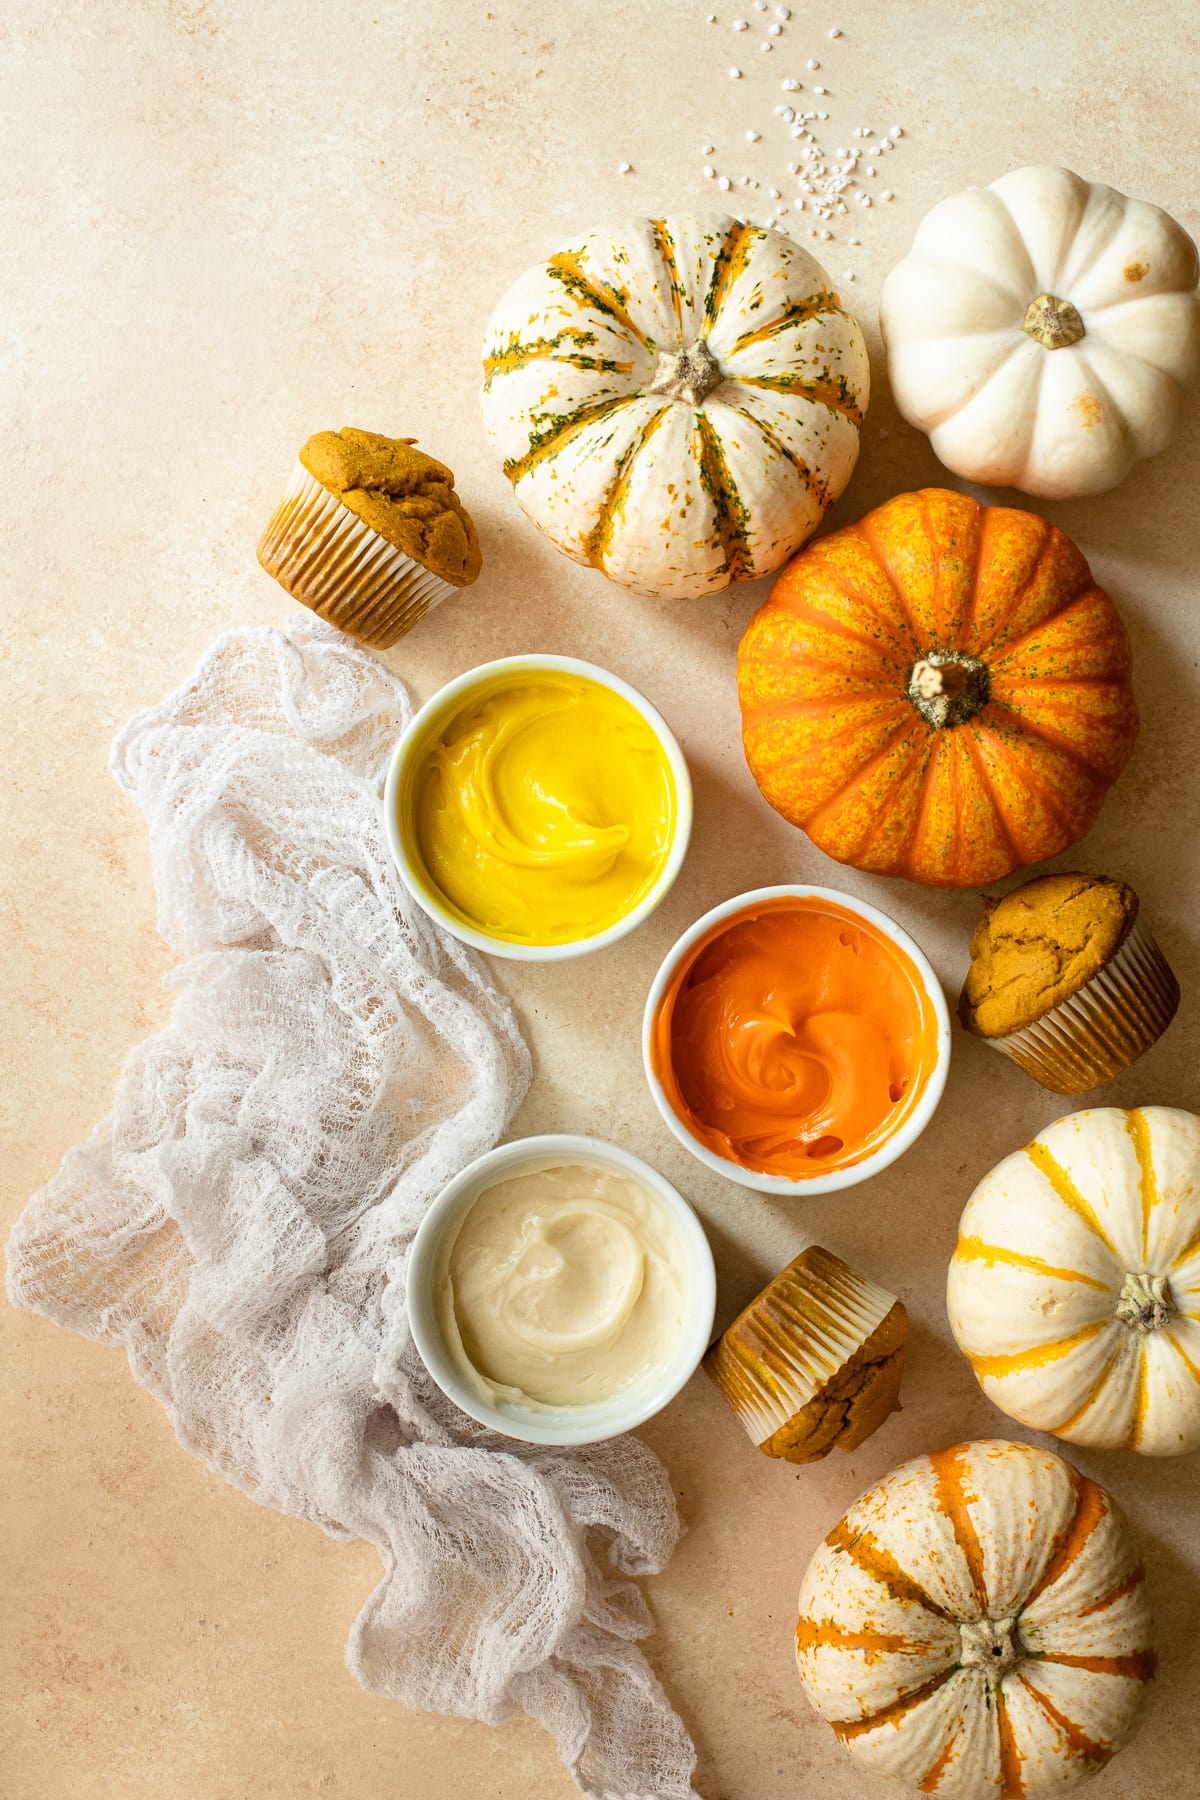
Step three - Color (optional): If you're coloring your frosting, divide it into three bowls, with each portion being slightly smaller than the last. Using a spatula, mix yellow food color into the largest portion, and orange food color into the second largest portion, until both are as vibrant as you'd like them to be. Leave the smallest portion of frosting uncolored; this will be the white of your candy corn.
Tip! Coloring frosting
If in doubt, leave more frosting uncolored than you think you might need. You can always use some of it to make more yellow or orange frosting if you run out of those layers sooner than expected.
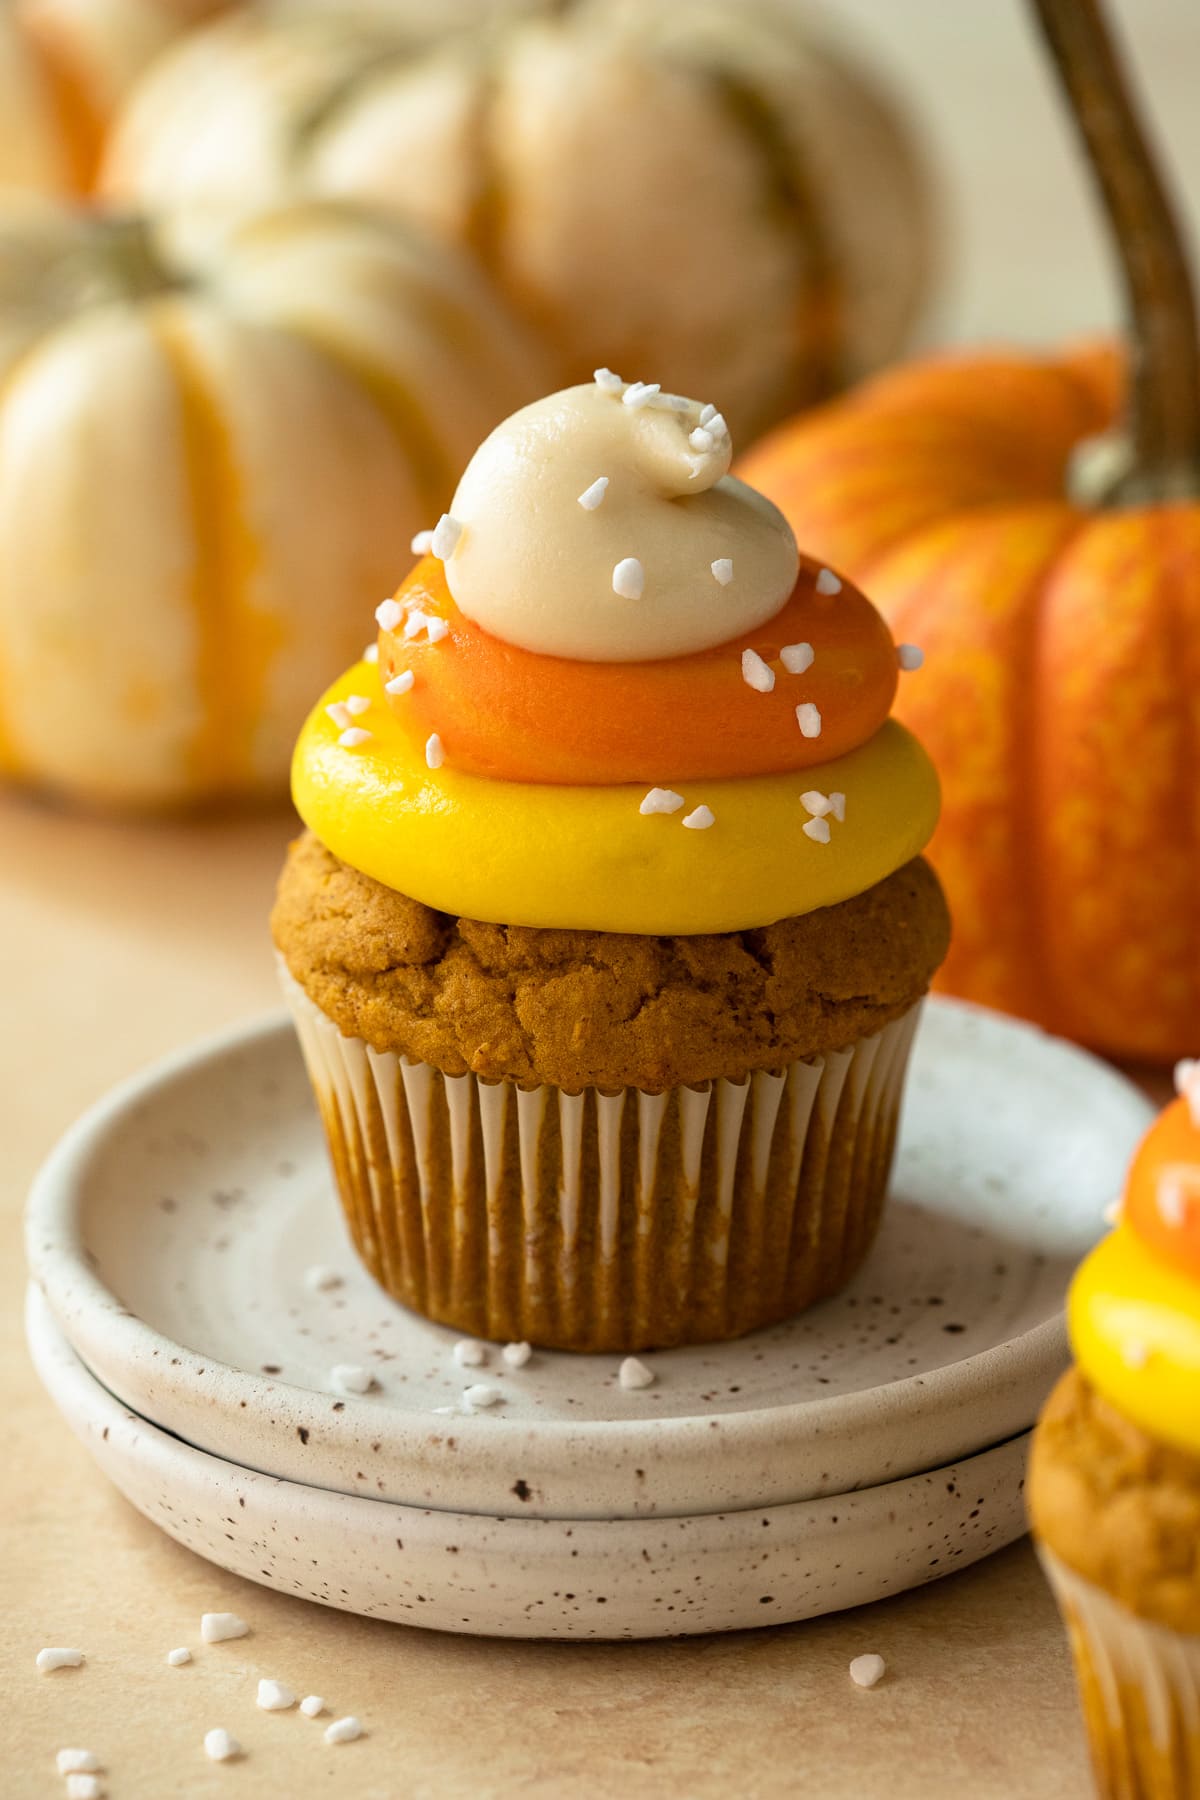
Step four - Pipe: Using a piping bag and your tip of choice (I used a large round piping tip), pipe a single layer of yellow frosting onto each cupcake, followed by a layer of orange frosting, and finally a layer of white frosting.
This is easiest if you have multiple piping bags, so you can simply move your piping tip between bags rather than cleaning and drying the same piping bag for each layer.
Leave the frosted cupcakes as-is, or garnish as desired!
Tip! Prevent runny frosting
Cream cheese frosting has a tendency to get soft when left at room temperature, and this can happen especially quickly in warmer environments. To prevent runny frosting, always refrigerate any portions of frosting you're not actively working with.
Serving tips
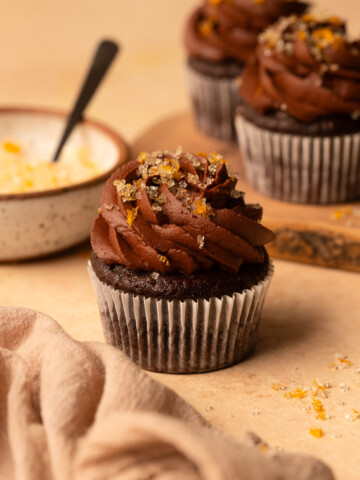
You can dress these cupcakes up a bit more with yellow, white, or orange sprinkles, or a candy corn garnish. If you're not turning these into candy corn cupcakes, you might even consider a caramel sauce drizzle, like I did with these apple cupcakes! Whichever option you pick, these pumpkin cupcakes are best served freshly-frosted and at room temperature.
Recipe FAQ
Cupcakes can sit at cool room temperature for about an hour or two, but for longer-term storage (and in warmer weather), they can be kept refrigerated in an airtight container for up to a few days. A cupcake carrier works wonders for this!
The pumpkin cupcakes themselves can be made in advance and stored in an airtight-container or zip-top bag. I'd suggest making them no more than a day ahead, and keeping them at room temperature. The cream cheese frosting, however, is best if used while freshly-made.
If you've followed the instructions in this recipe, using cold cream cheese and properly-softened butter, your frosting shouldn't be runny. However, in the event that it becomes a little too soft to pipe, simply stick it in the refrigerator for about 5-10 minutes before using, and this should help it firm up.
A general rule of thumb for converting regular cupcakes to mini cupcakes is that 12 standard cupcakes will make 36 mini cupcakes. For mini cupcakes, you'll also need to decrease the baking time. For this recipe, I'd suggest a baking time of around 9-11 minutes, but always use the toothpick test to check for doneness!
More pumpkin recipes you'll love
Don't let that leftover pumpkin puree go to waste! You can use it in any of these recipes:
Have you made this recipe?
If so, I'd love to hear your feedback; you can leave a rating and review in the comments section below! It's also so helpful if you help spread the word by sharing this post on your favorite social media channel. If you happen to snap a photo of what you've baked, be sure to share it on Instagram and tag me (@brighteyedbaker) so I can give you a shoutout!
Gluten-Free Pumpkin Cupcakes with Cream Cheese Frosting
These soft and moist pumpkin cupcakes are cozied up with warm spices and topped with a tangy cream cheese frosting that can be colored to resemble candy corn. This easy recipe is gluten-free friendly and perfect for fall - especially Halloween and Thanksgiving!
- Prep Time: 45 minutes
- Cooling Time: 1 hour
- Cook Time: 20 minutes
- Total Time: 2 hours 5 minutes
- Yield: 12 cupcakes
- Category: cupcakes
- Method: baking
- Cuisine: American
- Diet: Gluten Free
Ingredients
Pumpkin Spice Cupcakes
- 2 cups, spoon and level (8 ½ ounces) gluten-free all-purpose flour with xanthan gum
- ¼ cup, packed (1 ⅞ ounces) brown sugar
- ¼ cup (1 ¾ ounces) granulated sugar
- 2 teaspoons baking powder
- ½ teaspoon baking soda
- ¼ teaspoon salt
- 1 teaspoon ground cinnamon
- ¼ teaspoon ground all spice
- ¼ teaspoon ground ginger
- ⅛ teaspoon ground nutmeg
- ⅛ teaspoon ground cloves
- 1 cup (8 ounces) pumpkin purée, room temperature
- ½ cup (4 ⅛ ounces) cream, room temperature
- ¼ cup (2 ounces or ½ stick) unsalted butter, melted
- 3 large eggs, room temperature
- 1 ½ teaspoons vanilla extract
Cream Cheese Frosting
- 8 ounces full-fat, block-style cream cheese, cold
- 1 cup (8 ounces or 2 sticks) unsalted butter, softened
- 4 cups (16 ounces) confectioner's sugar
- ½ teaspoon vanilla extract
- heavy pinch of salt
- yellow and orange gel food coloring (optional)
- sprinkles or candy corn, for garnish (optional)
Instructions
Pumpkin Spice Cupcakes
- Oven and pan prep: Preheat oven to 350ºF and line a standard-size 12-cup muffin pan with paper liners.
- Mix the dry ingredients: In a large mixing bowl, combine the gluten-free flour, brown sugar, granulated sugar, baking powder, baking soda, salt, cinnamon, all spice, ginger, nutmeg, and cloves. Whisk together thoroughly.
- Mix the wet ingredients: In a second, medium mixing bowl, whisk together the pumpkin puree and heavy cream until smooth. Keep whisking while slowly pouring in the melted butter. Finally, add the eggs and vanilla extract, continuing to whisk until everything is smoothly and evenly combined.
- Combine: Add the wet ingredient mixture to the dry and fold in with a spatula just until fully incorporated, avoiding overmixing. The batter will be fairly thick.
- Bake: Divide the cupcake batter evenly between the 12 lined muffin cups, smoothing the tops out lightly as you go. The muffin cups will be nearly full. Bake for 18-22 minutes, until a toothpick inserted into the center of one comes out clean or with just a few moist crumbs.
- Cool: Cool cupcakes in pan for about 10-15 minutes before moving to a wire rack to finish cooling. Cool completely before frosting.
Cream Cheese Frosting
- Beat butter and cream cheese: Using the bowl of a stand mixer fitted with the paddle attachment, beat the softened butter and cold cream cheese on low speed until well-combined, smooth, and creamy. Scrape down your bowl and beater as needed with a spatula.
- Add remaining ingredients. Switch mixer to the wire whip attachment and add the confectioner's sugar, vanilla extract, and salt. Continue to beat on low speed until everything is evenly incorporated into a smooth, thick frosting, again scraping down the bowl and beater as needed.
- Color (optional): If coloring frosting, divide into three bowls, with each portion being slightly smaller than the last. Using a spatula, mix yellow food color into the largest portion, and orange food color into the second largest portion, until both are as vibrant as you'd like them to be. Leave the smallest portion of frosting uncolored; this will be the white of your candy corn.
- Pipe: Using a piping bag and your tip of choice (I used a large round piping tip), pipe a single layer of yellow frosting onto each cupcake, followed by a layer of orange frosting, and finally a layer of white frosting. Garnish with sprinkles or candy corn as desired.
Notes
Ingredient Notes and Substitutions:
- Regular all-purpose flour would likely work fine in this recipe if you don't need the cupcakes to be gluten-free.
- The individual spices in this recipe (cinnamon, all spice, ginger, nutmeg, and cloves) can be substituted for a total of 1 ¾ teaspoons of pumpkin pie spice.
- Light, regular, or heavy cream can be used for the cupcakes.
- If using salted butter instead of unsalted, I'd suggest cutting back on the salt in the cupcake recipe to just ⅛ teaspoon, and skipping the added salt in the frosting entirely.
- To quickly bring eggs to room temperature, put them in a cup and fill it with warm water. Let sit for about 5-10 minutes before using.
Storage and Shelf Life:
- Cupcakes can sit at cool room temperature for about an hour or two, but for longer-term storage (and in warmer weather), they can be kept refrigerated in an airtight container for up to a few days.
Make ahead:
- Cupcakes can be made in advance and stored in an airtight-container or zip-top bag. Cream cheese frosting is best if used fresh.
Extra Tips:
- When coloring the frosting for this recipe, it's best to leave more frosting uncolored than you think you might need. You can always use some of it to make more yellow or orange frosting if you run out of those layers sooner than expected.
- Piping the individual colors for this recipe is easiest if you have multiple piping bags, so you can simply move your piping tip between bags rather than cleaning and drying the same piping bag for each layer.
- To prevent runny frosting, always refrigerate any portions of frosting you're not actively working with. A brief 5-10 minutes of refrigeration can also help stiffen up a frosting that's a little too soft to pipe.
This recipe first appeared on Bright-Eyed Baker in 2017. The post has since been updated with new text and photos, as well as some very minor recipe modifications.

Lexi
Love these for Halloween! They’re super cute and taste amazing! Planning on making them again for Thanksgiving too - they were a huge hit.