
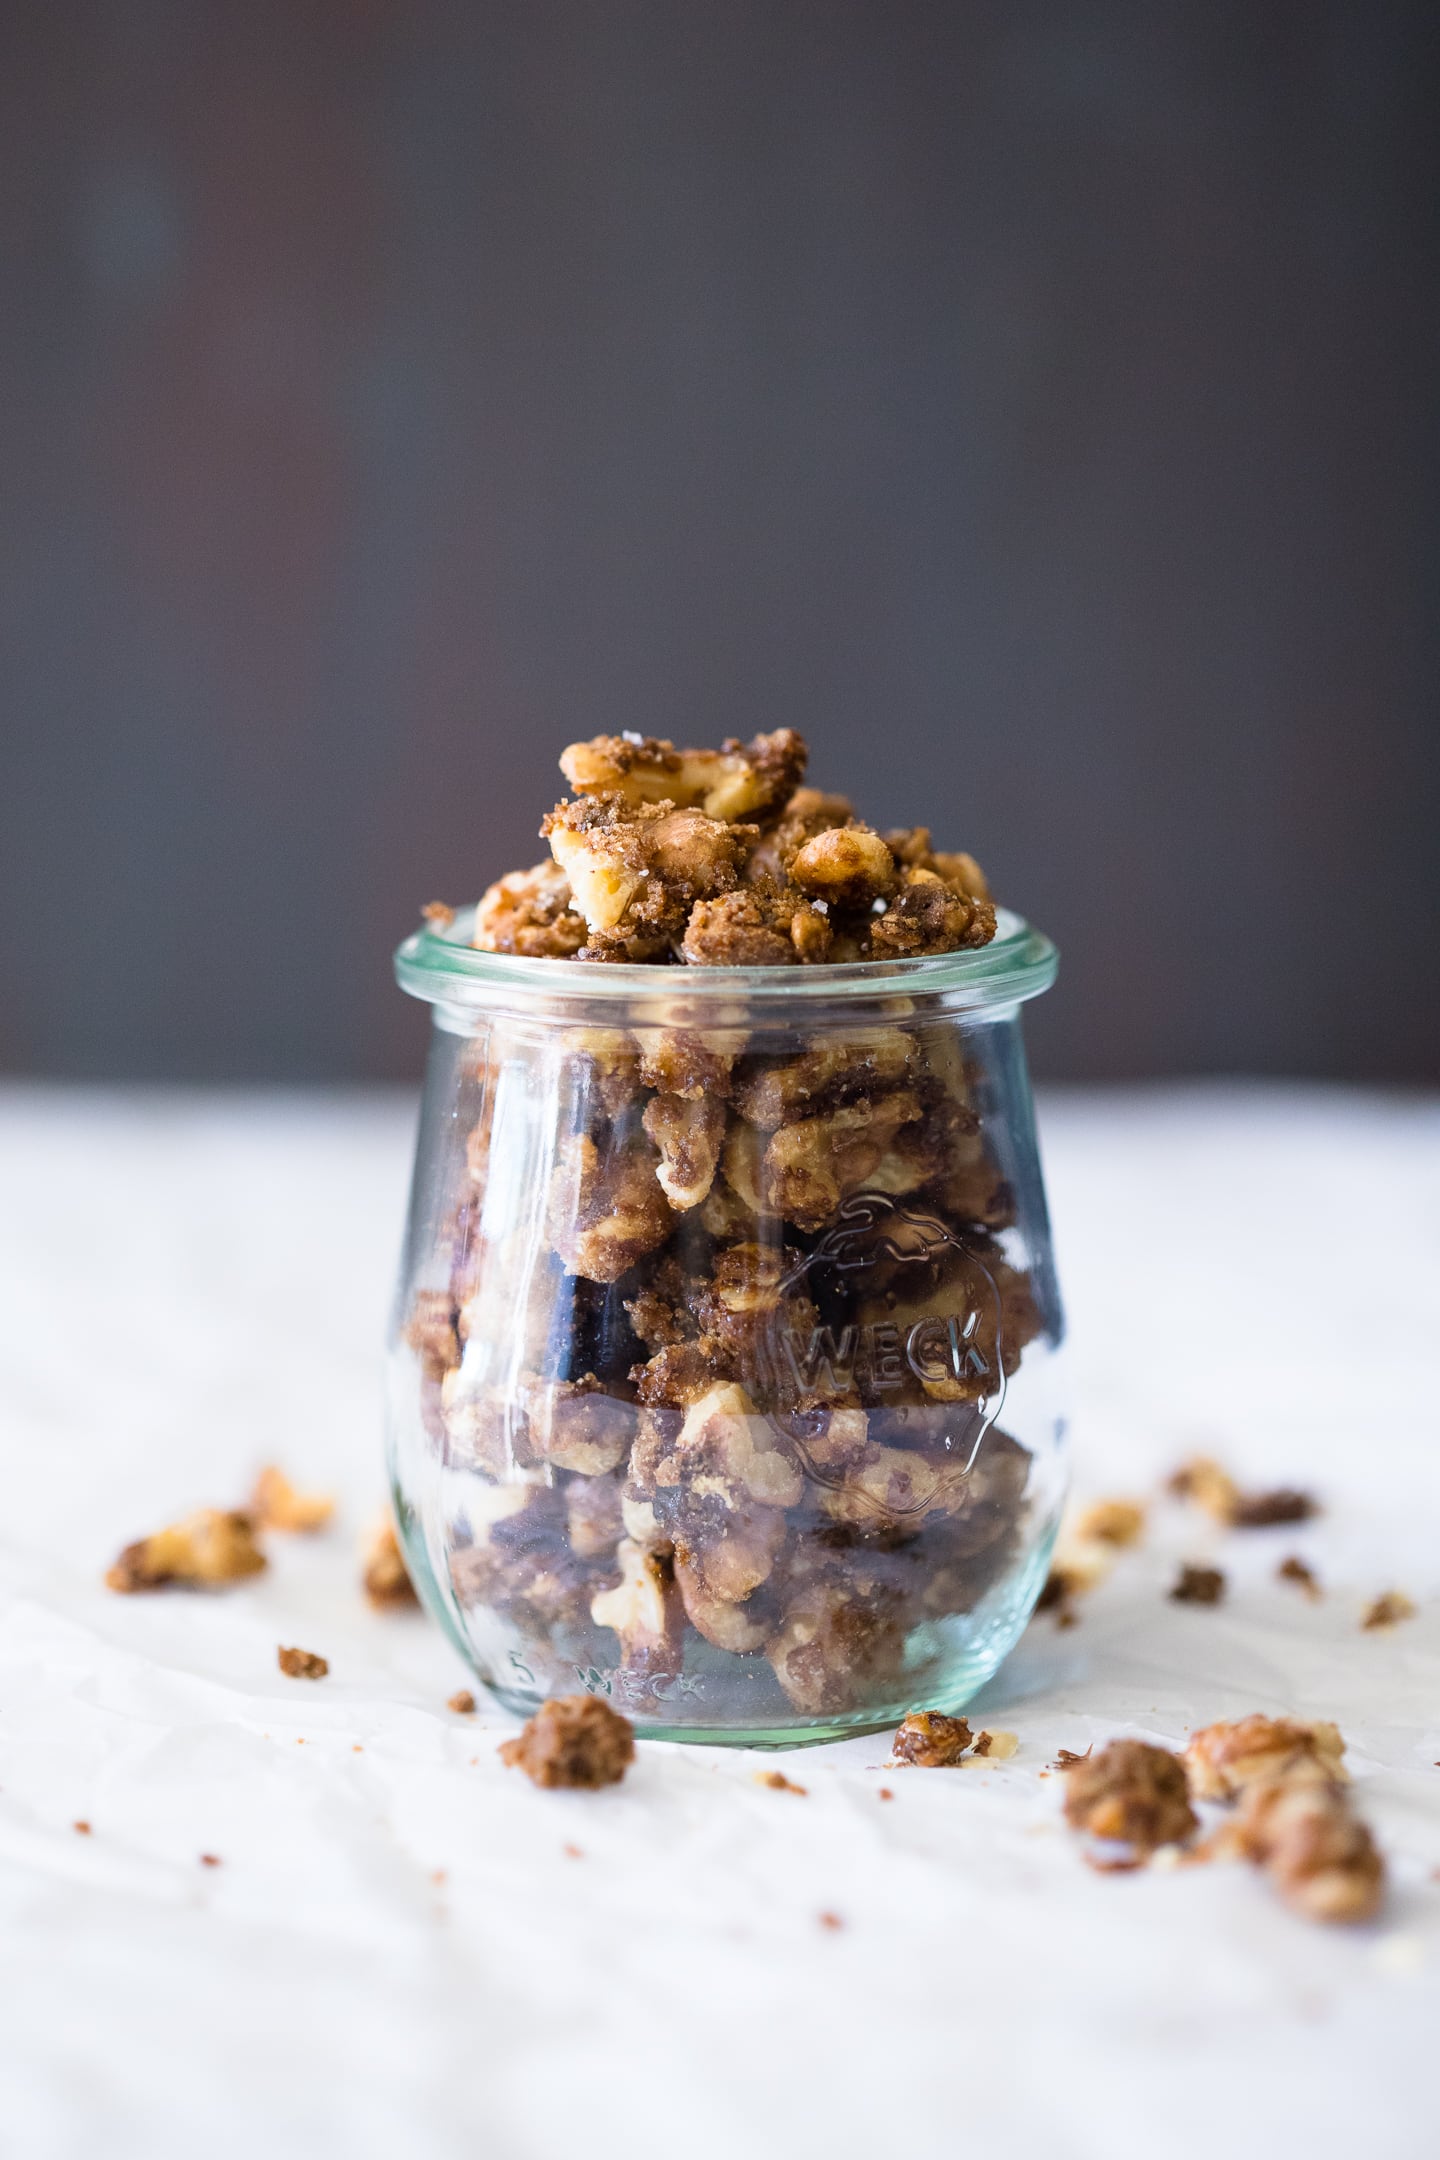
Brown Sugar Candied Walnuts make a quick & easy garnish for your favorite dish or a delicious homemade gift for the holidays. They have a sweet, rich taste and crunchy texture, and they're SO much less expensive to make than purchase pre-made!

Candied walnuts are a game-changer. In fact, let me level with you here; I did not like walnuts before I learned how to candy them (unless, maybe, they were combined with chocolate chips in banana bread). But in the five minutes it took me to make these Brown Sugar Walnuts for the first time, I had a change of heart.
Like tangy kumquats simmered in a sweet sugar syrup, walnuts take on an entirely new level of flavor once they're all toasty and coated in brown sugar. Even if you don't like them normally, I guarantee that with this recipe, their buttery smell and sweet, nutty taste will win you over! They're perfect for adding flair to baked goods, garnishing a salad, gifting for the holidays, or just snacking. Just be warned, if you decide to give these as a gift, you're absolutely going want to make extra for yourself!
Tips for Making the Best Brown Sugar Candied Walnuts:
Use Brown Sugar: While you can caramelize walnuts with granulated sugar, the rich, molasses-like taste of brown sugar really compliments the nuts and adds another layer of flavor.
Watch Them Closely While Cooking: I'm not kidding when I say that this is a five-minute recipe. Brown sugar and walnuts both burn quickly on the stove, so keep your eye on these the entire time you're cooking!
Add a Touch of Sea Salt: As I mentioned earlier, this is a tip I got from you guys! Many readers who have already made this recipe mentioned how good it is with a sprinkle of sea salt. About ¼ teaspoon of sea salt is enough to amplify the flavor in these walnuts without making them taste salty. Feel free to use less or more to suit your tastes!
Looking for more recipes like these Brown Sugar Candied Walnuts?
If you love pecans, these Candied Pecans are just as easy to make - and every bit as good! Or, for another sweet homemade treat you can gift, try my cinnamon baking chips recipe.
Have you made this recipe?
By adding your feedback or sharing this recipe with a friend, YOU help make this blog possible. You can leave a rating and review in the comments section below, or click any of the social icons on the left side of your screen to help spread the word. If you snapped a photo of your creation, tag me on Instagram (@brighteyedbaker) and I'll give you a shoutout in my story. And if you really like what you see, subscribe to get email notifications when new recipes are published!
DIY Brown Sugar Candied Walnuts
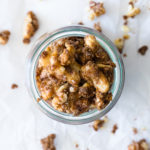
Brown Sugar Candied Walnuts make a quick & easy garnish for your favorite dish, or a delicious homemade gift for the holidays. They have a sweet, rich taste and crunchy texture you won't be able to get enough of, and they're SO much less expensive to make than purchase pre-made!
- Prep Time: 1 minute
- Cook Time: 5 minutes
- Total Time: 6 minutes
- Yield: 1 ½ cups candied walnuts
- Category: snack
- Method: stovetop
- Cuisine: American
- Diet: Vegan
Ingredients
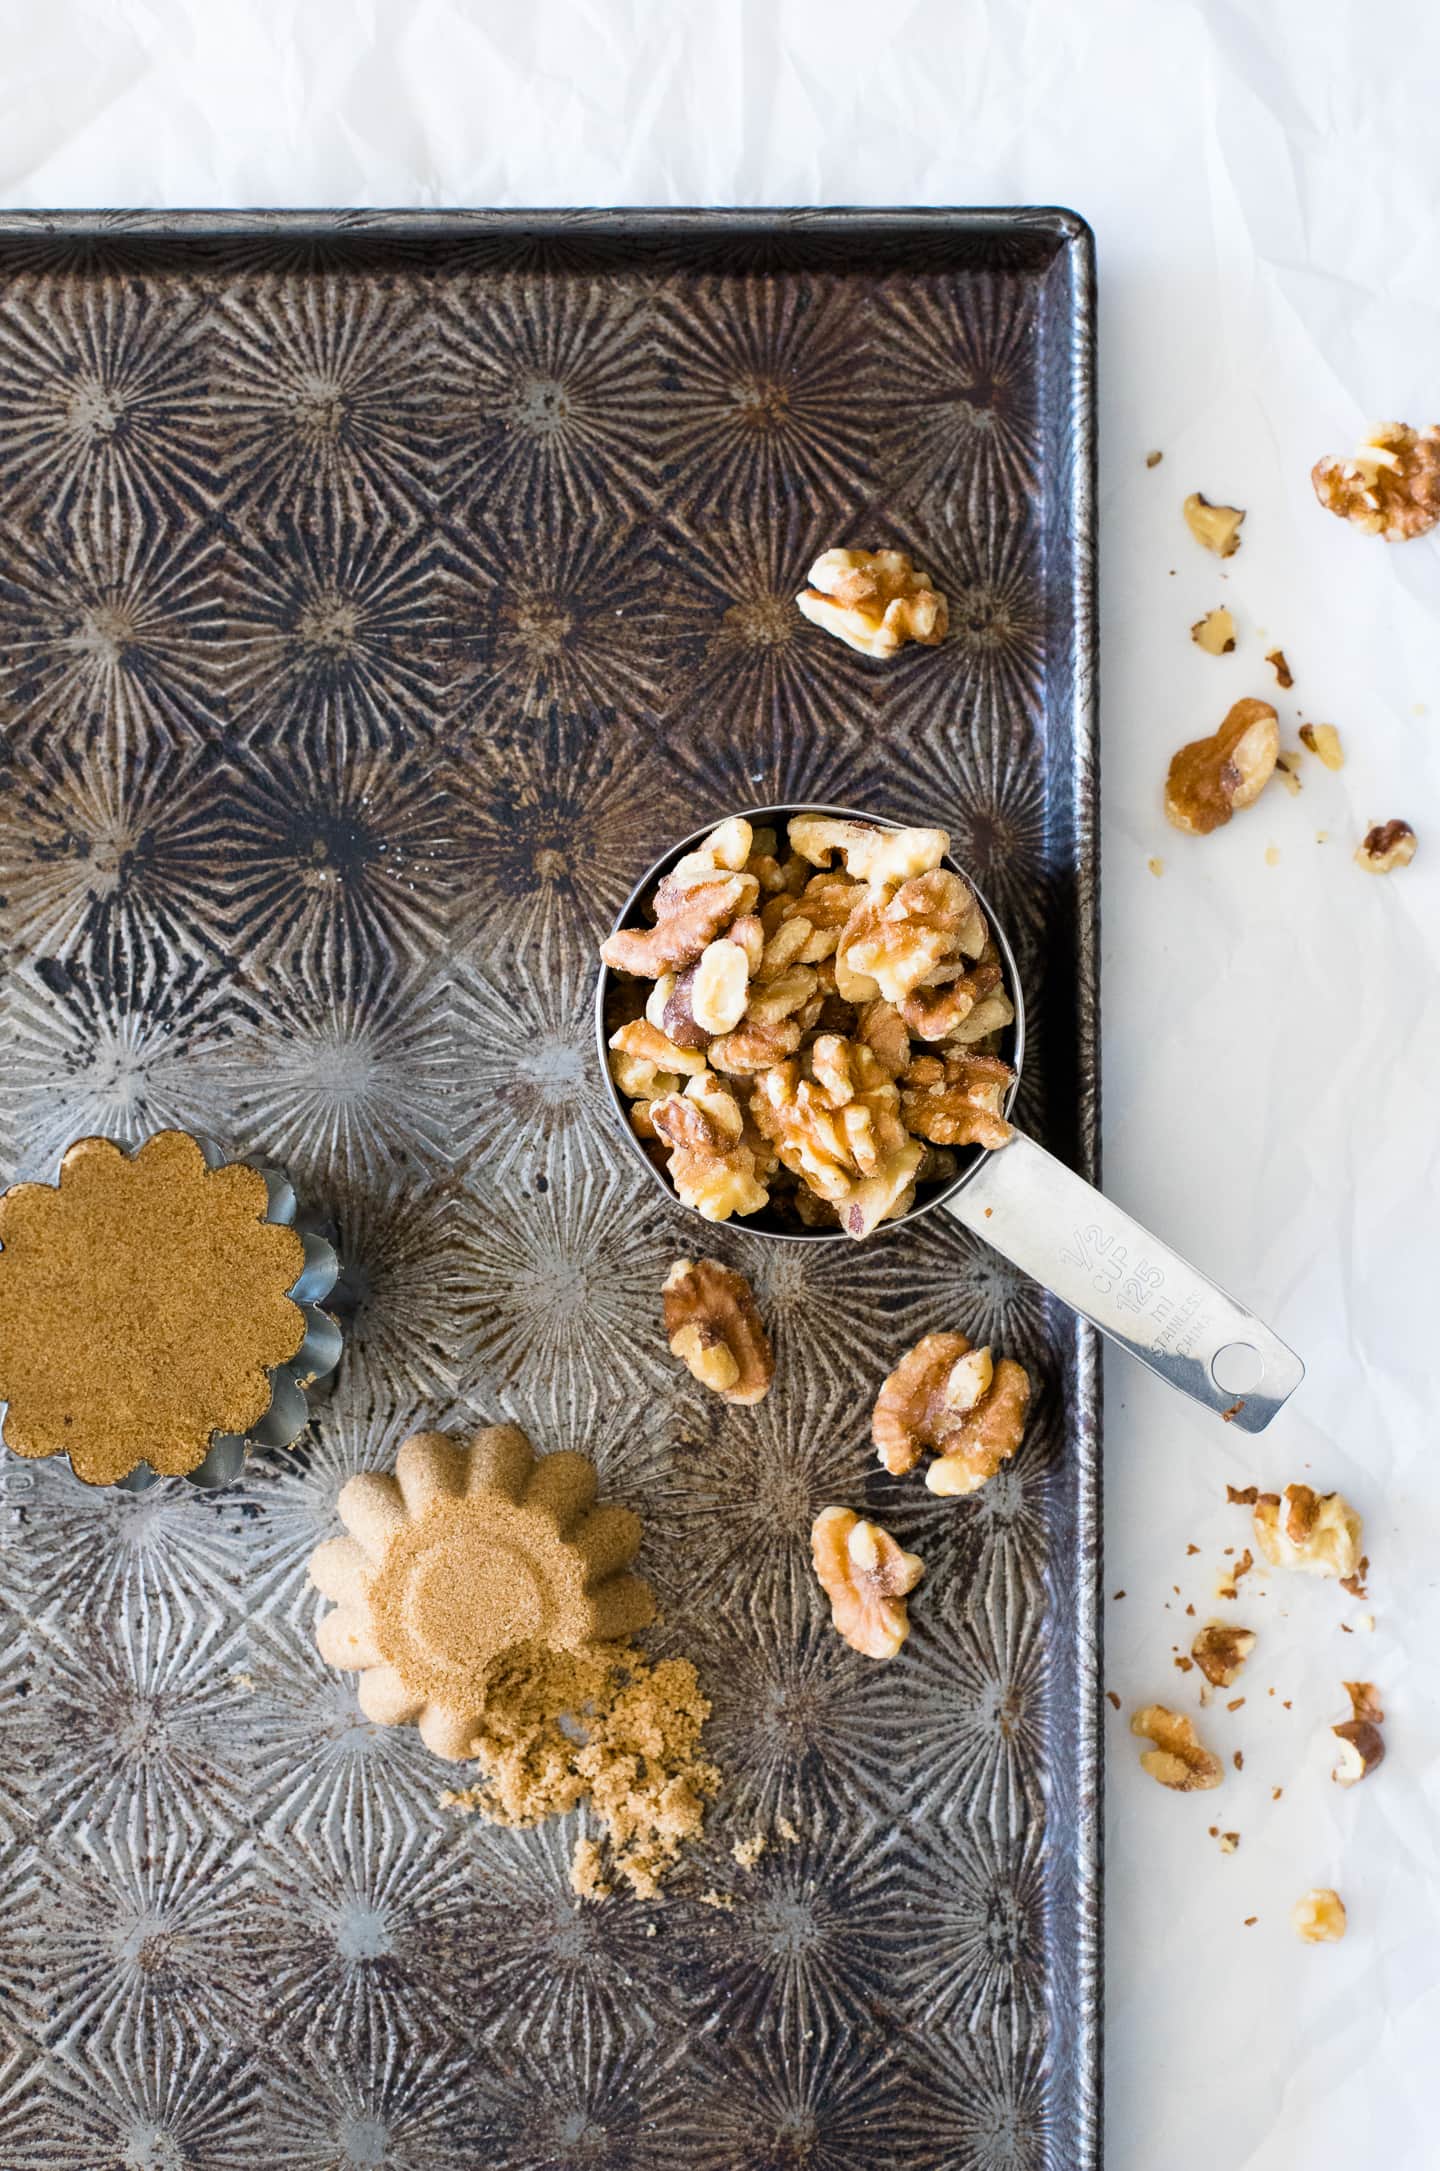
- 1 ½ cups (5 ⅝ ounces) raw walnut halves*
- ½ cup, packed (3 ¾ ounces) brown sugar
- ¼ teaspoon sea salt, or to taste (optional)
Instructions
- Prep baking sheet: Line a baking sheet with parchment paper.
- Combine walnuts and brown sugar: Mix walnuts and brown sugar together in a large saucepan and set on a stove-top over medium heat (or just below).
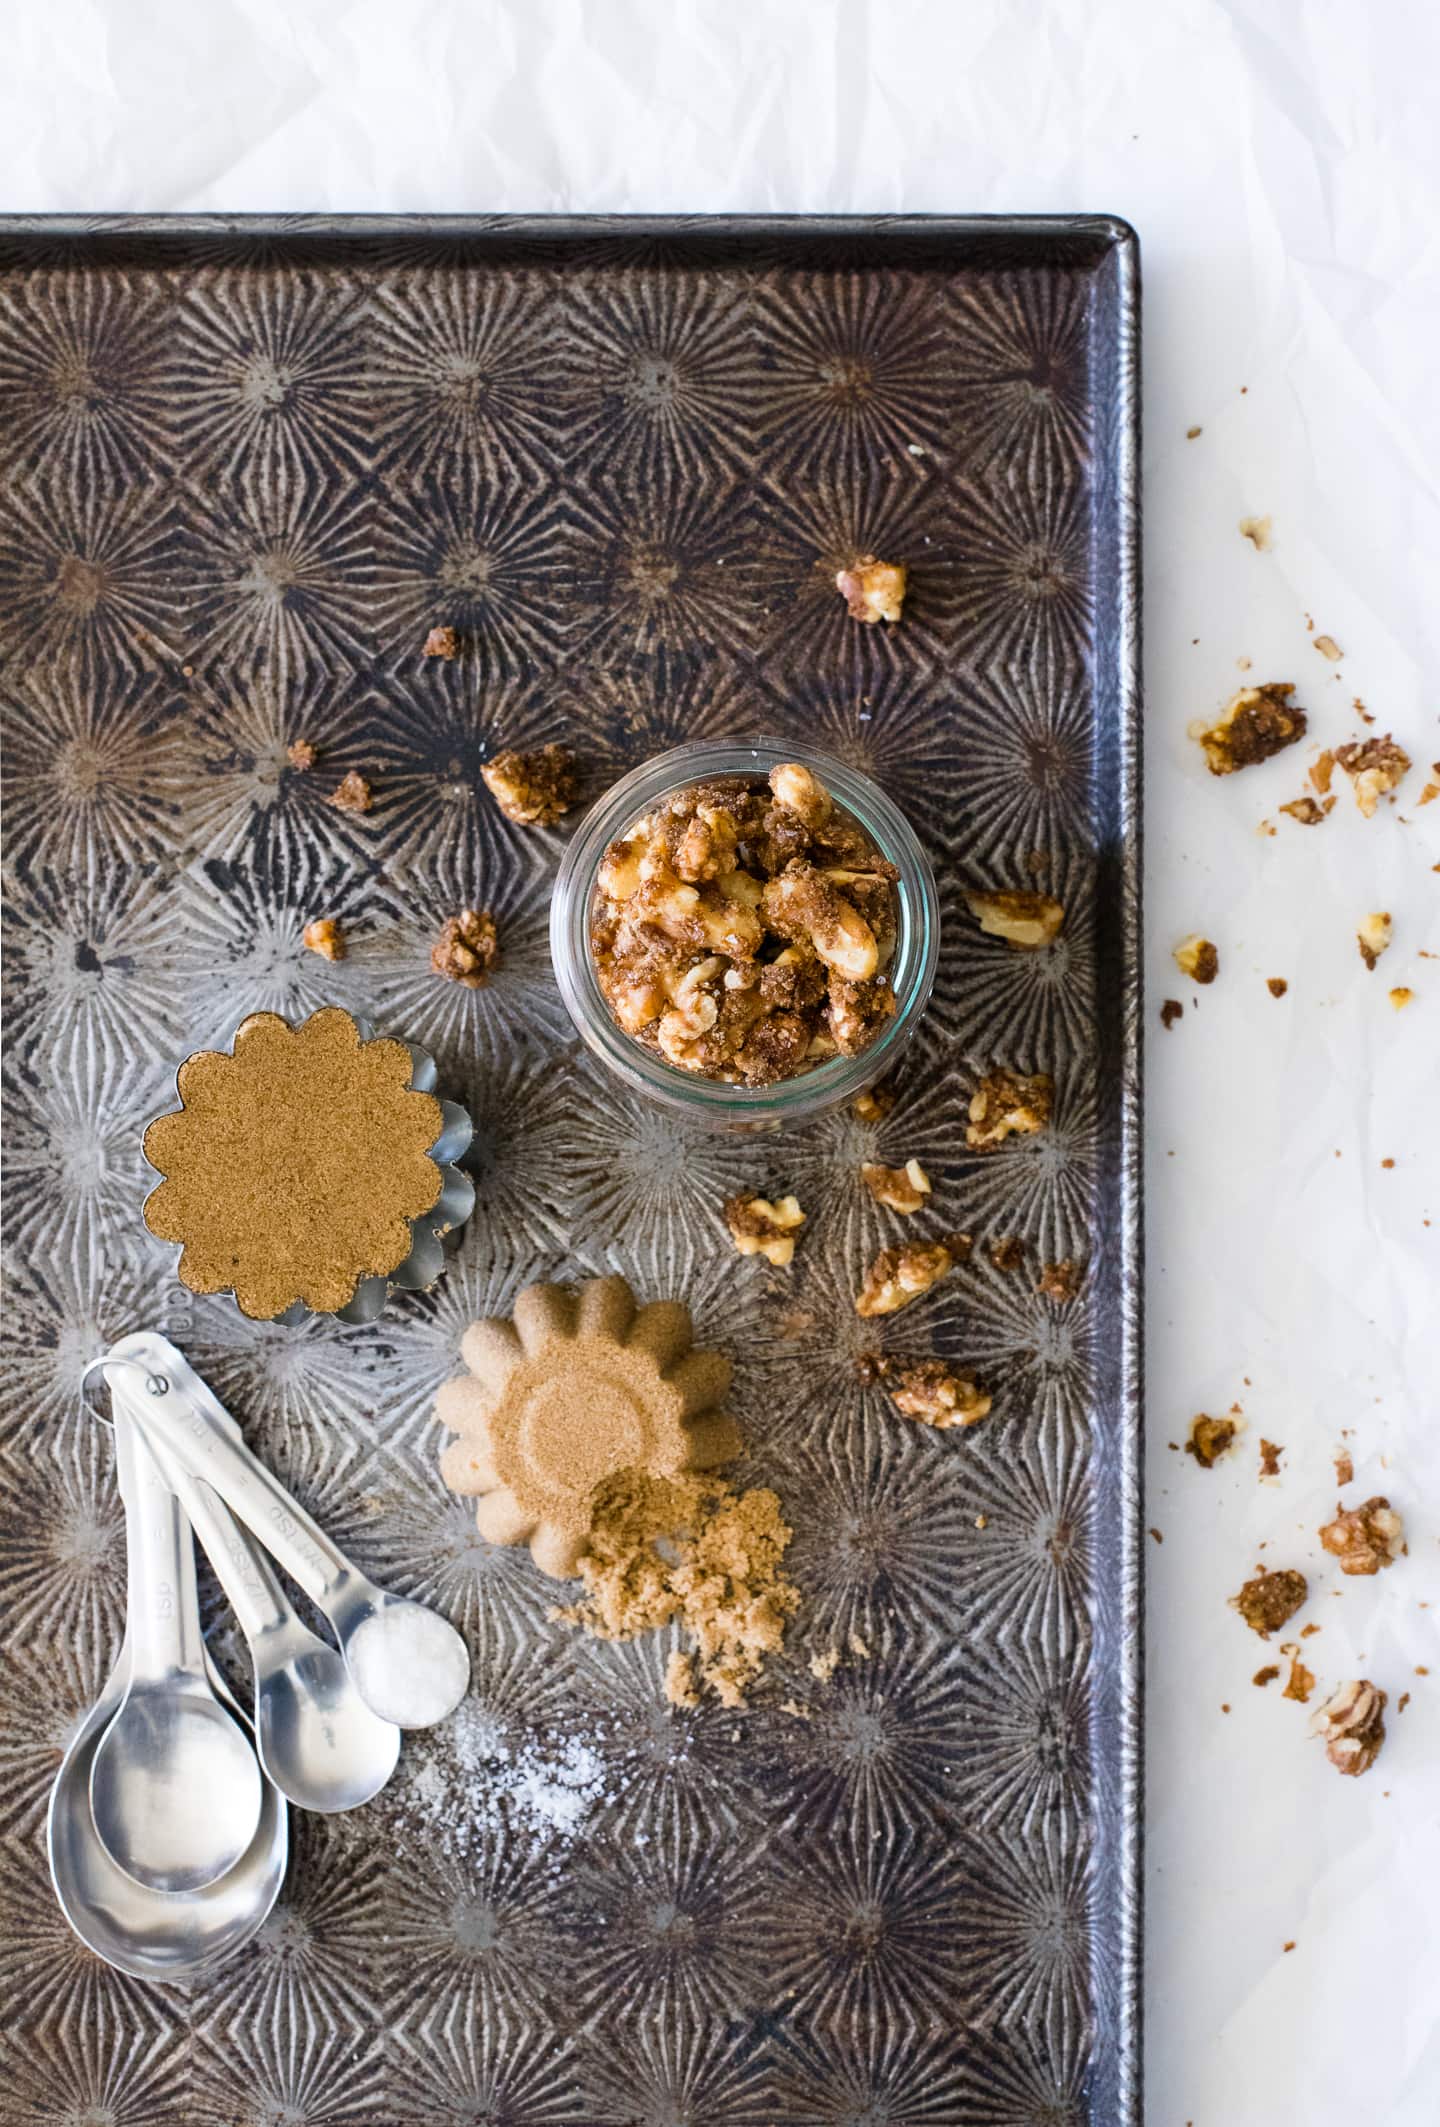
- Cook: As the brown sugar melts, use a wooden spoon to move the mixture around in the saucepan, making sure that all of the nuts get coated and none of the sugar stays in one place long enough to burn. Don't walk away from the stove; this will happen very quickly! Cook for about 5 minutes at the most, until all of the sugar has melted and all of the nuts are coated (or immediately if you smell anything burning).
- Transfer to baking sheet: Remove pan from heat and quickly spread the nuts out on the lined baking sheet to prevent them from drying in a clump.
- Garnish: Sprinkle nuts with sea salt, if desired, and allow to cool for a couple minutes before eating or using in a recipe.
Notes
*Shelled walnuts are typically sold as halves, but if you happen to have whole ones, simply cut them in half before mixing with the brown sugar.
Quick Note: This is an updated version of a post that originally appeared on Bright-Eyed Baker in 2012. The update includes new text & photos, as well as a slight modification to the original recipe. I've increased the brown sugar by a small amount and added a touch of sea salt per reader comments. I've also added a few extra notes to the instructions for clarity.


Kynzie
Brown sugar refused to melt and it lacked flavor. I won't be using this recipe again.
I'd recommend putting a small amount of butter enough to moisten the brown sugar, along with the sugar in a saucepan and melting the sugar before adding the nuts. Also, vanilla and salt would be good in the butter and sugar mixture. I did something of this sort when I realized this recipe wasn't going to work out, also with a splash of maple syrup and it worked good.
Alexandra Azary
Hi Kynzie,
I'm so sorry to hear you had trouble with this recipe! I've made it multiple times and haven't run into any issues, and I've heard from many other readers who have loved it as well. That said, I'll be sure to try it once more to see if I can help troubleshoot this issue, and will update the post if needed!
Alex
Rose Beetem
The brown sugar did not melt very well; I had to go longer than five minutes (stirring almost constantly) and increased the heat slightly and it still didn't work for me. Another time I might add a bit of butter and see if that helps.
Alexandra Azary
Hi Rose,
I'm sorry to hear that you struggled with this recipe! You really just need to melt the brown sugar enough so that it can coat the walnuts; adding a small amount of cream or butter should help if you decide to try again.
Kimberly Steidinger
Super easy to make. I sprinkled just a little cinnamon on with small amount of salt. AMAZING
Alexandra Azary
Sounds amazing! I'm so happy to hear that you're enjoying the recipe!
Thomasina
I made this recipe and my brown sugar just wasn't melting. I added about a teaspoon of butter and this helped. I also decided that after I spread out the walnuts to sprinkle brown sugar on them.
alexandra
Hi Thomasina, it's possible that you just needed to turn up the heat a bit or give it more time. Every stove is different and the type of pan you use can make a difference too. I'm glad to hear you made it work regardless!
Jim
Awesome recipe! Really great on a hot day because I don't have to heat up the house by turning on the oven. I added 1-teaspoon of butter and 2-teaspoon of Vanilla extract because I like butter and Vanilla... lol... taste great! Been looking for a great tasting healthier snack that would satisfy my "sweet tooth". Thank you Bright-Eyed Baker for a quick easy great recipe.
Tonya
I've made these twice, the first time I followed the recipe, and they turned out great!
The second time, I didn't look up your recipe, and added a step that I wasn't sure was
yours, so I came back to look--nope! This is what I did: I added an unnecessary step, I presoaked the walnuts in room temp water for about 5 minutes, drained, then finished the actual recipe steps. I will probably only do this again when I know that I will be using ALL of the nuts in one serving, but the crispness on the outside, and a tender inside was slightly different and really nice. I'll let you know how they behave when stored in a few days!
alexandra
Hmm, I've never tried that! So does it make the nuts a little chewier? I'll have to test it out!