
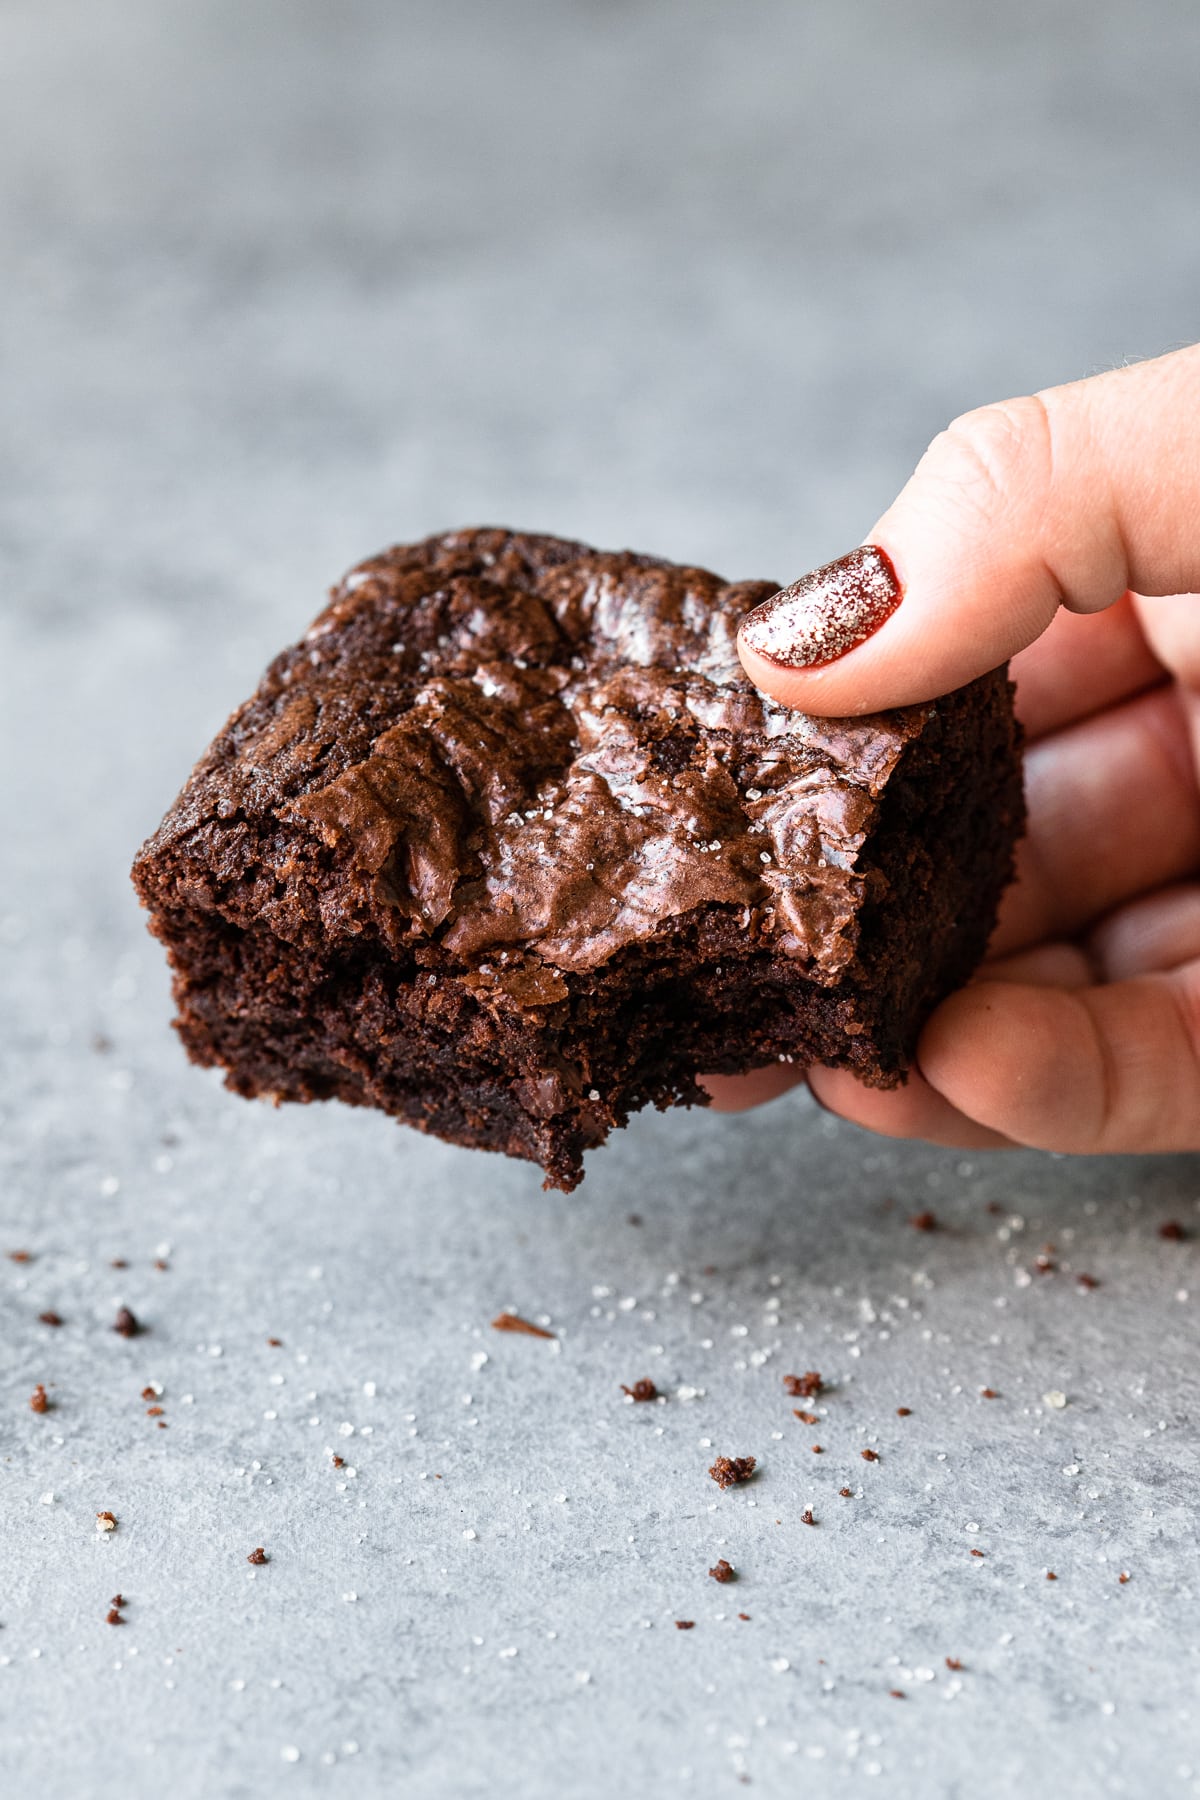
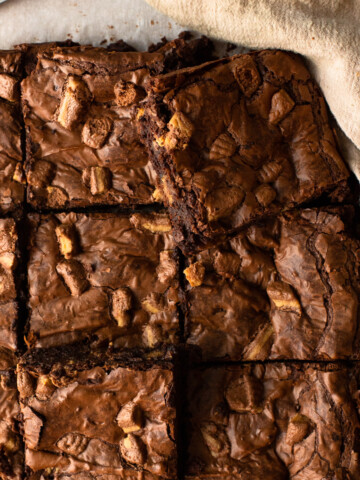
These gluten-free peppermint brownies make the easiest holiday dessert! They're rich and chocolatey, with chewy edges, a fudgy center, and a shiny, crinkly crust. Plus, there's peppermint here in three delicious forms: peppermint chocolate, peppermint puffs, and peppermint extract.
Welcome to my favorite season of baking: the holidays! I may not love winter, but I will gladly drown myself in all things peppermint and gingerbread for the full month of December, starting with these peppermint brownies. And in a season where schedules are hectic, this gluten-free brownie recipe is just the kind we all need: easy, reliable, and consistently delicious. Now don't get me wrong, these may be easy to make, but that doesn't make them ordinary. I take my brownies seriously; they have to have the perfect texture, a rich, intensely chocolatey flavor, and a glossy crust that crinkles when sliced. These check all those boxes and (as a bonus!) are full of cool, wintery peppermint flavor.

Jump to:
Mix-ins for peppermint brownies
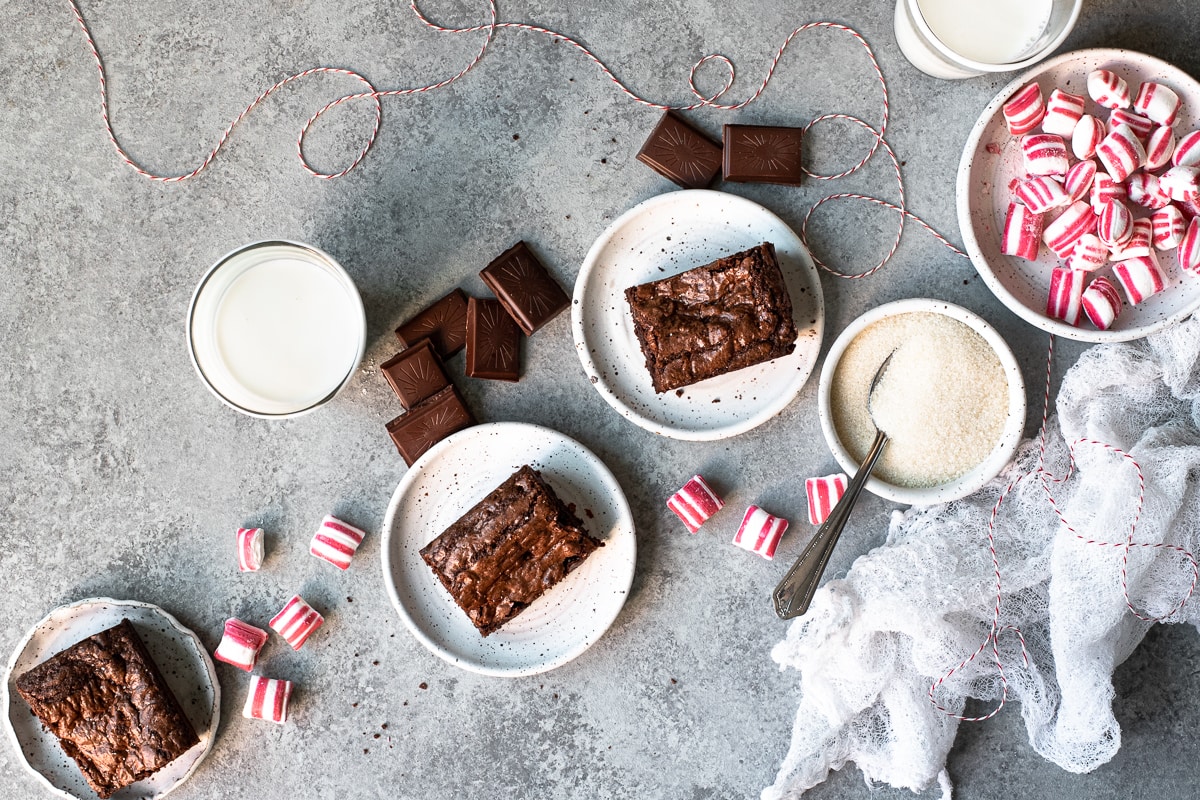
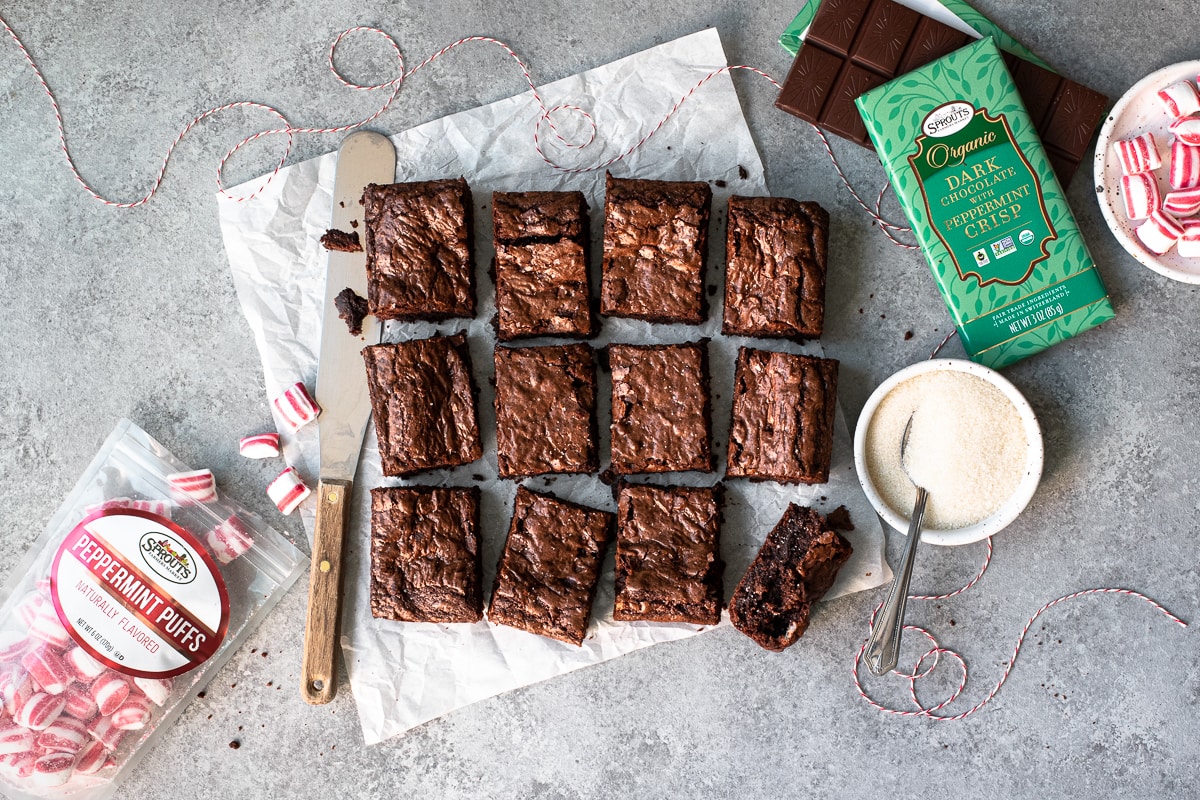
I love a good peppermint dessert, so I used three different forms of peppermint in this brownie recipe: a dark chocolate bar filled with peppermint crisp, peppermint puff candies, and peppermint extract. Feel free to use a plain dark chocolate bar if you can't find one with peppermint in it. You could even throw in some crushed up candy canes.
Tips for making perfect brownies
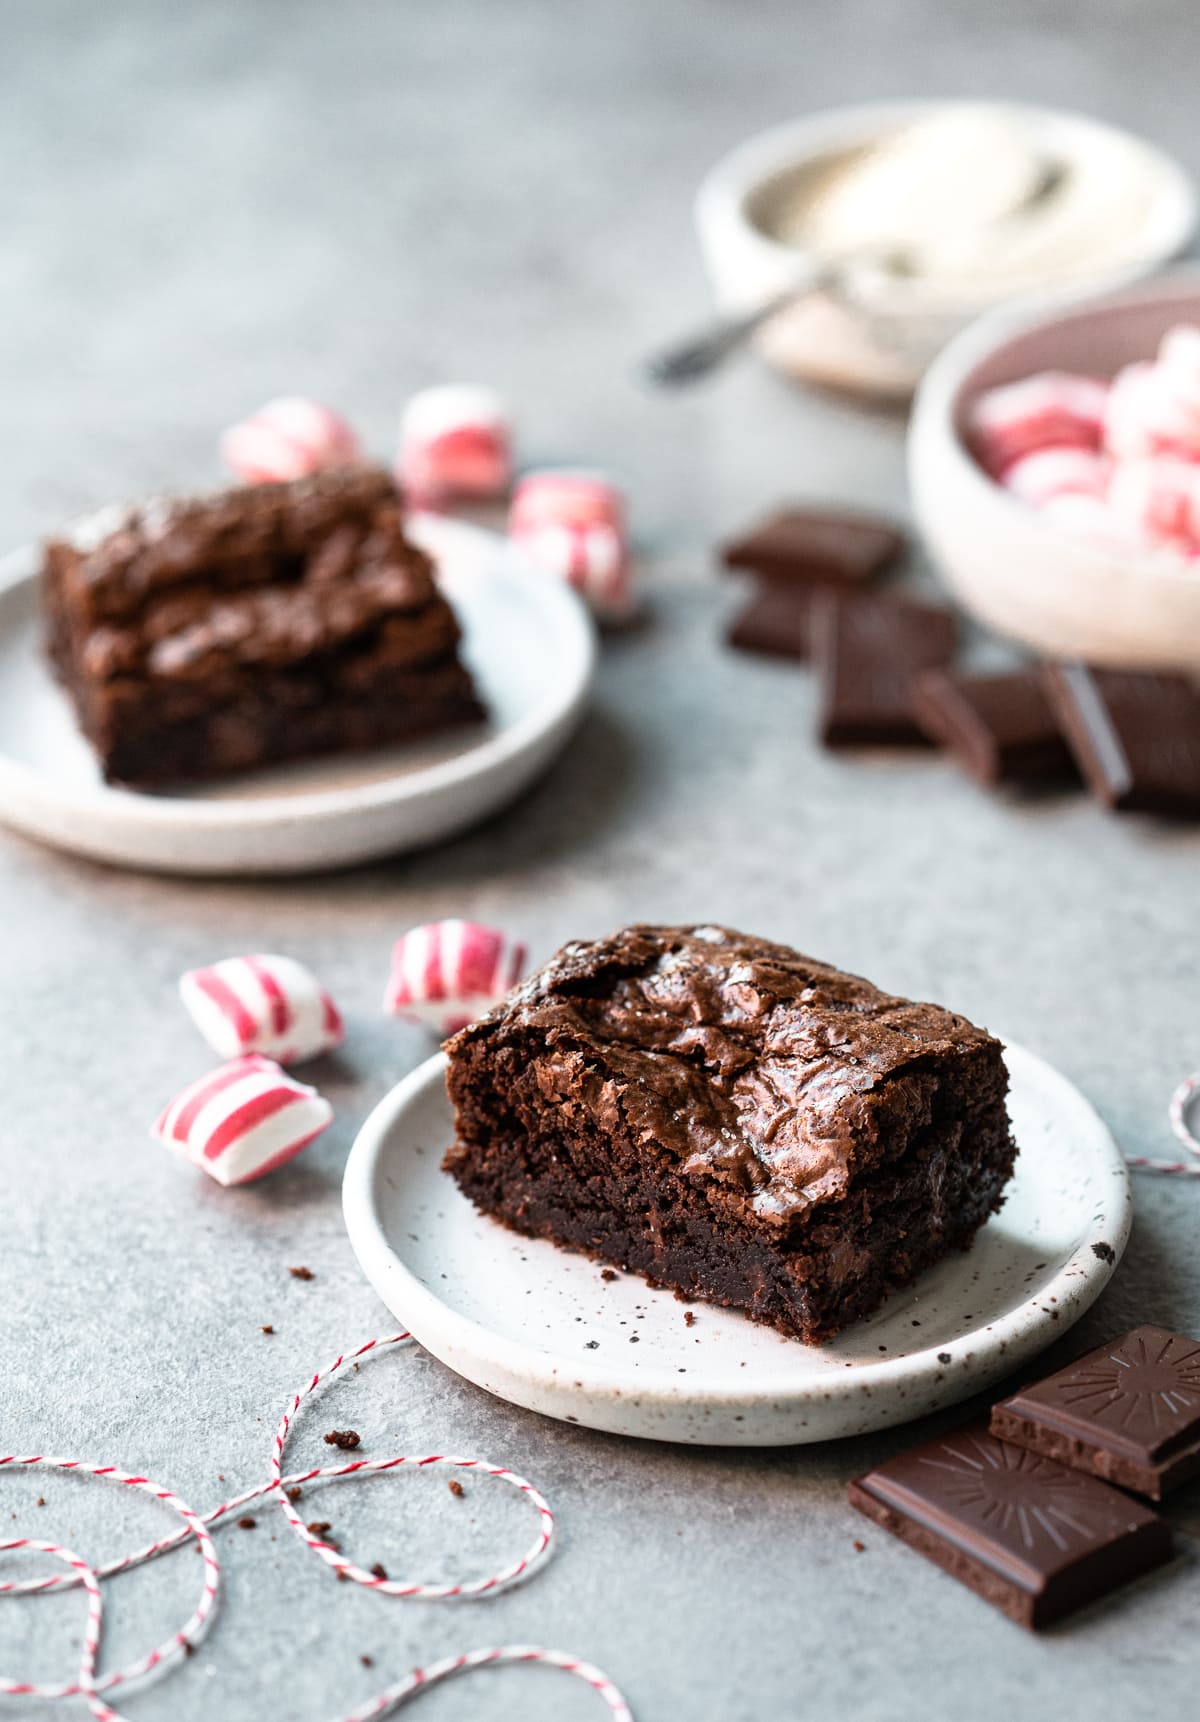
What makes a brownie "perfect" is largely up to interpretation; some people insist that they should be cakey, while others prefer their brownies more akin to a slice of fudge. In my mind, the perfect brownie lies somewhere between these two ends of the spectrum. These peppermint brownies are denser than cake, but not as dense as fudge. They're rich, soft, and tender in the center, with thicker, chewy edges. Two main factors contribute to this:
Use a combination of cocoa powder and melted chocolate. Brownies made entirely with cocoa powder tend to be more cakey, while those made with melted chocolate end up dense and fudgy. This recipes uses a combination of both, for a perfect middle-of-the-road texture.
Use the right amount of flour/cocoa powder. A heavier ratio of dry to wet ingredients will make a cakey brownie, while using a very small amount of flour/cocoa powder will create a fudgy brownie. With these brownies, there's just enough of the dry ingredients (plus a small amount of baking soda) to help them rise and lighten up their texture a bit. They're slightly cakier than my mini egg brownies, but they definitley still have some fudginess to them!
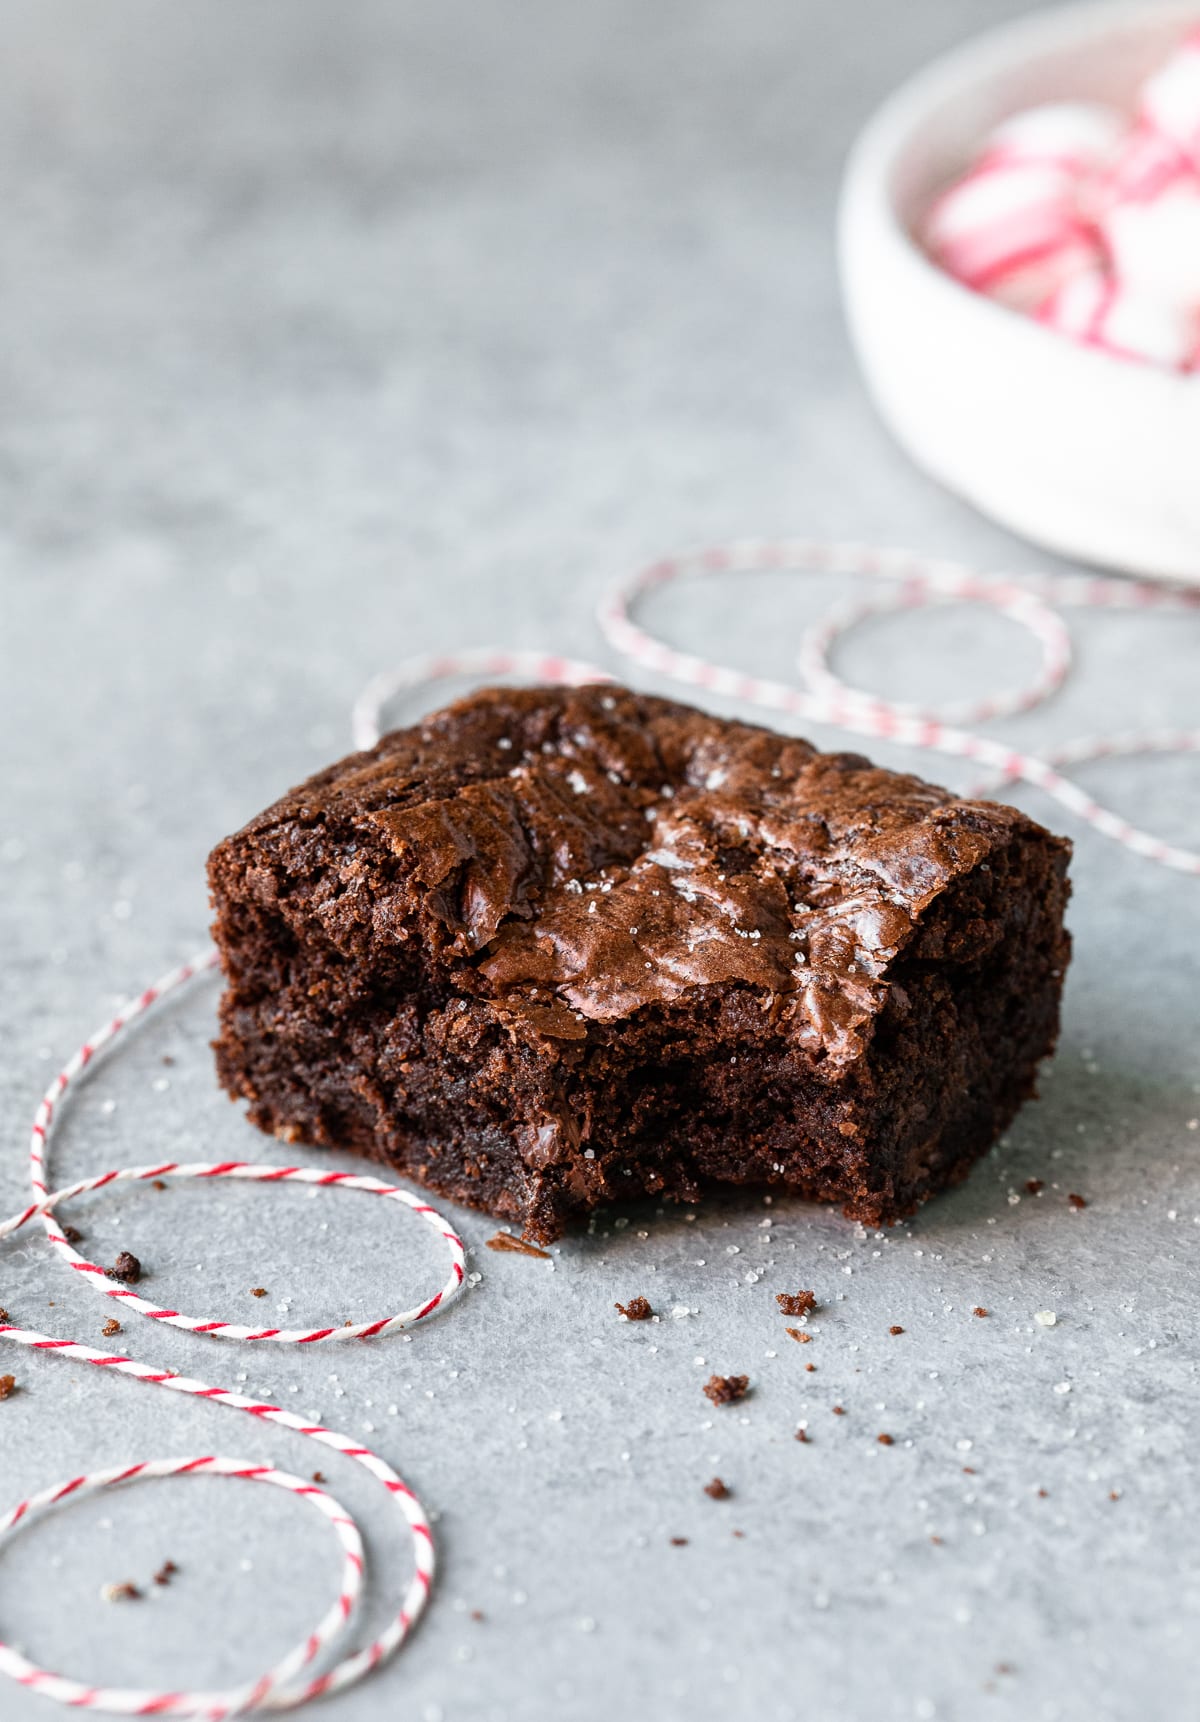
How brownies get their shiny crust
The trick to getting a beautiful, shiny layer of crust on your brownies lies in how you beat the eggs and sugar together. For this recipe, it's best to use a stand mixer, since it has the power to really whip your eggs effectively. Start by beating the eggs on medium speed, and then slowly pour in the sugar. Beat these two ingredients together on medium-high speed until they're very pale in color; the mixture should ribbon down from the beater when it's lifted from the bowl. (You can see an example of what this looks like in the recipe tips for my double chocolate muffins.)
How to tell when brownies are done baking
Once you've got the ingredient proportions down and the mixing technique mastered, the last key to making great brownies is baking them for the proper amount of time. I recommend baking these brownies at 350ºF for about 30-35 minutes, but as with all baked goods, it's best to know your oven and look for visual cues that your brownies are ready. When they're done, they should be puffed up (especially around the edges) and slightly pulling away from the sides of the pan. A toothpick inserted the center should come out with moist crumbs. This indicates that the batter has baked sufficiently, but will still be soft and chewy in the center.
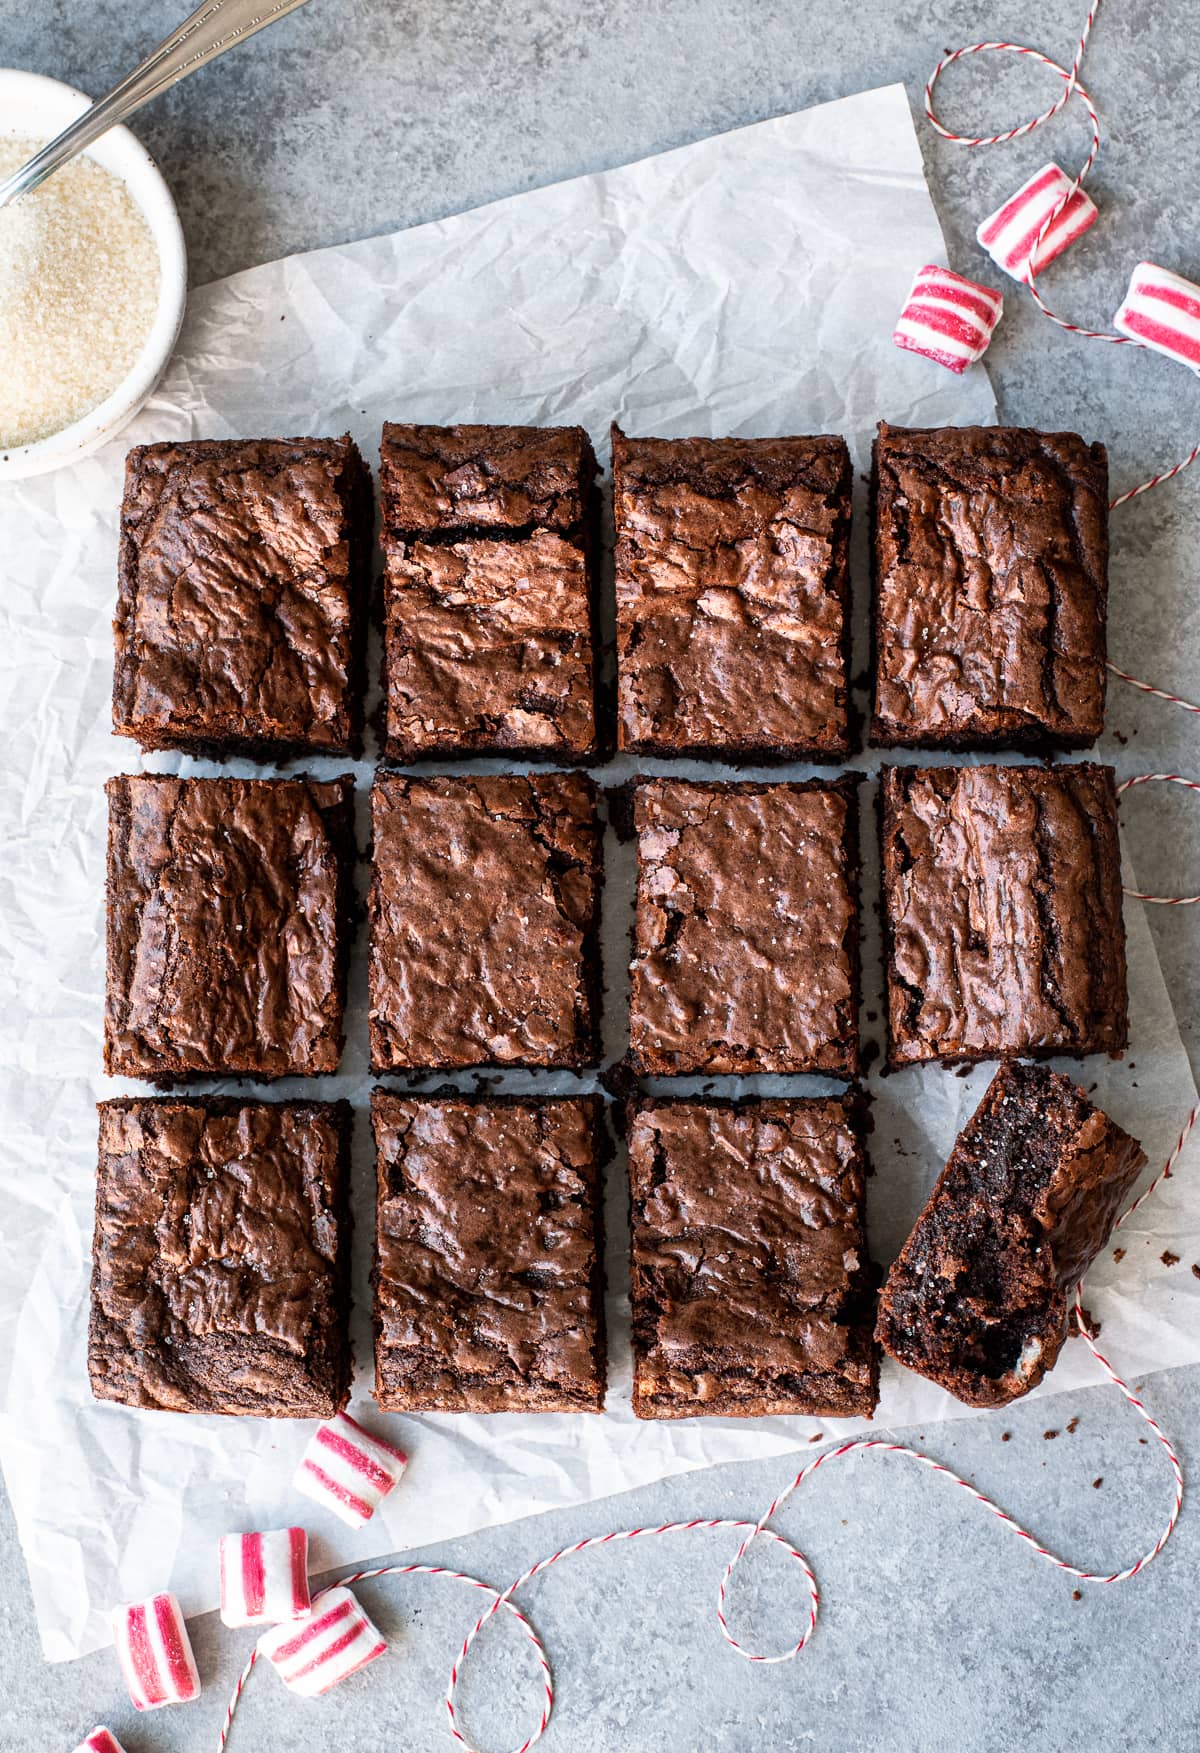
Tips for slicing
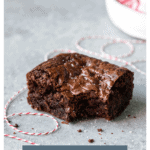
I know it's painful, but always, always, always let your brownies cool to room temperature before slicing. If you try to cut them while they're still warm, they're guaranteed to fall apart. I recommend allowing them to cool completely in the baking pan, set on top of a wire rack. Once cool, lift them from the pan and use a sharp knife to cut them into individual pieces. For absolutely perfect slices, wipe off the knife between cuts.
Storage and shelf life
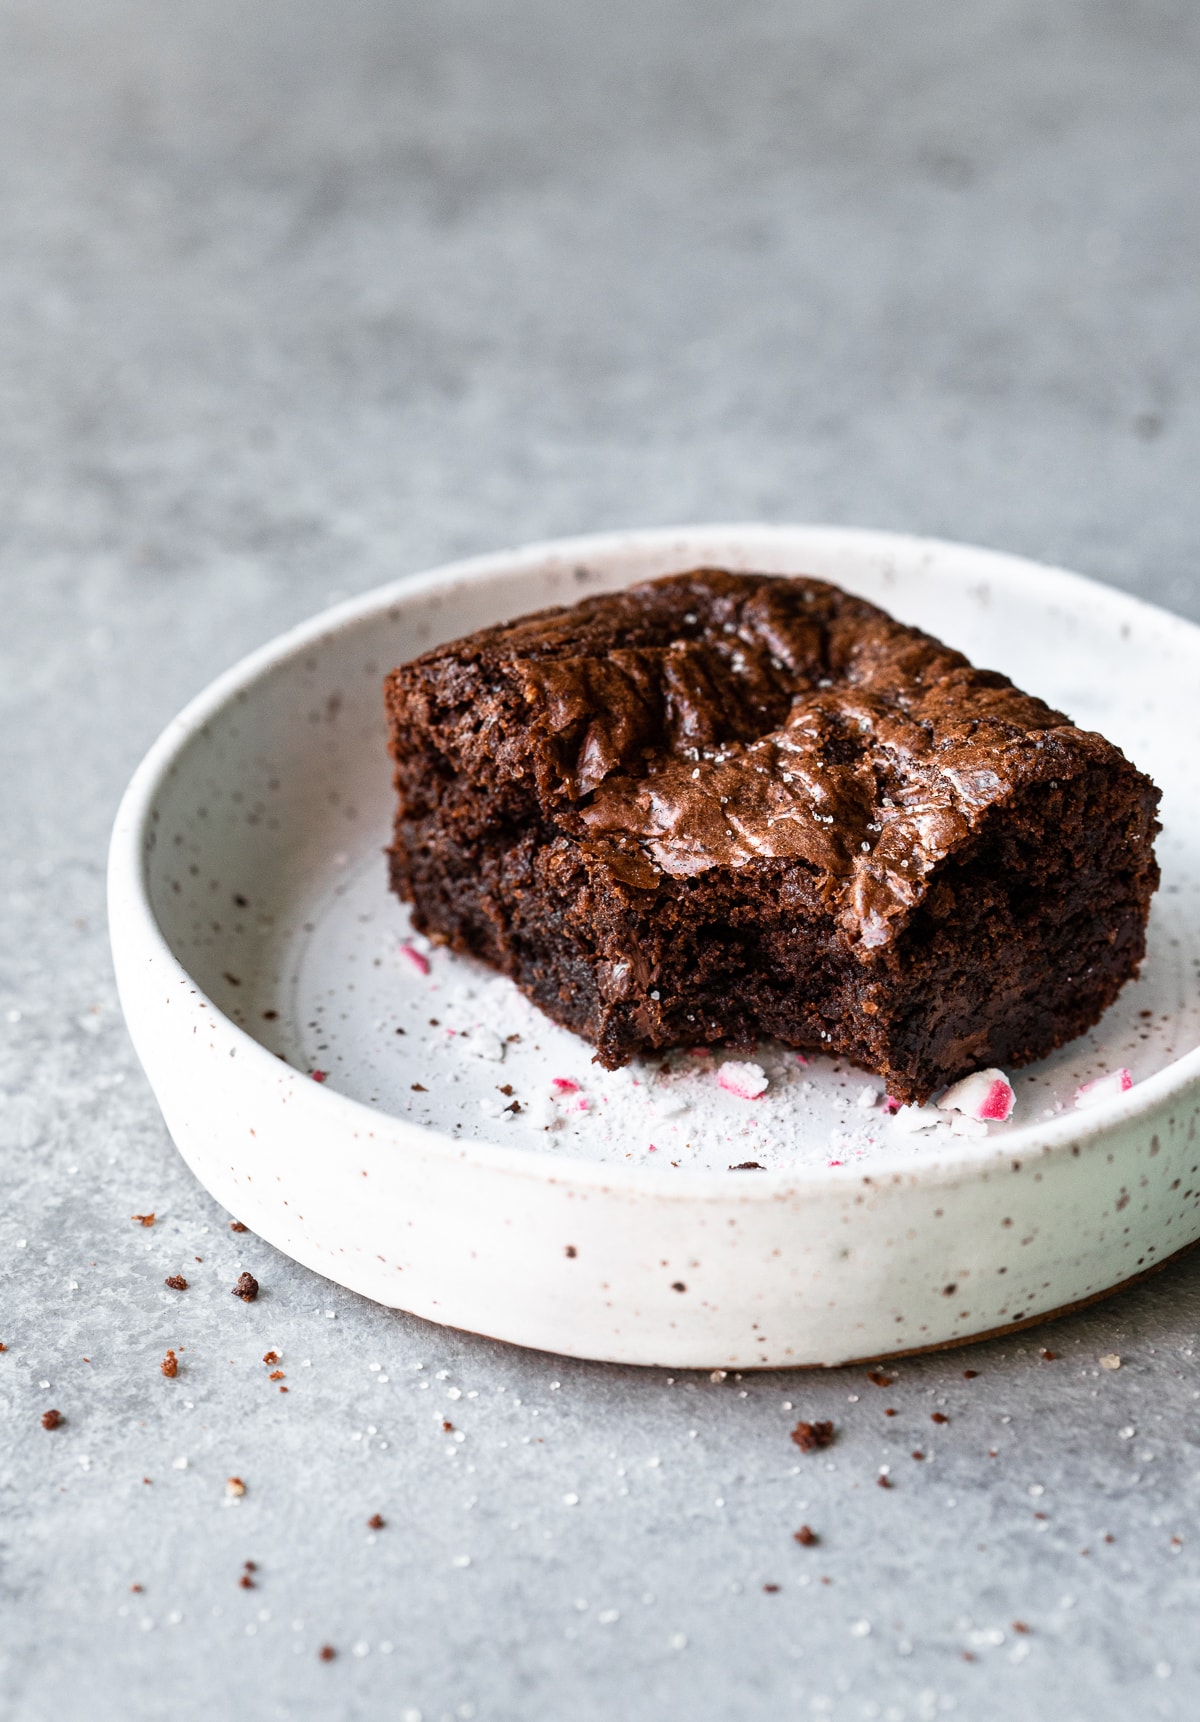
First things first: these peppermint brownies are best fresh. To really enjoy their perfectly chewy edges and rich, dense, chocolatey centers, you should eat them the day they're baked. That being said, they will keep in an airtight container at cool room temperature for at least a few days before they start to dry out.
Related recipes
There's something here for everyone: the brownie lovers and the peppermint lovers!
Fudgy Flourless Peanut Butter Cup Brownies {gluten-free}
Nutella Chocolate Chunk Skillet Brownie
Chocolate Sandwich Cookies with Peppermint Mocha Ganache
Peppermint Brownies {gluten-free}
Peppermint candy adds a wintery twist to these rich chocolate brownies. They're just the right amount of fudgy, with a shiny, crinkled crust, and bits of peppermint in every bite. If you're looking for an easy-to-make holiday treat, look no further!
- Prep Time: 25 minutes
- Cook Time: 30 minutes
- Total Time: 55 minutes
- Yield: 12 brownies
- Category: brownies
- Method: baking
- Diet: Gluten Free
Ingredients
- 4 ounces (½ cup or 1 stick) unsalted butter, cut into tablespoons
- 4 ounces bittersweet baking chocolate, chopped
- 2 ⅛ ounces (½ cup, spoon and level) gluten-free all-purpose flour containing xanthan gum*
- ⅞ ounce (¼ cup) cocoa powder (Dutch or regular)
- 2 tablespoons cornstarch
- ⅜ teaspoon salt
- ¼ teaspoon baking soda
- 2 eggs
- 7 ounces (1 cup) granulated sugar
- ½ teaspoon peppermint extract
- 6 ounces dark chocolate with peppermint**
- 1 ¾ ounces (½ cup) peppermint puffs candy, finely chopped
Instructions
- Preheat oven to 350ºF. Line an 8" square baking pan with parchment paper or foil. If using foil, coat with nonstick cooking spray.
- Combine butter and chopped baking chocolate in a small saucepan. Warm over medium-low heat, stirring often, just until smoothly melted. Set aside to cool while prepping dry ingredients.
- In a medium mixing bowl, whisk together the gluten-free all-purpose flour, cocoa powder, cornstarch, salt, and baking soda.
- In the bowl of a stand mixer fitted with the wire whip attachment, start beating the eggs on medium speed. While beating, slowly pour in the granulated sugar. Increase speed to medium-high and beat until the mixture is pale in color and ribbons down from the beater when lifted. Scrape down the bowl and beater as needed to make sure all of the sugar gets incorporated.
- With the mixer on low speed, slowly pour in the chocolate mixture. Add the peppermint extract. Increase speed to medium and beat in until smoothly incorporated, scraping down the bowl and beater as needed.
- Switch mixer to the paddle attachment. Add the flour mixture and mix in on low speed just until mostly incorporated. Add the chopped peppermint chocolate and peppermint puffs. Fold in with a rubber spatula just until all ingredients are evenly combined; do not overmix.
- Transfer batter to the prepared pan, smoothing out in an even layer that reaches every corner and edge. Bake in the preheated oven for 30-35 minutes, until a toothpick inserted into the center comes out clean or with a few moist crumbs. Set pan over a wire rack and allow brownies to cool completely before lifting from pan and slicing.
Notes
*Although I haven't tested it, regular all-purpose flour should work as well.
**Sprouts makes an Organic Dark Chocolate with Peppermint Crisps that I used here.

mom
Having driven 3 hours to get 2 of these, wow. I'm glad we did!