
Many cake recipes call for lining your pans with parchment paper rounds. But pre-cut rounds aren't always cheap! Avoid the added cost with this easy tutorial for cutting your own parchment circles; it's quick, simple, and inexpensive.

If you bake cakes often, you've probably noticed that many recipes instruct you to line your cake pans with parchment paper. It might sound like an unnecessary step, but in reality, it makes it SO much easier to get the cake out of its pan once baked. You can buy these parchment rounds pre-cut, but it's just as easy to make your own!
Jump to:
Why you should line your cake pans with parchment
Cakes can be fickle beasts. Sometimes they slide out of their pans easily, and other times all they want to do is stick. Proper cake pan preparation is the key to avoiding disaster. While you can (and should!) grease and flour your cake pans, I always recommend lining the bottoms with parchment as well.
When the sides of a cake stick to the pan, they can usually be loosened with an offset spatula. But when the bottom is stuck, there's not much you can do to salvage the situation. Parchment helps you prevent that problem entirely, providing a barrier between your cake and the pan it's baked in.
Why you'll love this method
- It's easy. Once you get the basics down, you'll be able to cut your own parchment circles in less than 60 seconds.
- It's precise. If you've ever tried tracing the outline of your cake pan onto a sheet of parchment and cutting out the circle, you've probably realized it's not the cleanest method. Your circles might even wind up slightly too large for the pan. But the method I'll show you in this post is simple and foolproof.
- It's cheap. I will say that your cost savings is going to depend on where you buy your parchment, and where you would otherwise buy parchment circles. But if you buy your parchment in bulk (I get mine at Costco), you can make about twice the amount of parchment circles for the same amount of money you'd pay to buy them pre-cut.
- It's convenient. Chances are if you like to bake, you always have a roll of parchment on hand. Add a pair of scissors, and you have everything you need for this tutorial, without making another trip to the store.
Supplies needed
- parchment paper
- scissors
How to cut your own parchment rounds
Time needed: 1 minute
Here's how you can (easily) cut your own parchment paper rounds:
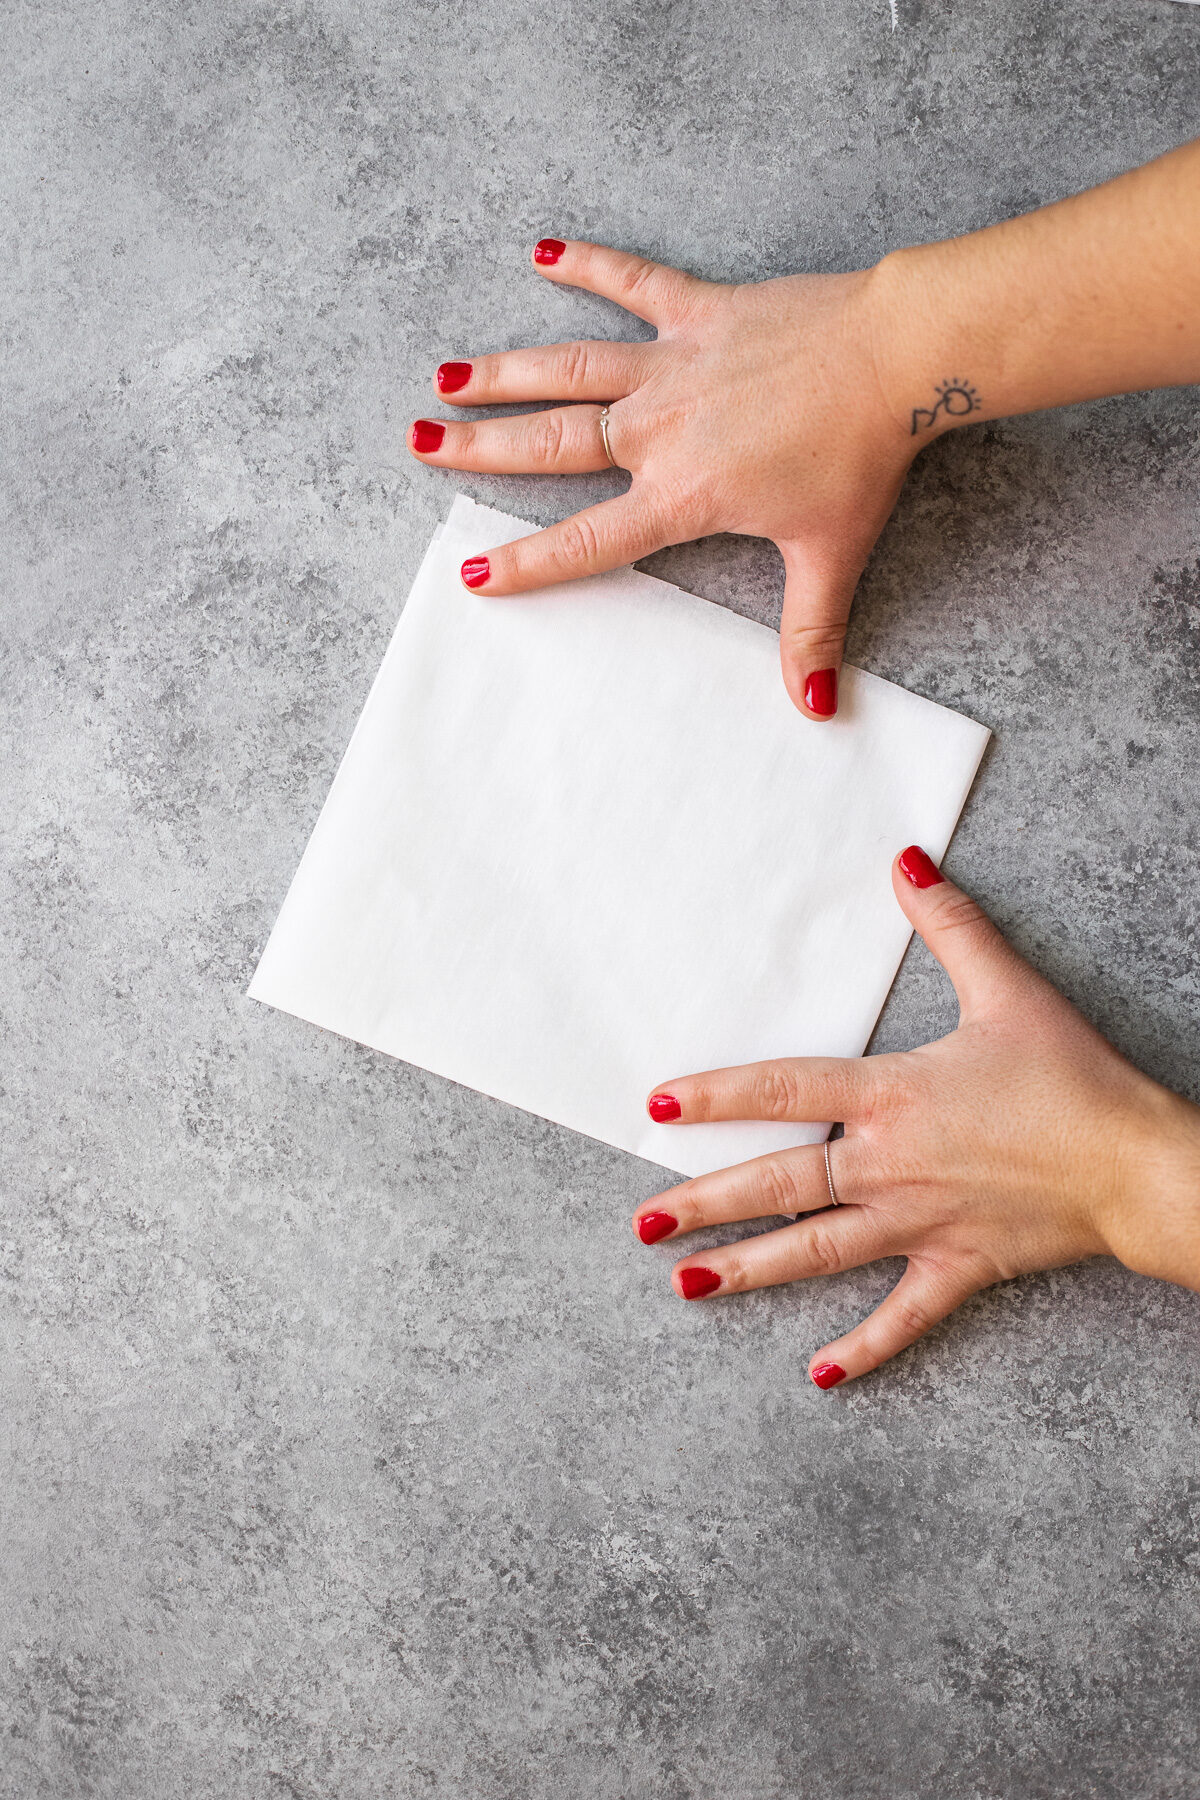
- Start with a sheet of parchment.
It should be at least as wide and as long as the diameter of your cake pan, and preferably a few inches larger than that. For example, for an 8" cake pan, you can start with a 10" square sheet of parchment. But don't worry about being precise; it doesn't even need to be a perfect square.

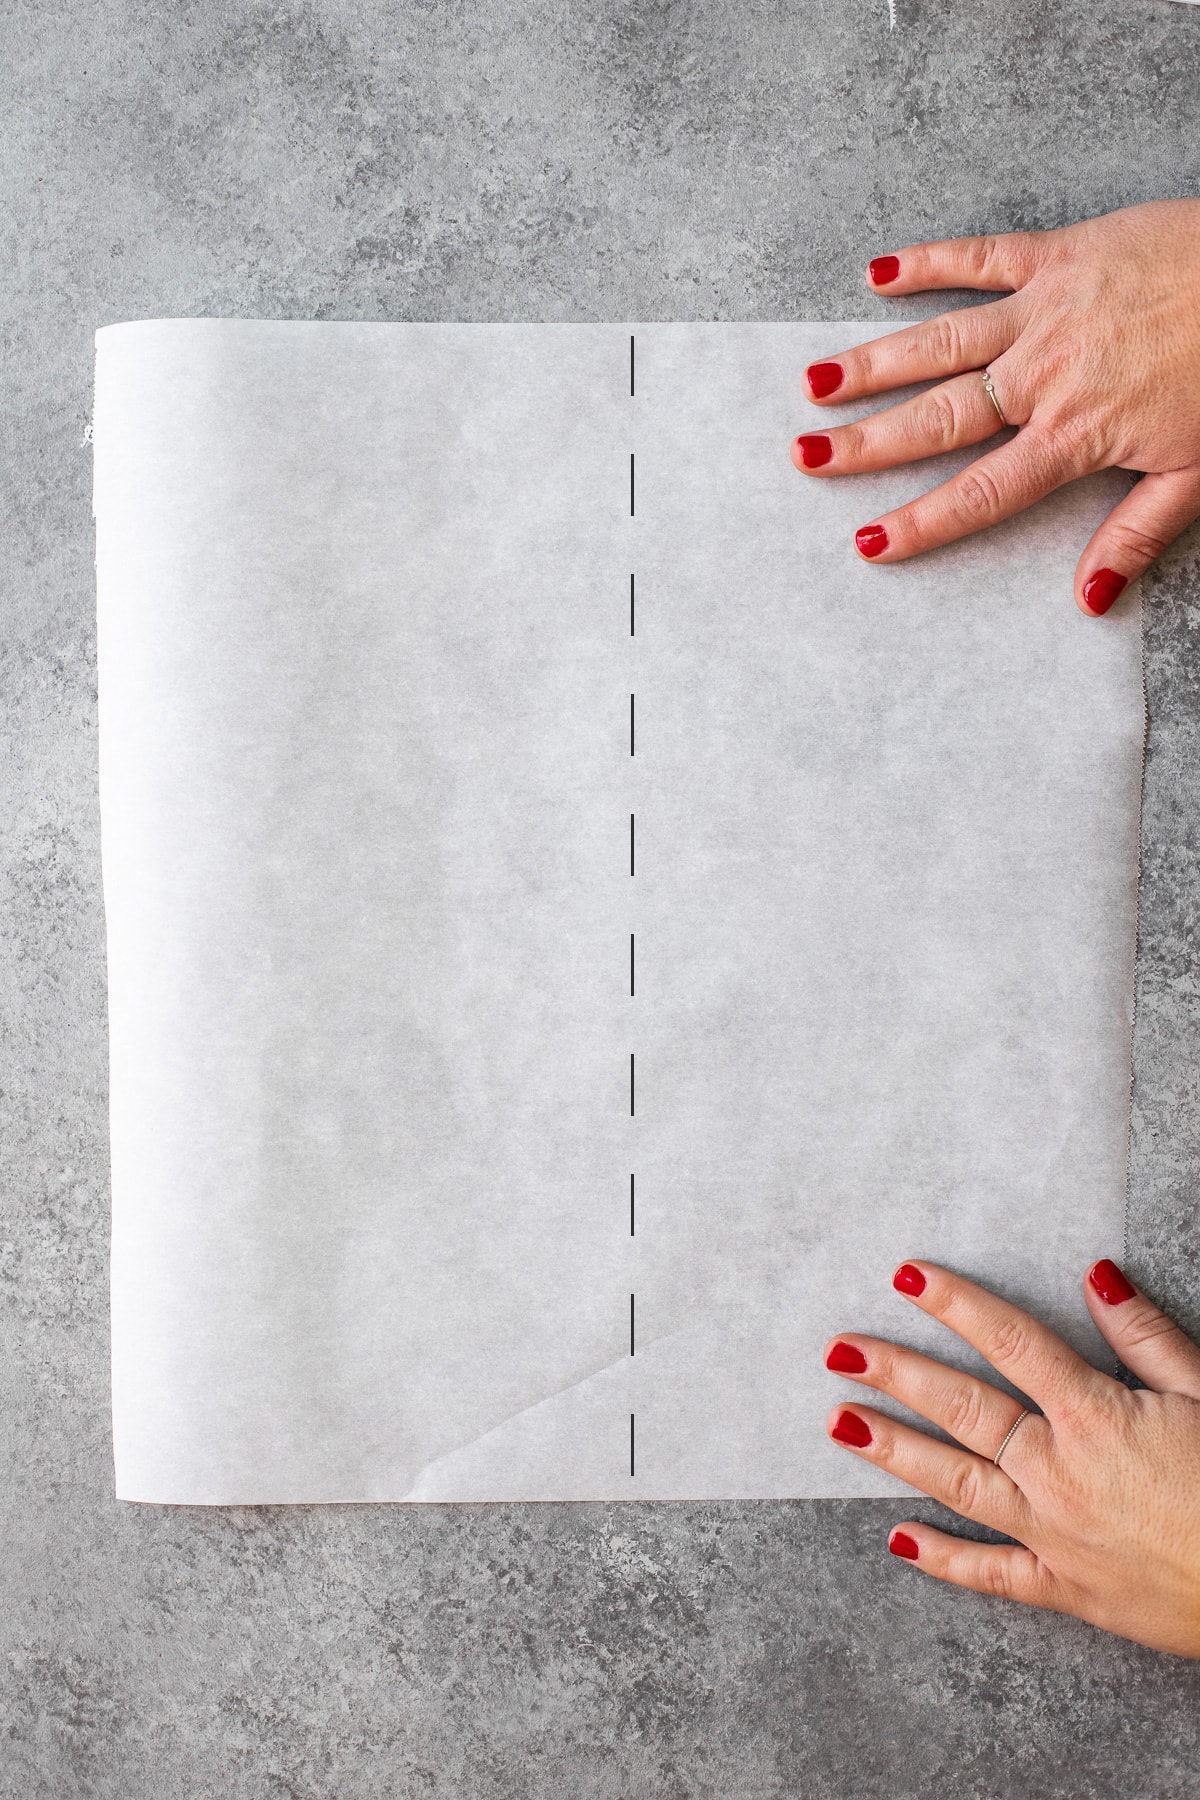
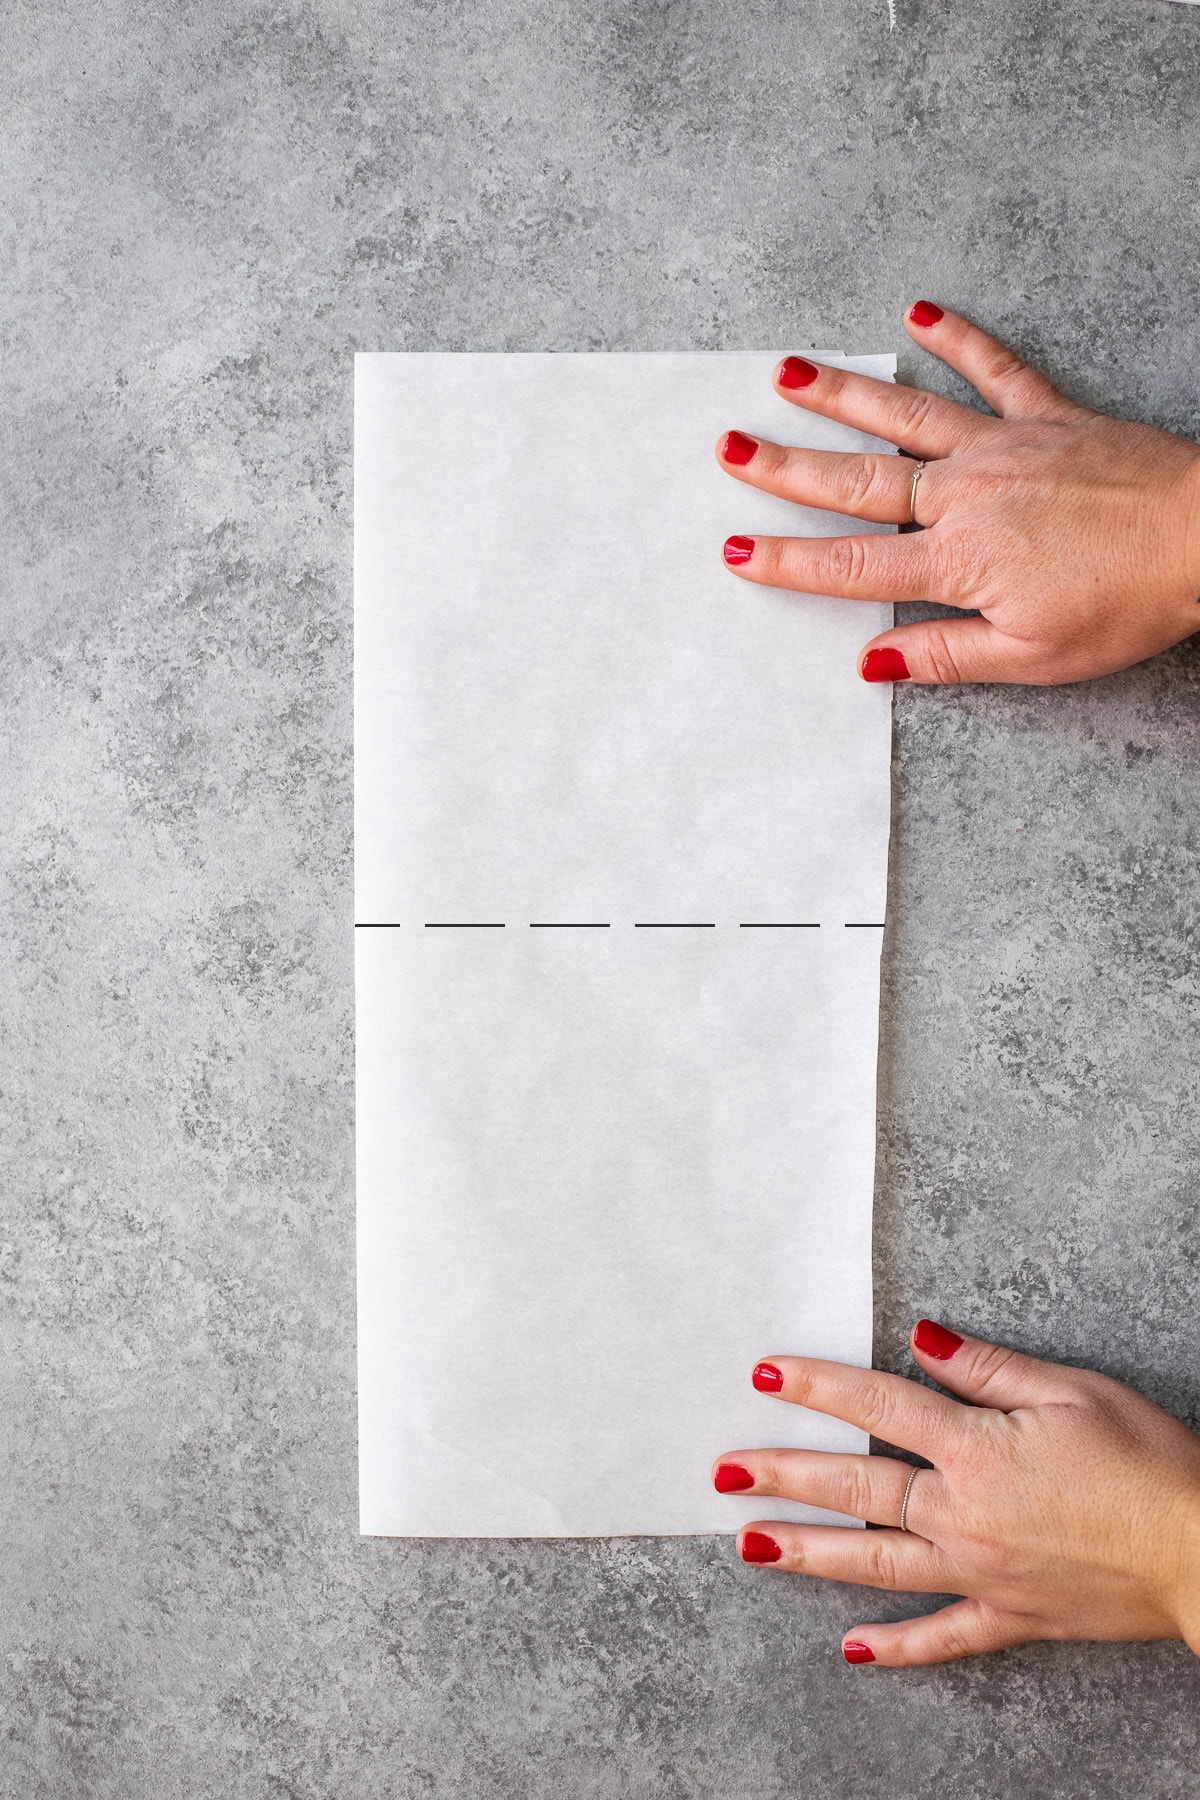
- Fold the sheet in half.
We'll take this back to elementary school - fold the paper in half, hot dog style.
- Fold again in the opposite direction.
Repeat step two, but this time fold it hamburger style. You should now have a rough square shape.
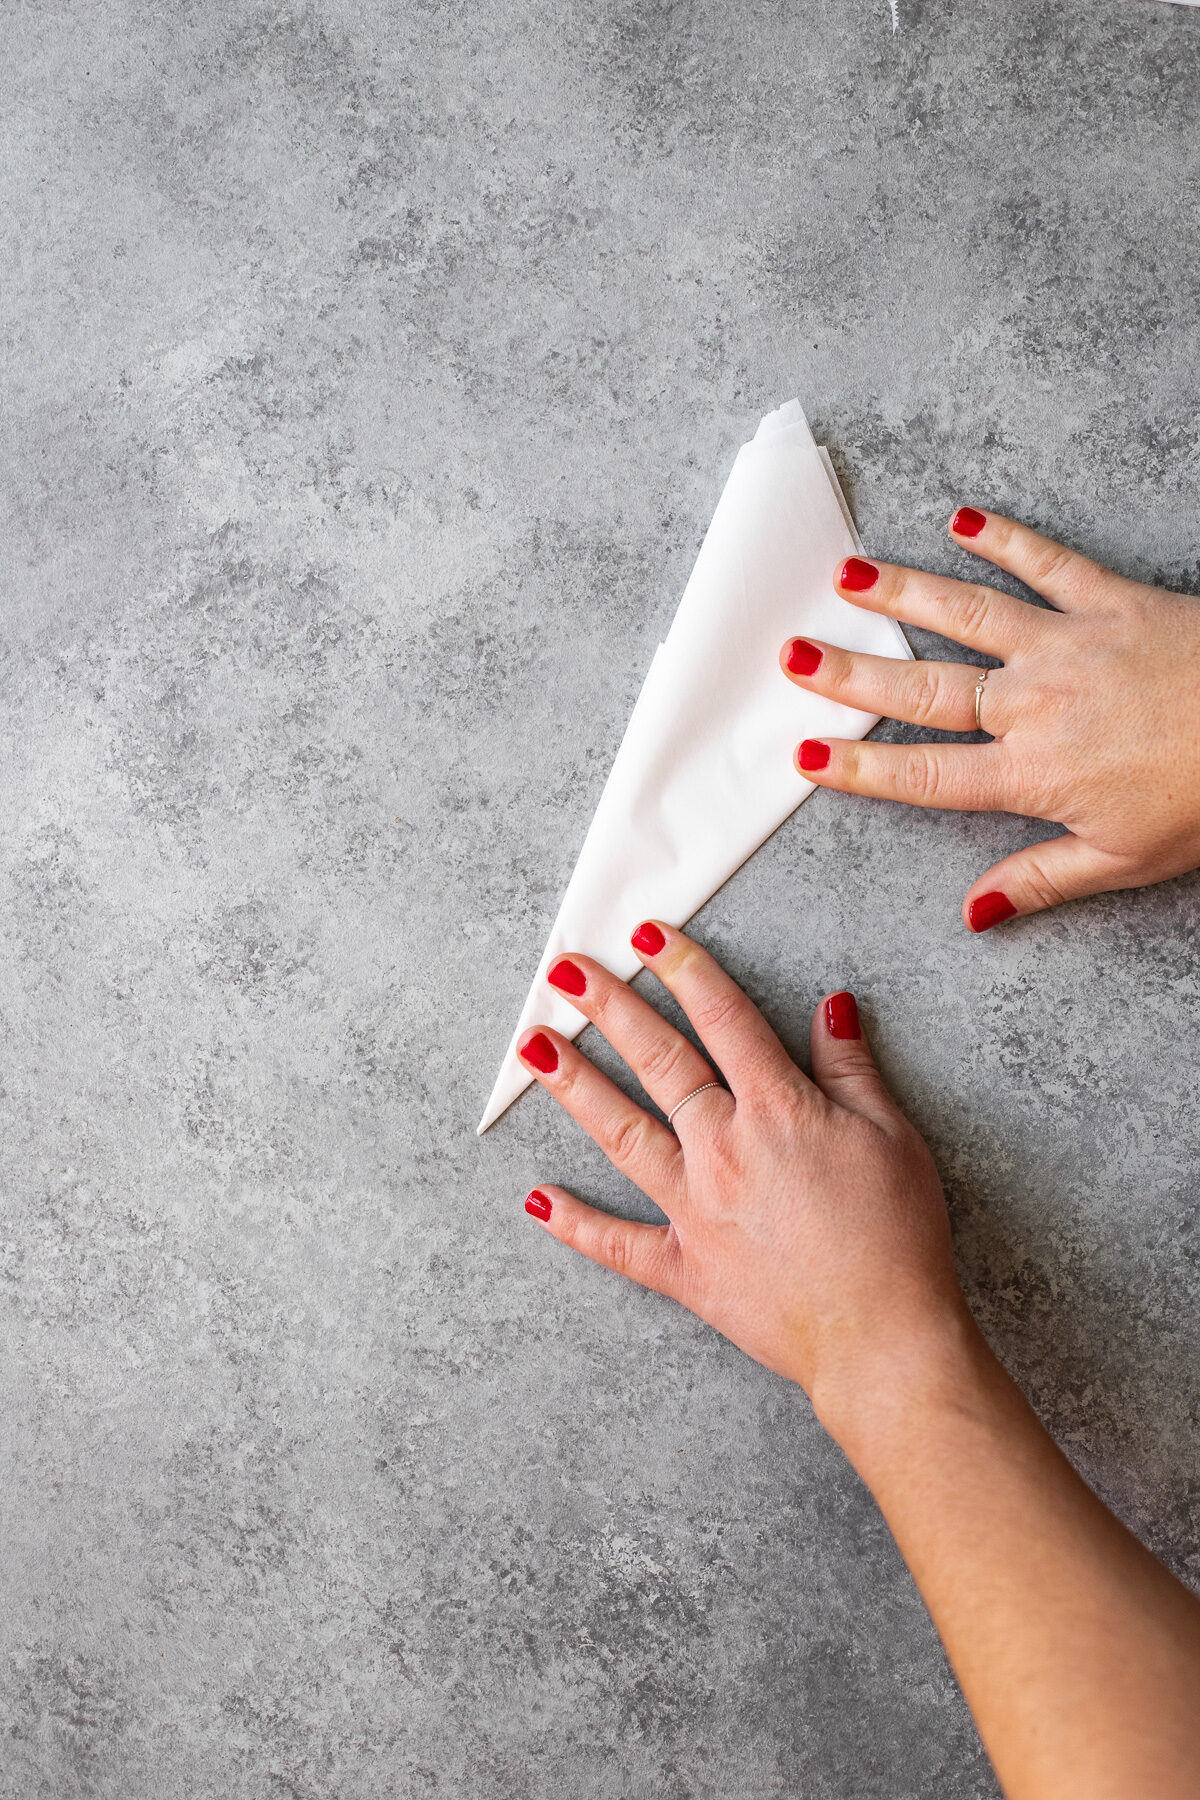
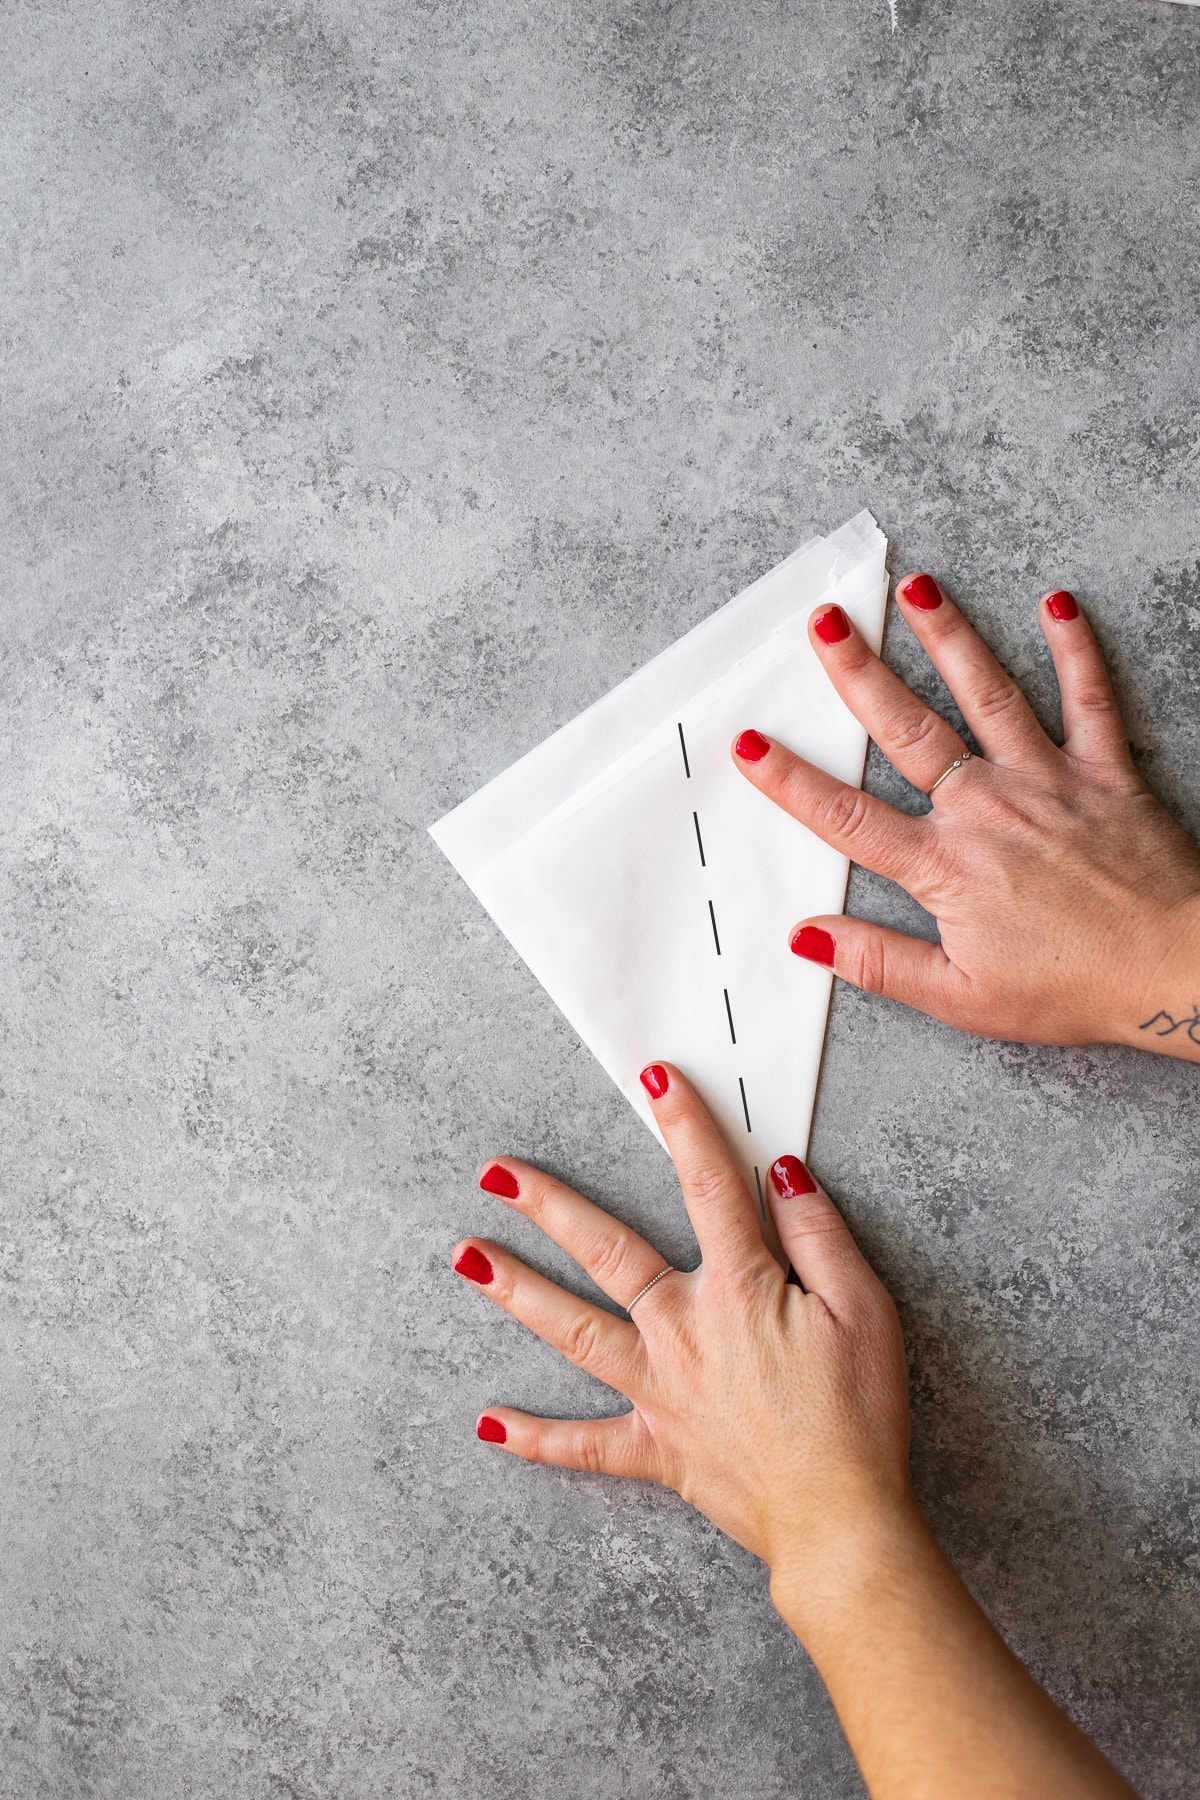
- Fold a third time, bringing one folded side to the other.
Fold the square diagonally, so that the two folded sides line up evenly. You'll be left with a triangular shape. The side opposite the tip of the triangle may not be straight, which is fine.
- Fold once more as you did in step four.
Essentially you want to fold your triangle in half, bringing one folded side over to the other again. You should now have a thinner triangle, with a sharper point.
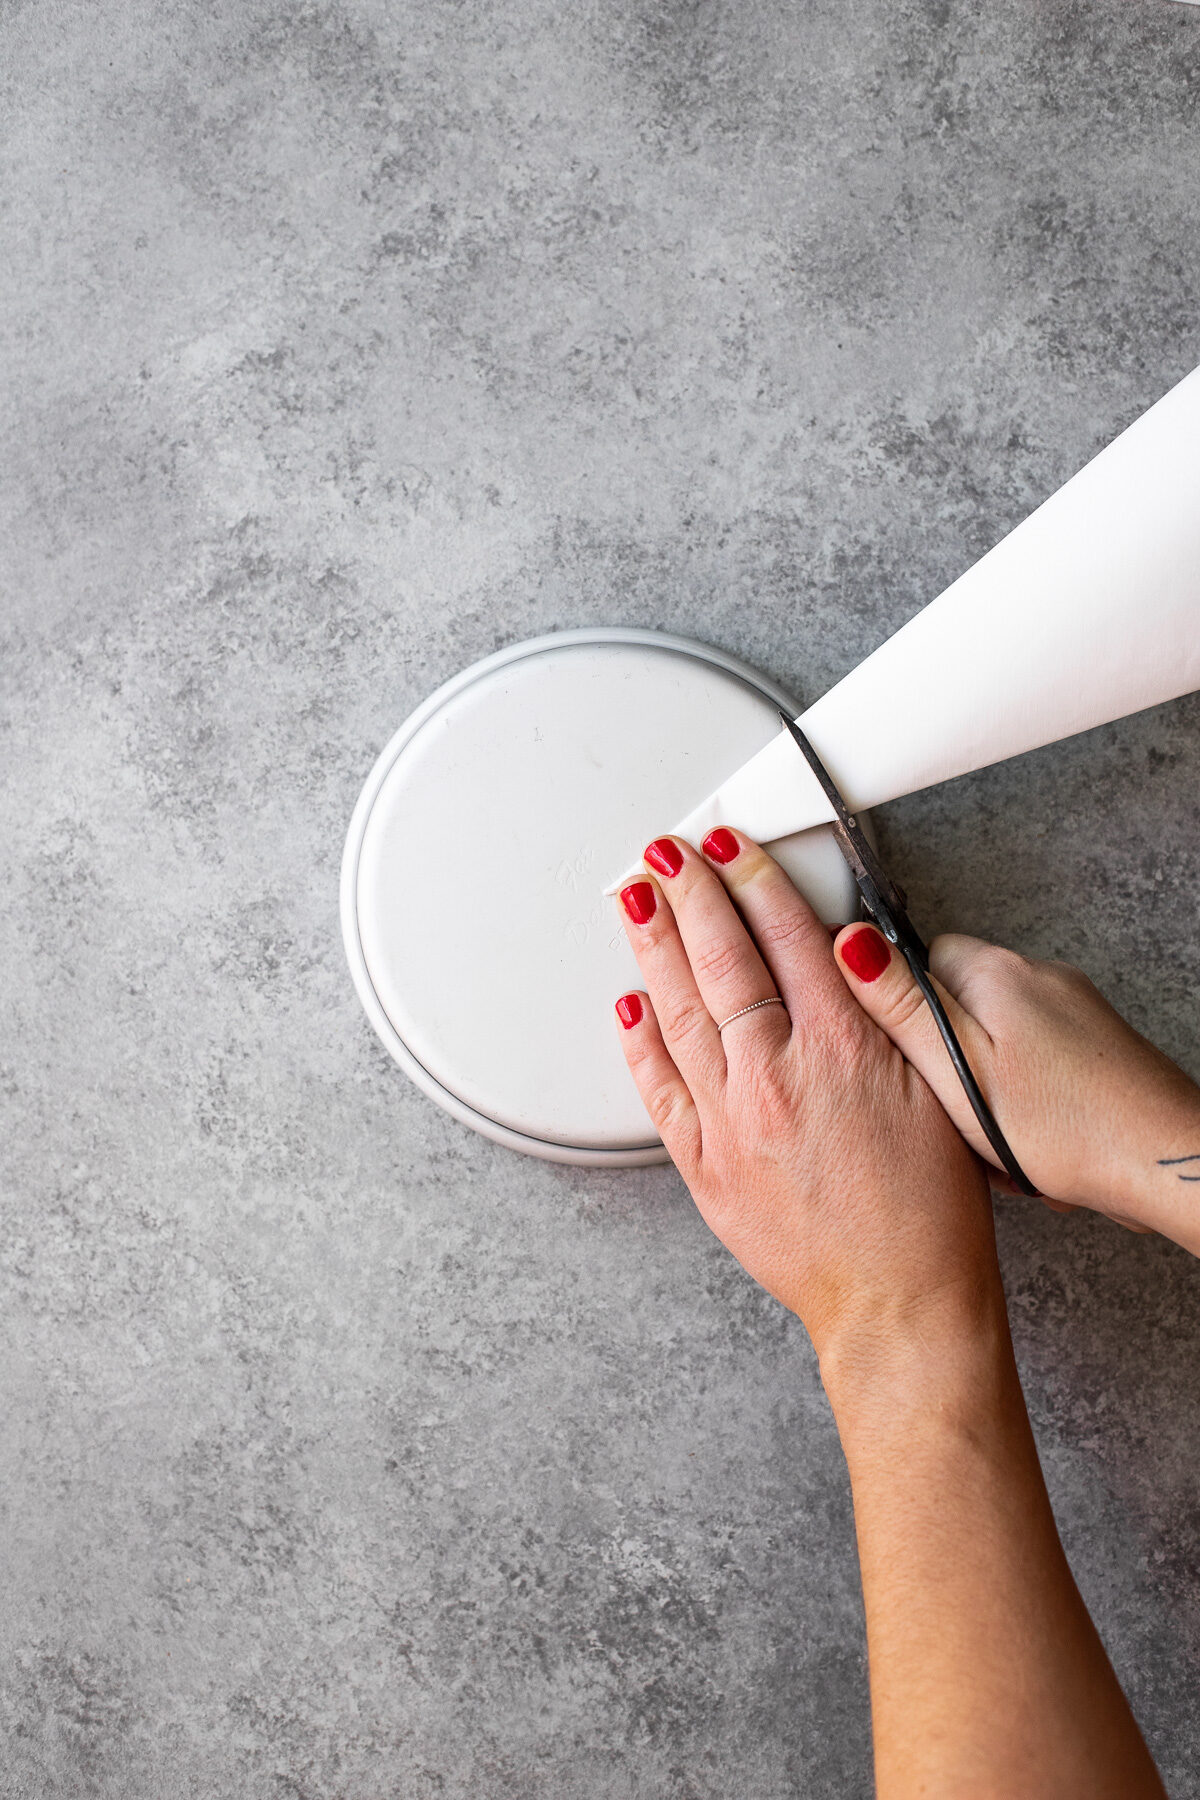
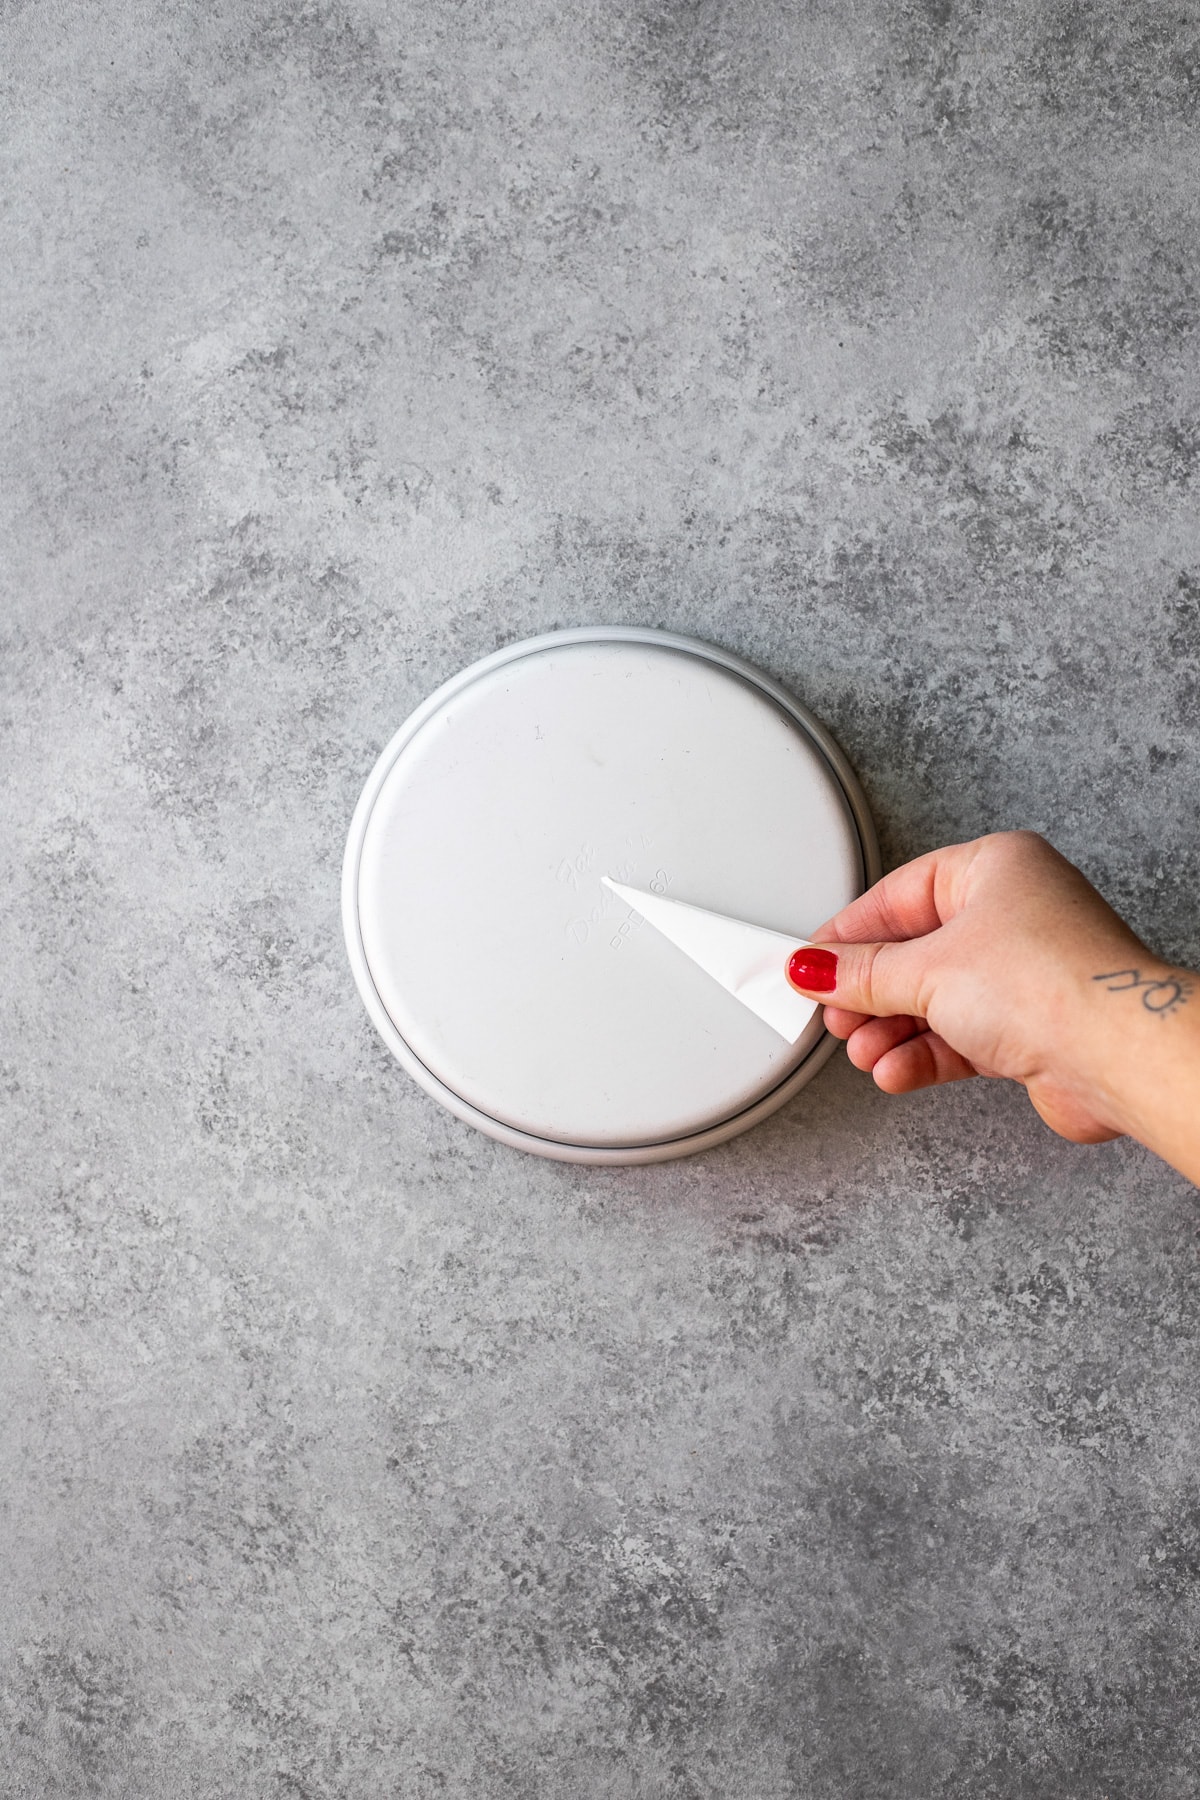
- Cut to the radius of your cake pan.
Flip your cake pan over and place the triangle on top, so that the tip of the triangle touches the center of the pan. Then, use your scissors to cut the parchment along the outer curve of the pan.
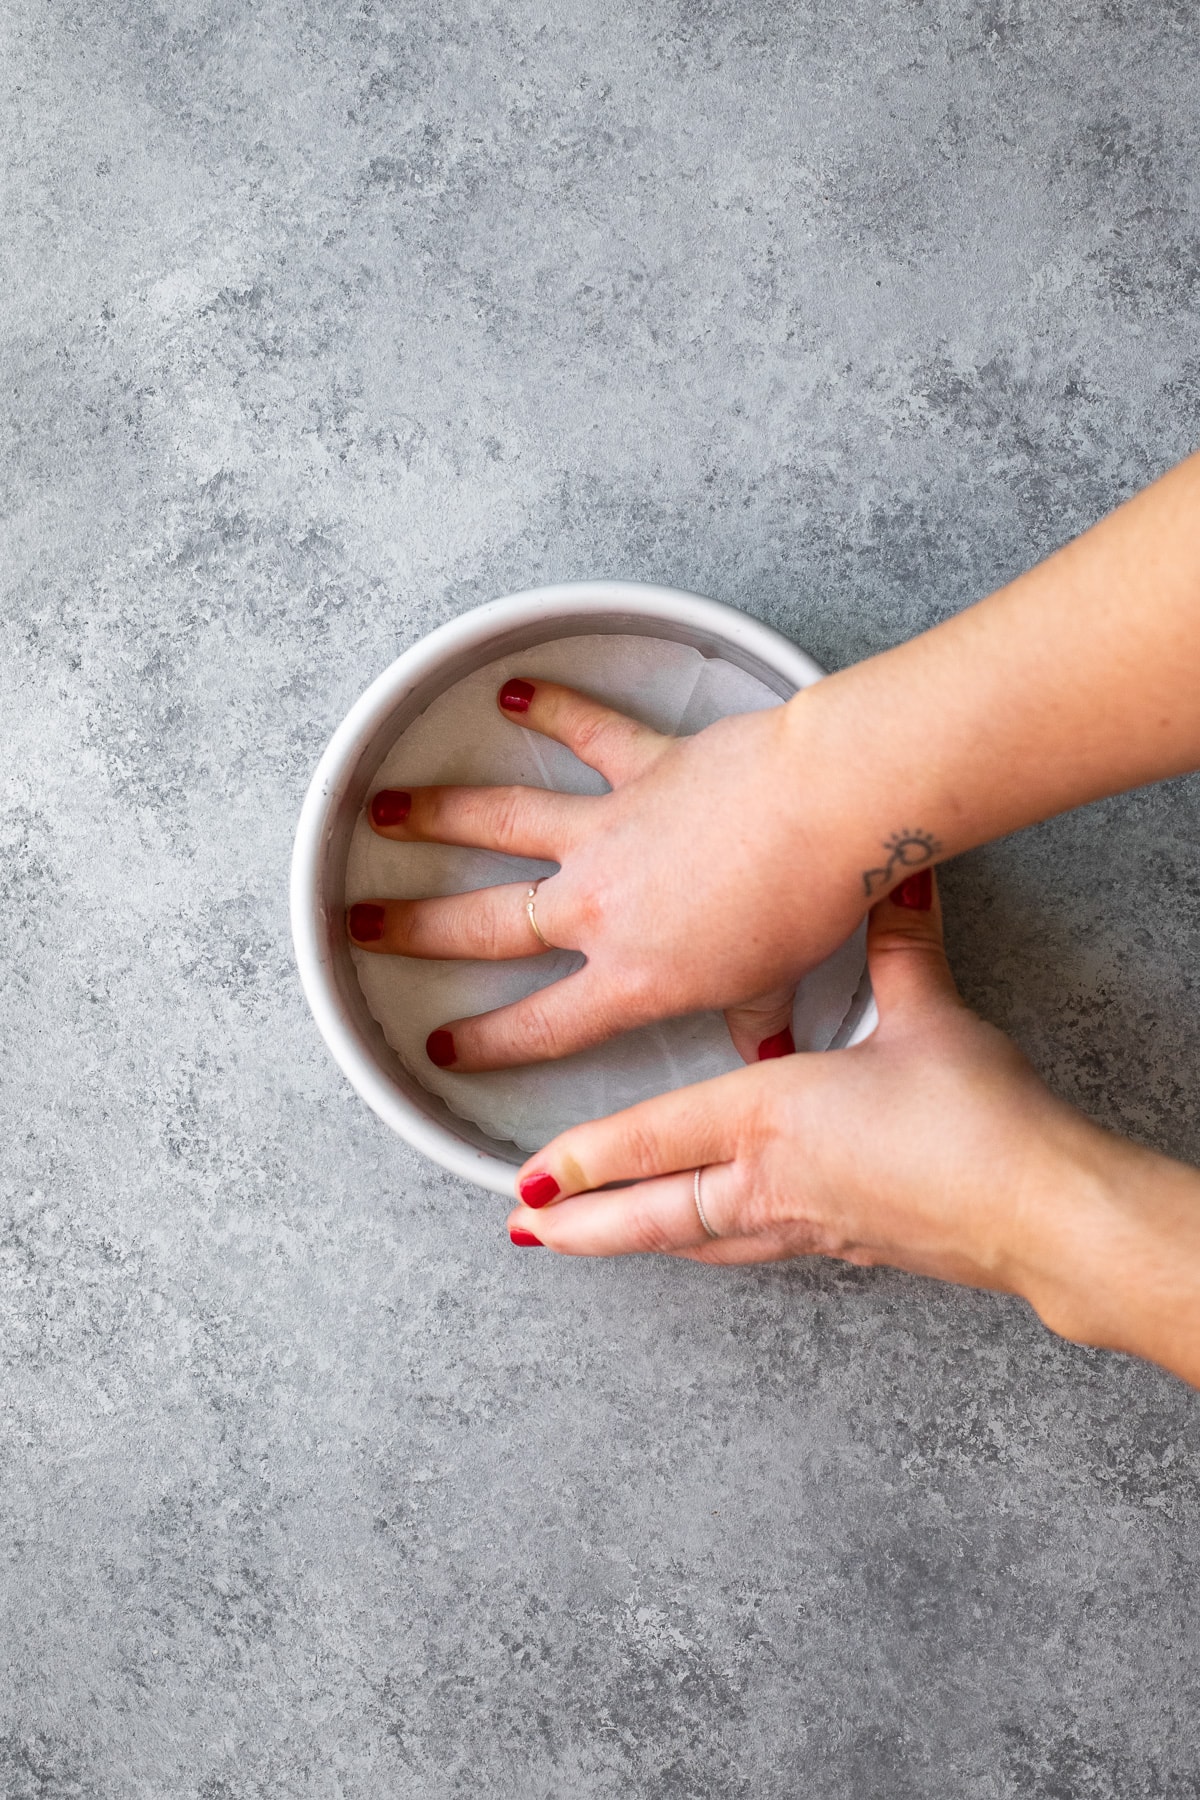
- Unfold the parchment.
And that's it! Once you unfold the piece of parchment in your hand, you should be left with a round that fits perfectly inside your pan.


How-To Video
Want to see how the step by step photos above come together? Here's a quick video to show it all in action!
Step by step diagram
If you've done this DIY before and just need a quick refresher, here's a diagram to save and refer to!


Tips and FAQ
You can use this method to cut parchment paper rounds for any circular cake pan, regardless of the size or type of material. Use the size of the pan to determine how big a sheet of parchment you should start with, as explained in step one above.
For functional purposes, no. Bleached parchment is just parchment that's been treated with chlorine to make it white. Which one you use is purely a matter of personal preference; they work the same way. However, you should not line your cake pans with foil or wax paper.
Depending on the cake recipe you're working with, you may not need the added step of a parchment liner. But in other cases, it's absolutely necessary. Regardless, it never hurts! To ensure your cakes always come out cleanly, I recommend lining your pans with parchment every time.
To prevent cake from sticking to the sides of your pan, I always suggest buttering your cake pans before lining them. This does double duty, since the butter will also help the parchment liner stick to the bottom surface. For good measure, you can dust the sides of the pan with flour or cocoa powder too. I go over this thoroughly in my post on how to prep cake pans.
Yes! Parchment paper is generally safe to use in an air fryer as long as there's no chance of the paper touching the heating element.


Mark G.
Now that is a great tip on cutting parchment paper for the bottom of the cake pan - brilliant!
Thank you bright-eyed baker, that was very helpful.
Sincerely,