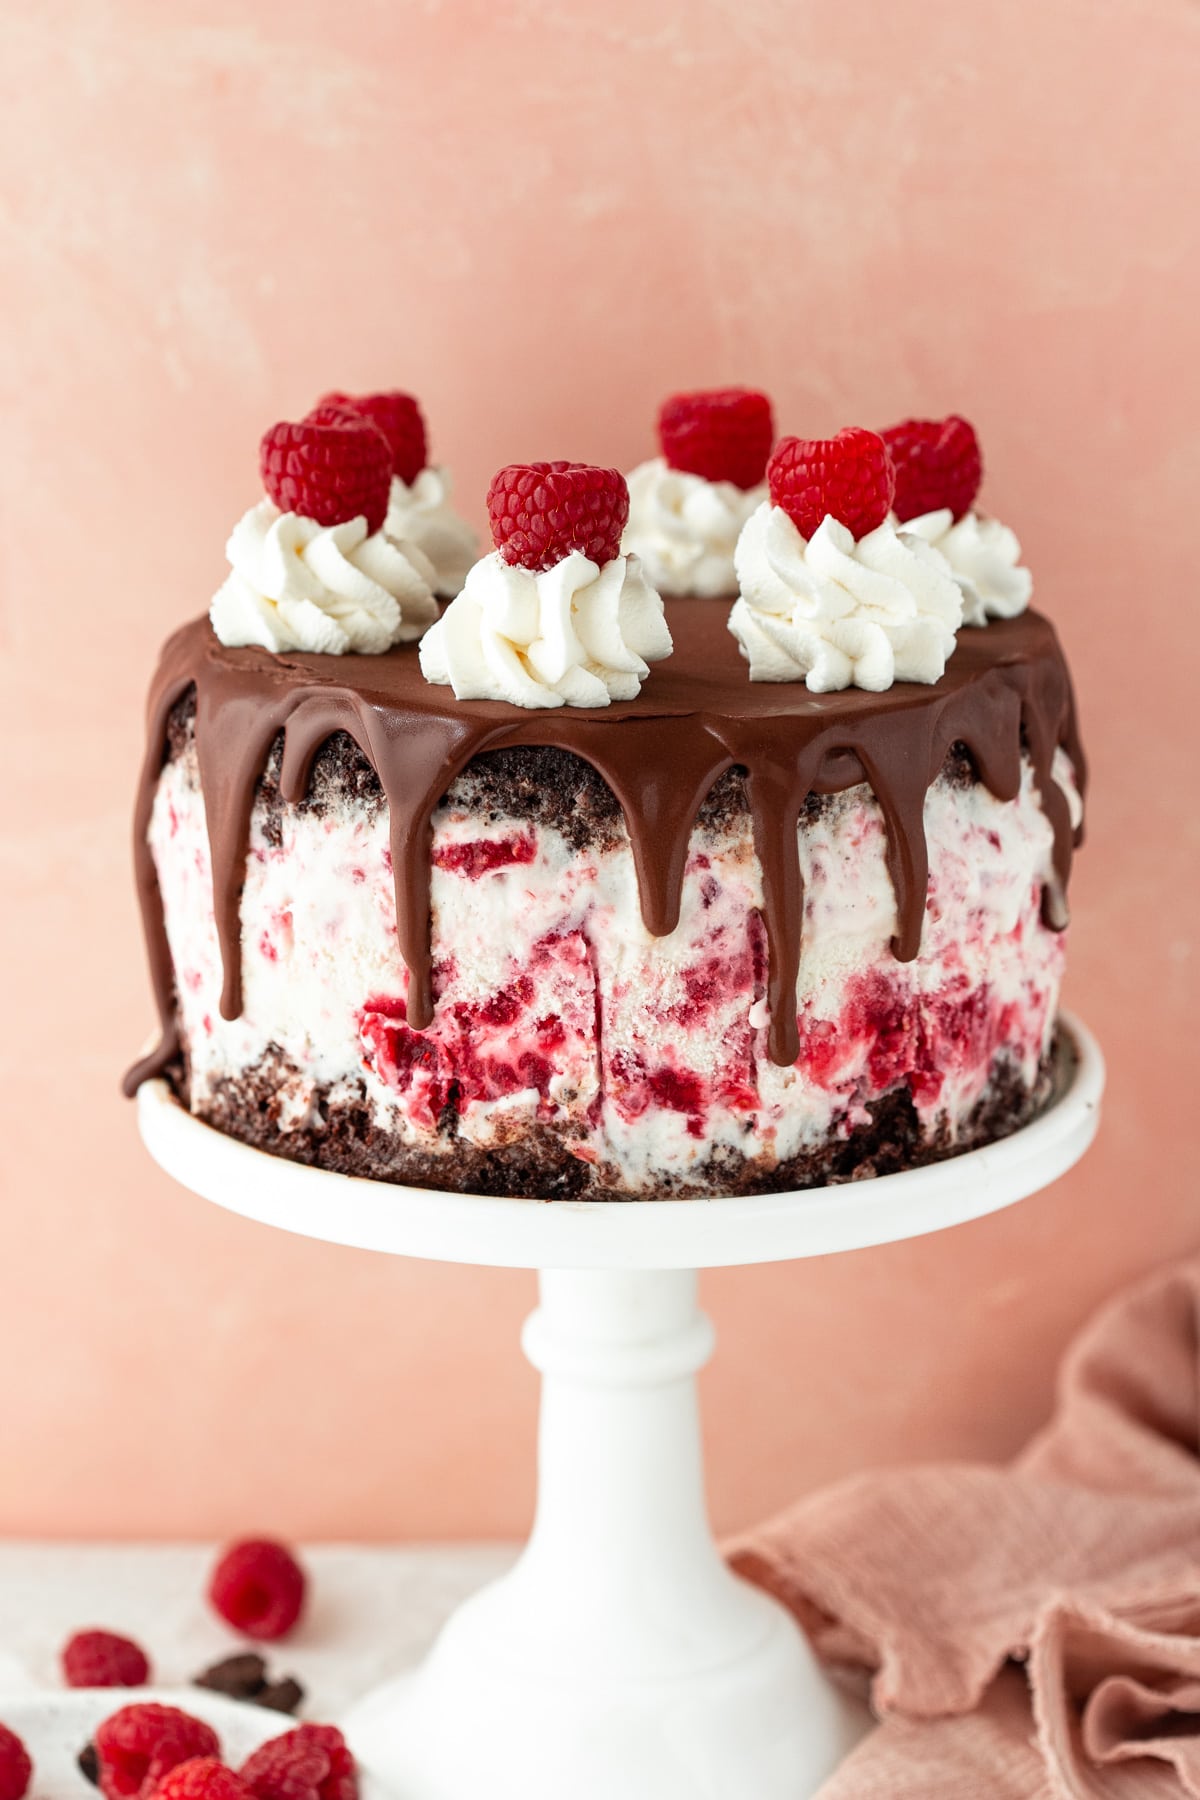
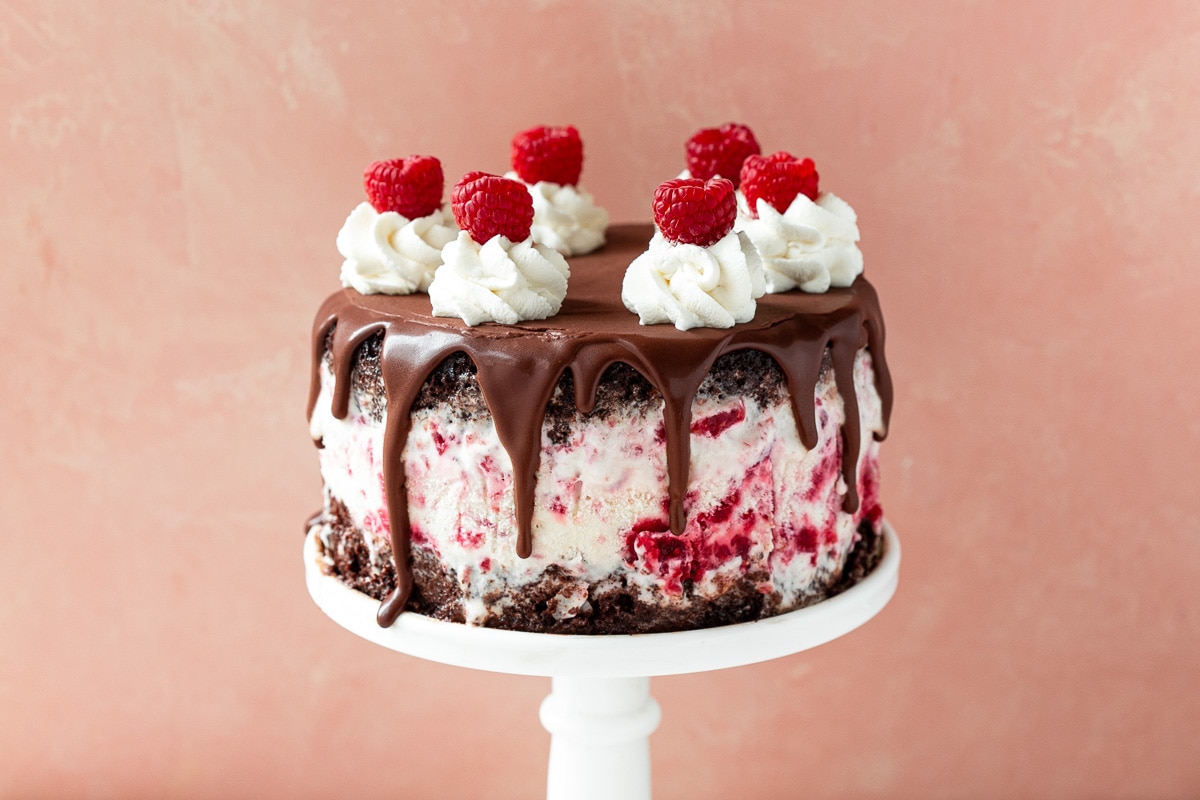
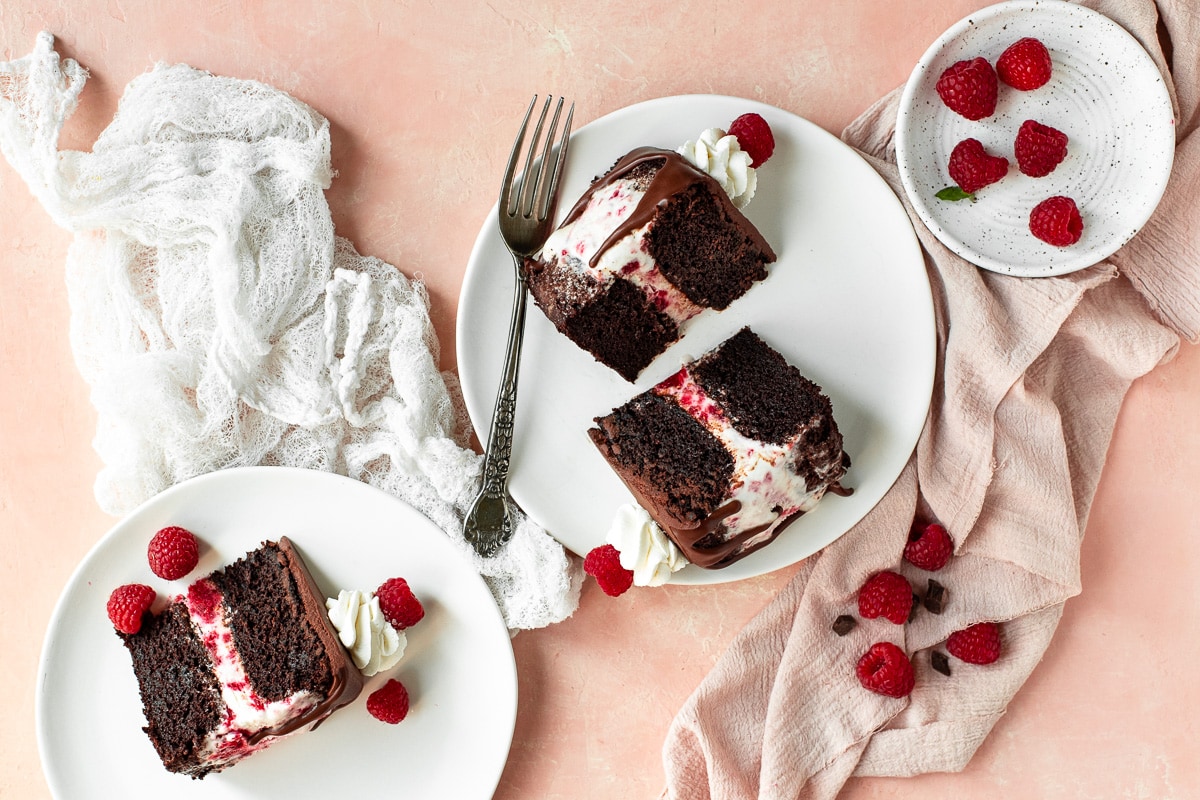
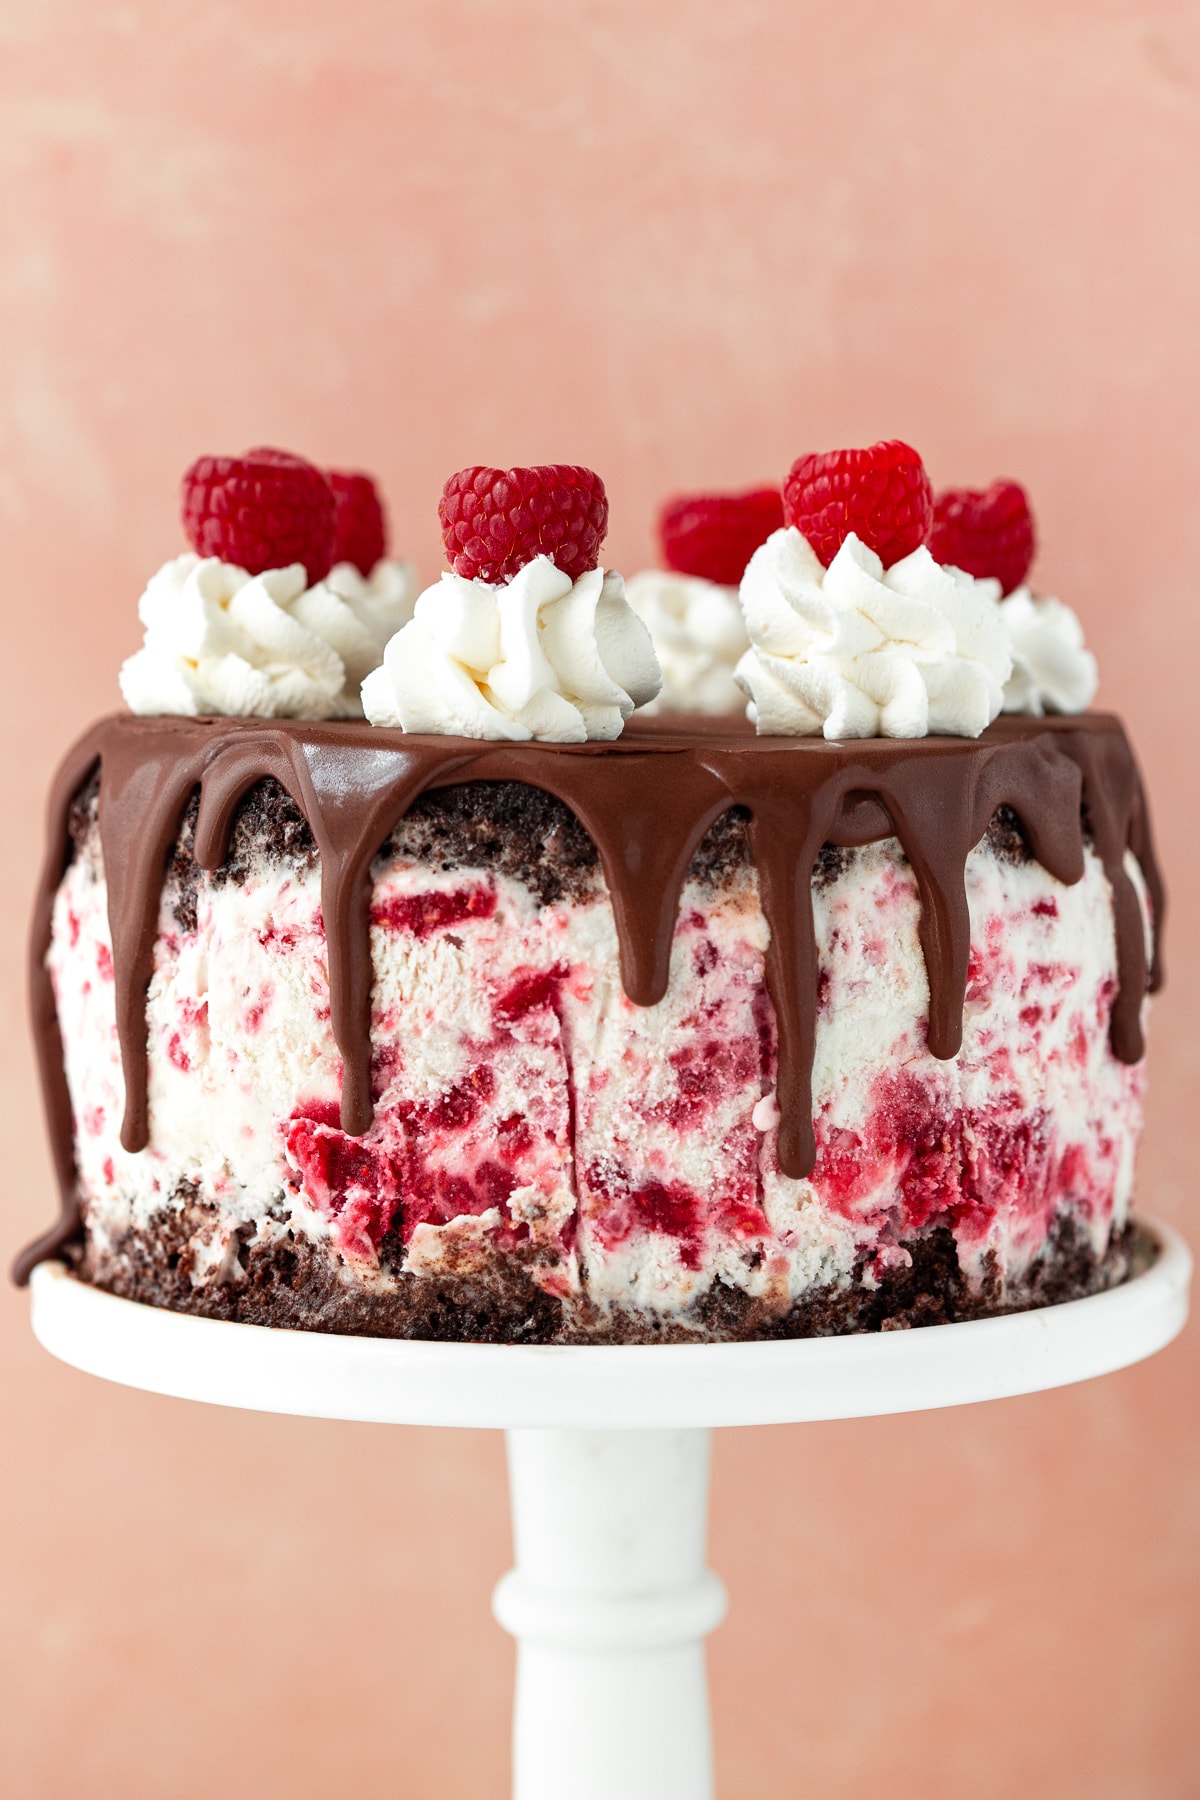
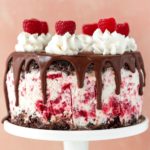
This rich, gluten-free chocolate raspberry ice cream cake is nothing short of decadent! Moist, fluffy chocolate cake sandwiches vanilla ice cream swirled with sweet raspberry jam. A final layer of chocolate ganache and freshly whipped cream elevate this cake into a show-stopping dessert.
I never cared much for cake until I started making my own from scratch, but the exception was always ice cream cake, which I'd gladly take in any form. In fact, I always figured it would just be too much of a hassle to bother making. But here's the problem - I've yet to find a gluten-free ice cream cake in any store, so I finally resigned myself to the fact that I'd have to DIY it if I ever wanted to eat one again. The good news? Homemade ice cream cake is unexpectedly easy to make - especially with this recipe!
Since this is a multi-part recipe, I've tried to make each component as simple as possible. The base is a rich, moist, and fluffy gluten-free chocolate cake that comes together quickly without the use of a mixer. The filling? A good pre-made vanilla ice cream swirled with a quick and easy homemade raspberry jam. It's the same basic technique I used for my blackberry-swirled ice cream, but you can start with a store-bought vanilla one to save some time. The finishing touches are a layer of glossy chocolate ganache and airy whipped cream, both of which take less than 5 minutes to make. Together, they become a gluten-free chocolate raspberry ice cream cake that's just as perfect for Valentine's Day as it is for warm summer afternoons, with a flavor that'll rival anything from a store.
Jump to:
Ingredients and where to find them
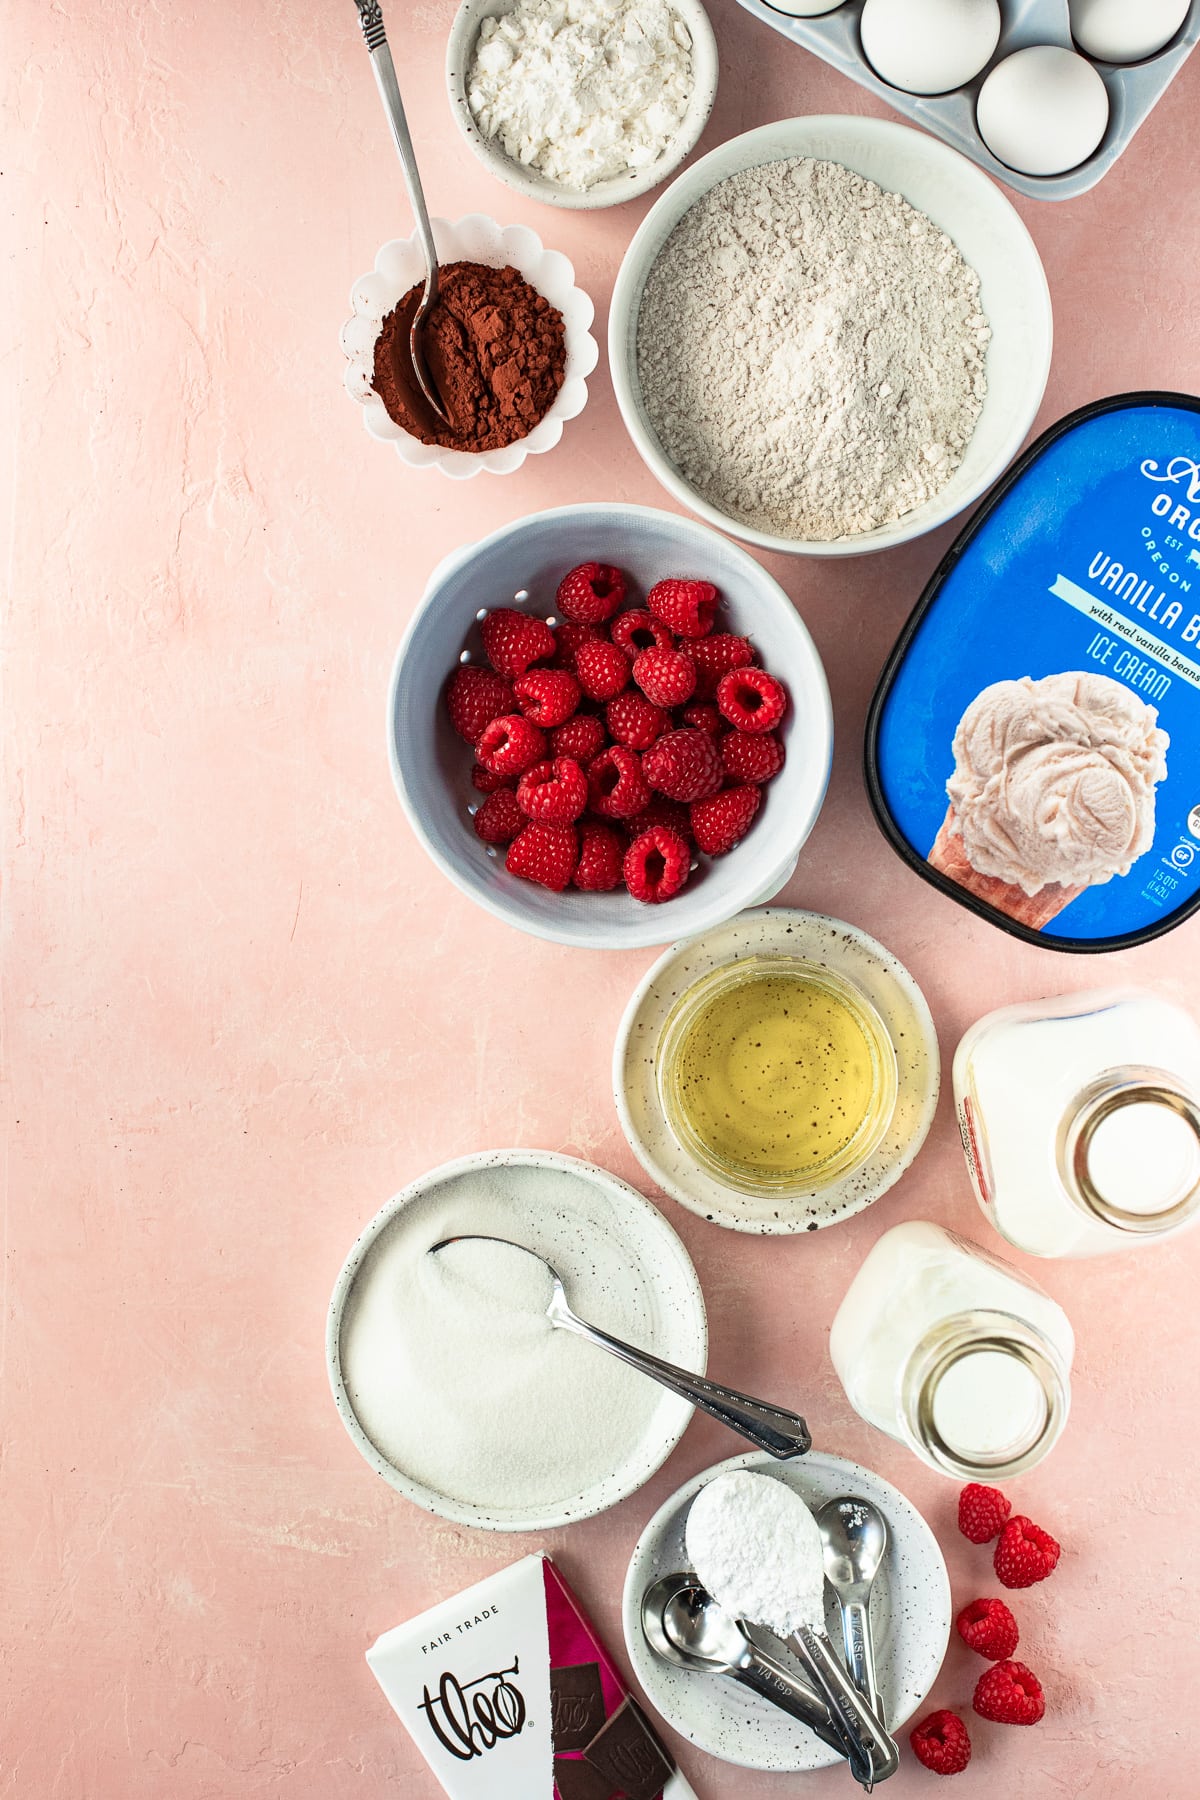
Good news - everything you'll need for this Valentine-inspired cake is available at Sprouts! I like to get my grocery shopping done in as few steps as possible, and Sprouts always has the variety of products I need to make that happen, especially on a gluten-free diet. Plus, I'm constantly finding something unique there (like a wintery chocolate bar for peppermint brownies, or vibrantly-colored apples for caramel apple cupcakes). Shopping for this ice cream cake recipe was no exception!
Here's a list of ingredients you can screenshot to break it down by aisle:
amounts are listed in the recipe card
- Baking ingredients: Granulated sugar, confectioner's/powdered sugar, light corn syrup, gluten-free all-purpose flour (use a blend that contains xanthan gum), Dutch-process cocoa powder, cornstarch, baking soda, salt, and vanilla extract
- Oils & vinegars: Avocado oil and white vinegar
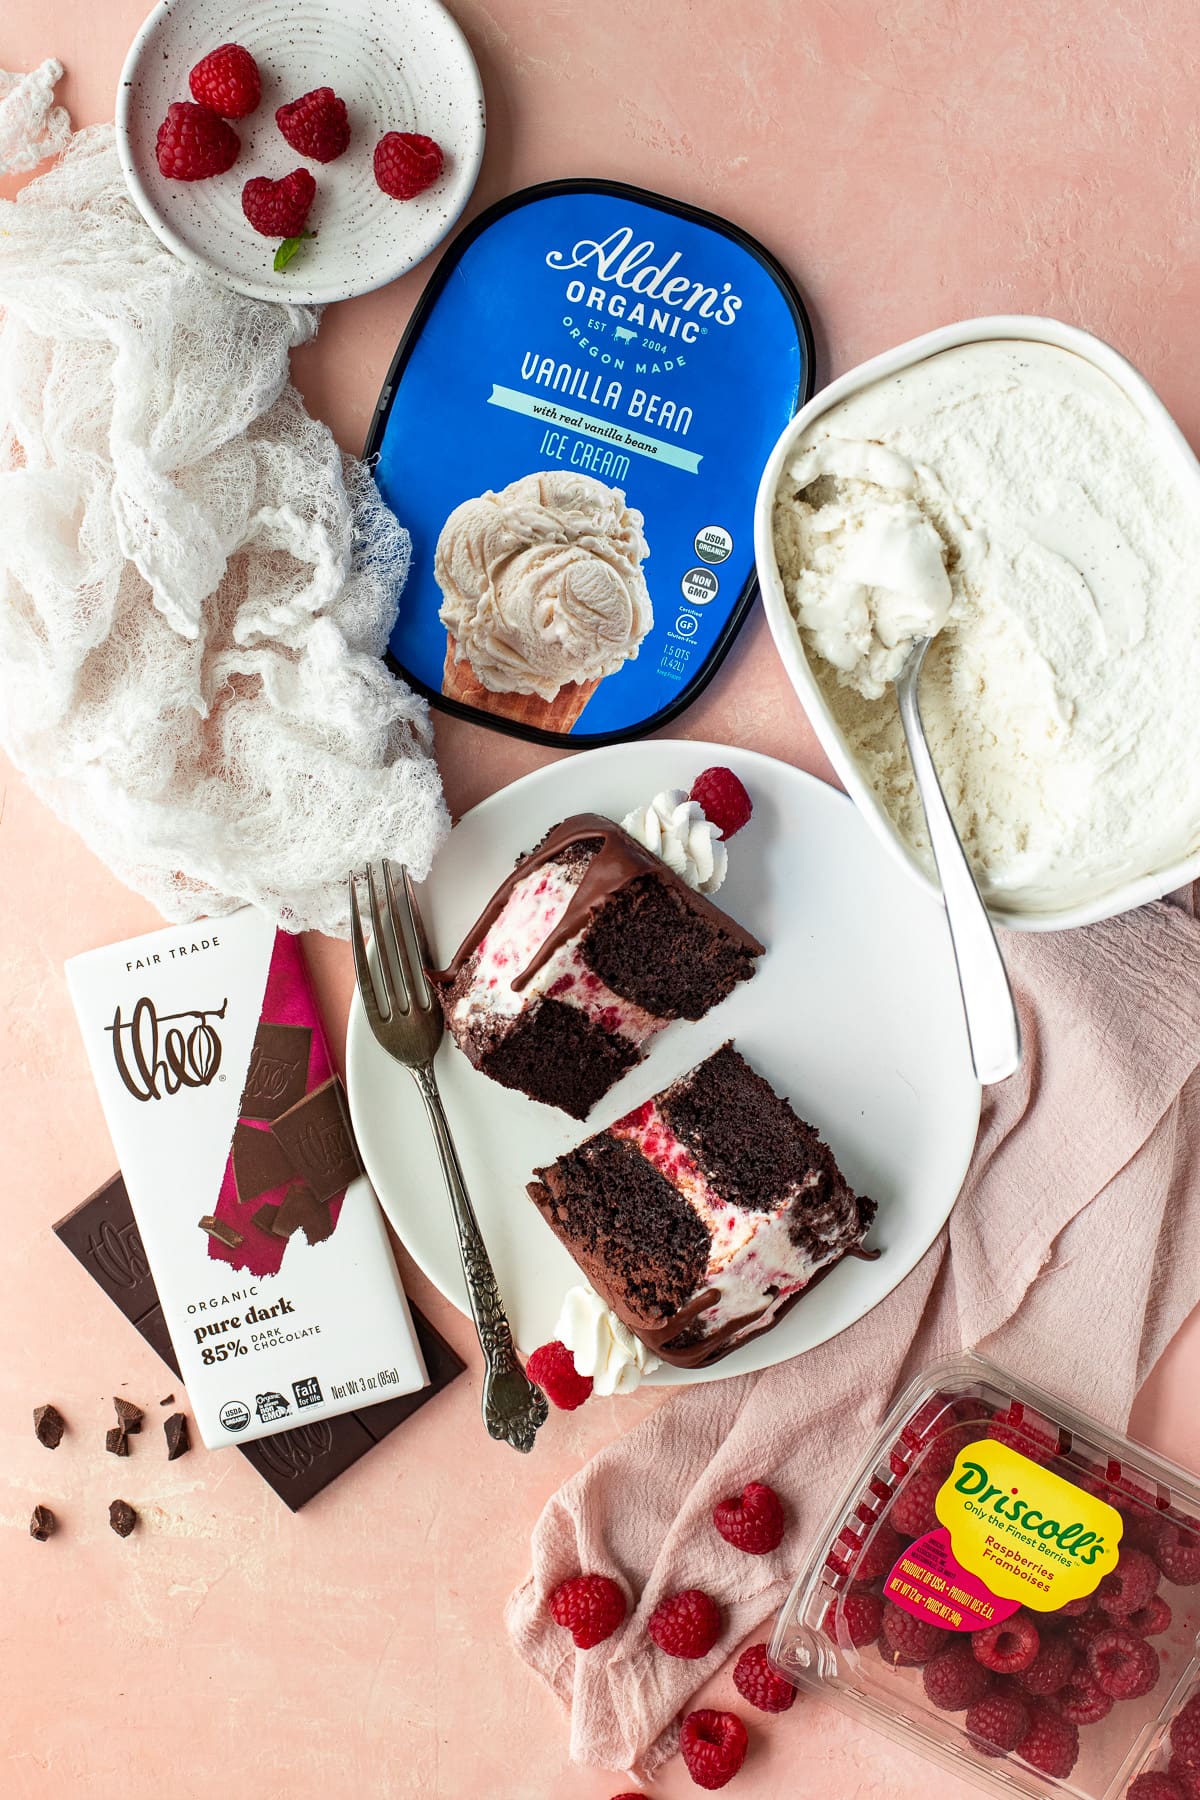
- Candy/chocolate: Dark chocolate (in bar form). I used Tcho Pure 85% Dark Chocolate. We're going for decadence here, and its flavor is nothing if not deep and decadent!
- Produce: Raspberries. My go-to brand is Driscoll's; you can always rely on their quality!
- Eggs & dairy: Buttermilk, whole milk, heavy cream, eggs, and vanilla ice cream. Since ice cream is the star of this cake don't skimp here. Need a rec? Try Alden's Organic Vanilla Bean variety.
Notes and substitutions:
- Regular cocoa powder will also work in this recipe, but I highly recommend Dutch cocoa. It has a smoother and more intense chocolate flavor. And make sure you sift it! Trust me, it's worth the hassle so you don't wind up with clumps in your batter.
- This recipe also calls for hot water. The heat helps "bloom" the cocoa, bringing out as much of its flavor as possible.
- Avocado oil can be substituted for any neutral-flavor cooking oil.
- In a pinch, you can make your own buttermilk.
- Use a room temperature egg for this recipe. This will help your batter emulsify (come together) properly. To quickly bring an egg to room temperature, just place it in a bowl covered with warm water. Let it sit for 5-10 minutes before using.
- Whatever you do, don't use chocolate chips in place of a chocolate bar! Chips are meant to hold their shape, which means they won't melt as smoothly for the ganache on this cake.
- The corn syrup in this recipe is optional. It's just used to add more shine to the ganache. Keep in mind that if this cake sits in the freezer for a while before serving, you'll lose that shine regardless.
- If you don't have confectioner's sugar, granulated sugar can also be used for the whipped cream.
Instructions
I'll let you in on a little secret here: ice cream cakes are really not that hard to make. Here's what you'll do:
For the raspberry jam
Essentially we're going to make a small-batch raspberry jam to swirl into vanilla ice cream for this recipe. Do this first, since the jam needs to cool completely before you use it.
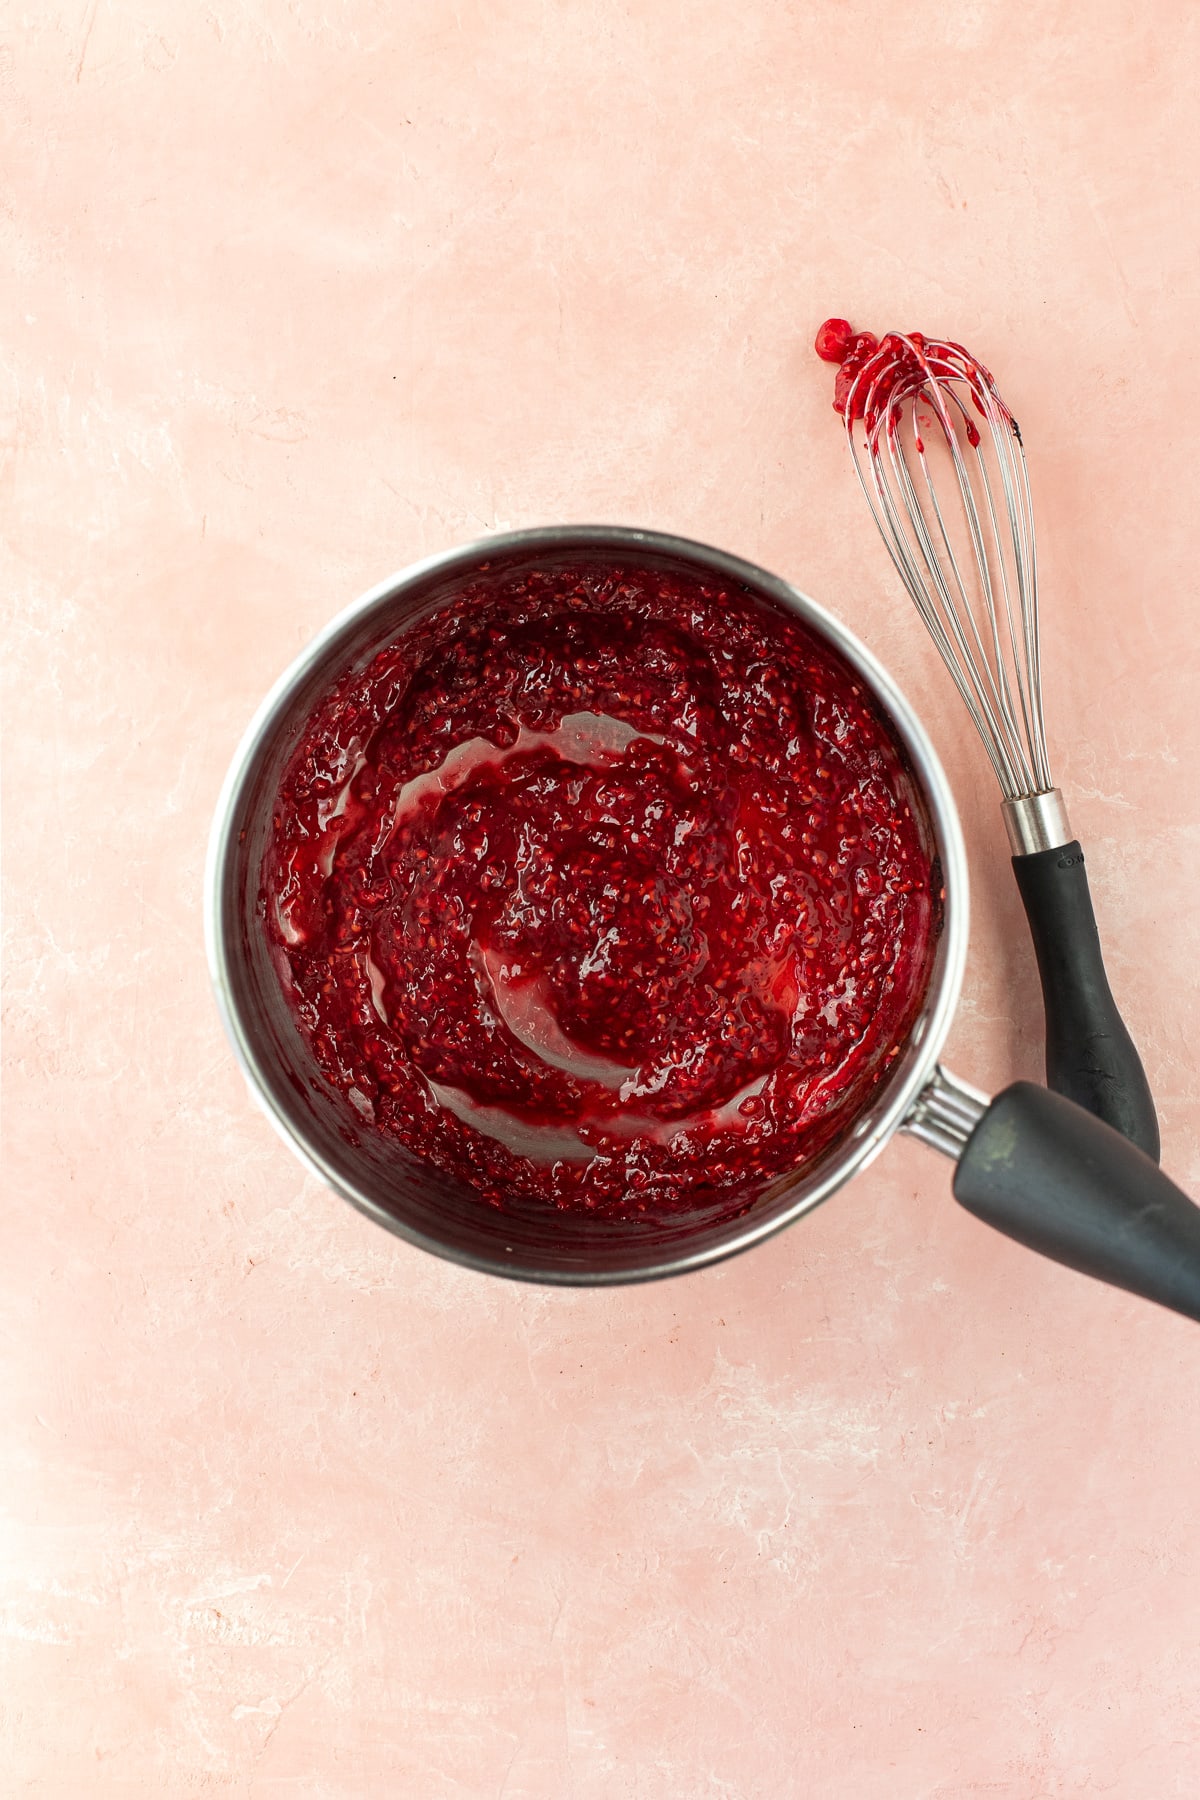
Step one - Mash the berries: Combine raspberries and sugar in a small saucepan and set them on the stove over medium heat. As the raspberries start to cook, mash them into the sugar until they're completely crushed.
Step two - Make a slurry: While the berry mixture continues to heat up, whisk together cornstarch and water in a small bowl until smooth. Congrats! You've just made a slurry. This will help the cornstarch disperse into the berry mixture in step three.
Step three - Boil & thicken: Pour the slurry into the berries while whisking, and let the mixture boil for about 1-1.5 minutes. Whisk it often so you don't wind up with any lumps. Once the jam is thick, transfer it to a small bowl, cover it up, and let it chill in the refrigerator until completely cool.
For the gluten-free chocolate cake:
While your raspberry jam is chilling, start on the cake.
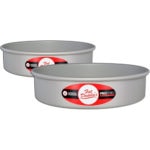
Step one - Preheat oven and prep cake pans: Preheat your oven to 350ºF. Butter two 6" cake pans, line the bottoms with parchment circles, and dust the sides with cocoa powder. (A baker's dusting wand makes this easy!) Tap out any extra cocoa so you're left with just a thin coating around the sides of your cake pan. These steps will make removing the finished cakes from their pans a breeze.
Step two - Mix the dry ingredients: Grab a medium-size mixing bowl and whisk together your sugar, gluten-free flour, cocoa powder, baking soda, and salt. Make sure it's all really well-combined, with no clumps in sight!
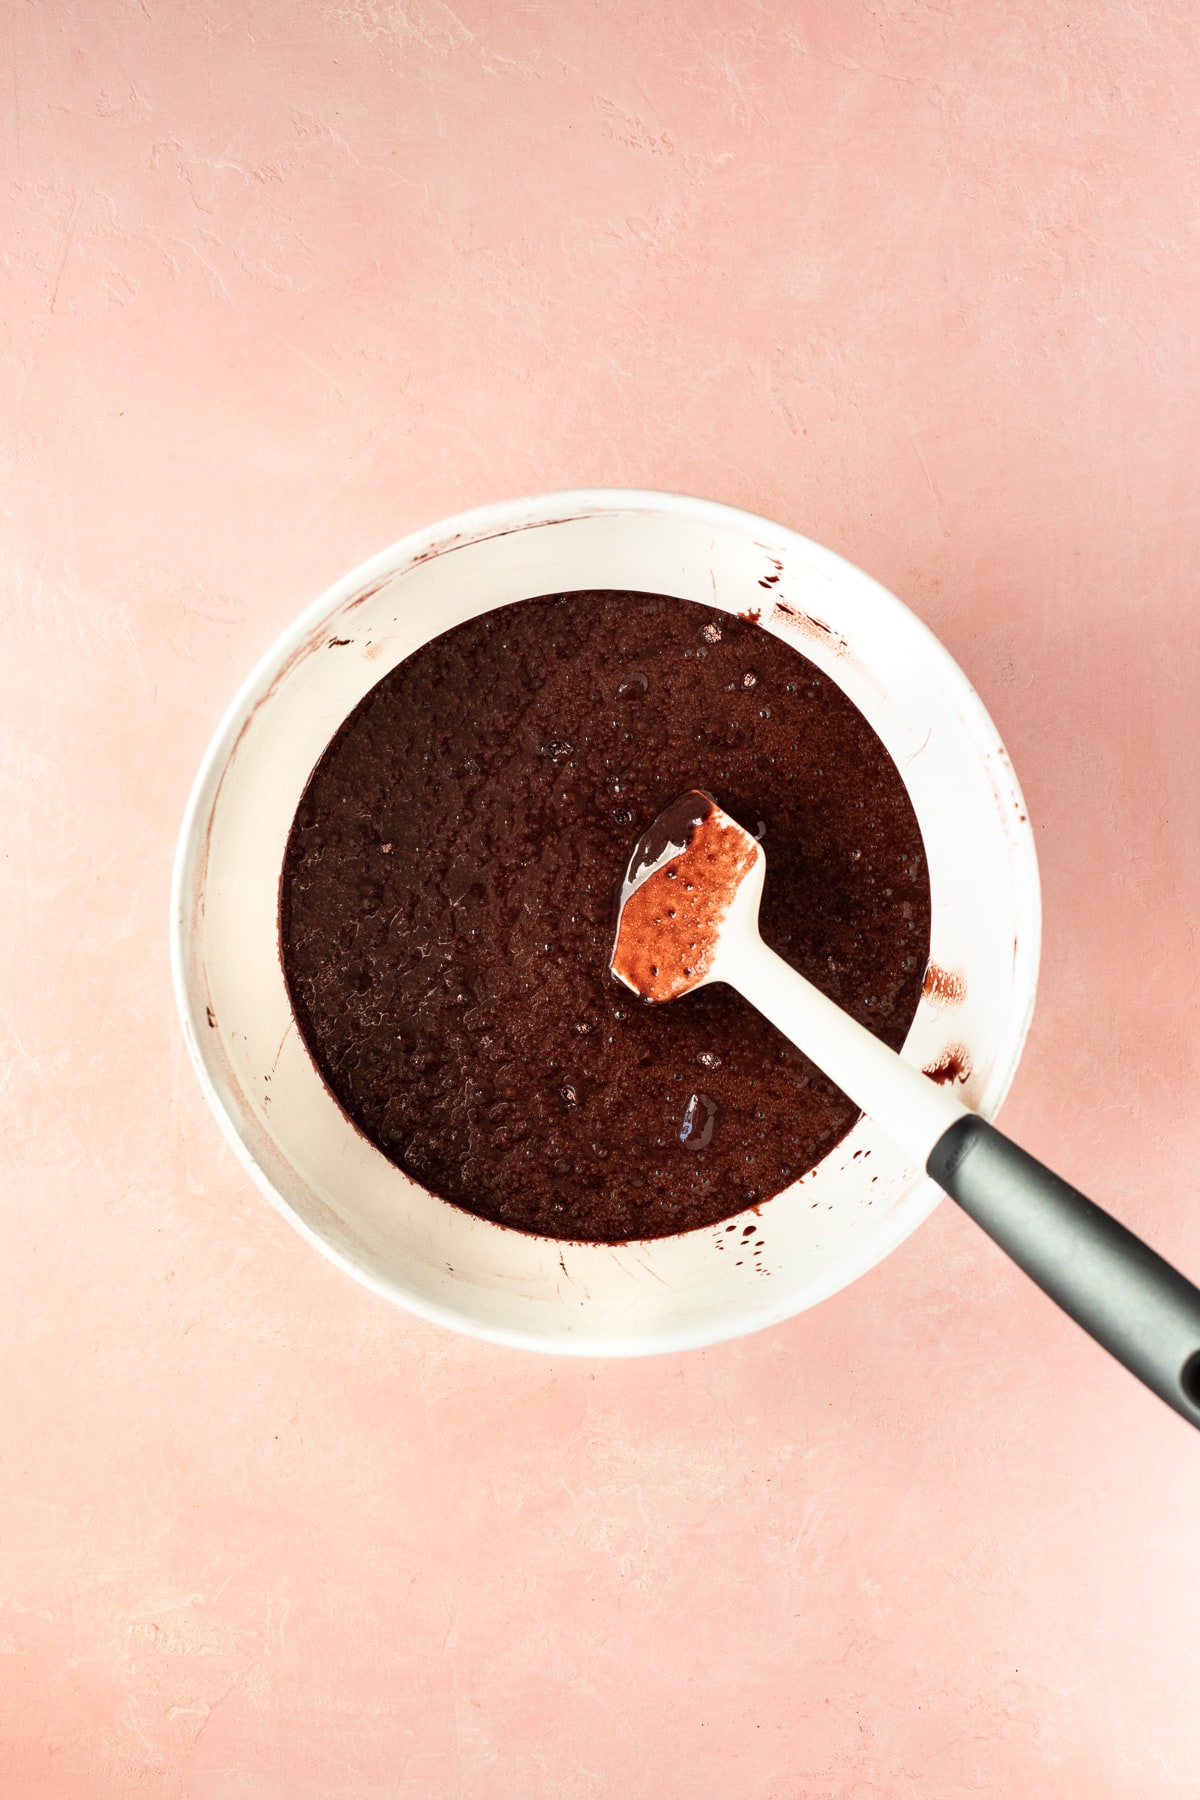
Step three - Mix the wet ingredients: In a large measuring glass (hopefully the one you use to measure your hot water!), combine the water, oil, buttermilk, egg, vanilla extract, and white vinegar in order. Give it a good whisking until everything is smoothly combined.
Step four - Combine & fill cake pans: Pour the liquid mixture into your bowl of dry ingredients and use a rubber spatula to fold in. Stop as soon as the batter is fully combined - meaning no streaks of flour or cocoa powder left. Make sure you scrape the bottom and sides of the bowl! Divide the finished batter evenly between the two prepped cake pans. Note: this is a fairly thin, liquid batter.
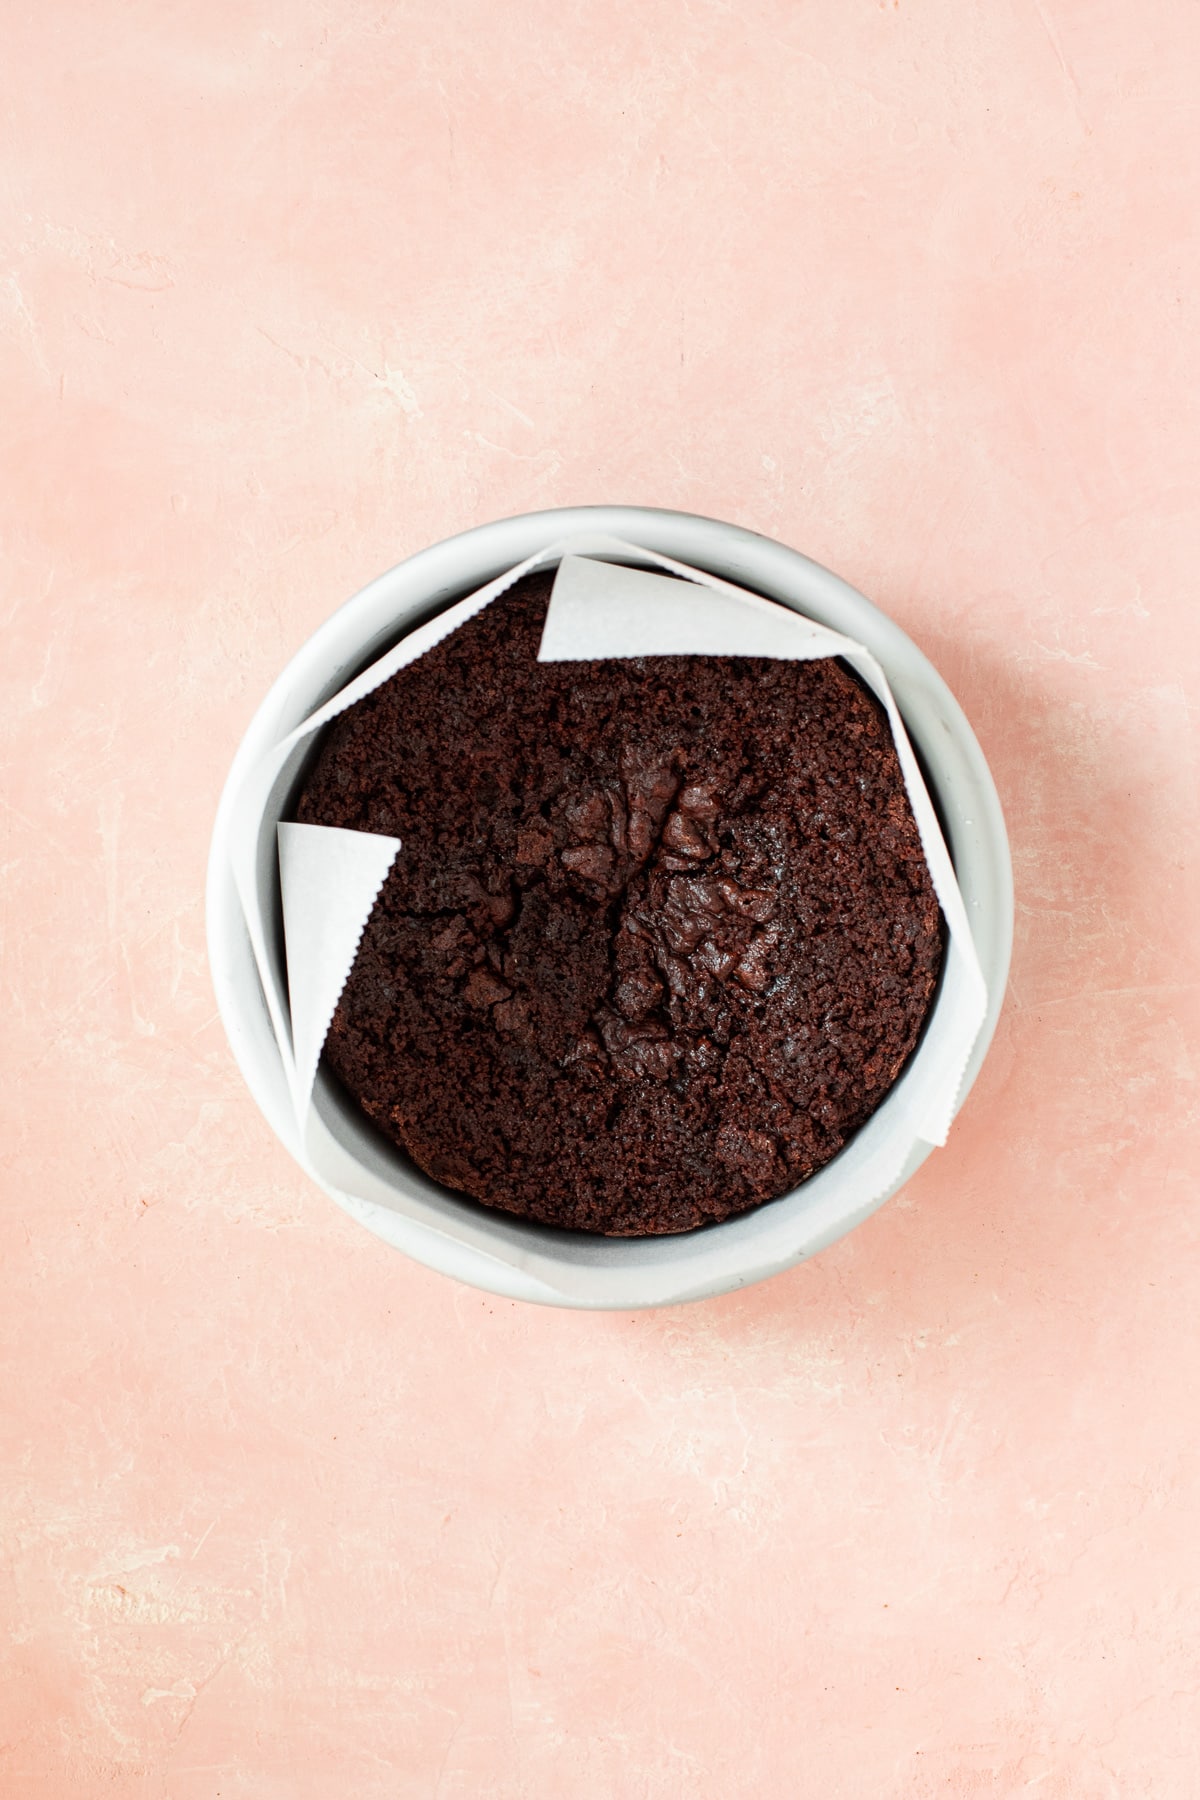
Step five - Bake the cakes: Pop the cakes in the oven and bake them for 25-30 minutes. You'll know they're done when a toothpick stuck into the center of one comes out clean, or with just a few moist crumbs. Move the pans to a wire rack to cool for about 30 minutes. Then, flip the cakes out of their pans (leave the parchment circles on!) and set them back on the rack until they're completely cool. At that point, you can wrap them in plastic wrap and put them in the freezer briefly while we give the ice cream some time to soften.
For the raspberry-swirled ice cream:
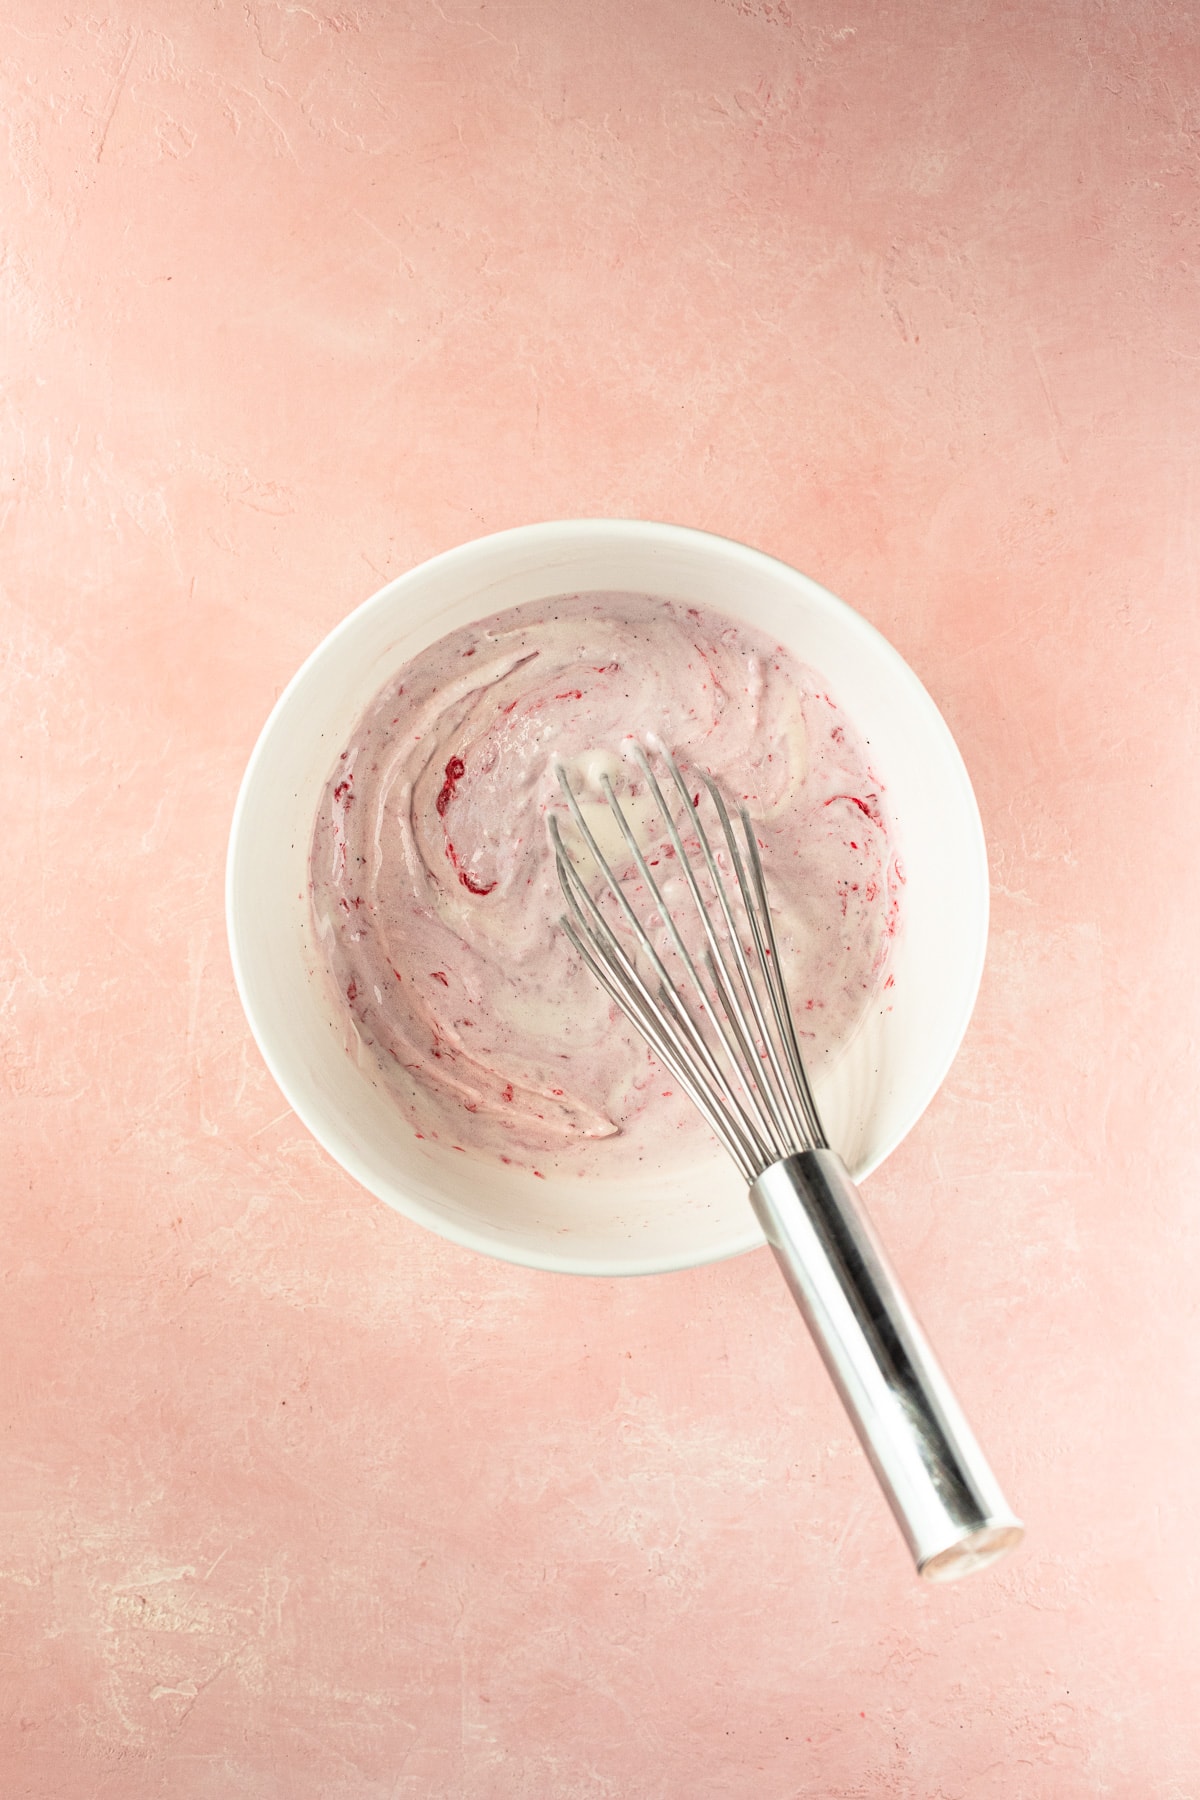
Step one - Soften the ice cream: Transfer your ice cream to a medium-size bowl and let it soften for about 10-20 minutes. When it's ready, it should be the consistency of soft serve. Grab your whisk and give it a stir to smooth out any lumps.
Step two - Swirl in the raspberry jam: First, stir the jam with a spoon just to loosen it up. Spoon about half of it into the bowl of ice cream and gently swirl it in with your whisk. Repeat that with the remaining jam - you should still be able to see the streaks of jam, so don't blend it in completely.
To assemble the cake:
Step one - Prep your cake pan: Grab a roll of parchment paper and cut two strips that are at least 10" long and about 3" high. Wrap these around the edges of a (clean) 6" cake pan, making sure they sit flush against the sides. (Note: If you have acetate cake collars on hand, those would work even better than parchment. You can also do this in a 6" springform pan if you have one. )
Step two - Assemble the cake layers: Remove the cakes from the freezer and unwrap them. Carefully insert one layer parchment-side down into the bottom of the cake pan. Be sure to keep the parchment around the sides in place.
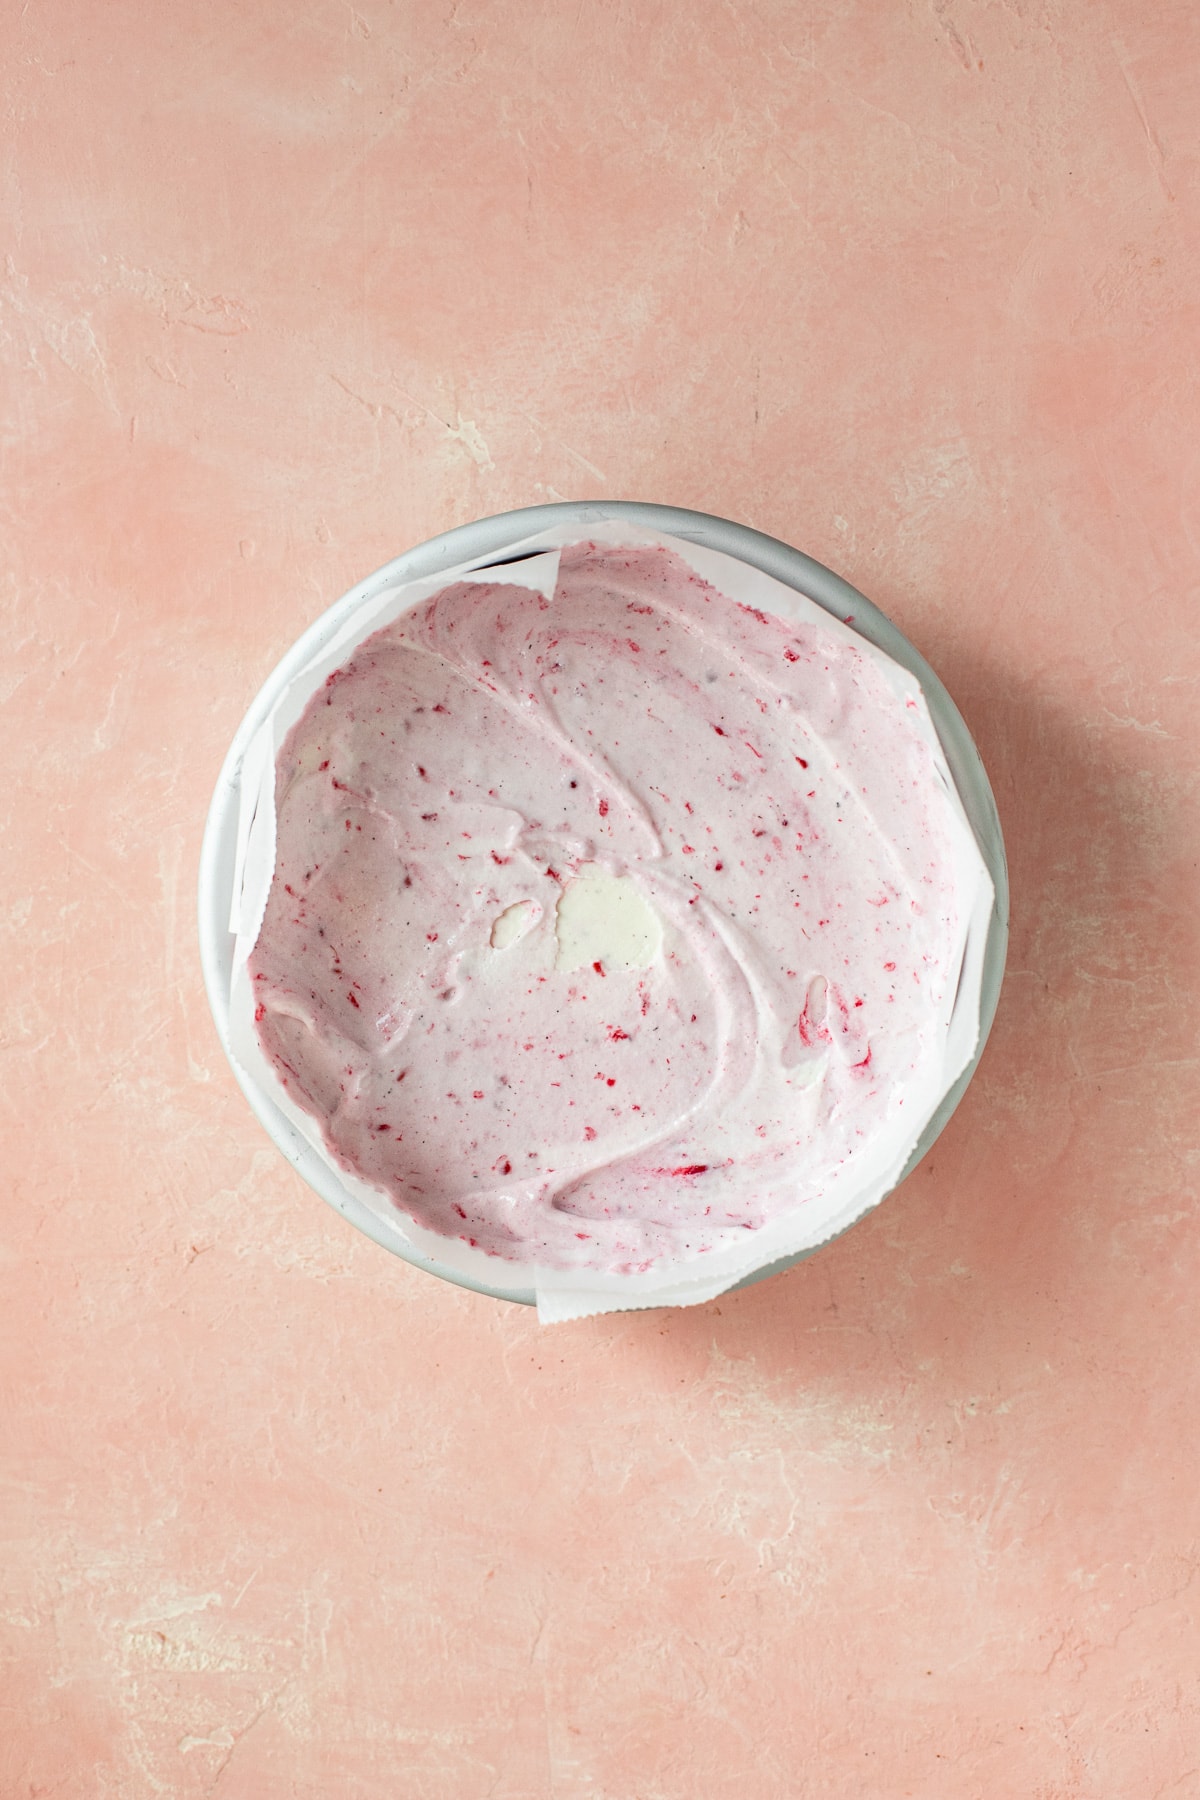
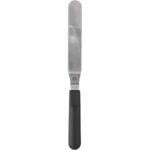
Top that with the prepared ice cream. Use an offset spatula to smooth this layer out so it's flat and even, and covers the cake layer completely.
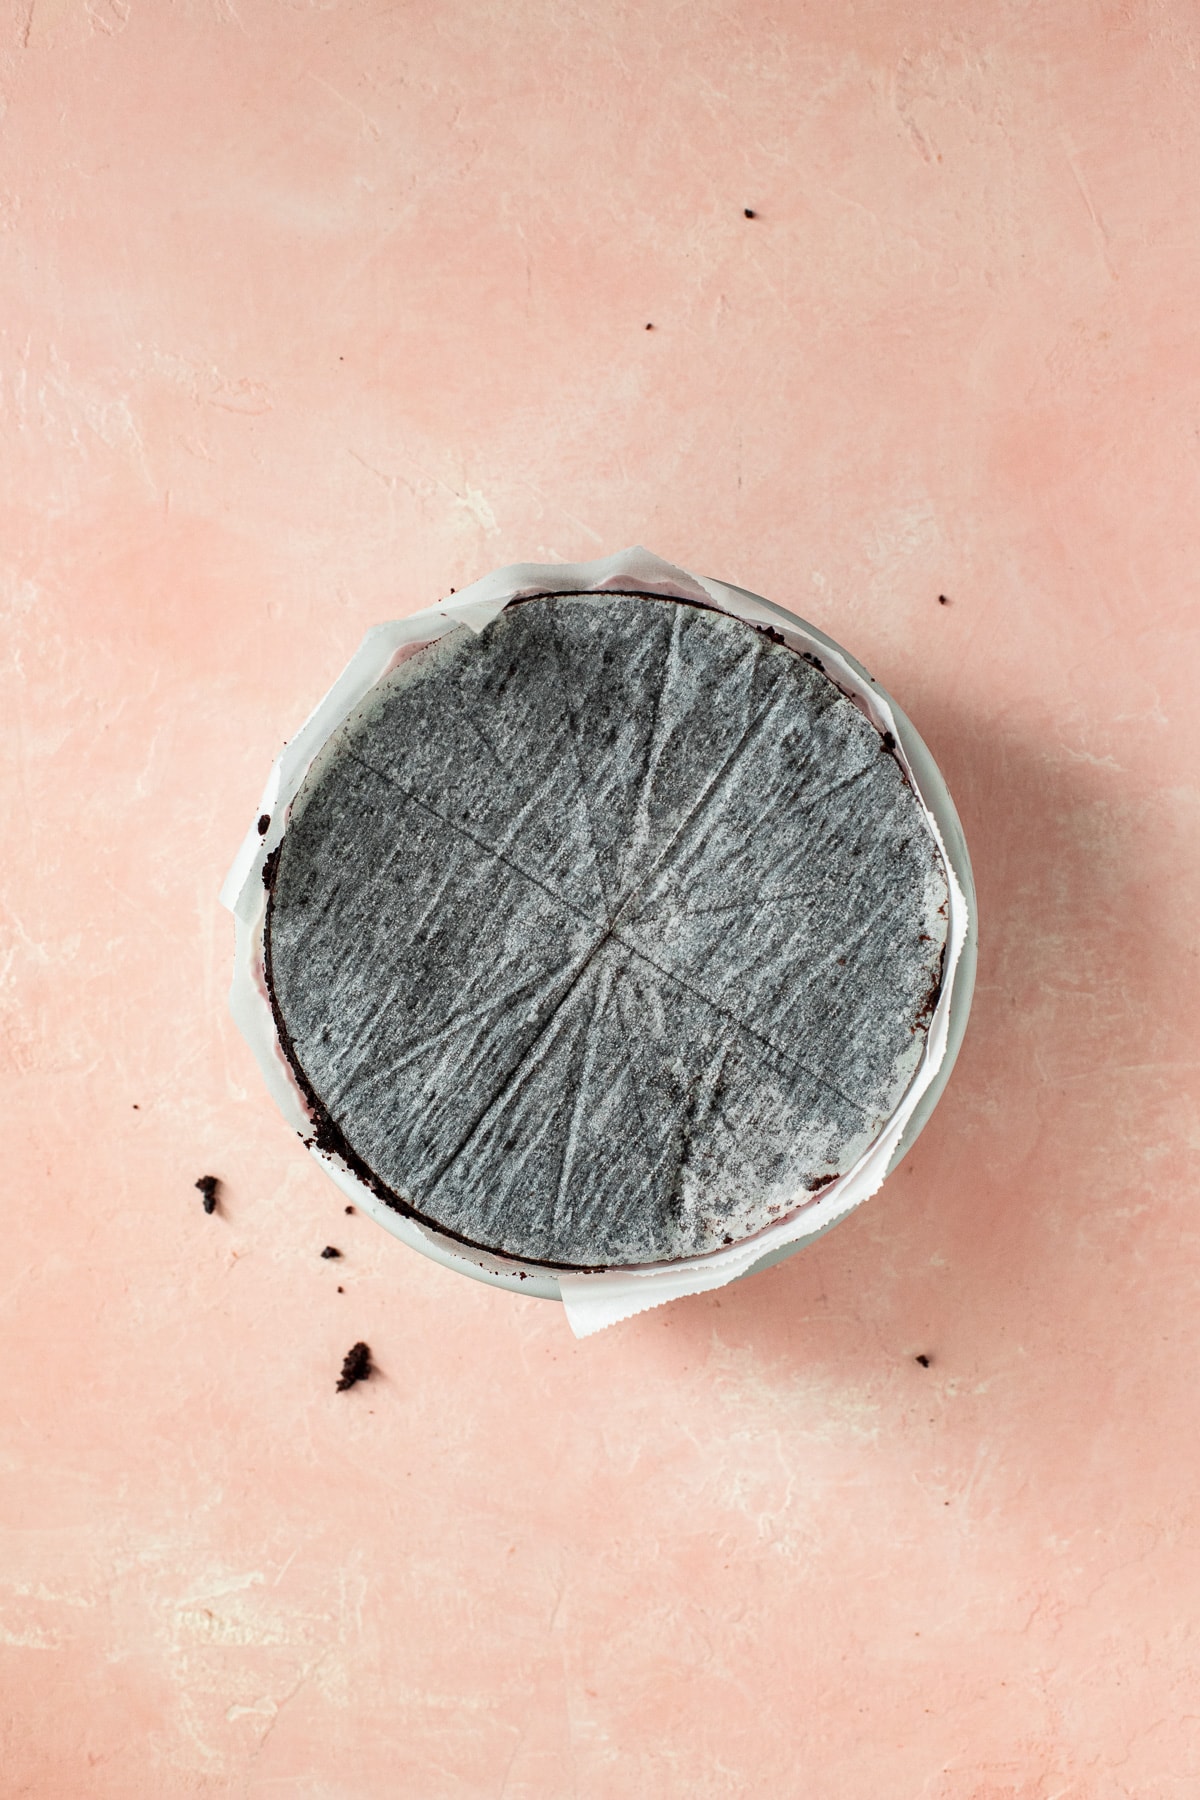
Finally, place the second cake layer over the ice cream, parchment side up. Wrap the whole thing in foil (pan and all!) and transfer it to the freezer to set; give it at least 12 hours in there.
Step three - Remove the cake from the pan. Once the cake is frozen and ready to go, use your offset spatula to loosen the cake from the edges of the cake pan - be careful not to scrape your pan in the process! Then, gently pull the cake out of the pan and place it on a cardboard round or cake plate to decorate. Put it back in the freezer while you prep the ganache and whipped cream.
For the chocolate ganache:
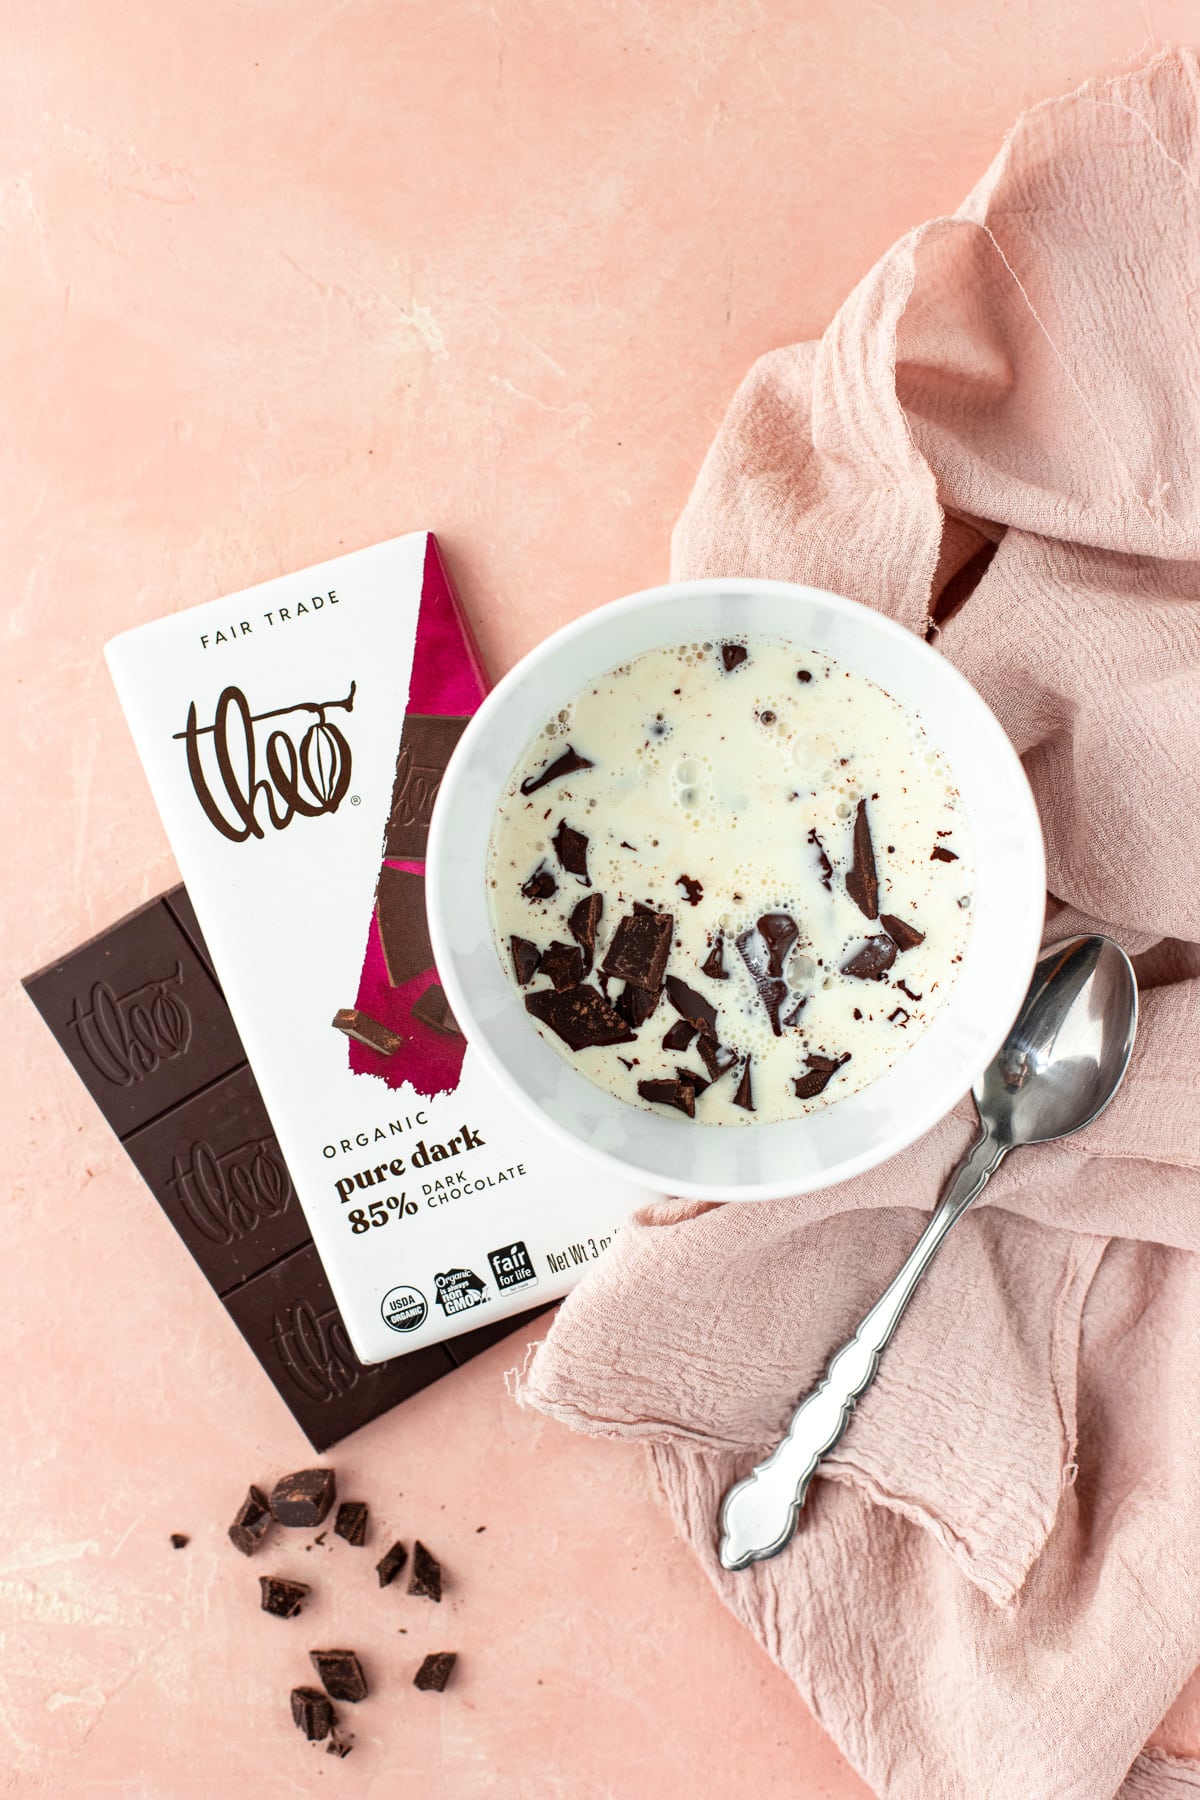
Step one - Make the ganache: Pour heavy cream into a microwave-safe bowl and pop it in the microwave for 20-30 seconds - just until it starts to simmer. Submerge the chopped chocolate and let it sit for 5 minutes. Then, give it a good whisking until the chocolate is melted and the ganache is smooth. IF you still see a few chunks of chocolate in there, you can put it back in the microwave for 5-10 seconds (no more than that!).
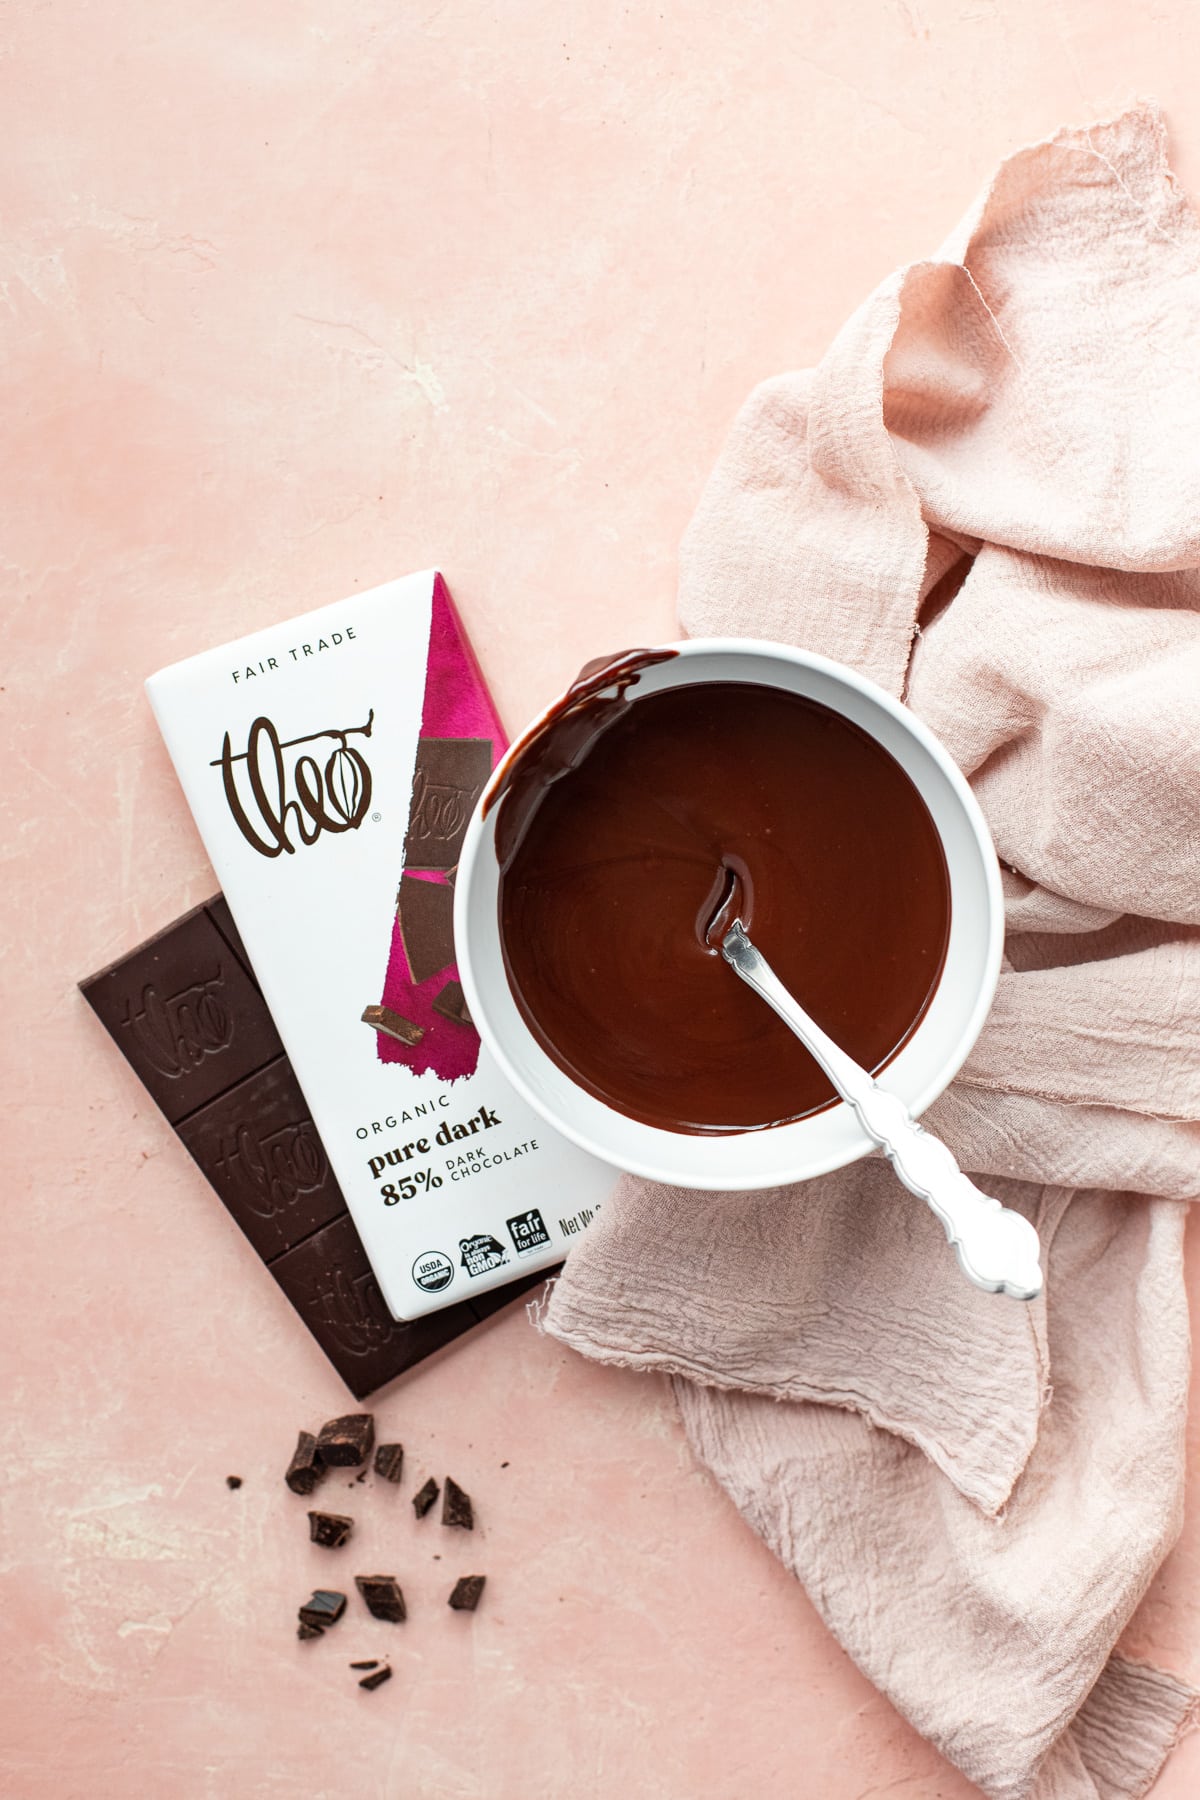
It's also possible that the ganache will split - meaning an oily layer settles on the top and doesn't blend in. If this happens, don't worry! Just add a little bit of milk and whisk it in until everything is smooth again - you might want to do this anyway if the ganache looks too thick to drizzle. You can also add corn syrup at this point for the added shine.
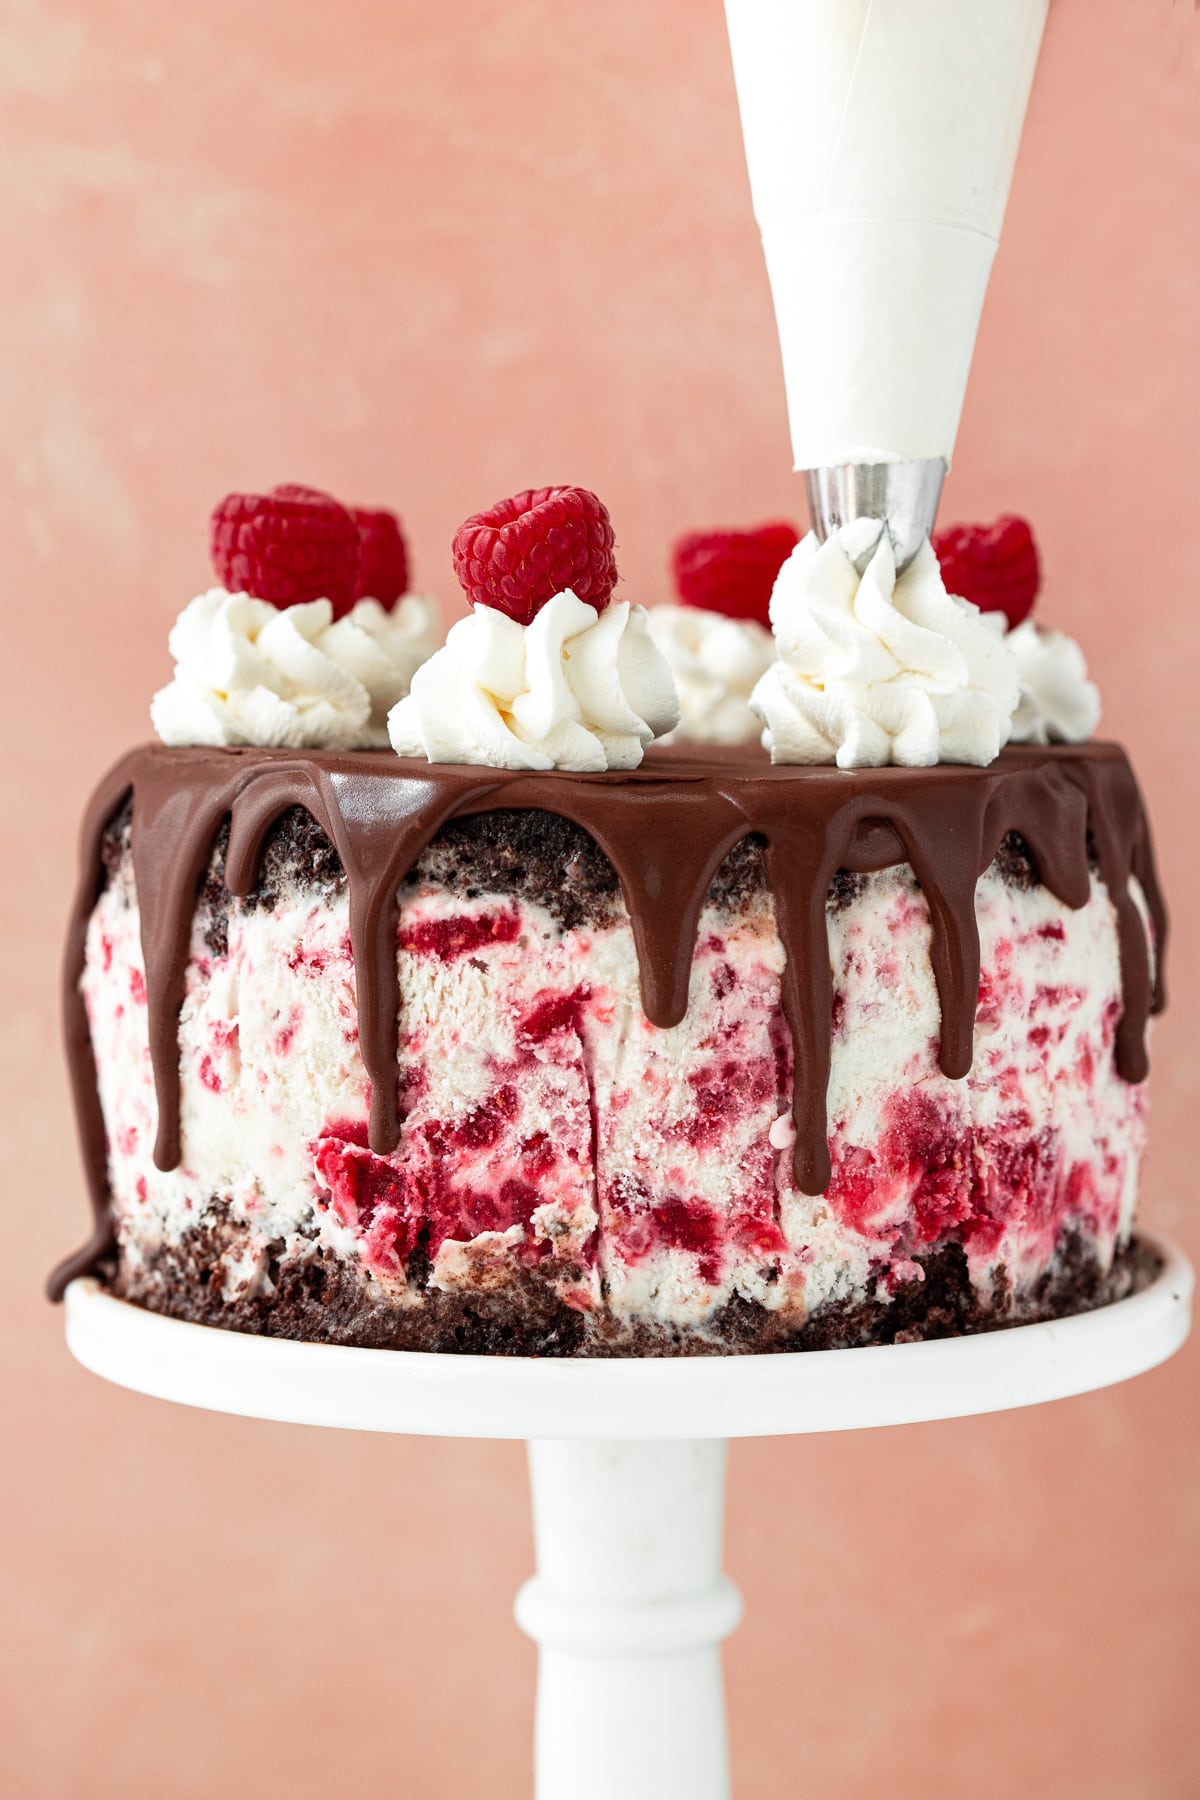
Step two - Decorate: This cake is decorated with a basic drip technique. Use a spoon to "drip" ganache around the top edge of the cake, letting it gradually fall down the sides. Then, pour the rest of the ganache over the middle of the cake and gently spread it out in a smooth even layer. Work quickly - the frozen cake will cause the ganache to set right away!
For the whipped cream:
Make the whipped cream: Pour cream into a medium mixing bowl and use a handheld electric mixer to beat it at medium-high speed until it starts to thicken. Add confectioner's sugar and vanilla extract and keep beating until stiff peaks form - when you lift the beaters, the cream should form peaks that stick straight up.
Decorate: Transfer the whipped cream to a piping bag (I used a large star tip with mine) and pipe whipped cream around the top of the cake. Garnish those whipped cream dollops with fresh raspberries, and you're good to go!
Serving and storing
Ideally, I suggest freezing this cake for about 30 minutes before serving - more is fine, but for the best presentation, you don't want the ganache to freeze over completely. That being said, it'll keep well for at least a couple of weeks, and because the cake is SO moist, it freezes beautifully. Let it sit out at room temperature for 5-10 minutes before serving so it can thaw just a bit.
You'll want to keep any leftovers wrapped in foil or placed inside an airtight container. Remember - nobody wants leftover cake that tastes like the inside of a freezer!
Making this cake in advance:
Since there are quite a few parts to this ice cream cake recipe, it can be really helpful to break it into sections and tackle it across multiple days. Both the jam and chocolate cake can be made ahead, and the assembled cake can also be made a couple days ahead and kept frozen (undecorated).
Here's an easy schedule you can follow:
Day one: Make the raspberry jam and chocolate cake. Store both in the refrigerator, with the cakes wrapped tightly in plastic wrap.
Day two: Prep the raspberry-swirled ice cream and assemble the cake. Wrap it up in foil and freeze it.
Day three: Make the ganache and whipped cream, and decorate the cake shortly before you're ready to serve it.
Tips & FAQ
I recommend decorating the cake anywhere from 30 minutes to a couple hours before you plan to serve it. Your cake will looks and taste as fresh as possible!
This cake can sit out for about 30 minutes (indoors) on a cool day - much less on a warm day - before it will start to melt dramatically.
Ice cream cake can be refrigerated for brief periods of time prior to serving, but no more than that. This can actually be beneficial since it will keep it cold while still allowing it to thaw slightly for better flavor/texture when serving.
More cake recipes
If you're on the hunt for more gluten-free dessert recipes like this ice cream cake, here are a few of my favorites:
- Strawberry Layer Cake {gluten-free}
- Hazelnut Financier Cupcakes with Whipped Chocolate Ganache {dairy-free, gluten-free, refined sugar-free}
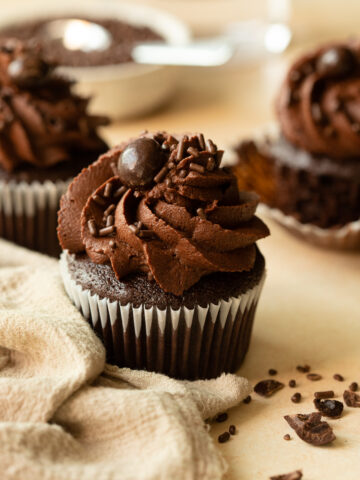
- Moist Chocolate Espresso Cupcakes with Easy Whipped Chocolate Ganache Frosting {gluten-free/df options}
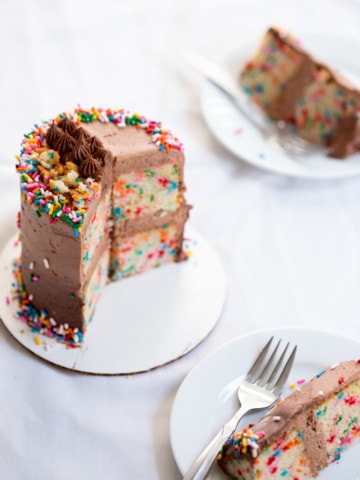
- Mini Funfetti Cake with Chocolate Cake Batter Buttercream {gluten-free}
Have you made this recipe?
If so, I'd love to hear your feedback; you can leave a rating and review in the comments section below! It's also so helpful if you help spread the word by sharing this post on your favorite social media channel. If you happen to snap a photo of what you've baked, be sure to share it on Instagram and tag me (@brighteyedbaker) so I can give you a shoutout!
Chocolate Raspberry Ice Cream Cake {gluten-free}
This rich, gluten-free chocolate ice cream cake is nothing short of decadent! Moist, fluffy chocolate cake sandwiches vanilla ice cream swirled with sweet raspberry jam. A final layer of chocolate ganache and freshly whipped cream elevate this cake into a show-stopping dessert.
- Prep Time: 40 minutes
- Chill Time: 12 hours (overnight)
- Cook Time: 25 minutes (up to 30)
- Total Time: 3 hours 30 minutes
- Yield: one 6" cake 1x
- Category: cake
- Method: baking
- Cuisine: American
- Diet: Gluten Free
Ingredients
Raspberry Jam:
- ⅝ cup (3 ounces) raspberries, rinsed
- 2 tablespoons granulated sugar
- ½ tablespoon cornstarch
- ½ tablespoon water
Gluten-Free Chocolate Cake:
- 1 ¼ cups (8 ¾ ounces) granulated sugar
- 1 cup + 2 tablespoons, spoon and level (4 ¾ ounces) gluten-free all-purpose flour with xanthan gum
- 7 tablespoons (1 ½ ounces) Dutch process cocoa powder, sifted
- 1 teaspoon baking soda
- ⅜ teaspoon salt
- ¾ cup (6 ounces) hot water
- ¼ cup (2 ounces) avocado oil
- 5 tablespoons (2 ½ ounces) buttermilk
- 1 large egg, room temperature
- 1 ¼ teaspoons vanilla extract
- 1 ¼ teaspoons white vinegar
Raspberry-Swirled Ice Cream:
- 2 ½ cups (11 ¾ ounces) vanilla ice cream
- raspberry jam (see above)
Chocolate Ganache:
- 2 ½ tablespoons heavy whipping cream
- 1 ½ ounces (½ bar) dark chocolate, finely chopped
- 1 tablespoon whole milk, if needed
- ½ tablespoon light corn syrup, optional
Whipped Cream and Garnish:
- ¼ cup (2 ounces) heavy whipping cream
- 1 ½ teaspoons confectioner’s sugar
- ¼ teaspoon vanilla extract
- fresh raspberries, rinsed and patted dry (for garnish)
Instructions
Raspberry Jam:
- Mash the berries: Add raspberries and sugar to a small saucepan. Set on the stove over medium heat. As the berries start to cook and soften, mash them into the sugar to combine.
- Make a slurry: Meanwhile, in a small bowl, make a slurry by whisking together cornstarch and water until smooth.
- Boil & thicken: Slowly pour the slurry into the raspberry mixture while whisking constantly. Allow to come to a boil and cook, whisking often, until mixture has thickened (about 1-1 ½ minutes). Once thickened, remove from heat and transfer to a small bowl. Cover with plastic wrap and refrigerate until completely cool.
Gluten-Free Chocolate Cake:
- Preheat oven and prep cake pans: Preheat oven to 350ºF. Butter two 6” cake pans, line bottoms with parchment rounds, and dust sides with cocoa powder, tapping out any excess.
- Mix the dry ingredients: In a medium mixing bowl, whisk together sugar, flour, cocoa powder, baking soda, and salt until well-combined, with no clumps.
- Mix the wet ingredients: In a separate, liquid measuring cup, combine hot water, avocado oil, buttermilk, egg, vanilla extract, and white vinegar. Whisk together until smooth.
- Combine & fill cake pans: Pour the wet ingredients into the dry and fold in just until smoothly and evenly combined, with no streaks of flour or cocoa powder remaining. Divide batter evenly between the two prepared cake pans.
- Bake the cakes: Bake cakes in preheated oven for 25-30 minutes, until a toothpick inserted into the center of one comes out clean, or with just a few moist crumbs. Cool cake in pans over a wire rack for about 30 minutes, and then remove from pans and set directly on the cooling rack. Allow to cool completely before assembling. Once cool, wrap in plastic wrap and freeze for 20 minutes while softening the vanilla ice cream.
Raspberry-Swirled Ice Cream:
- Soften ice cream: Place ice cream in a bowl to soften for about 10-20 minutes. Once softened, use a whisk to smooth out any lumps.
- Swirl in raspberry jam: Remove raspberry jam from the refrigerator and stir to loosen it up. Add to the ice cream in two parts, swirling in with a whisk or spoon. Be careful not to overwork and blend the jam in completely.
Assembling Cake:
- Prep cake pan*: Cut two strips of parchment paper, at least 10” long and about 3” high. Wrap these around the circumference of a clean 6” cake pan to form a border that extends over the top of the pan.
- Assemble cake layers: Place one cake layer parchment-side down inside the cake pan, making sure to keep the parchment strips in place. Add the raspberry-swirled ice cream on top, using an offset spatula to smooth it into an even layer that covers the cake layer completely. Finally, place the second cake layer on top, parchment side up. Wrap the pan and cake with foil and transfer to the freezer overnight (or for about 12 hours).
- Remove cake from pan: Once frozen, use an offset spatula to loosen the cake from the sides of the pan, being careful not to scrape your cake pan in the process. Carefully flip cake out of pan onto a plate or cake round to decorate. Keep the cake in the freezer while prepping the ganache and whipped cream.
Chocolate Ganache:
- Make the ganache: In a microwave-safe bowl or measuring glass, microwave cream for 20-30 seconds, or until just beginning to boil. Remove from heat and submerge chopped chocolate into the cream. Let sit for 5 minutes, and then whisk until chocolate has melted completely. If needed, microwave for another 5-10 seconds to get rid of any remaining solid pieces. If the ganache appears split or looks too thick to drizzle, add the milk and continue to whisk until smooth. Whisk in light corn syrup, if using.
- Decorate: Use a spoon to drip ganache down the sides of the cake, and then use an offset spatula to spread the remaining ganache over the top surface of the cake in a smooth, even layer.
Whipped Cream and Garnish:
- Make the whipped cream: In a medium mixing bowl using a handheld electric mixer, beat heavy whipping cream on medium-high speed until beginning to thicken. Add confectioner’s sugar and vanilla extract and continue to beat just until stiff peaks form.
- Decorate: Transfer whipped cream to a piping bag fitted with a large closed star tip**, and pipe dollops of whipped cream around the top of the cake. Garnish with fresh raspberries. Chill cake in freezer for at least 30 minutes before serving.
Notes
Storing: Wrap leftovers in plastic wrap and foil, or store in an airtight container. Cake will keep in the freezer for at least a couple weeks. Allow to thaw at room temperature for about 15 minutes before serving.
*If you have acetate cake collars on hand, I'd recommend using those instead of the parchment method. A 6" springform pan would also work well in place of the cake pan.
**I used Ateco #846 for piping.


Katia says
This cake is beyond anything I've ever cooked! Absolutely delicious! And easy to make! I made it for Saint Valentine's day and it was a total success! Thanks, Alex, your recipes are so great!
alexandra says
Thank you so much Katia! I'm so happy to hear you enjoyed the cake; it's one of my favorites!
Ramona says
This chocolate raspberry cake looks absolutely amazing! I have been meaning to make this cake for quite some time now and I'm glad I found an amazing recipe. Thank you for sharing!
Kushigalu says
Gorgeous Valentines day treat. All in one recipe for chocolate, cake and ice cream lover like me :-) thanks for sharing this.
Natalie says
This cake looks gorgeous. I bet is super delicious too. My husband celebrates his birthday in March. I will make him this cake. Thanks for the recipe.