A combination of juicy strawberries, blackberries, and raspberries sit atop a sweet cream cheese filling in this homemade mixed berry galette recipe. It's made with a from-scratch galette dough that's perfectly buttery and flaky, using gluten-free or regular all-purpose flour. This rustic summer dessert is so much easier to make than pie, but every bit as good!
It's no surprise by now that I love a fruit galette, as evidenced by the (many!) variations I've shared over the years. We've done everything from pear galettes to stone fruit galettes, mini galettes to rectangular galettes, but there's something to be said for a rustic, summery mixed berry galette. This one's easy to make and yet anything but basic, combining a flaky pie crust with a simple cream cheese filling and a heap of fresh berries.
Jump to:
Why I call this the BEST berry galette
I get it. I'm making pretty big claims here! Allow me to elaborate:
- The crust is always light, buttery, and flaky, thanks to a low-maintenance galette dough recipe that can easily be made gluten-free if preferred.
- It's never soggy; having that cream cheese layer between the crust and berries helps with this!
- You get pure berry flavor from the fresh berries piled on top - no jam necessary.
- Each component of the recipe can be prepped ahead, for easy assembly when you're ready to bake your galette.
- It's essentially free-form pie; the perfect dessert for barbecues and cookouts, Memorial Day, the Fourth of July, or any other summer entertaining.
Ingredients and substitutions
Here's a quick look at all of the ingredients this berry galette recipe calls for:
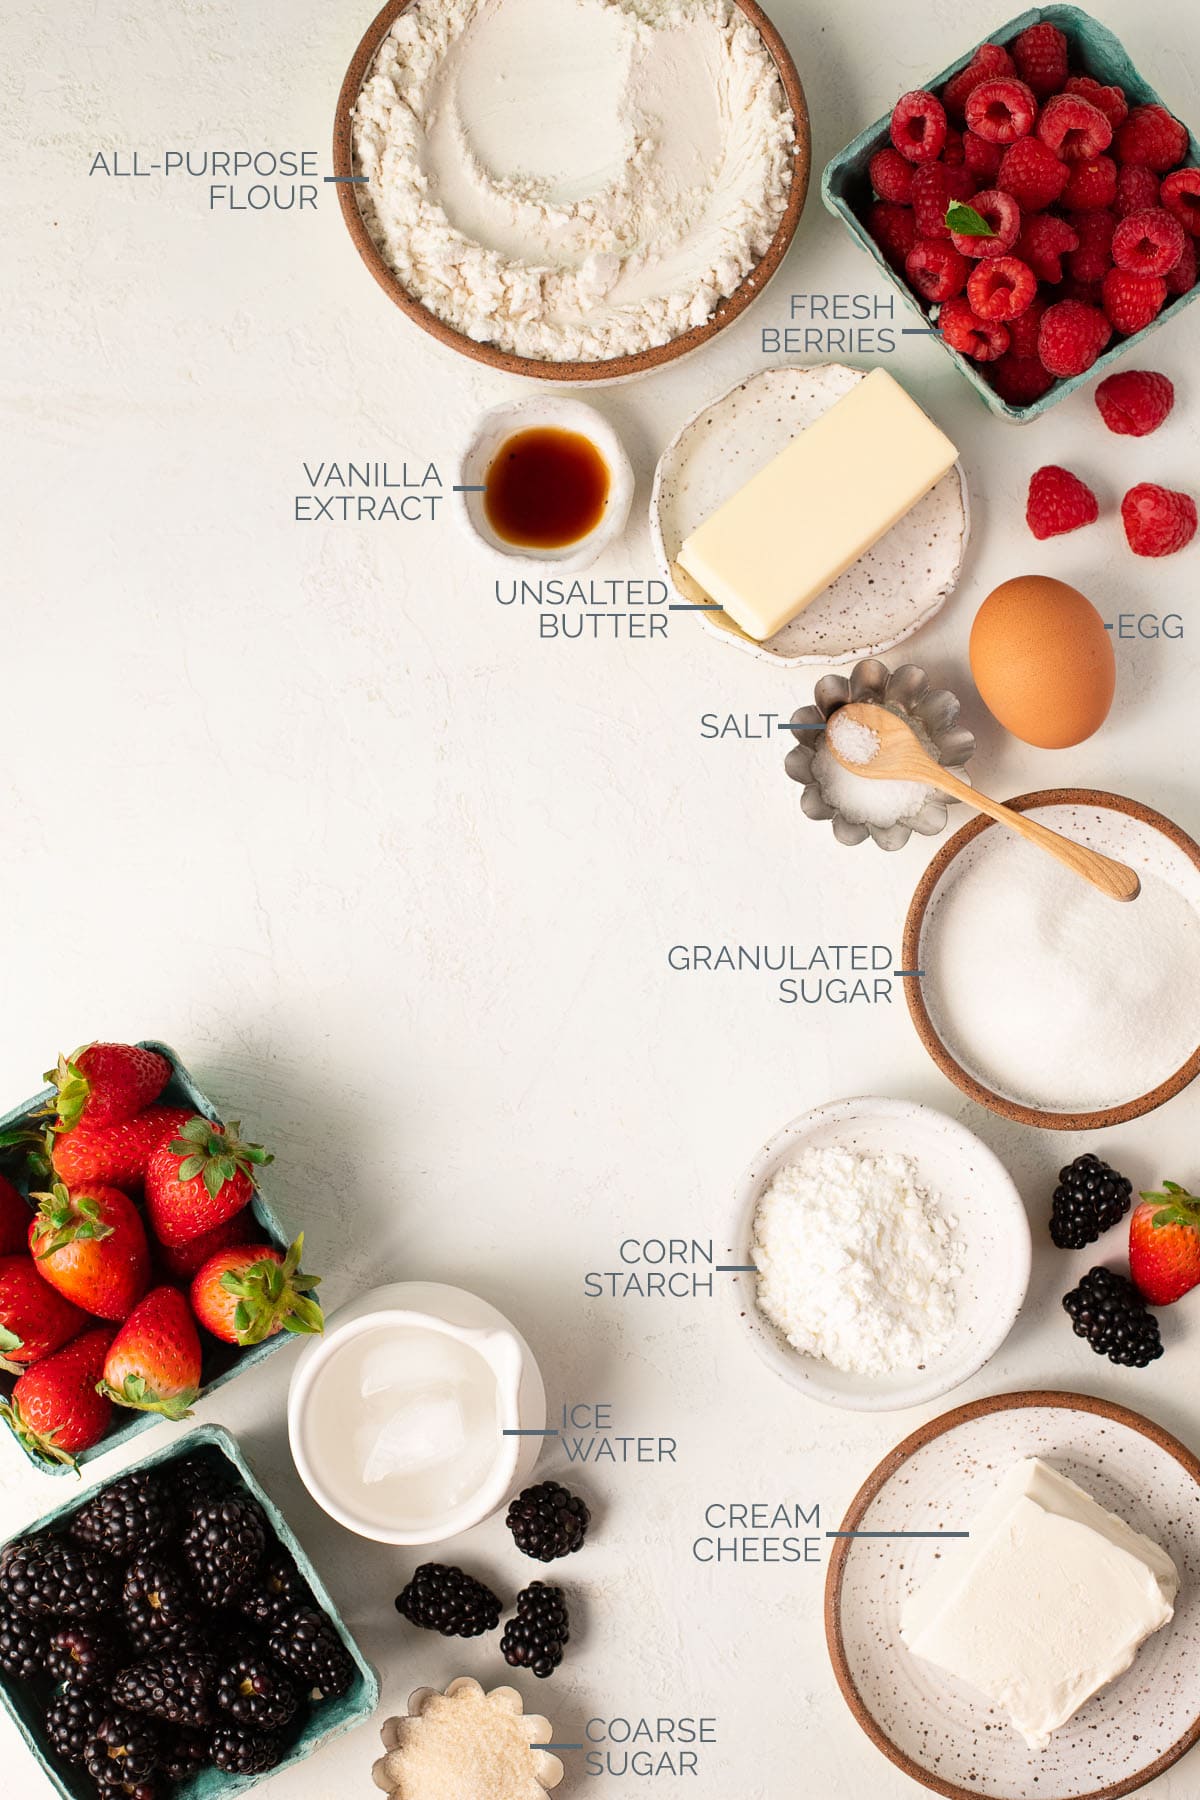
As always, there are a few good-to-know details:
- Flour: You can use regular all-purpose flour or a gluten-free all-purpose blend. For the latter option, make sure that your blend contains a binding agent like xanthan gum or guar gum.
- Butter: I like to use salted butter in my galette dough, but if you want to swap it out for unsalted, increase the added salt to a (slightly generous) ½ teaspoon.
- Cream Cheese: Use full-fat, brick-style cream cheese; no exceptions. Make sure you give it time to soften before you're ready to use it.
- Berries: You can use any assortment you want to make this galette - strawberries, blackberries, blueberries, and raspberries are all fair game. Just make sure you use about 20 ounces (or 4 cups) of fruit total. The strawberries should be chopped, but the others can be left whole.
I haven't tested this recipe with frozen berries, but if you want to use them, let them defrost, and then strain off any water or excess juice before making the filling. - Corn starch: This is here to help thicken the berry mixture, which is crucial since berries do have a relatively high water content. You can typically substitute all-purpose flour or tapioca starch, but you'll want to double the amount since corn starch has twice the thickening power as either of these options.
- Coarse sugar: I usually finish off my galette crusts with a sprinkle of coarse sugar, just to add a little something to the flavor, texture, and presentation. You can use a raw sugar like Turbinado or Demerara, or opt for sparkling sugar, which also makes a great garnish for muffins and other baked goods!
Step-by-step instructions
There are three main components to this mixed berry galette, so you can easily break up the process if you don't want to make everything at once. Here's how I like to do it:
Make the galette dough:
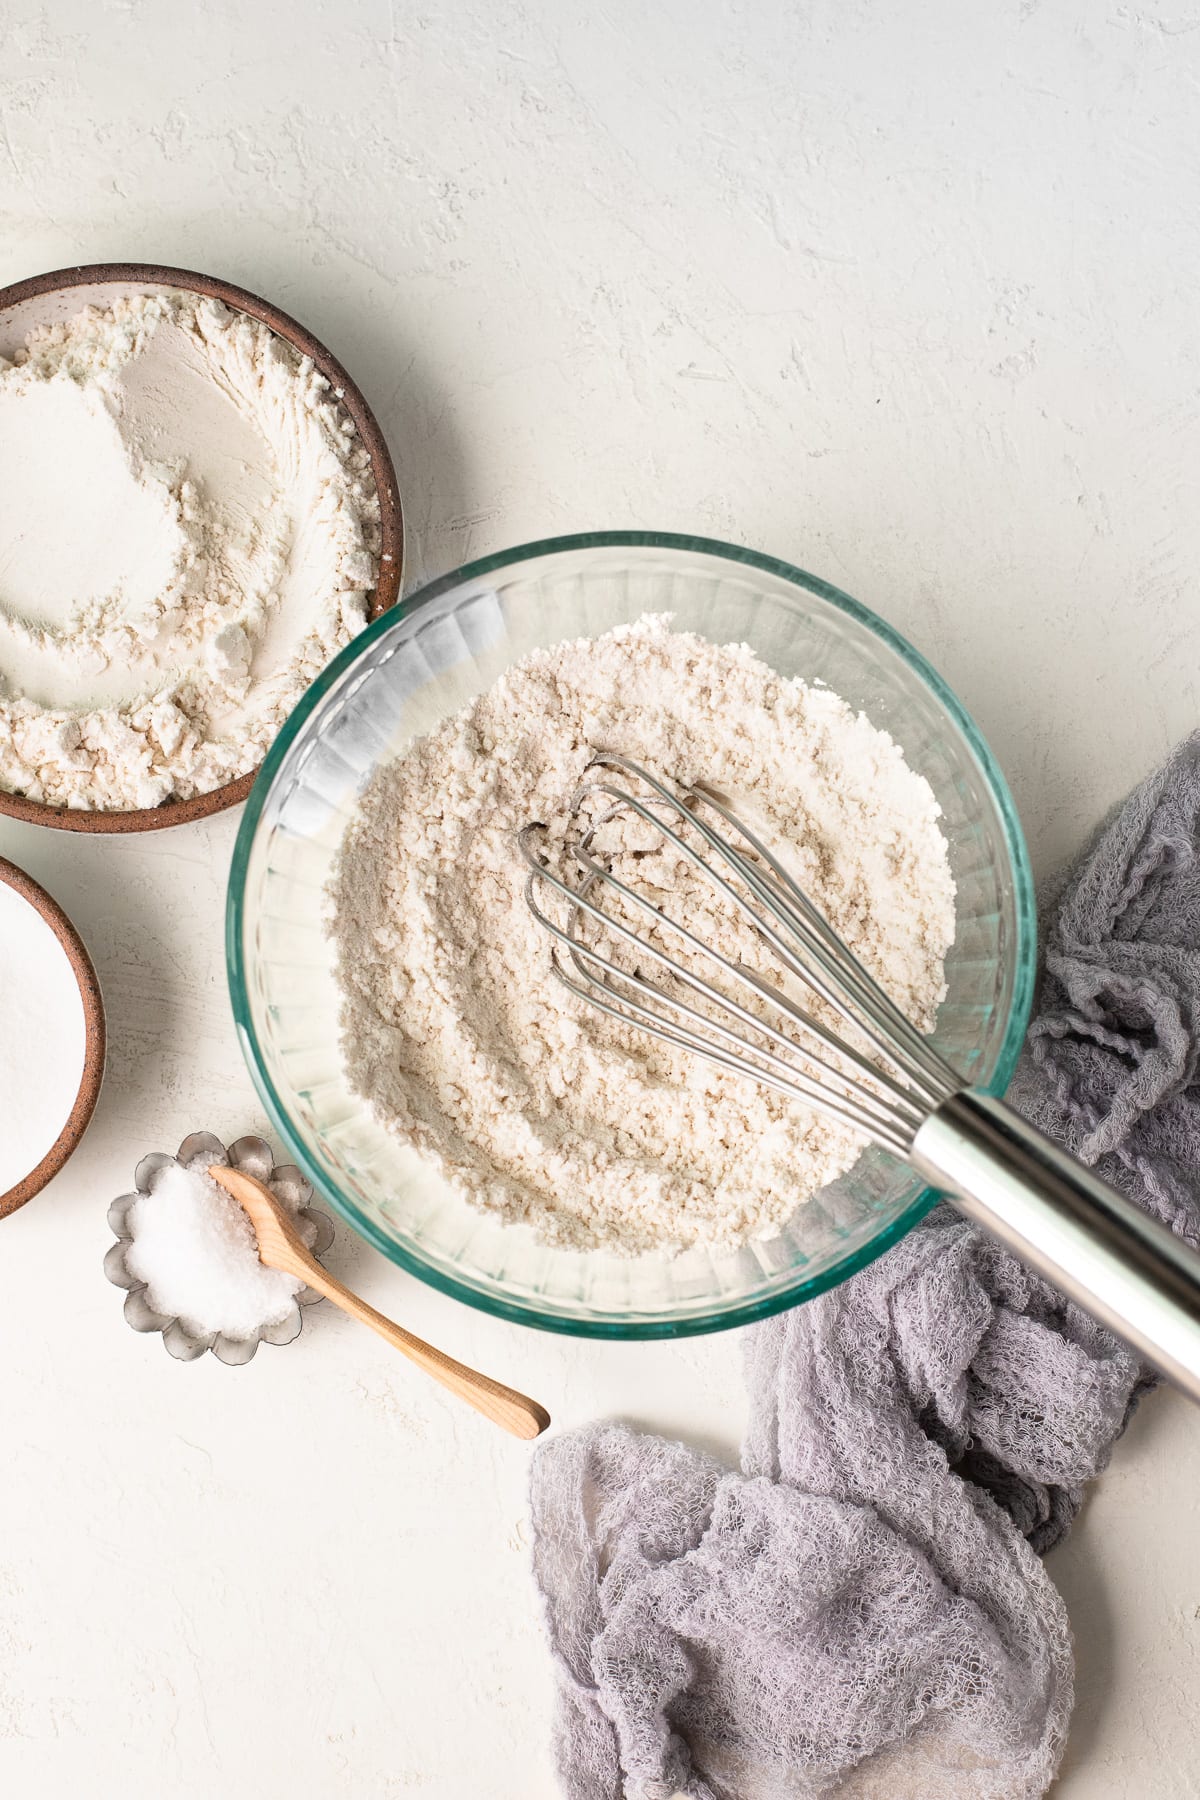
Step one - Mix the dry ingredients: Combine the flour, granulated sugar, and salt in a medium bowl and whisk together well.
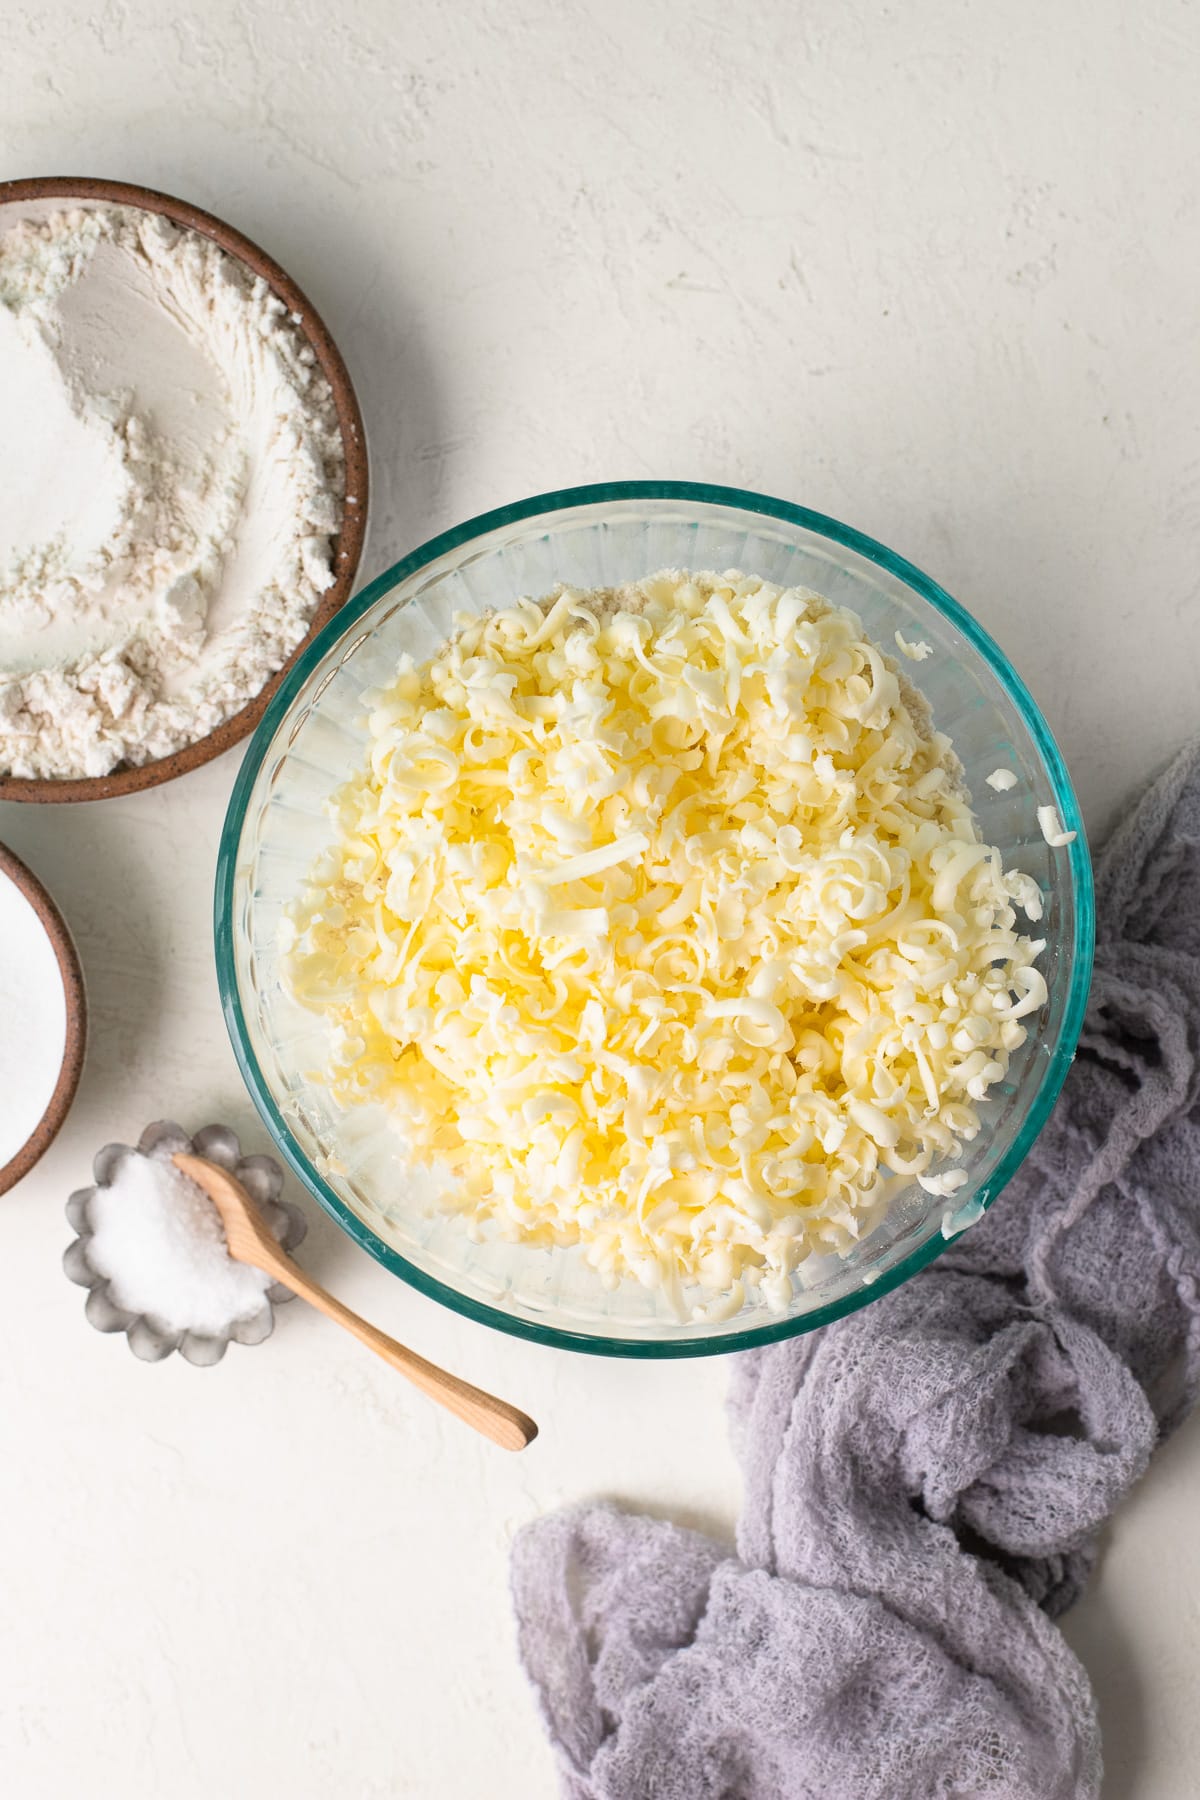
Step two - Add butter: Use the large-hole side of a box grater to grate your butter directly into the flour mixture. (This is a trick you'll see me use often for scones as well, since it efficiently accomplishes the task of incorporating small chunks of cold butter into the flour - the key to flaky pie crusts and pastries.) Toss the butter in gently with your hands - just until it's evenly dispersed - preventing any clumps of butter from forming.
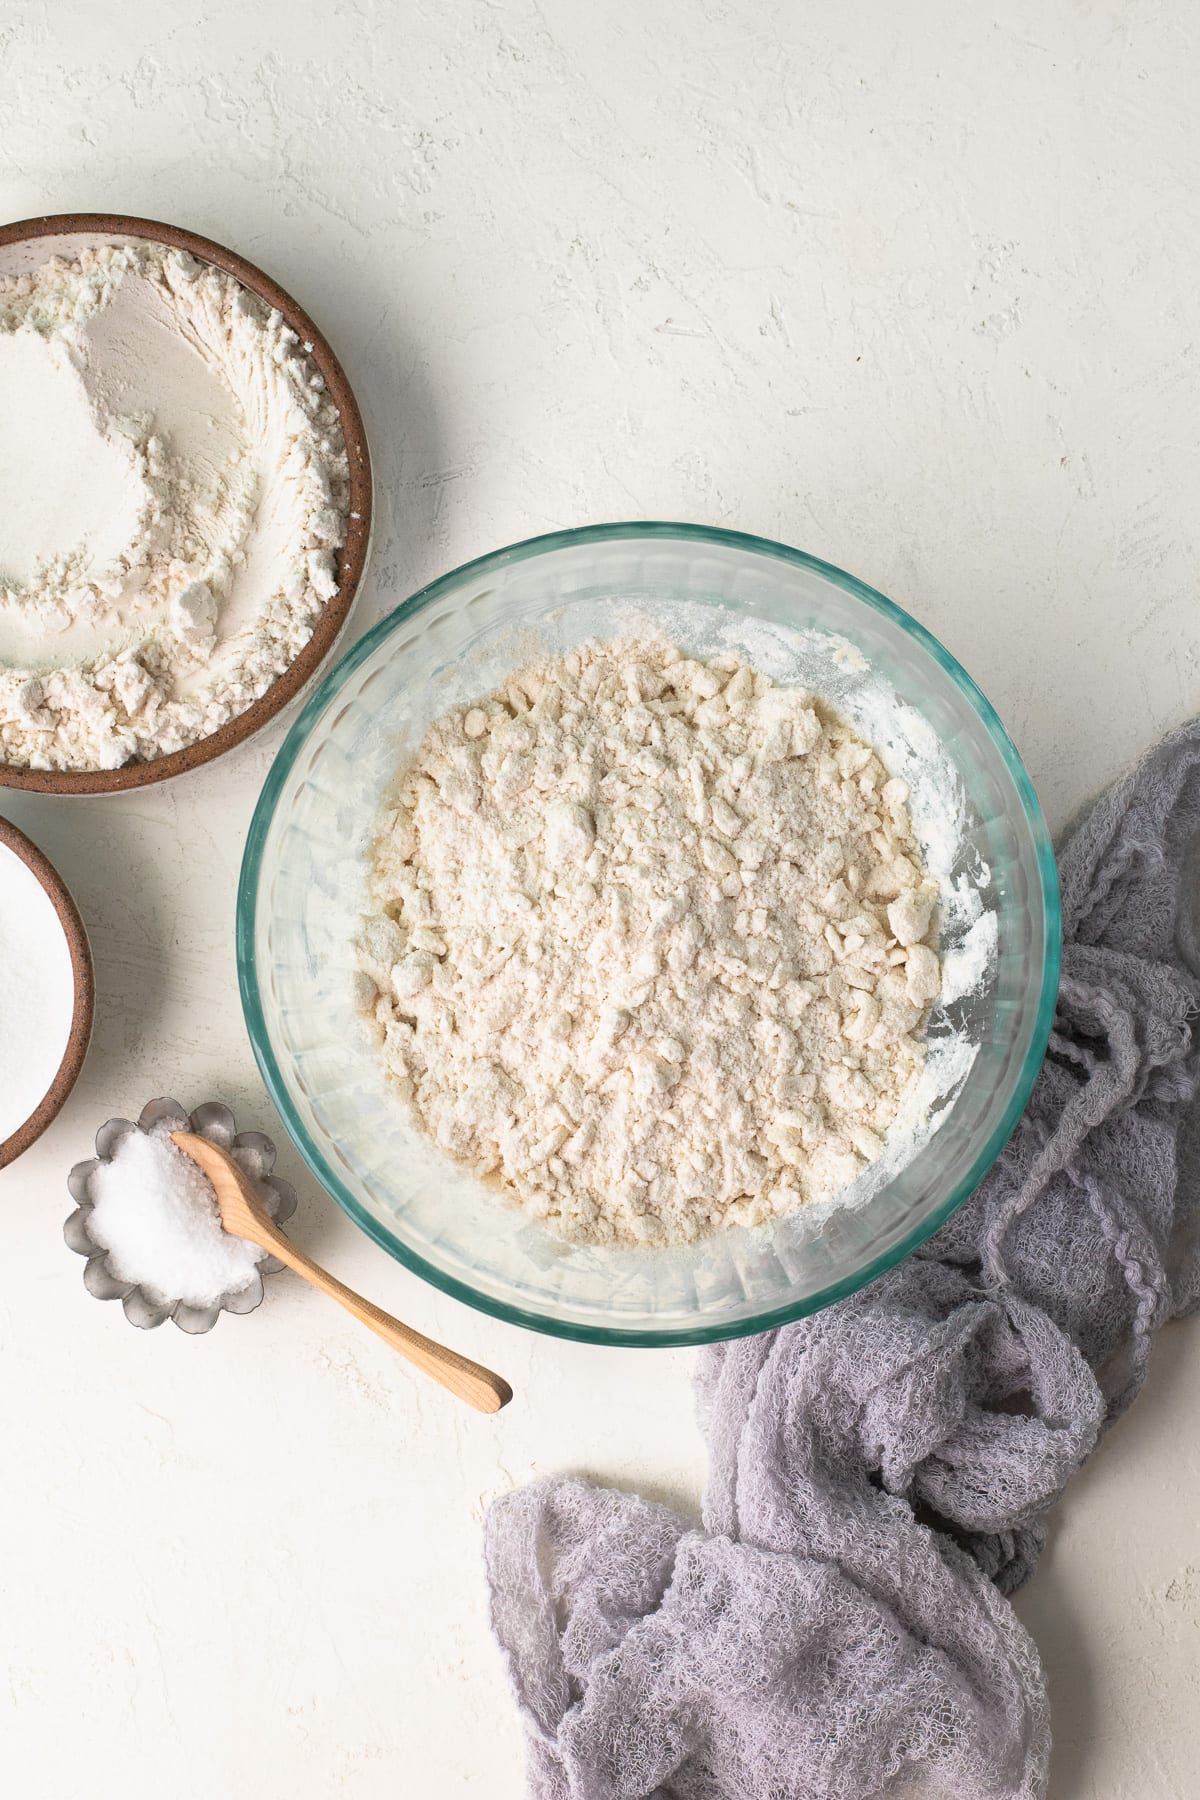
Step three - Mix in liquids: Add the vanilla extract and 3 ½ ounces of ice water to the flour, folding the mixture with a spatula until the liquids are mostly incorporated. Then, use your hands to finish working the mixture together into a single ball of dough.
Be gentle with it, and avoid over-handling. You can add up to an additional 1 ounce of water as needed during this process. Keep in mind that the dough should be just slightly tacky - not too dry and crumbly, but not sticky either.
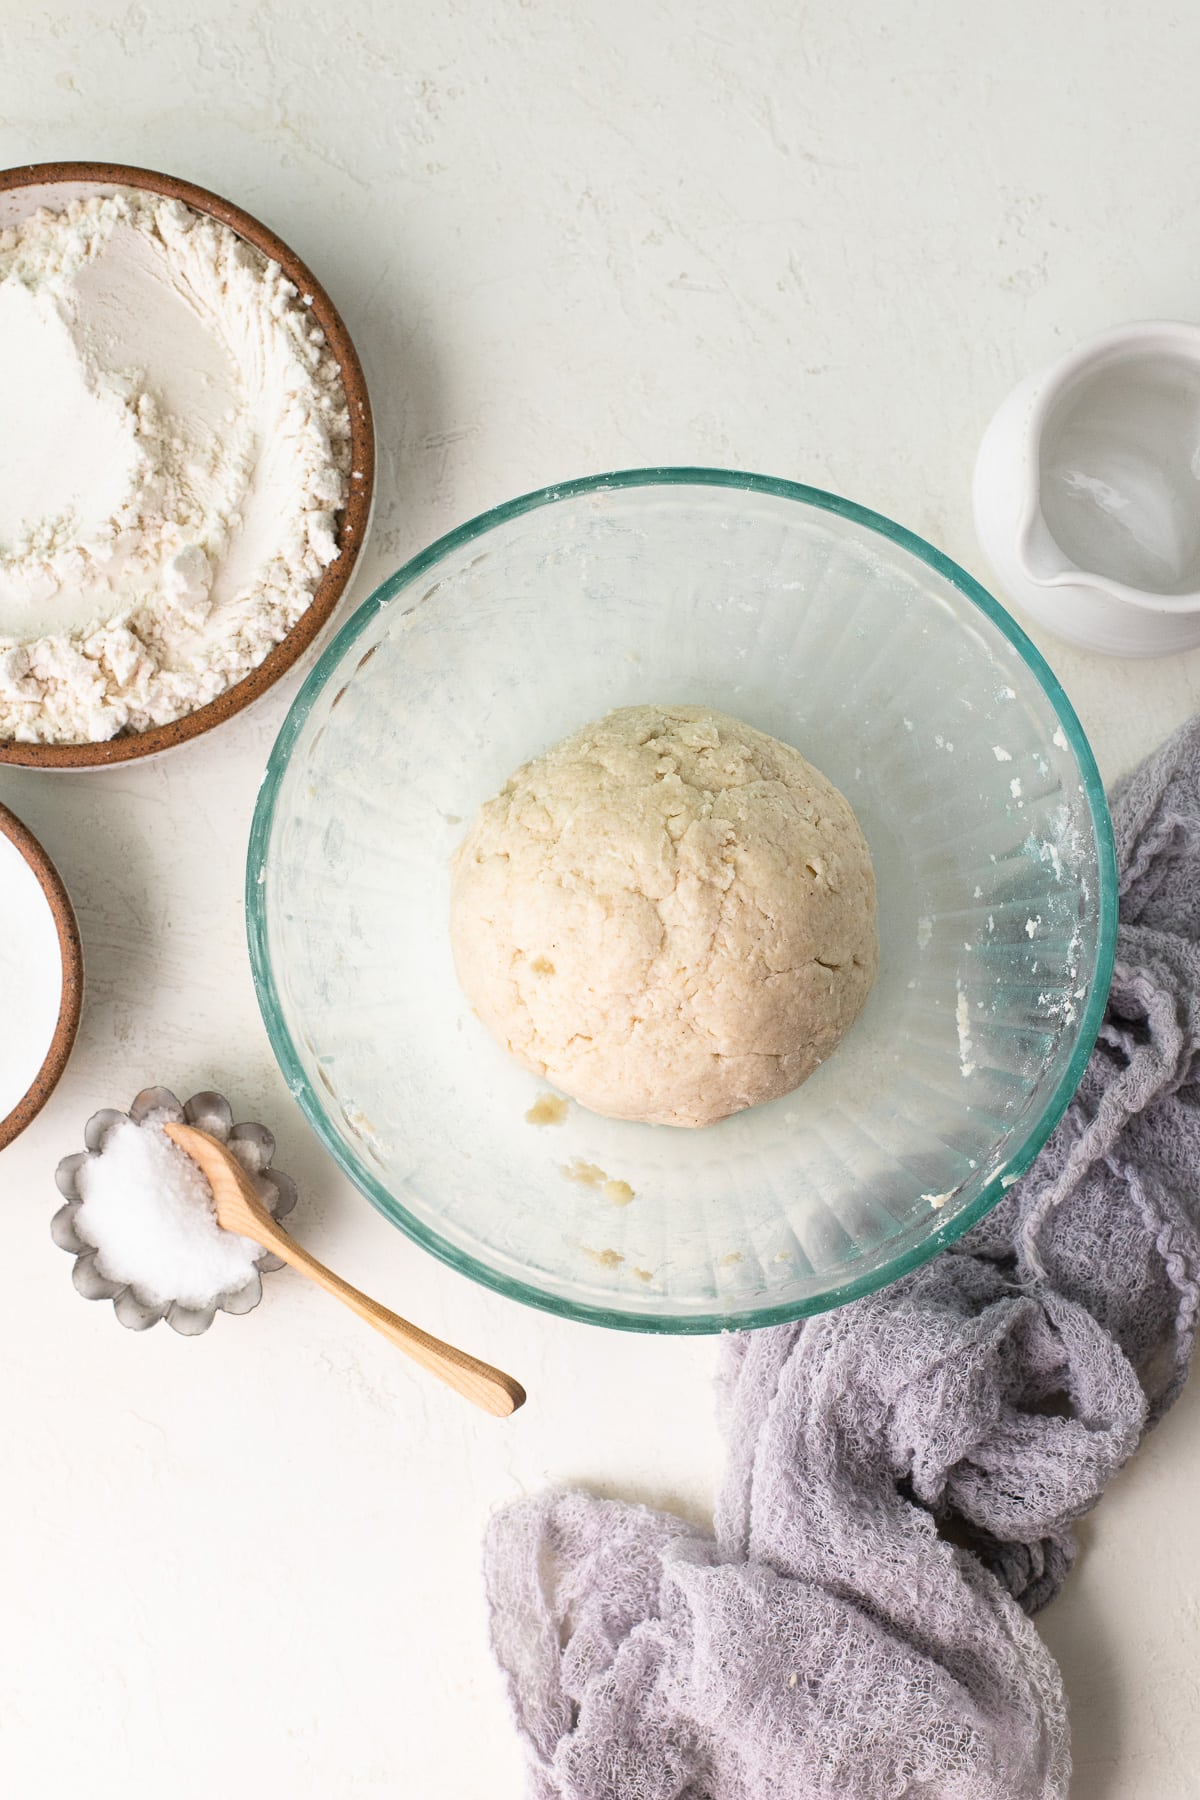
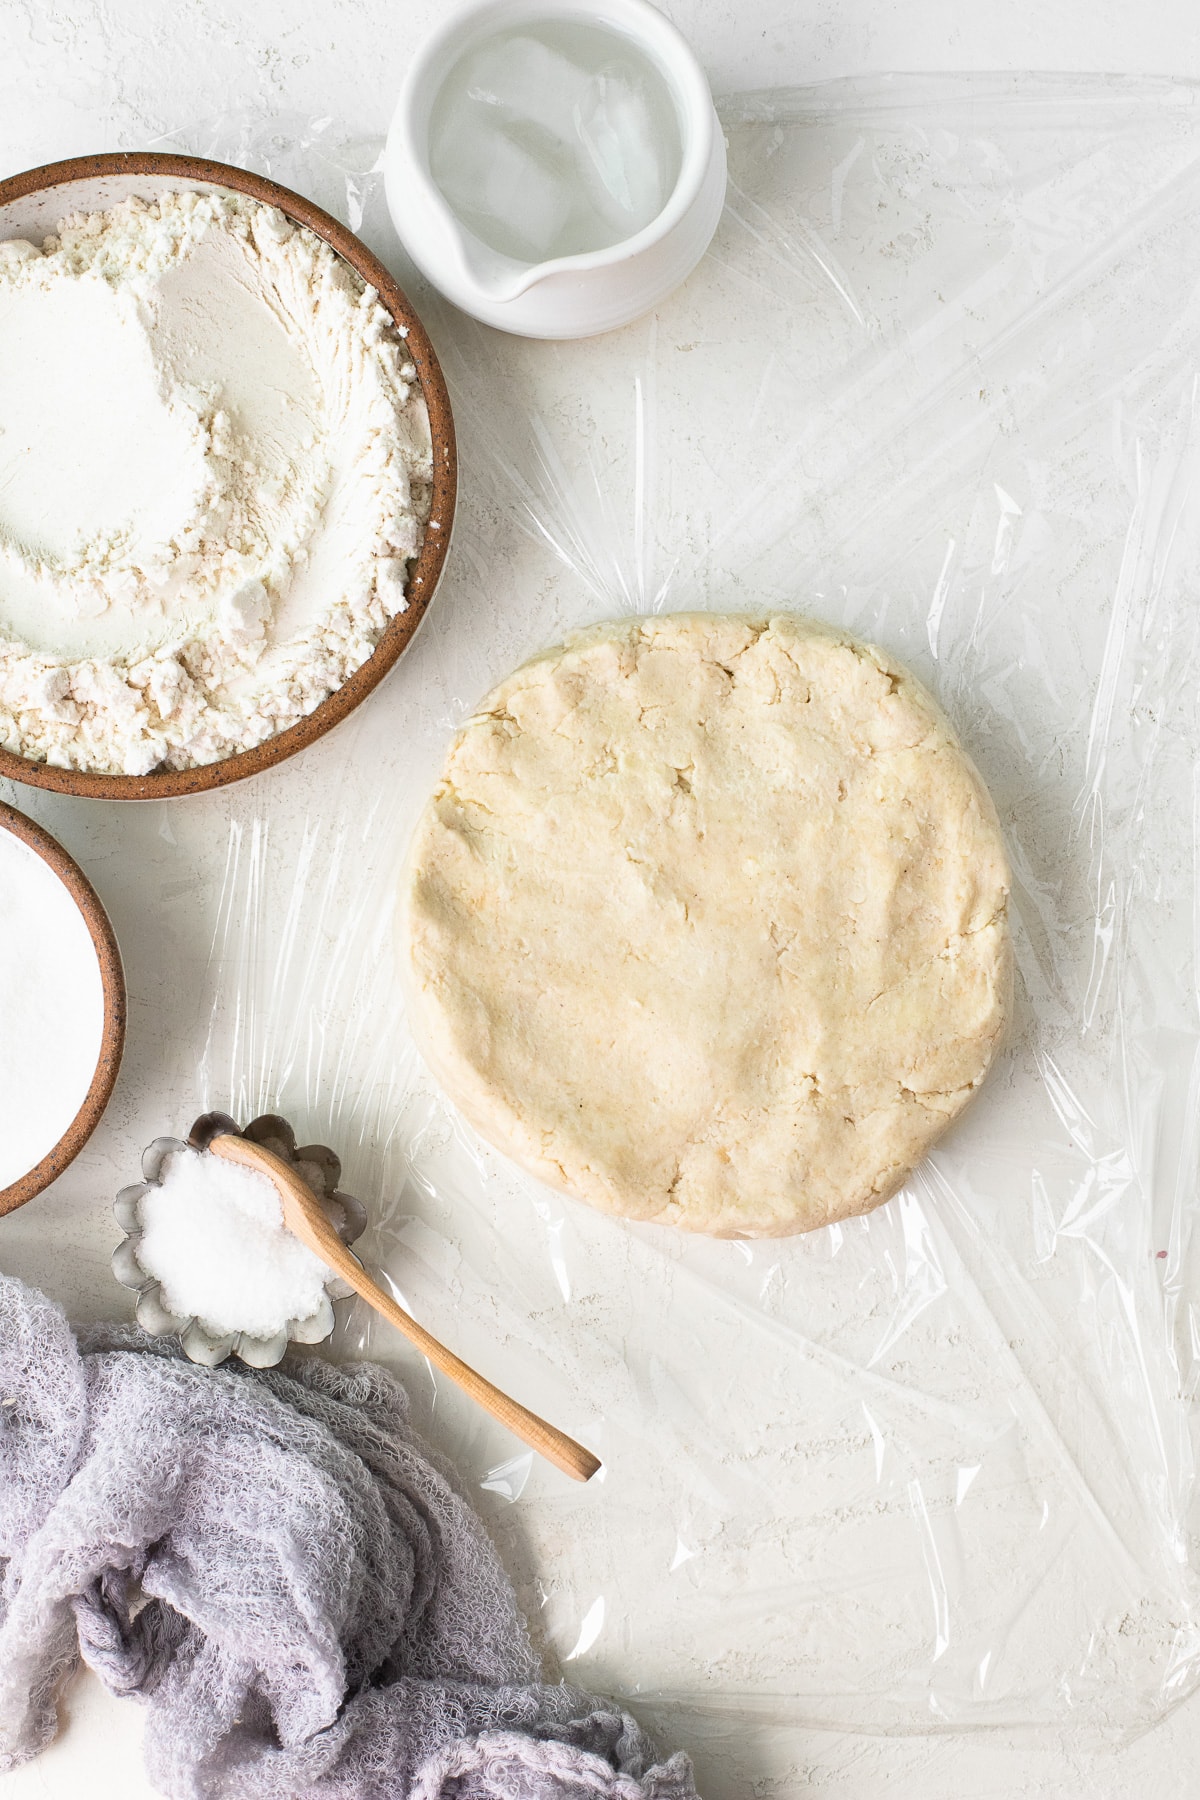
Step four - Shape and chill. Use your hands to flatten the dough into a round disc about 6" wide. Wrap it in plastic wrap and refrigerate it for 45 minutes while you prep the fillings.
Make the cream cheese filling:
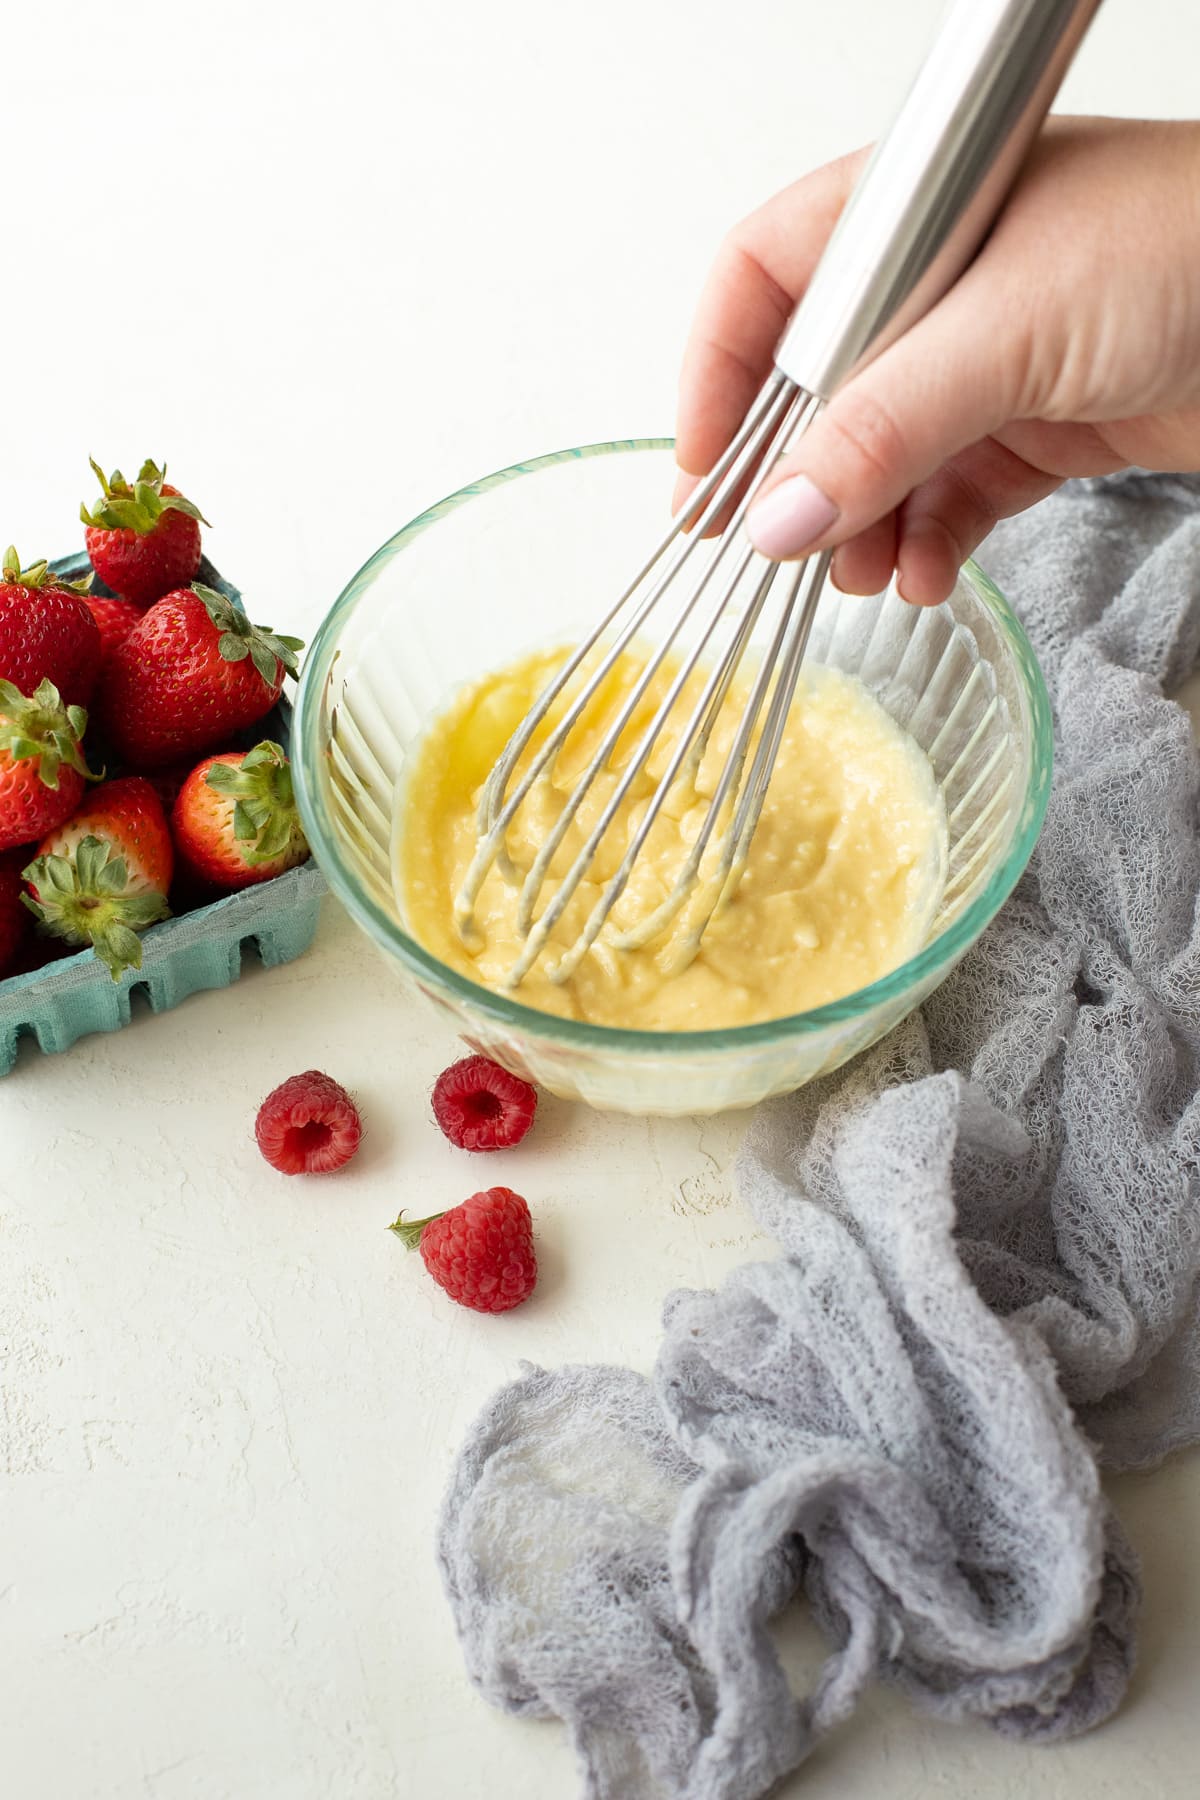
Combine all of the filling ingredients in a medium mixing bowl and whisk them together until the mixture is fairly smooth - a few small lumps are fine. Refrigerate the mixture until you're ready to assemble the galette.
Tip - Save that egg white!
The cream cheese filling for this galette uses a single egg yolk, but don't dump the egg white! You'll need it for glazing the dough later on.
Make the mixed berry filling:
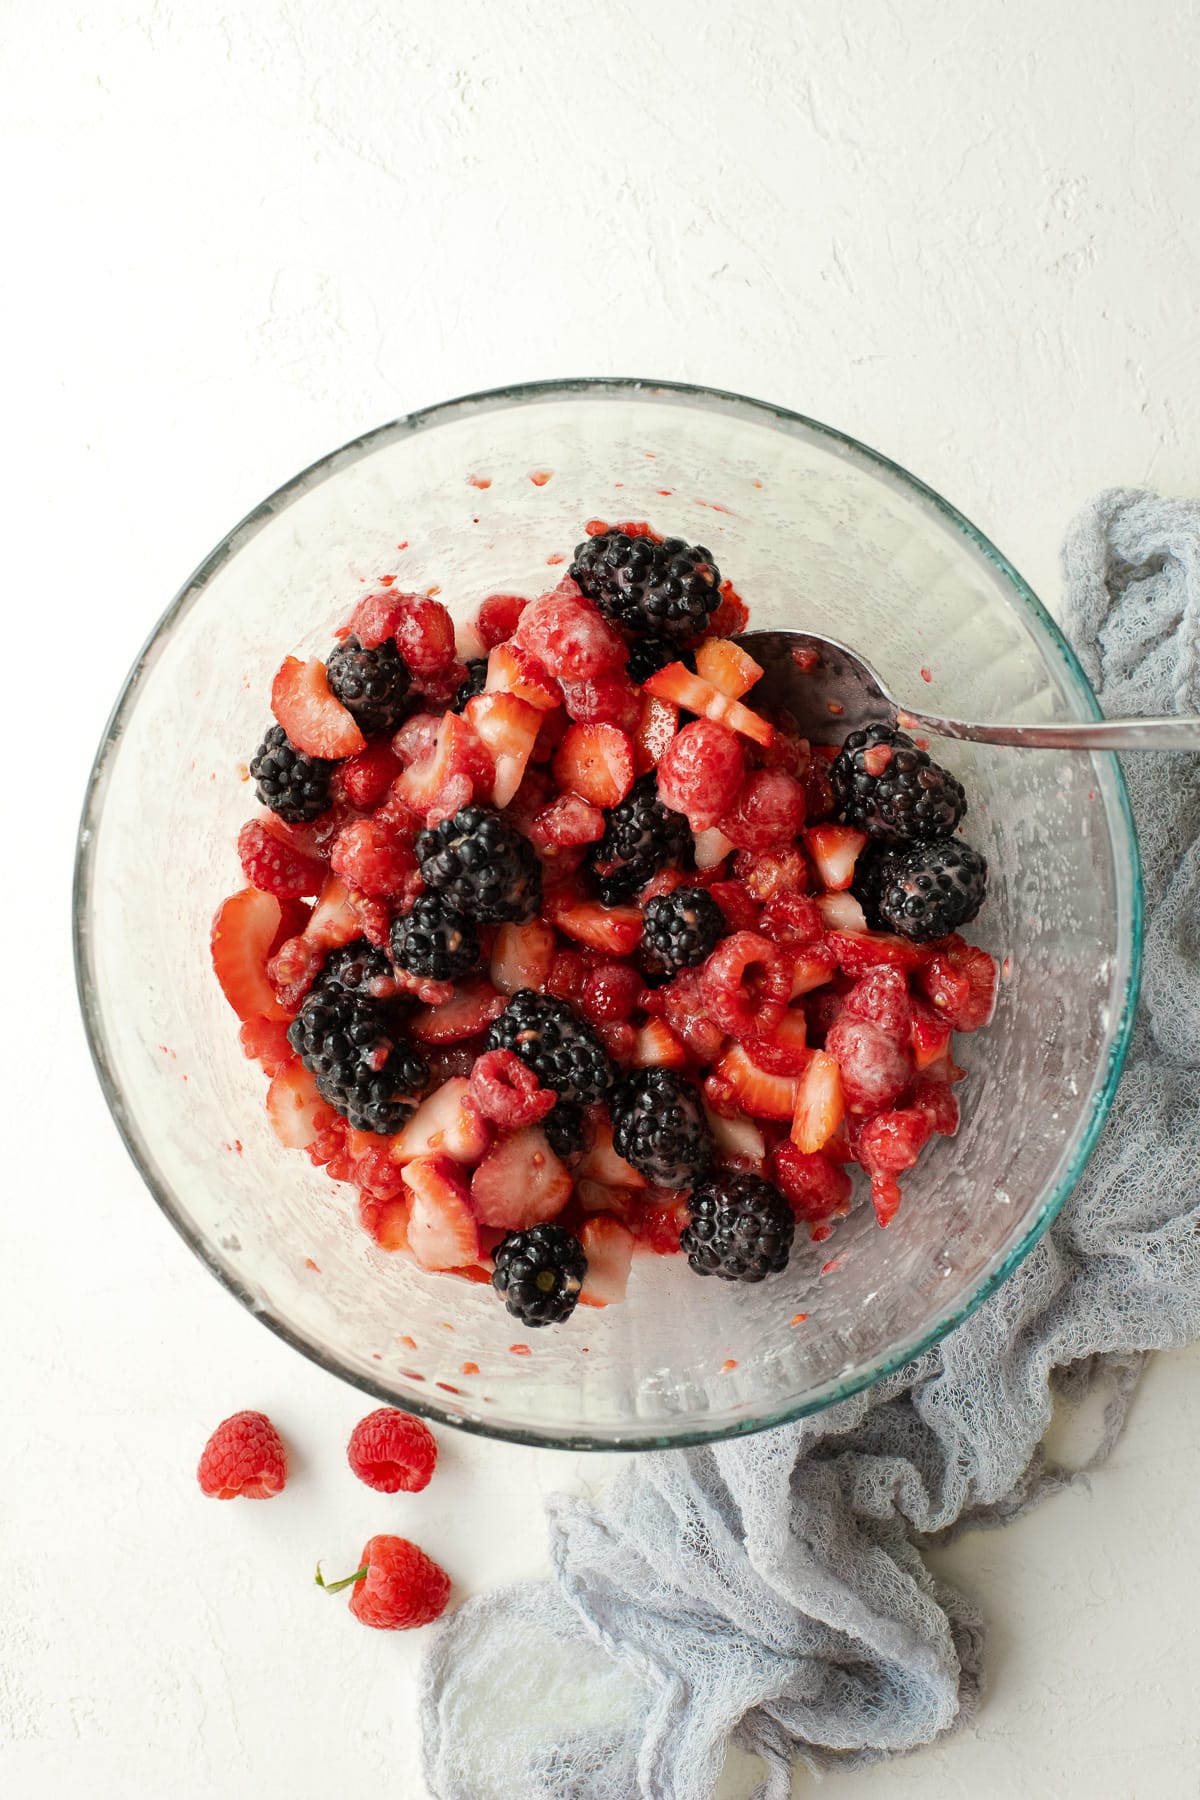
Add your berries of choice (remember to chop any strawberries!), granulated sugar, and corn starch in a large mixing bowl. Toss everything together until the corn starch is no longer visible, being careful not to smash the berries in the process. Refrigerate this as well until ready to use.
Galette assembly:
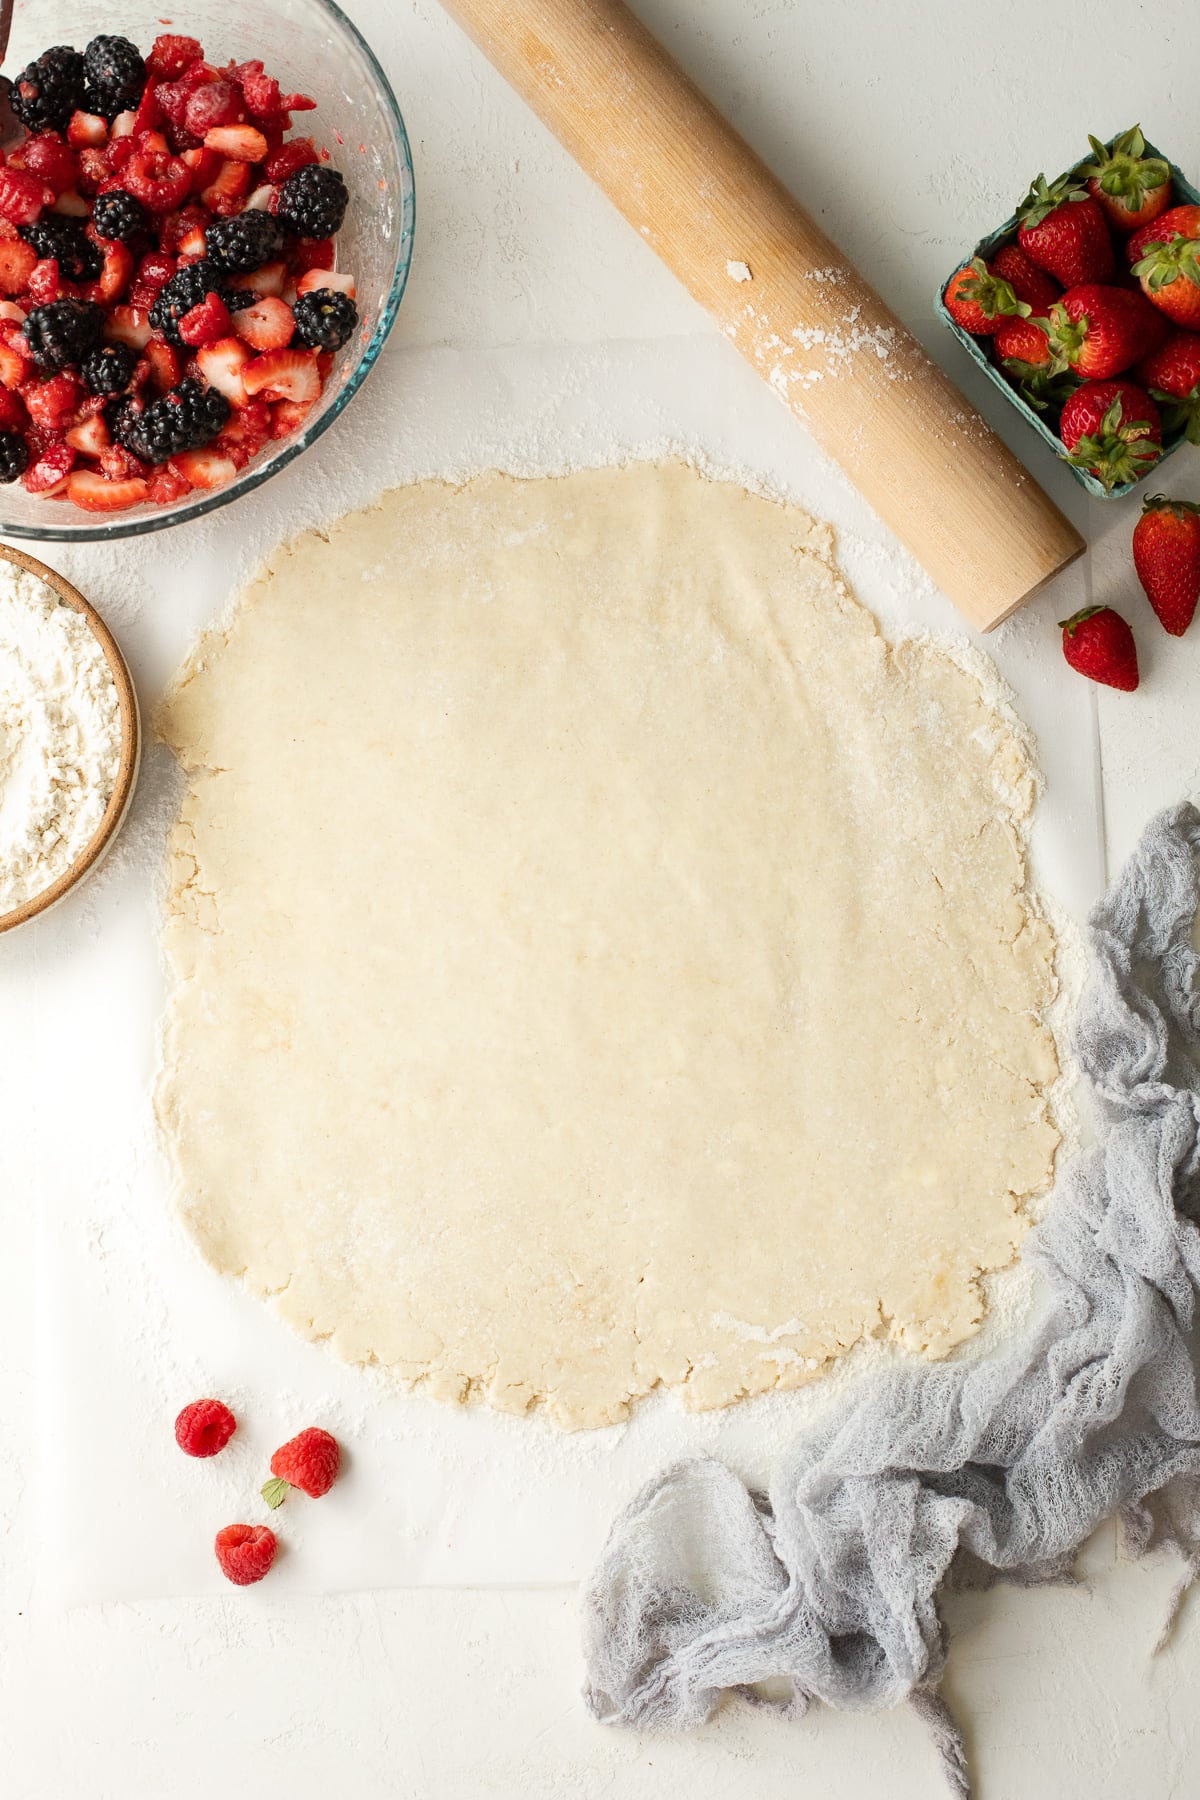
Step one - Roll out the galette dough: Cut a sheet of parchment to fit a standard size baking sheet. Dust the surface with flour - a baker's wand or small mesh strainer work especially well for this.
Lightly flour the surface of the (chilled) dough and roll it into a 12" round, adding more flour to the dough or parchment if needed to avoid any sticking.
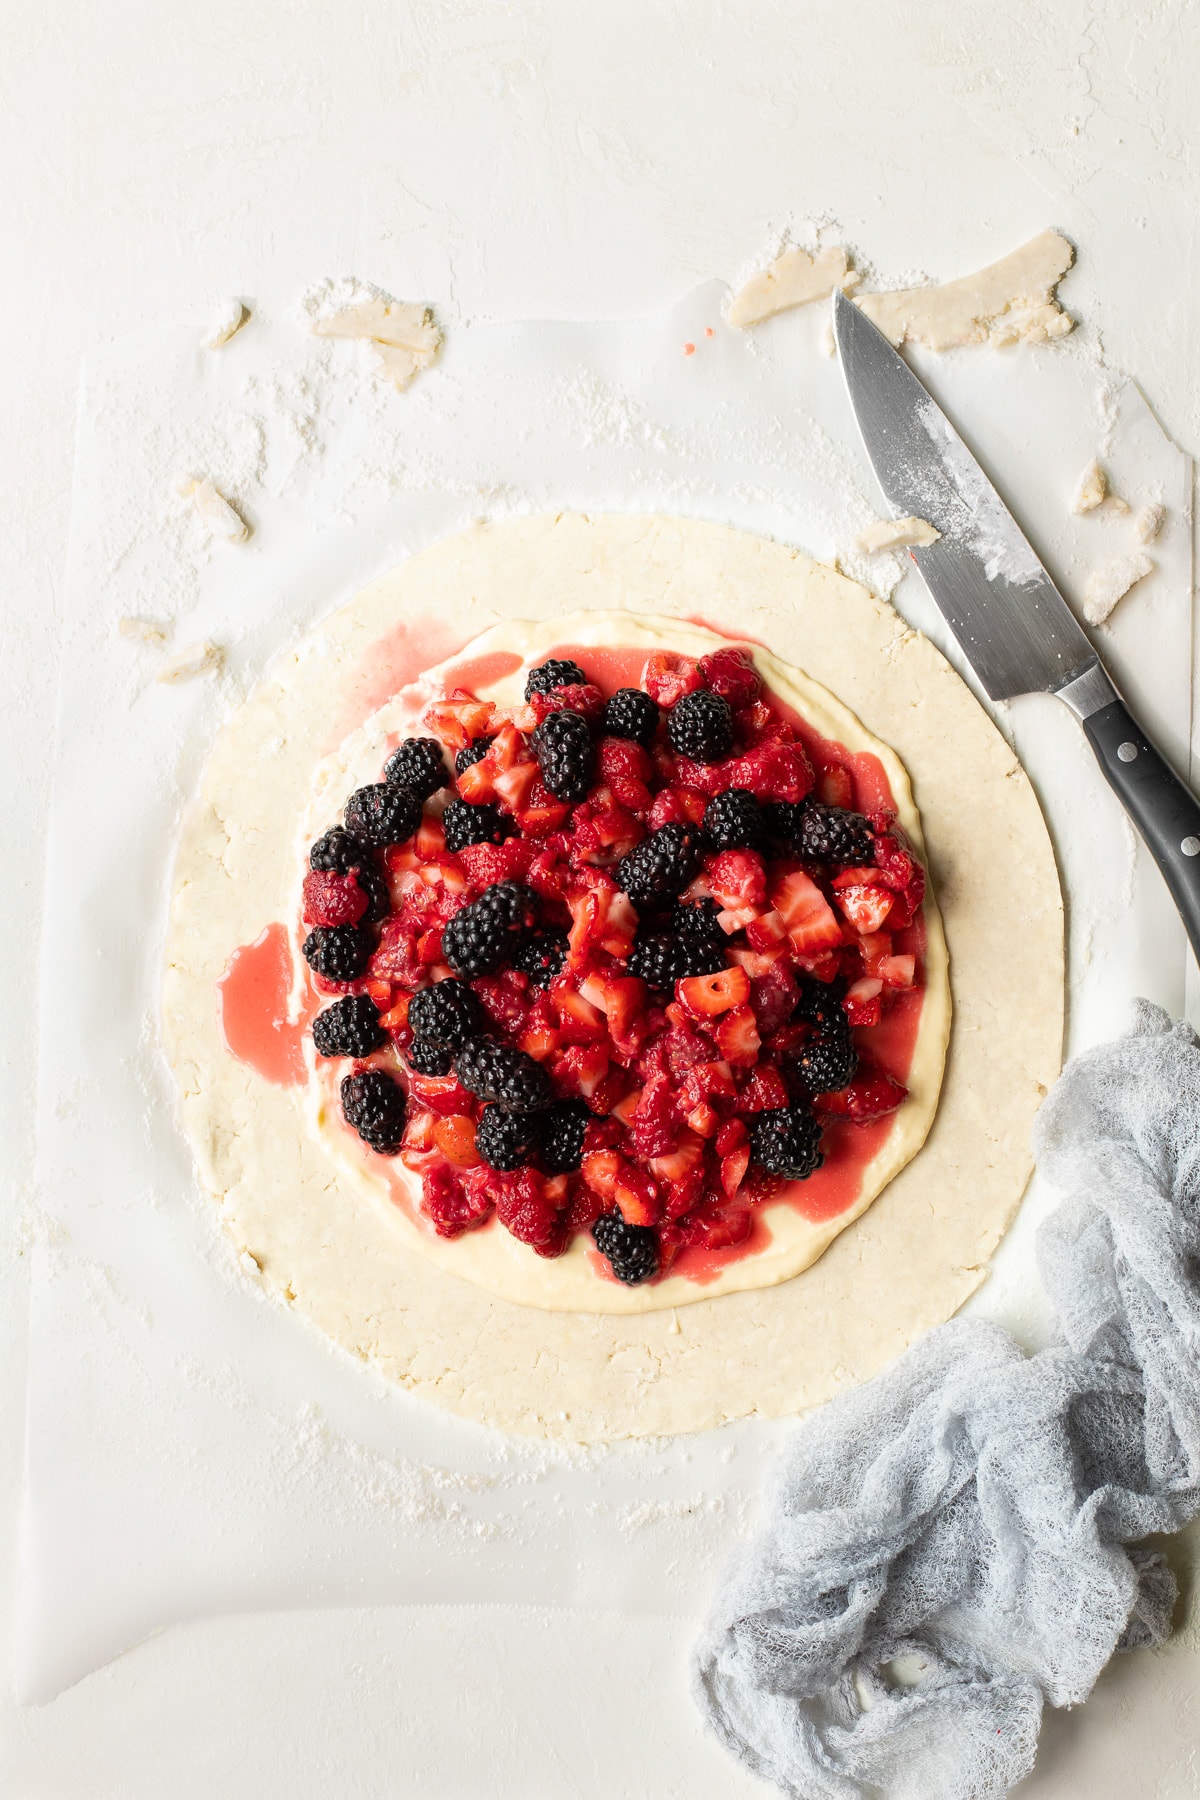
Step two - Add your fillings: Use the back of a spoon or a small offset spatula to spread the cream cheese filling over the dough, leaving a 1 ½" clear border around the outer perimeter. Try to leave a bit of a lip around the edge of the filling to act as a dam for the berries.
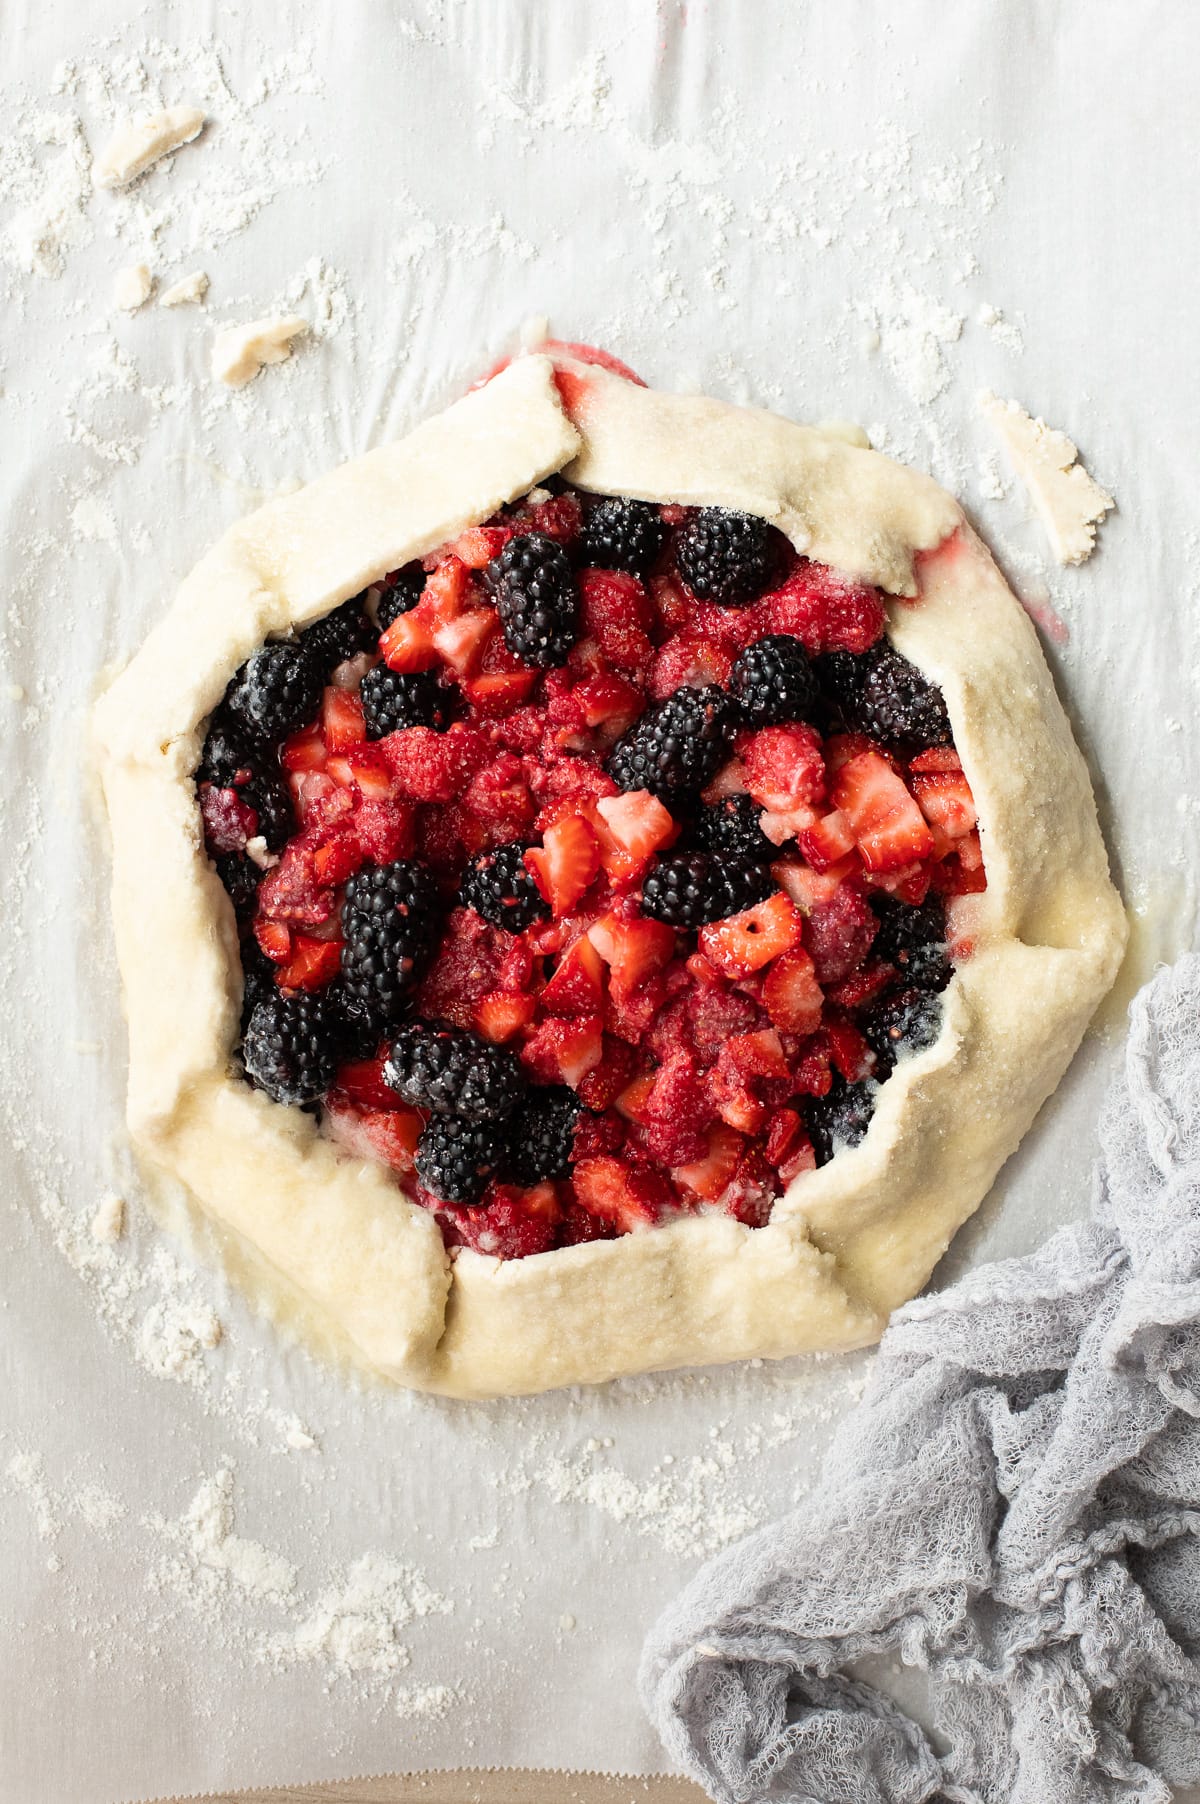
Strain out the excess juice from the berries (a slotted spoon helps with this) and pile them over the cream cheese filling. If you do find that any juice leaks onto the dough, you can gently dab it off with a paper towel. At this point you can also trim the outer edge of the dough to clean up any rough edges, but that's entirely optional. Unlike pie, galettes are meant to look rustic!
Step three - Fold the edges: Carefully fold the dough around the outer edges of the galette inward, so that they overlap the outer border of the filling. If at any point the dough starts to tear, it can help to chill the galette for about 5 minutes and then re-attempt. If you trimmed your dough in step three, you can also use the scraps to fill in any cracks.
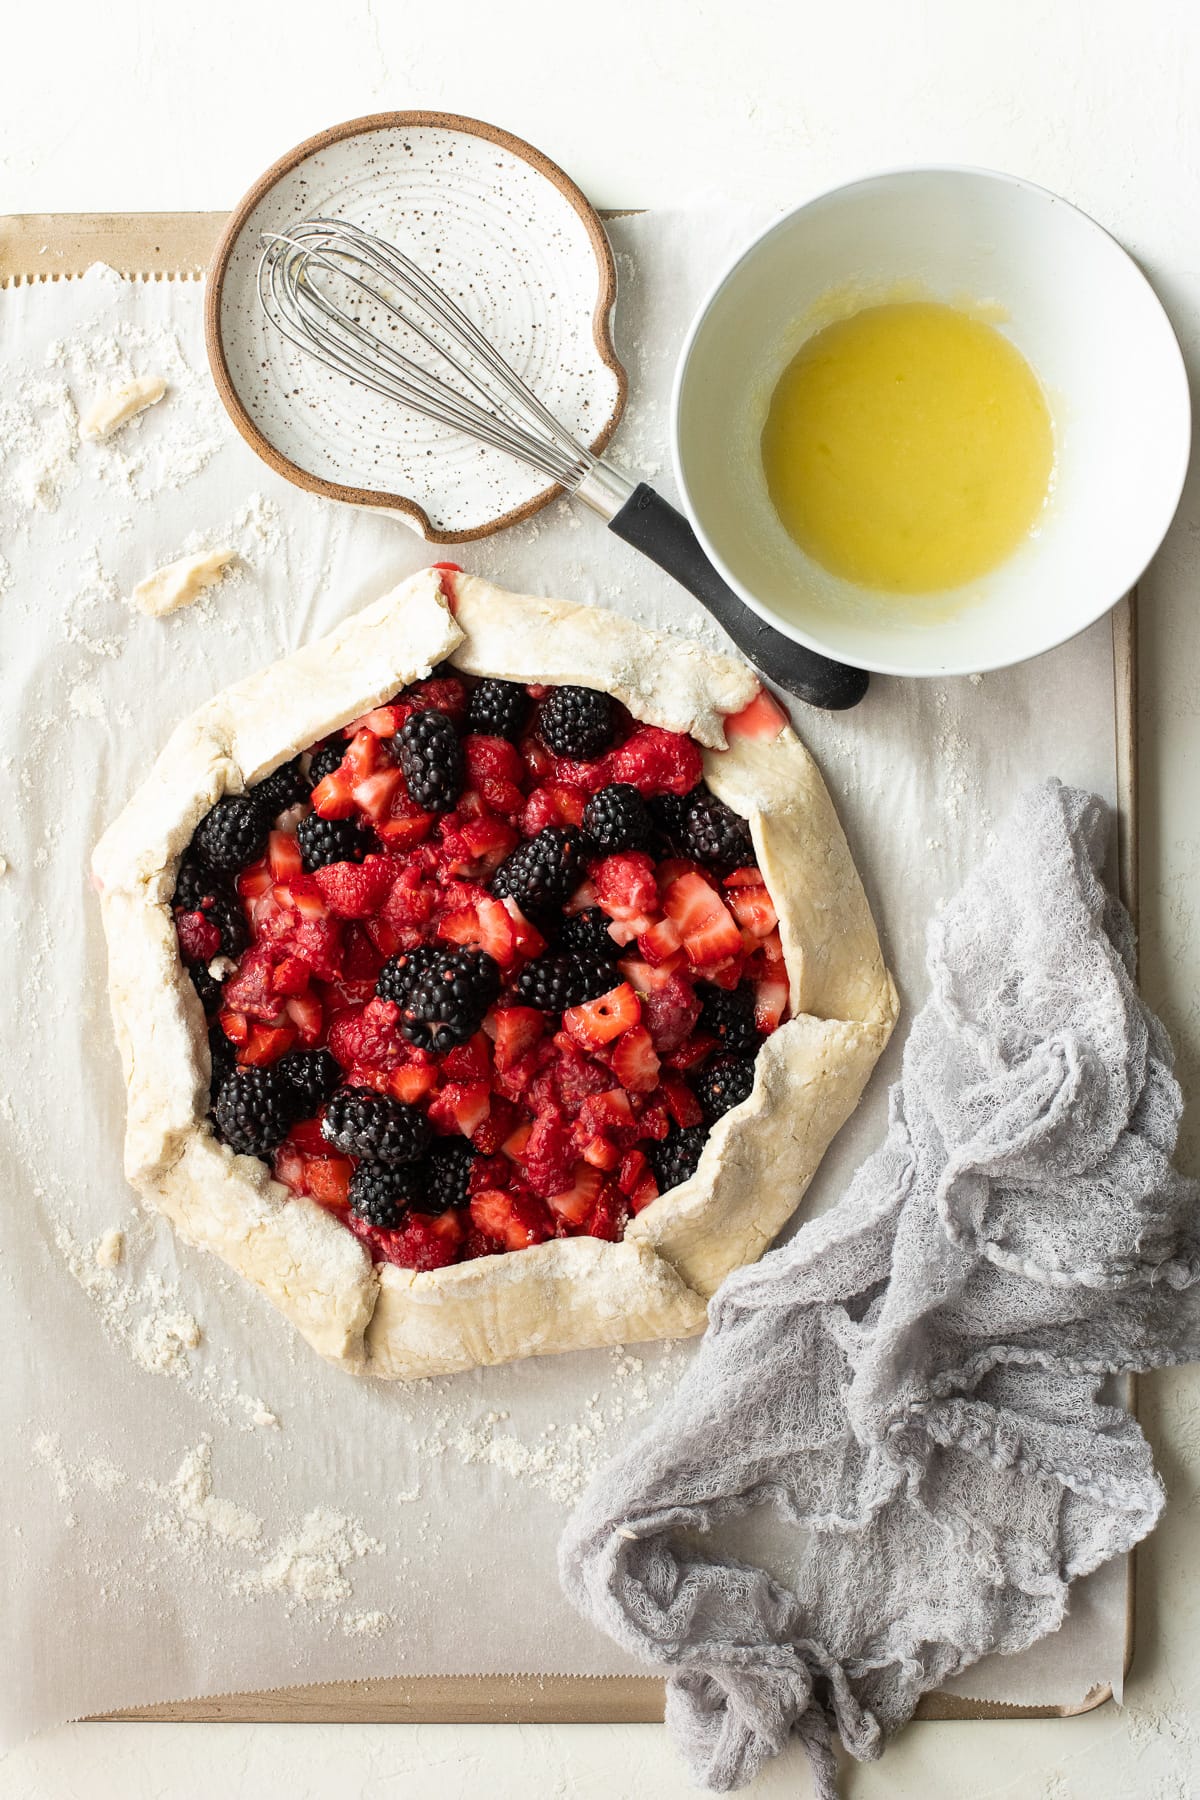
Step four - Chill: Use the parchment to gently lift or slide the berry galette onto your baking sheet. (I love a flat cookie sheet for this since it can easily slide right under the parchment.) Place the galette back in the fridge to chill for 10 minutes while preheating your oven to 400ºF.
Glaze and bake:
Step one - Make the egg wash: In a small bowl, whisk together the melted and slightly cooled butter along with the reserved egg white (from making the filling).
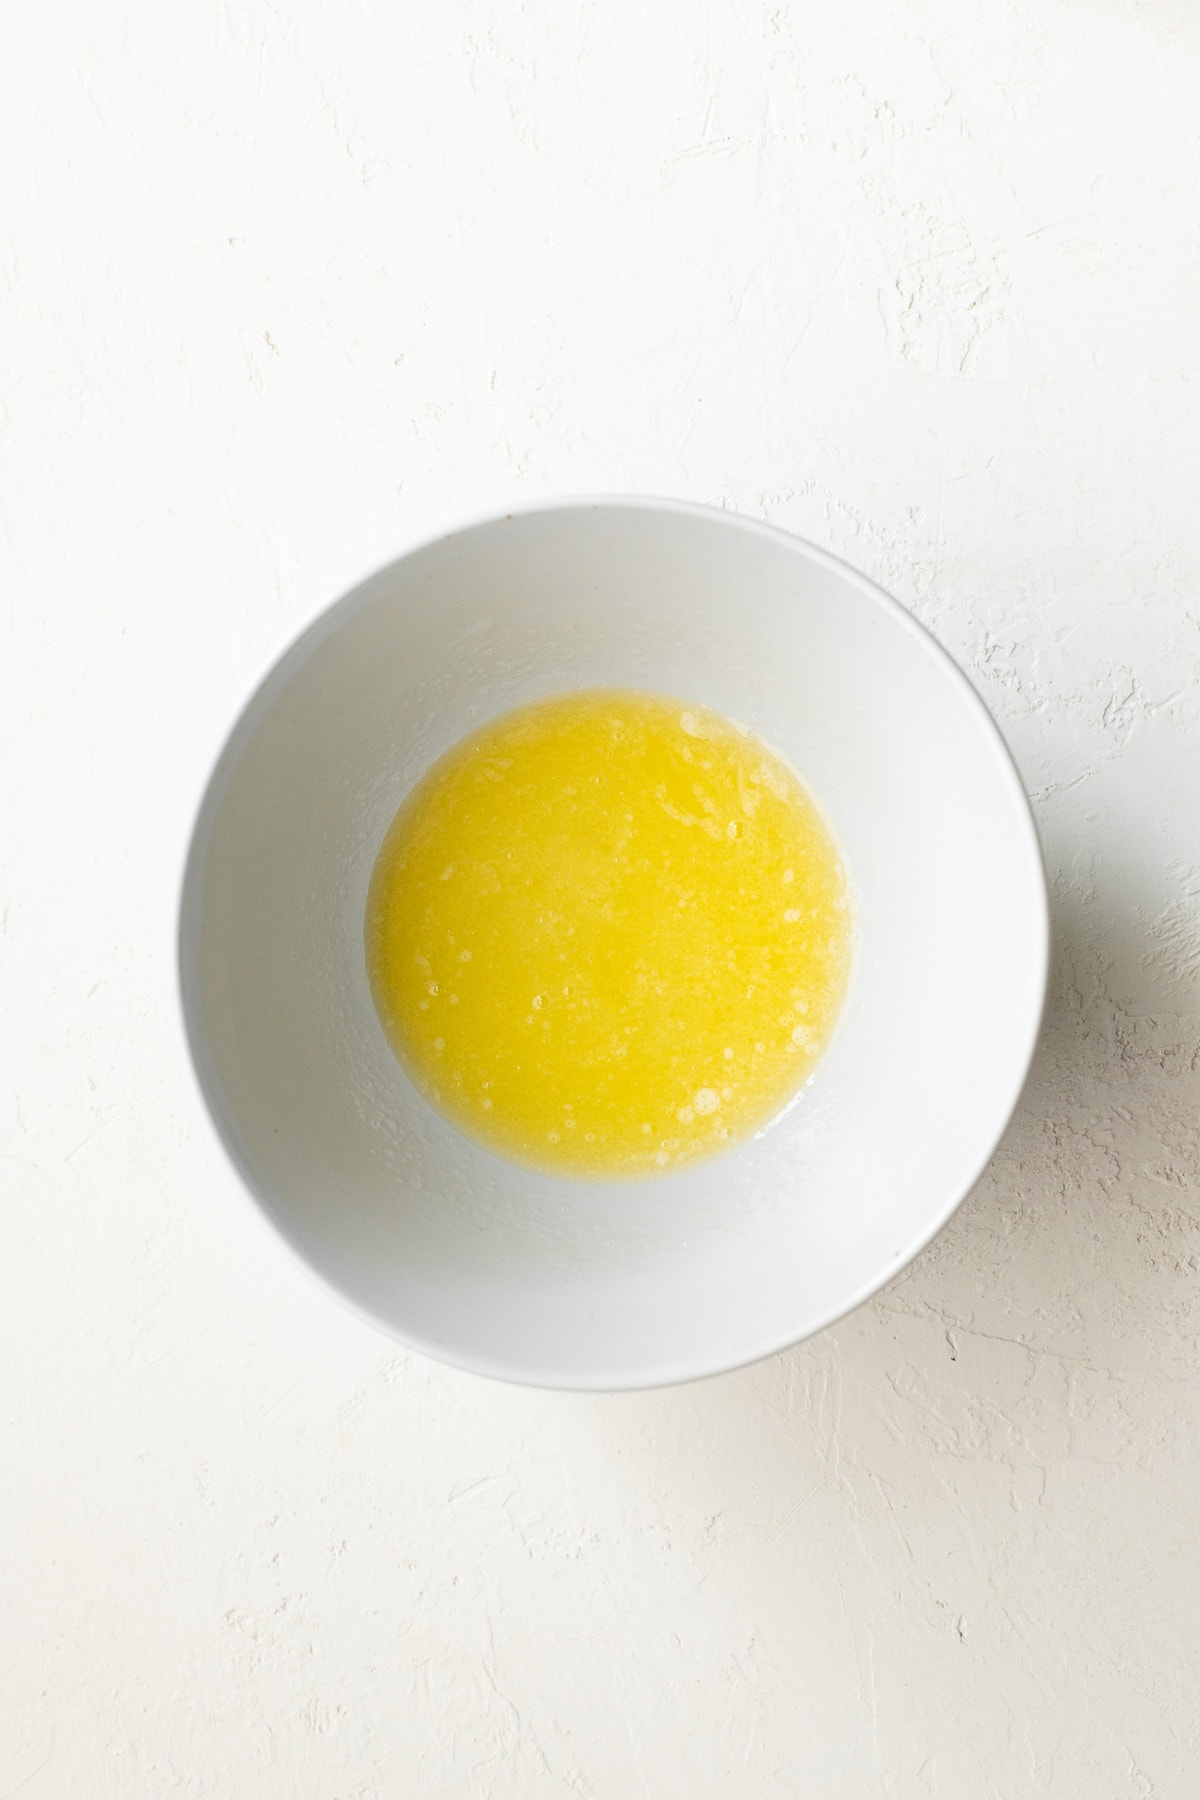
Step two - Glaze and garnish: Just before baking, brush the egg wash over the edges of the galette, and sprinkle the whole thing with your coarse sugar of choice.
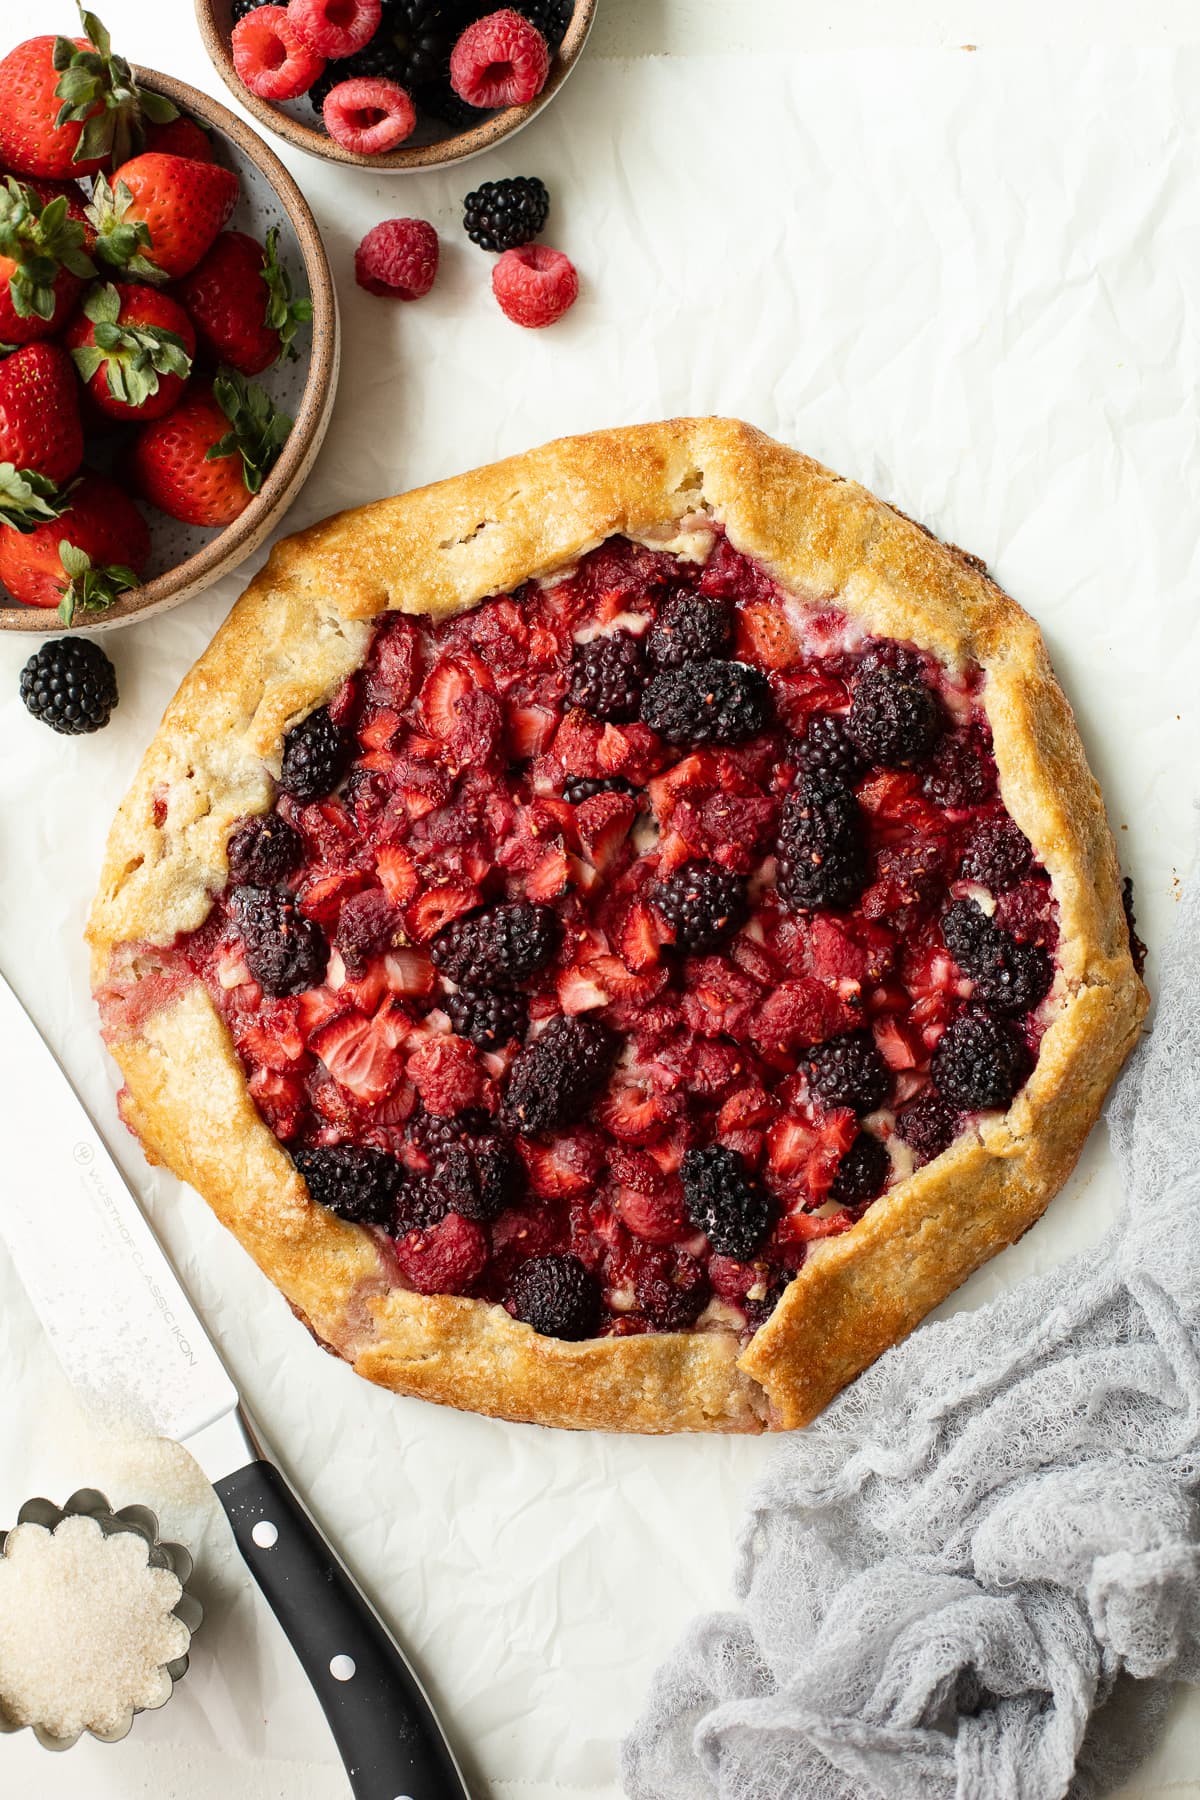
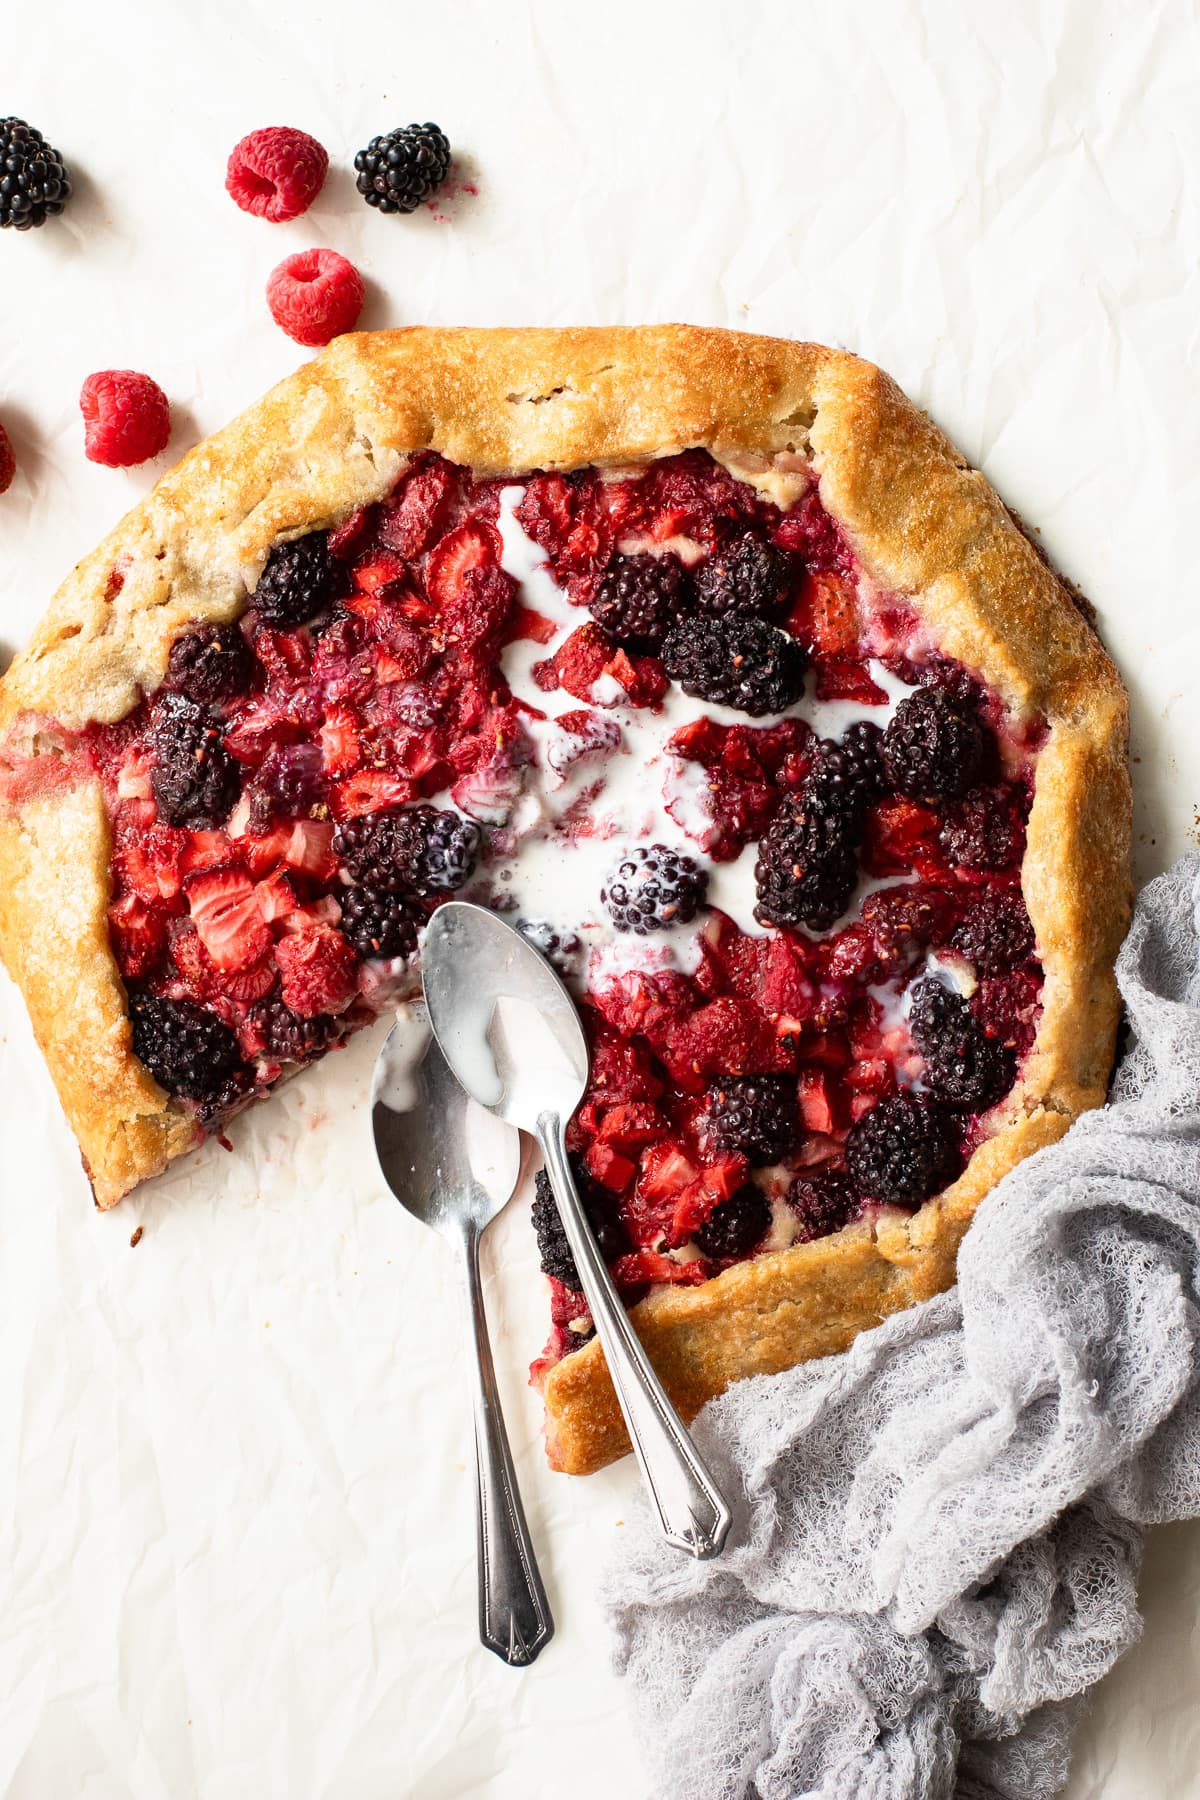
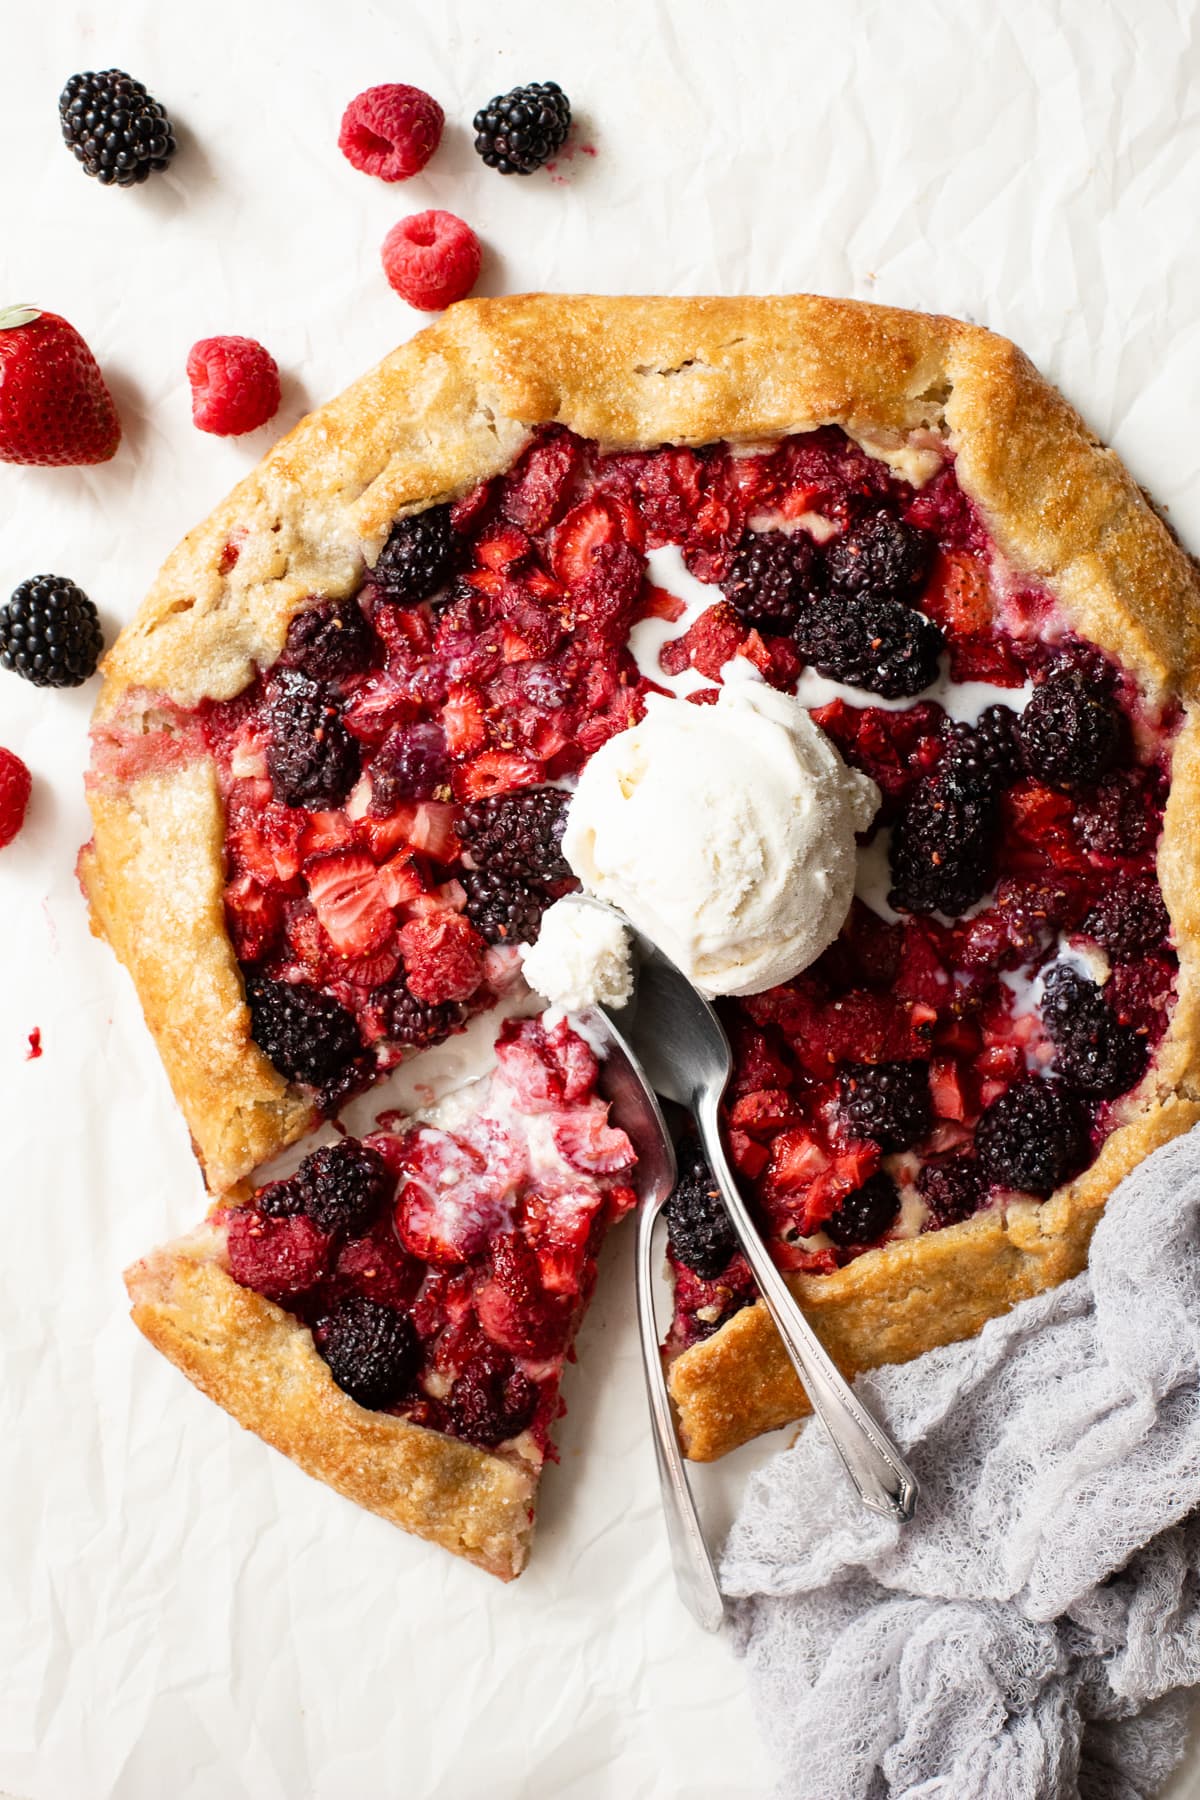
Step three - Bake: Bake the galette at 400ºF for 30-35 minutes, until the crust is golden. Serve it warm, with whipped cream, vanilla ice cream, or even vanilla frozen yogurt. Or, if you're feeling extra bold, pair it with a big ol' scoop of this berry cheesecake ice cream. YUM.
Make Ahead Tips
Galette dough can easily be made ahead and chilled until you're ready to roll it out. If you do chill it for a longer period than the 45 minutes called for in this recipe, you'll just want to leave it at room temperature for about 10 minutes before rolling; otherwise, it will crack rather than roll out smoothly.
The cream cheese filling can likewise be made a day or two in advance and stored in an airtight container in the refrigerator until you're ready to use it.
The berry filling can sit for a few hours in the fridge, but I wouldn't suggest anything longer than that to avoid a mushy filling.
Once you have all three components prepped, assembling the galette only takes about 10-15 minutes!
Recipe FAQ
Yes. Any pie dough suited for a 9 inch pie should technically work for this recipe. BUT, I will say that if you're making a gluten-free galette, I think my homemade dough is the way to go to ensure your crust turns out perfectly flaky!
Galettes are best when freshly baked, but you can reheat individual slices in a microwave or toaster oven until they're warm.
One cooled, the galette can be covered with plastic wrap or transferred to an airtight container and stored in the refrigerator for up to five days.
More desserts using summer berries
From galettes to cobblers to tarts, here a few more pie-like recipes that make use of a variety of berries!
Have you made this recipe?
If so, I'd love to hear your feedback; you can leave a rating and review in the comments section below! It's also so helpful if you help spread the word by sharing this post on your favorite social media channel. If you happen to snap a photo of what you've baked, be sure to share it on Instagram and tag me (@brighteyedbaker) so I can give you a shoutout!
Mixed Berry Galette (gluten-free option)
A combination of juicy strawberries, blackberries, and raspberries sit atop a sweet cream cheese filling in this summer berry galette that can easily be made gluten-free!
- Prep Time: 30 minutes
- Chill Time: 55 minutes
- Cook Time: 30 minutes
- Total Time: 1 hour 55 minutes
- Yield: one 9" galette 1x
- Category: pies, tarts, and galettes
- Method: baking
- Cuisine: French
Ingredients
Crust:
- 7 ⅜ ounces (1 ¾ cups, spoon and level) gluten-free or regular all-purpose flour
- 1 tablespoon plus 1 teaspoon granulated sugar
- generous ¼ teaspoon salt
- 5 ounces (10 tablespoons) salted butter, cold or frozen
- 1 ¼ teaspoons vanilla extract
- 3 ½ -4 ½ ounces ice water
Cream Cheese Filling:
- 4 ounces full-fat, brick-style cream cheese, room temperature
- 1 egg yolk (reserve white for crust)
- 3 tablespoons granulated sugar
- 1 teaspoon vanilla extract
- pinch of salt
Mixed Berry Filling:
- 1 lb 4 ounces (about 4 cups) fresh mixed berries (strawberries should be chopped)
- 1 ¾ ounces (¼ cup) granulated sugar
- 3 tablespoons corn starch
Glaze:
- 1 ounce (2 tablespoons) salted butter, melted and slightly cooled
- 1 egg white
- coarse sugar, for sprinkling
Instructions
Crust:
- Mix dry ingredients: In a medium bowl, whisk together the flour, sugar, and salt.
- Add butter: Using the large-hole side of a box grater, grate butter into bowl. Toss in gently until fully coated in flour with no large clumps remaining.
- Add liquid ingredients: Add vanilla extract and 3 ½ ounces ice water and fold in with a spatula until mostly incorporated. Use hands to finish bringing dough together in a ball, adding remaining 1 ounce ice water as/if needed. Dough should be neither dry nor sticky; be careful not to overwork.
- Shape and chill: Flatten dough slightly to form a 6" disc, wrap in plastic wrap, and refrigerate for about 45 minutes. Meanwhile, prepare fillings.
Cream Cheese Filling:
- Whisk: In a medium bowl, whisk together the cream cheese, egg yolk, sugar, vanilla, and salt until fairly smooth (a few small lumps are fine). Refrigerate until ready to use.
Mixed Berry Filling:
- Toss: In a large bowl, gently toss the berries with the sugar and corn starch until evenly coated. Refrigerate until ready to use.
Assembling:
- Roll out dough: Liberally flour a sheet of parchment sized to fit a standard baking sheet. Flour surface of dough lightly and roll out on parchment to a 12″ round, adding more flour as needed to prevent sticking.
- Add filling: Spread cream cheese filling over the middle 9" of dough (avoiding the outer 1 ½" around the circumference), leaving a slight lip around the outer edge of the filling. Strain juices from berries and pile berries over the cream cheese layer. If desired, use a knife to trim the border of the dough in order to remove any uneven edges, maintaining a roughly 12" circle.
- Fold edges: Carefully fold outer edges of dough inward, overlapping the outer border of the filling. If dough starts to tear while doing this, refrigerate for just a few minutes and re-attempt. If you trimmed your dough in step three, you can also use the scraps to fill in any cracks.
- Chill: Use parchment to gently lift or slide galette onto baking sheet. Allow the fully assembled galette to chill in refrigerator for 10 minutes before baking. Meanwhile, preheat oven to 400ºF.
Glaze & Bake:
- Prep egg wash: In a small bowl, whisk together the melted butter and egg white until smooth.
- Glaze and garnish: Just before baking, brush galette crust with butter and sprinkle the galette with coarse sugar.
- Bake: Bake galette in preheated oven for 30-35 minutes, until crust is golden. Serve warm, with whipped cream or ice cream.
Notes
Ingredients Notes:
- Flour: If using gluten-free flour, make sure that your blend contains a binding agent like xanthan gum or guar gum.
- Butter: Unsalted butter can also be used; just increase the added salt in the crust to a (slightly generous) ½ teaspoon.
- Berries: Strawberries, blackberries, blueberries, and raspberries will all work well. If using frozen berries, let them defrost and then strain off any water or excess juice before making the filling.
- Corn starch: You should be able to substitute this with twice the amount of all-purpose flour or tapioca starch if desired.
- Coarse sugar: Turbinado, demerara, or sparkling sugar are all good options.
Make Ahead:
- Galette dough can be made up to a week in advance and chilled until ready to use. Leave it at room temperature for about 10 minutes before rolling; it should still be cold, but if it cracks while rolling, it's TOO cold.
- Cream cheese filling can be made a day or two in advance and stored in an airtight container in the refrigerator.
- Berry filling can be made a few hours in advance and kept refrigerated.
Storing and Reheating:
- Galettes are always best when freshly-baked, but leftovers can be wrapped in plastic wrap or stored in an airtight container and refrigerated for up to 5 days. Reheat individual slices in the microwave or a toaster oven, just until warm.







Minnie Hebert says
No I haven’t made this recipe, but am interested! Would apples be a good substitute? It reminds me of an”Apfelkuchen” “that my landlady would make for me in Germany in 1957, when my husband was stationed there. So I may improvise!
I
alexandra says
Hi Minnie,
You can definitley use apples, although you probably won't need to add as much corn starch to the filling since apples aren't as juicy as berries. I also have an apple and almond galette recipe you can try as an alternative! Let me know how it goes either way! :)
Debra Fontaine says
This is the most amazing recipe from crust to filling, I will be making this again and again! Coming from a long line of masterful “pie crust” bakers I’ve been a failure until this, thank you soooo very much!!’n
Anaiah says
I loved this galette! Who could resist this combination of mixed berries and cream cheese? This recipe was amazing!
SHANIKA says
Galettes are my absolute favorite things to make! Berries and cream cheese is the best combination---hands down!
Jona says
We all love this gluten free dessert! My kids keep asking for more!
Amanda Dixon says
This galette is to die for! The cream cheese added such a decadent touch. Perfect summertime dessert!
Anjali says
Omg this galette just screams summer! Cannot wait to try to make this - it would be the perfect dessert for our back to school picnic in a couple weeks!
Sandra says
That galette looks so yummy my mouth is watering!