
Think of these mini fruit galettes as a simpler, lighter take on strawberry rhubarb pie. You won't miss out on any of the juicy fruit filling or flaky, buttery crust, but instead of being reserved for dessert only, these galettes double as a sweet brunch option. Their mini size makes each portion perfect for one person!
This post is sponsored by Sprouts. As always, all thoughts and opinions are my own.
When rhubarb is in season, most people think of one thing: pie. And I'm not saying that's wrong! There's something about mixing a tangy fruit with sugar and a buttery crust that never fails to be satisfying. But if you think beyond the rhubarb pie, you'll find there's a whole array of other (easier!) (simpler!) recipes you can opt for.
This strawberry rhubarb galette recipe is one of those, and much like a good strawberry crumb bar, it has a leg up over pie since I'd argue you can call it breakfast or brunch just as well as dessert. It has a buttery, flaky (gluten-free!) crust layered with juicy strawberries and tangy rhubarb, and a touch of sweet crunch thanks to a sprinkle of raw sugar on top.
These galettes are made in mini, single-size portions so they're ready to serve warm from the oven with a dollop of whipped cream on top. And because they're made free-form, there's no expectation of perfection like there is with pie. In fact, with basically all the benefits of pie and less of the hassle, you may just find that strawberry rhubarb galettes become your new go-to for rhubarb season!

Jump to:
Ingredients
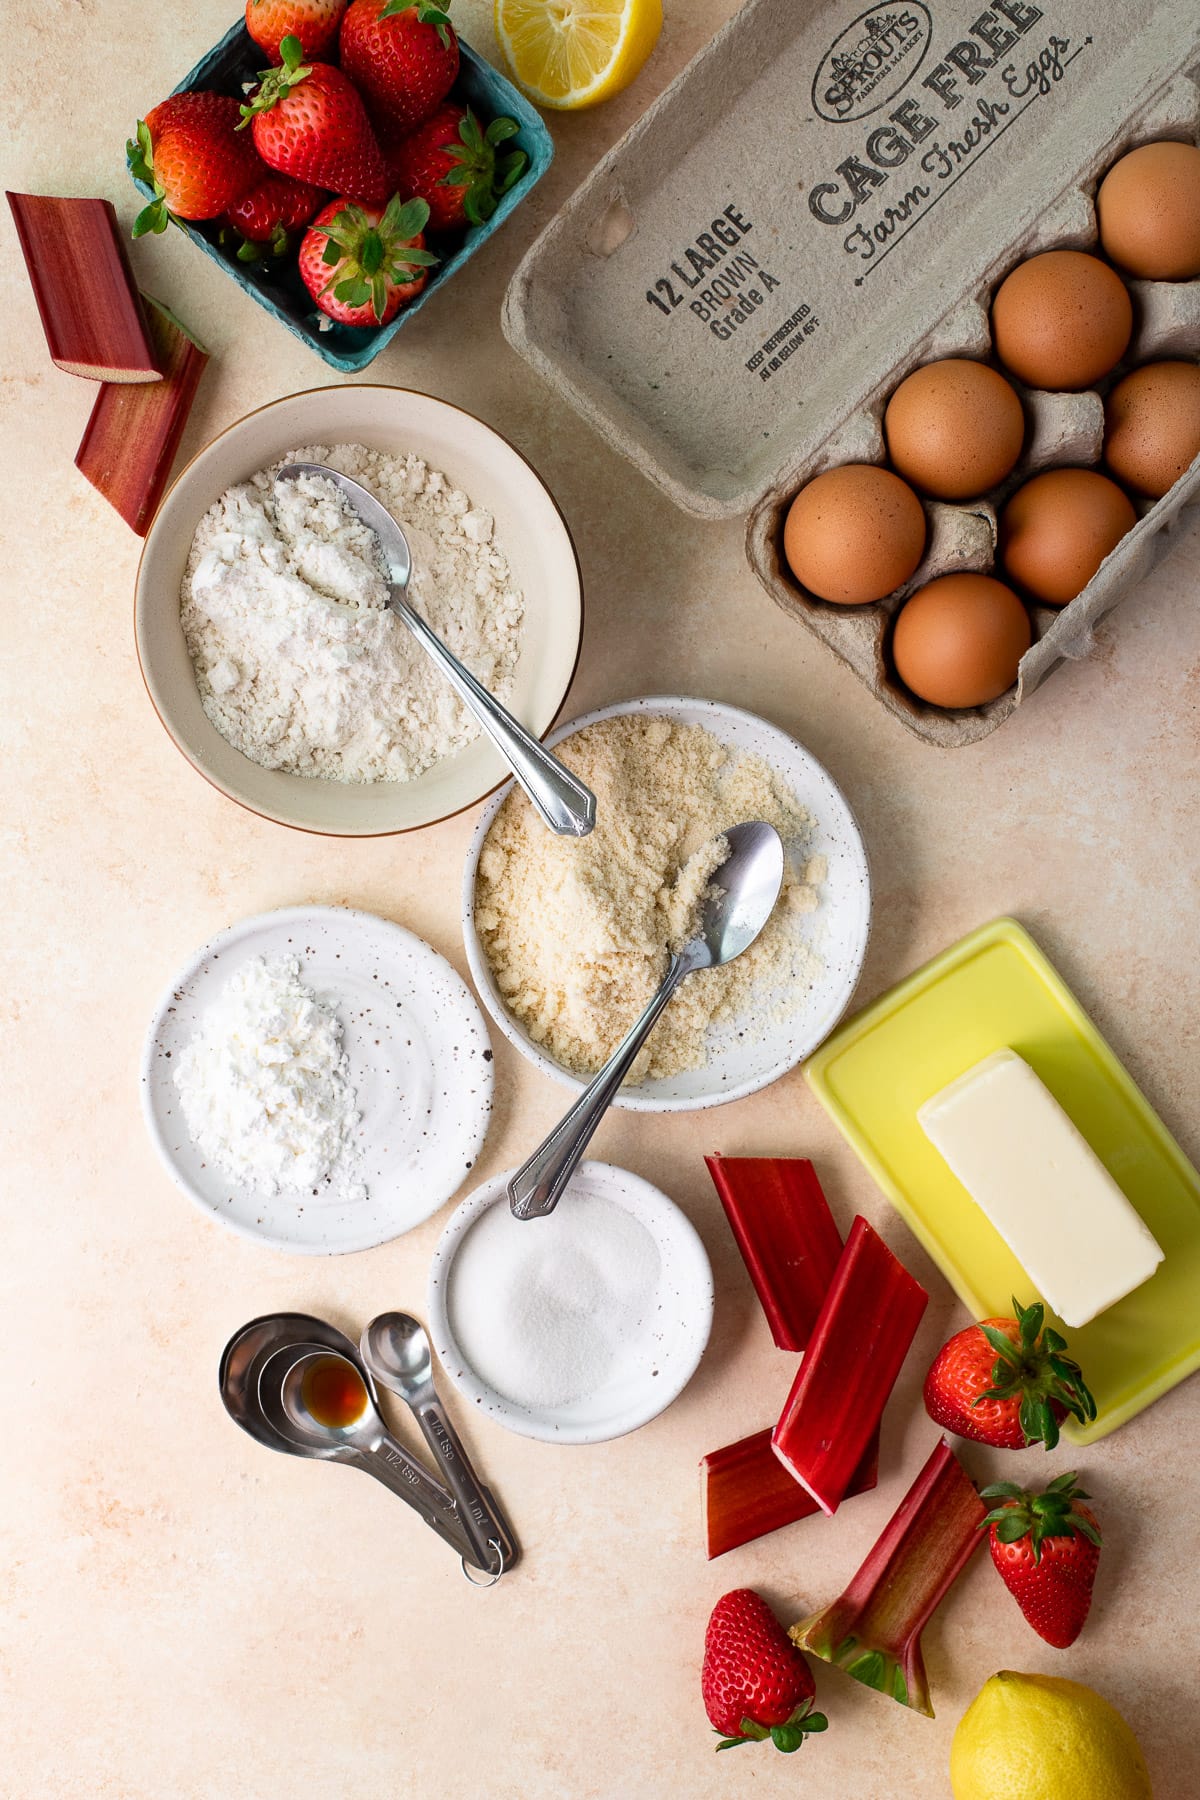
You can find everything you need for this gluten-free galette recipe at your local Sprouts! Here's the full list of ingredients, broken down by the area of the store where you'll find them:
- Baking Ingredients: gluten-free all-purpose flour (use a blend that contains xanthan gum), almond flour (Sprouts also carries this in their bulk bins!), granulated sugar, salt, vanilla extract, almond extract, cornstarch, and raw/demerara sugar.
- Dairy: Salted butter and eggs. If you use unsalted butter, double the salt in the galette dough. You can use any sort of eggs you'd like (and you'll only need one for this recipe), but I used Sprouts's cage free eggs here.
- Produce: Fresh rhubarb, strawberries, and a lemon. One of my favorite things about shopping at Sprouts is their extensive assortment of produce!
How to make these strawberry rhubarb galettes
We'll break this recipe down into three parts: making the gluten-free galette dough, making the strawberry-rhubarb filling, and assembling/baking the galettes.
To make the galette dough:
Step one: Whisk together the dry ingredients - gluten-free flour, almond flour, granulated sugar, and salt.
Step two: Grate in the butter. Use the large-hole side of a grater to grate in your cold butter. Then, gently toss the butter in with your hands until it's coated in the flour mixture. Make sure you don't have any big chunks of butter in there!
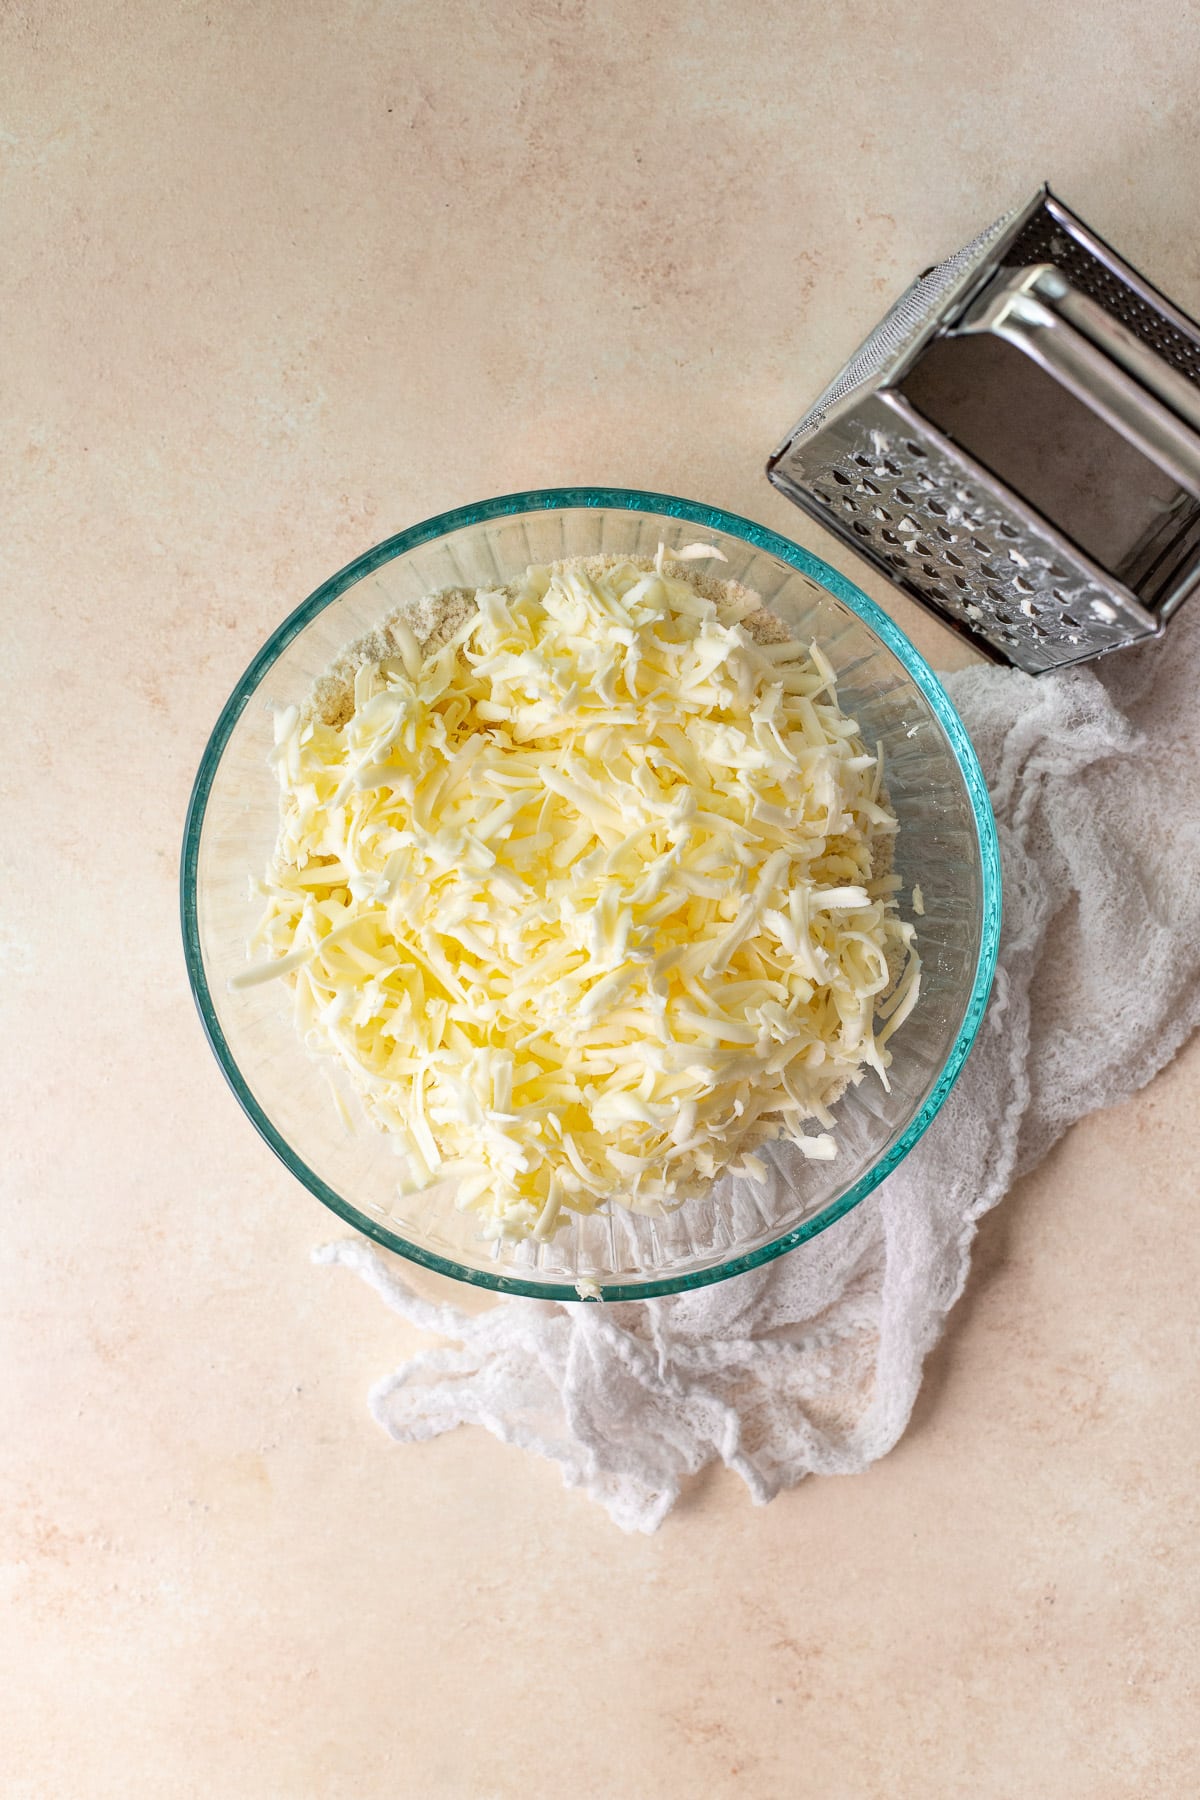
Tip: It's especially important to keep your butter cold when working with any sort of pie or galette dough. This is what helps you achieve a flaky texture in your finished product. In fact, I even use this trick for my biscuit and scone recipes. Grating the butter into your dough allows it to be easily incorporated without being overly handled (which would warm it up too much).
Step three: Add the liquid ingredients. Add your ice water, vanilla extract, and almond extract to the dough mixture. Fold this in with a spatula until the dough starts to come together. Start with just ⅝ cup ice water, since you don't want to wind up with a dough that's too wet.
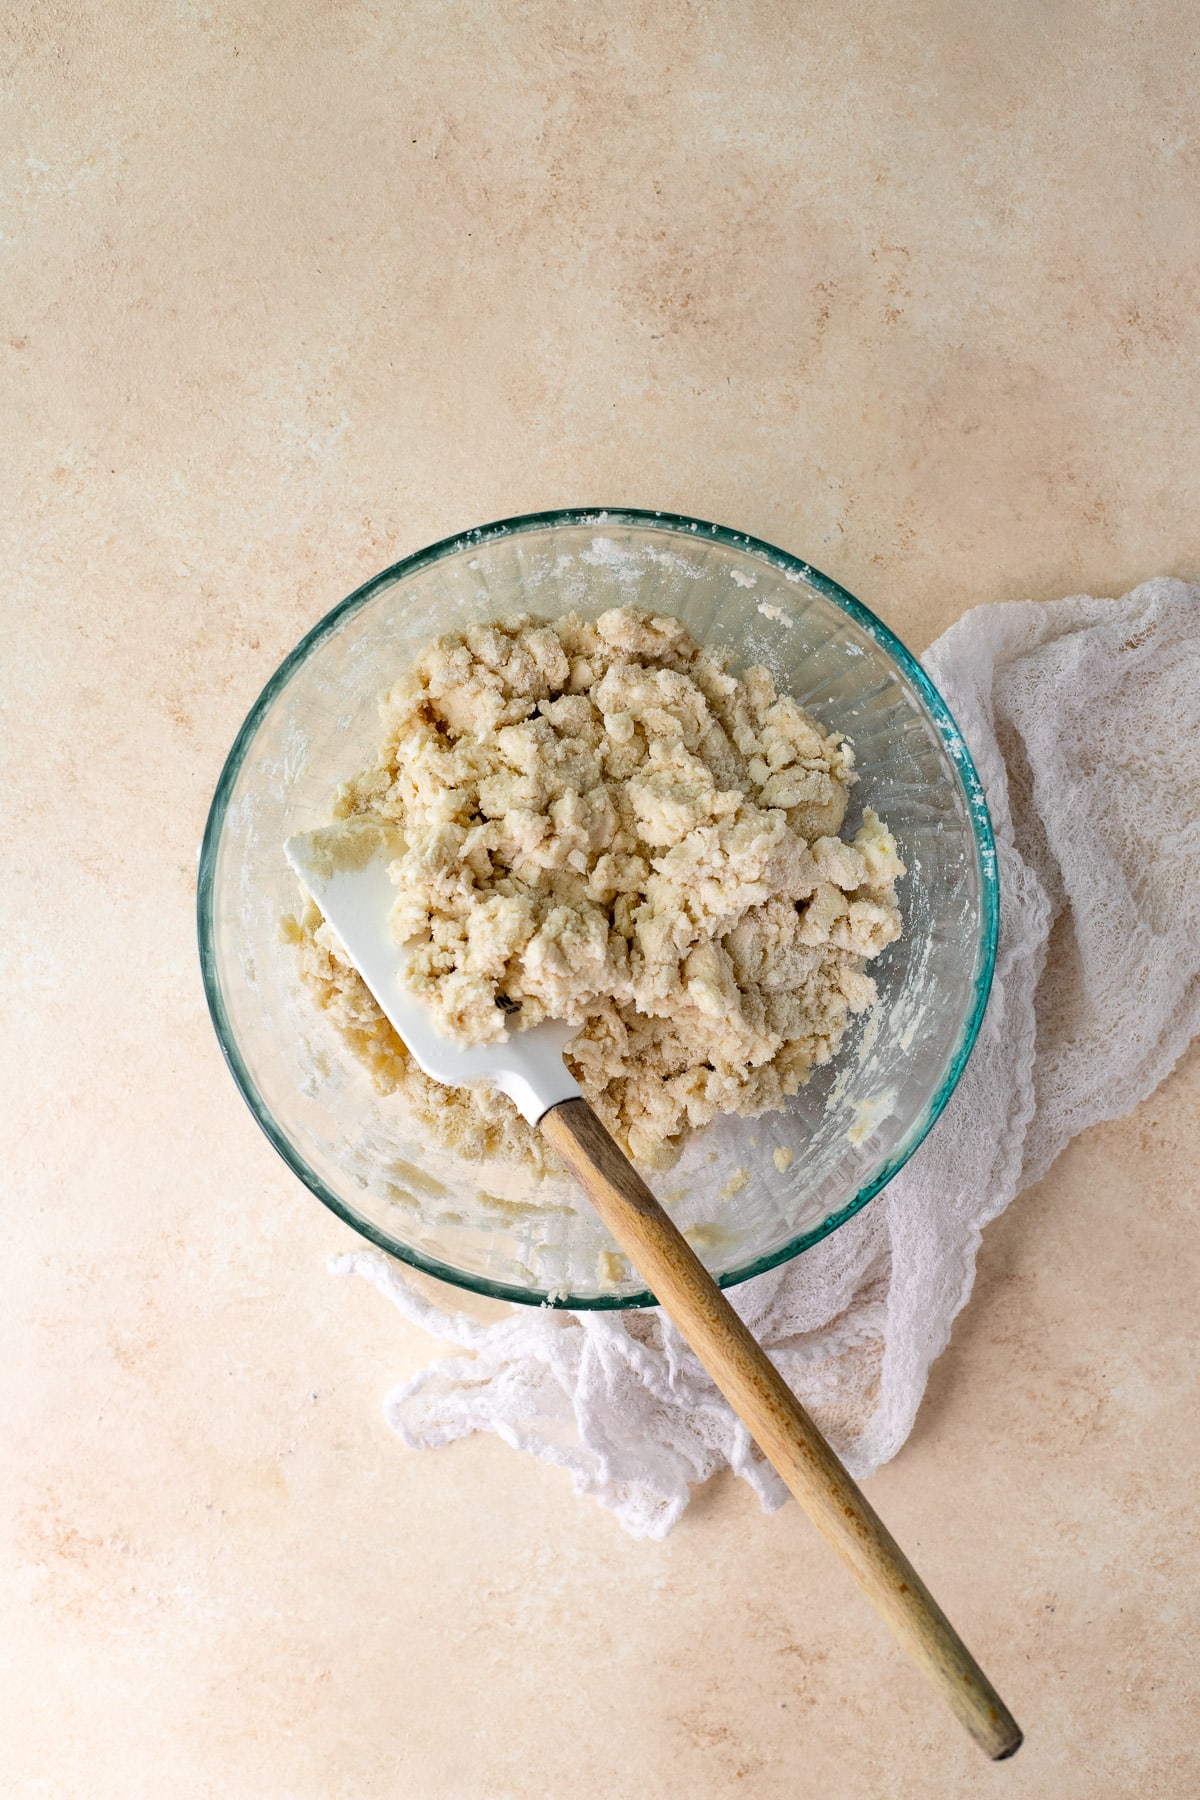
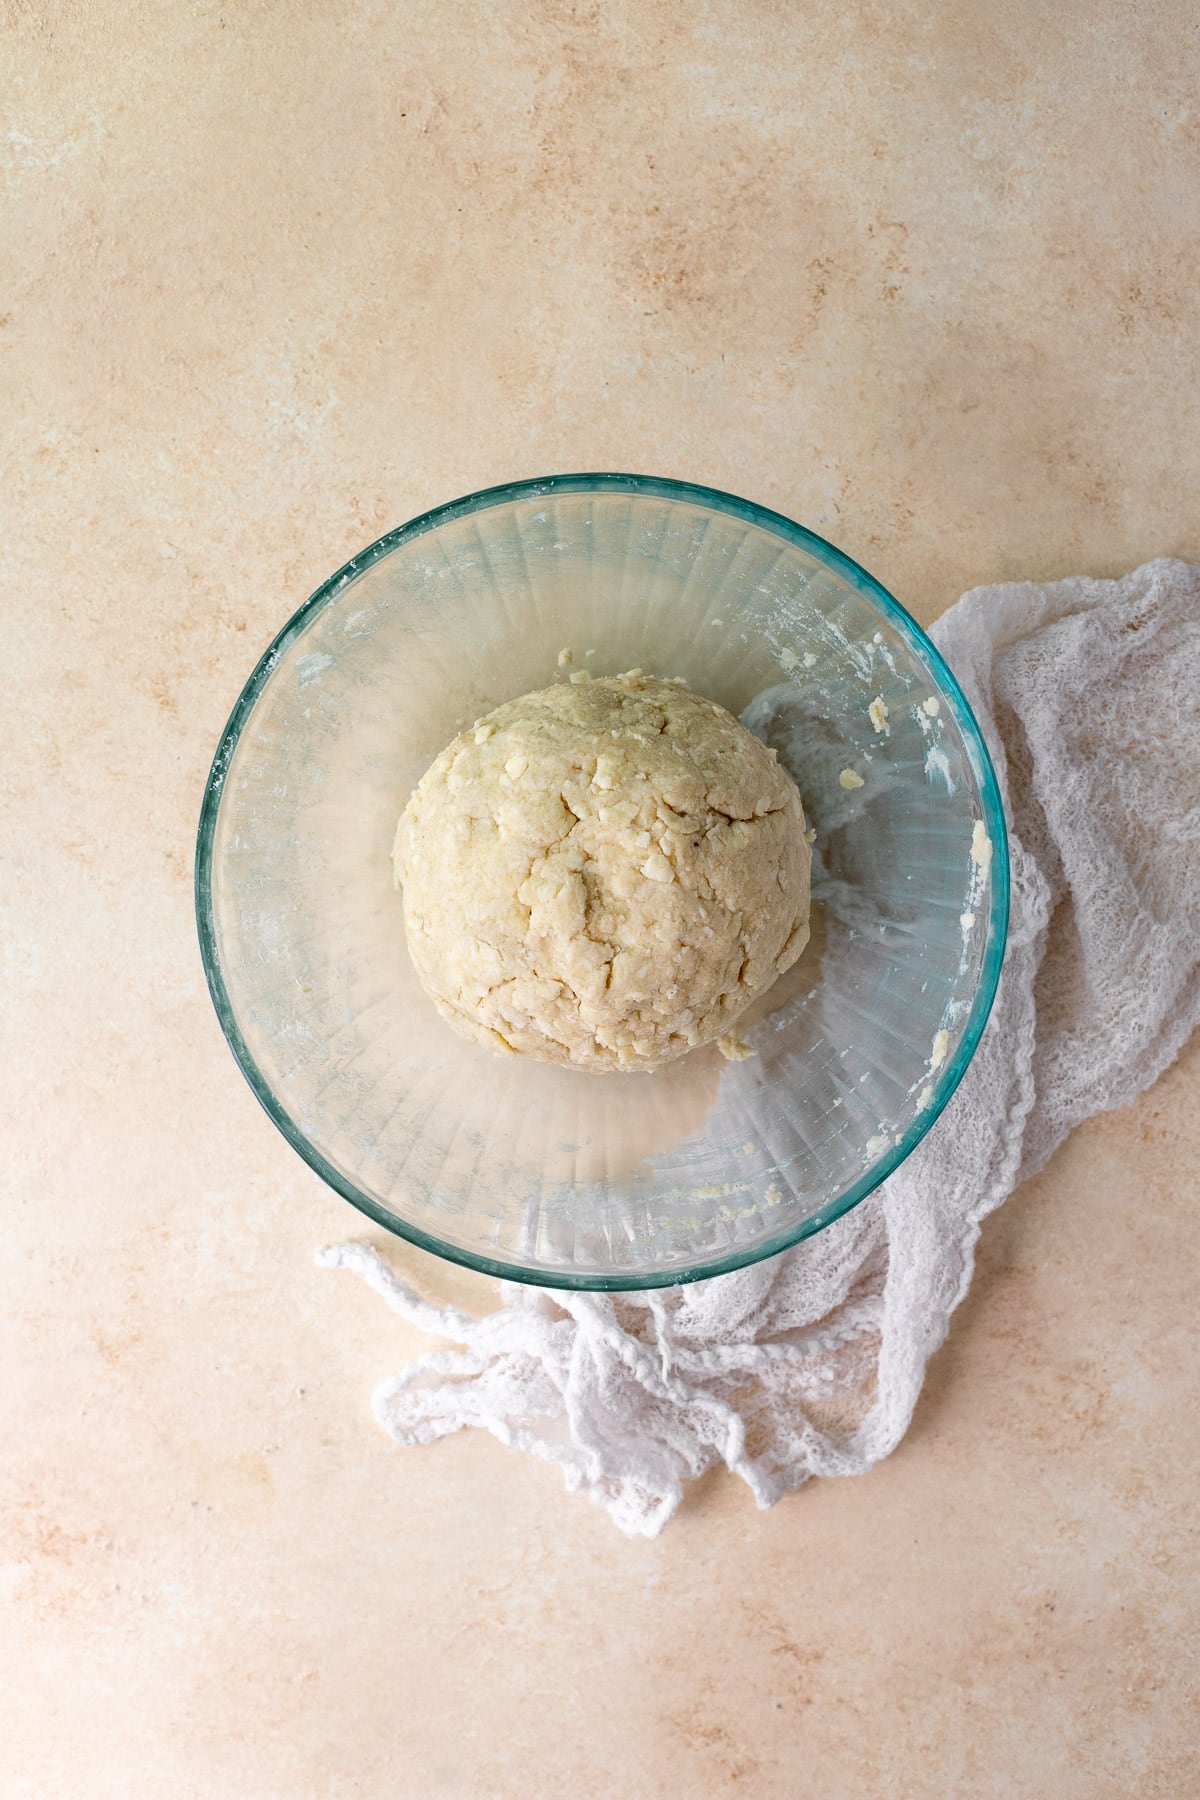
Use your hands to finish bringing the dough together, adding another ⅛ cup ice water if needed in order to make that happen. Be careful not to overwork the dough, because again, your goal is to keep that butter cold!
Tip: When a recipe instructs you to "fold" your batter, use your spatula to make a folding motion while incorporating your ingredients, rather than a circular "mixing" or "stirring" motion.
Step four: Chill the dough. Wrap the galette dough in plastic wrap and chill it in the refrigerator for about 45 minutes. Meanwhile, you can prep the filling.
To make the strawberry rhubarb filling:
Step one (of One)!: Combine filling ingredients. Grab a medium to large mixing bowl and add all of the ingredients for the filling except the almond flour. Use a spoon or spatula to gently toss them together until everything is evenly combined; you shouldn't see any streaks of cornstarch at this point. Place the mixture in the refrigerator until you're ready for it, and strain out any excess juice with a mesh strainer before assembling the galettes.
To assemble and bake:
Step one: Prep your rolling surface. Cut two pieces of parchment paper, each sized to fit a full-size baking sheet. (If possible, use a baking sheet with no sides. This typically allows for a little more surface area for baking.) Generously dust each piece of parchment with gluten-free flour.
Step two: Portion and roll dough. Divide your chilled galette dough into six equal portions. Working with one at a time (and keeping the rest refrigerated), dust the top of the dough with flour and roll it out into a 6" circle over the floured parchment.
Repeat this process with the remaining portions, rolling four out on one piece of parchment, and the final two on the second piece. Make sure you leave some space between each galette as you go. Keep one tray refrigerated while working with the other, and vice versa, so the dough stays chilled as much as possible.
Tip: You can also roll each galette out on a small square of parchment and then transfer those squares over to a larger baking sheet. The benefit to this approach is that the rolled-out galettes can go back in the refrigerator immediately, since each one is now individually portable.
Step three: Trim the dough. Use a small paring knife to trim the outer border of each galette so that the edges are clean - just like you would trim the edges of a pie crust. Use the scraps to roll out one more round of dough on the second piece of parchment. Don't forget to trim the edges on that one too! Then, carefully lift or slide each piece of parchment onto a baking sheet.
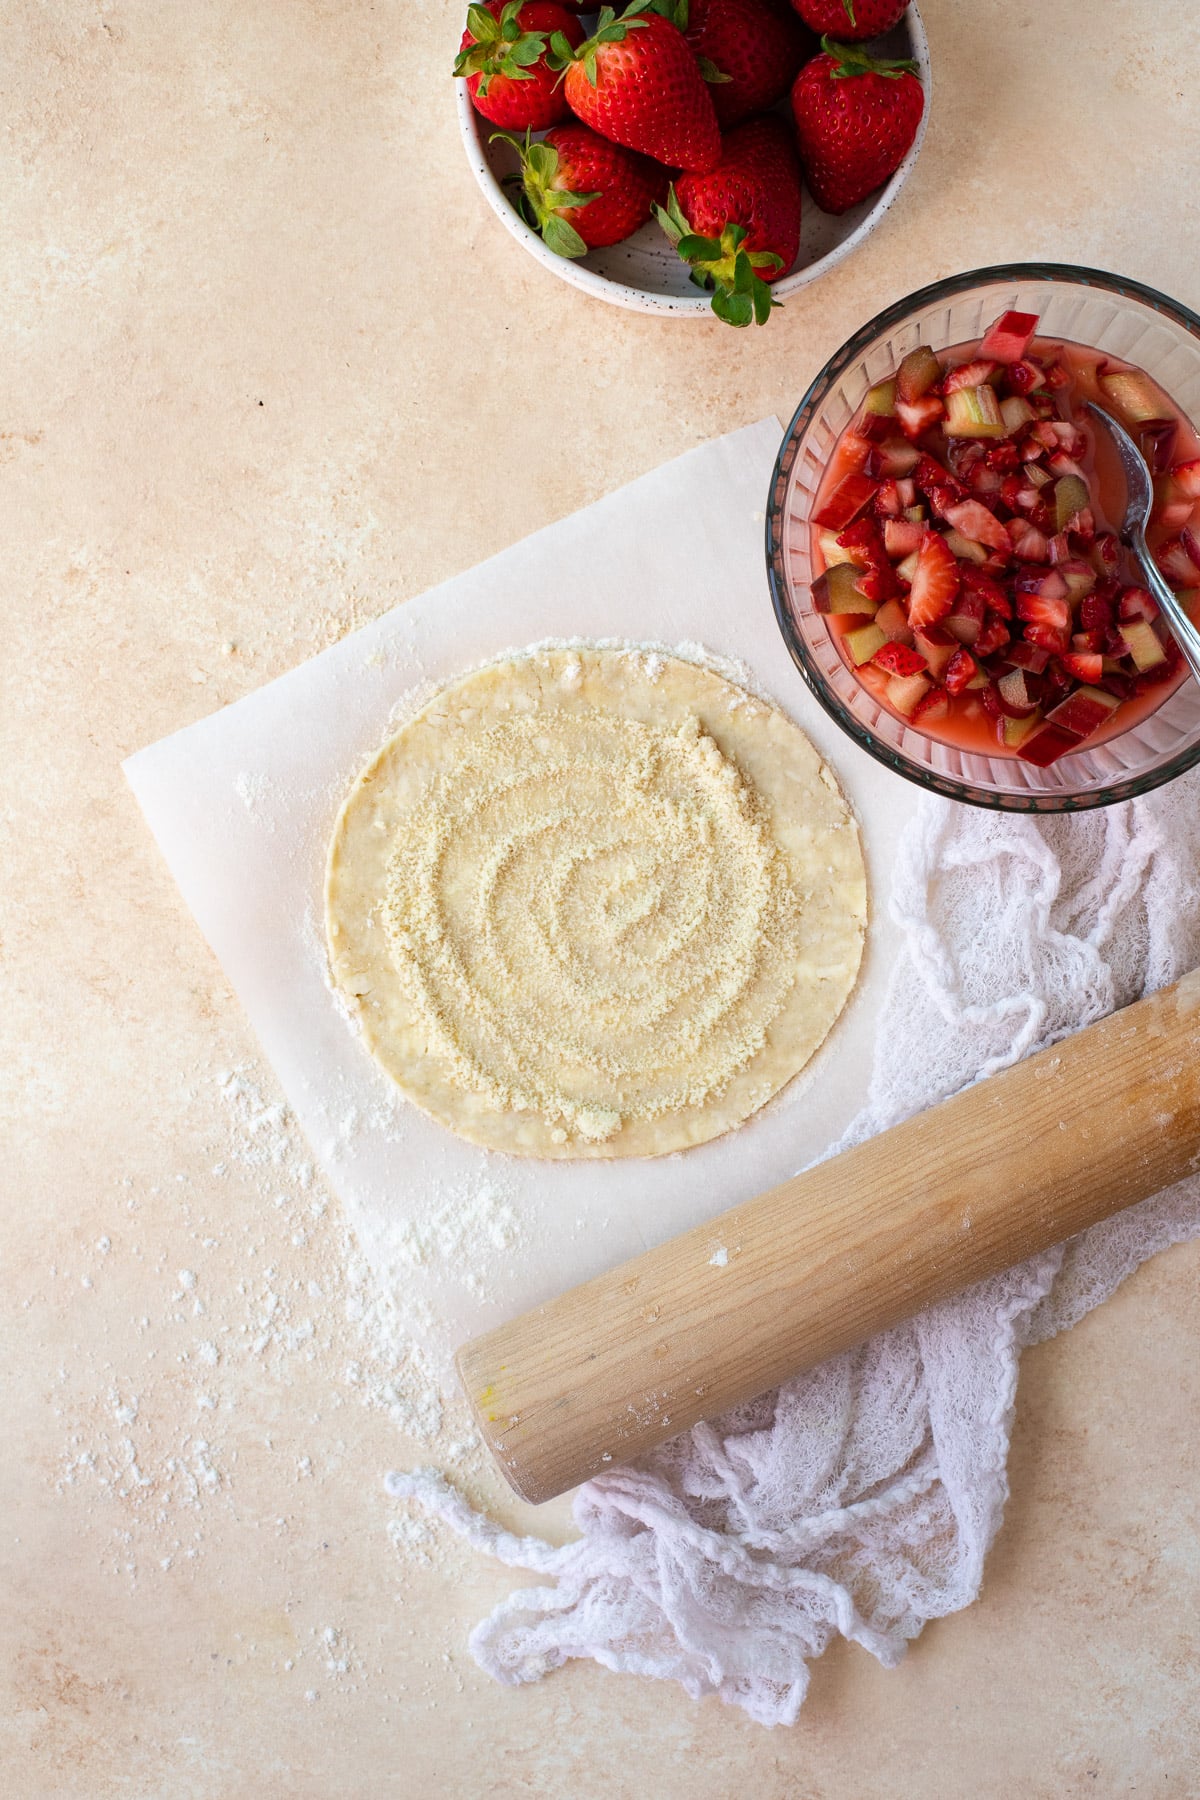
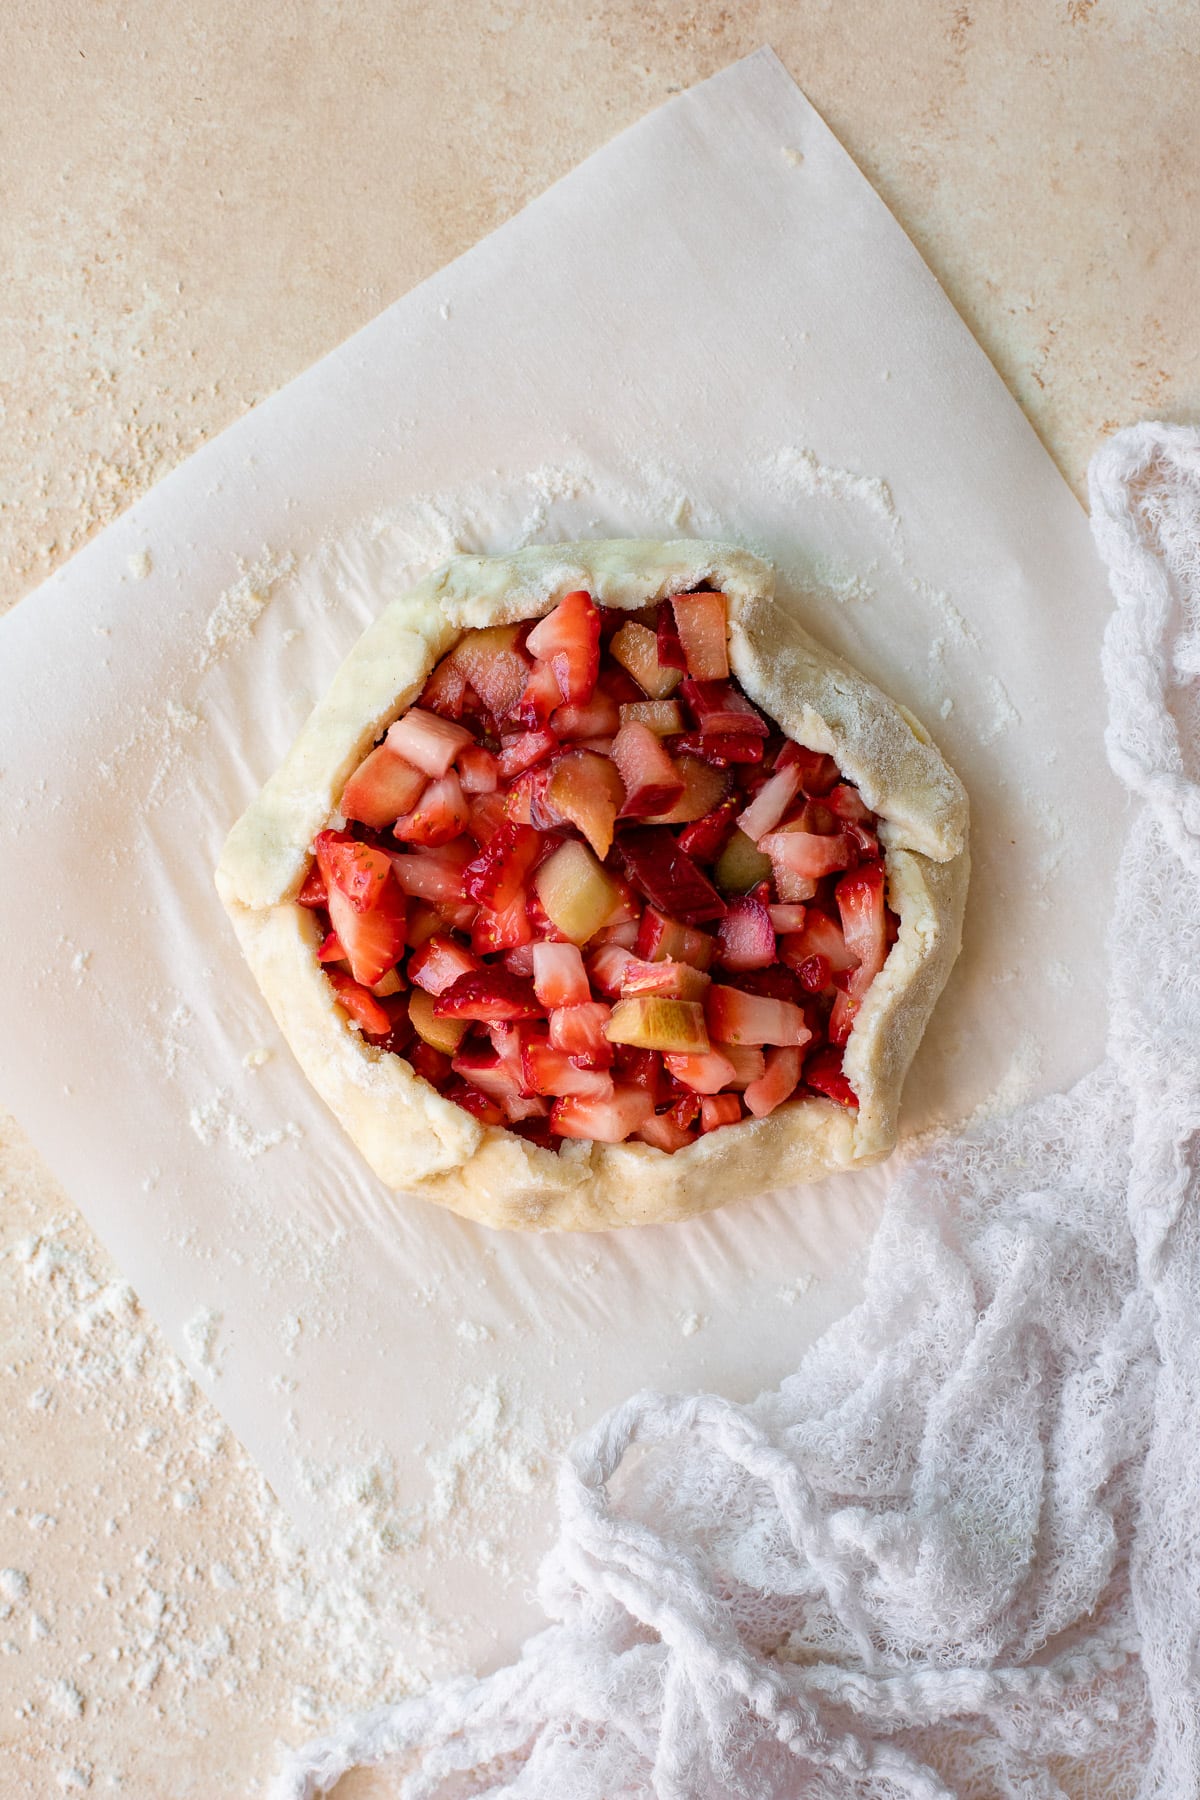
Step four: Add filling. Spoon two teaspoons of almond flour into the center of each portion of dough, and spread it out, leaving a ½" border clear around the edges. Divide the fruit filling evenly between the seven galettes, again leaving the borders clear. Carefully fold the edges of the crust over the outer border of the fruit filling on each galette. If at any point the dough starts to stick, try putting the galettes back in the refrigerator to chill for 5-10 minutes before proceeding. When done, do your best to brush off any excess flour remaining on each piece of parchment.
Step five: Preheat oven. Once all of the galettes have been assembled, move both baking sheets back to the refrigerator to chill for 15 minutes. Meanwhile, preheat your oven to 400ºF, and place your oven racks in the top and bottom-third positions.
Step six: Glaze. Make an egg wash by whisking an egg into melted (and briefly cooled) butter. Brush this mixture over the crust on each of your galettes, and then sprinkle them as liberally as you'd like with raw or demerara sugar.
Step seven: Bake. Bake the galettes in your preheated oven for 25-30 minutes. The crusts should be golden when they're done.
Serving tips
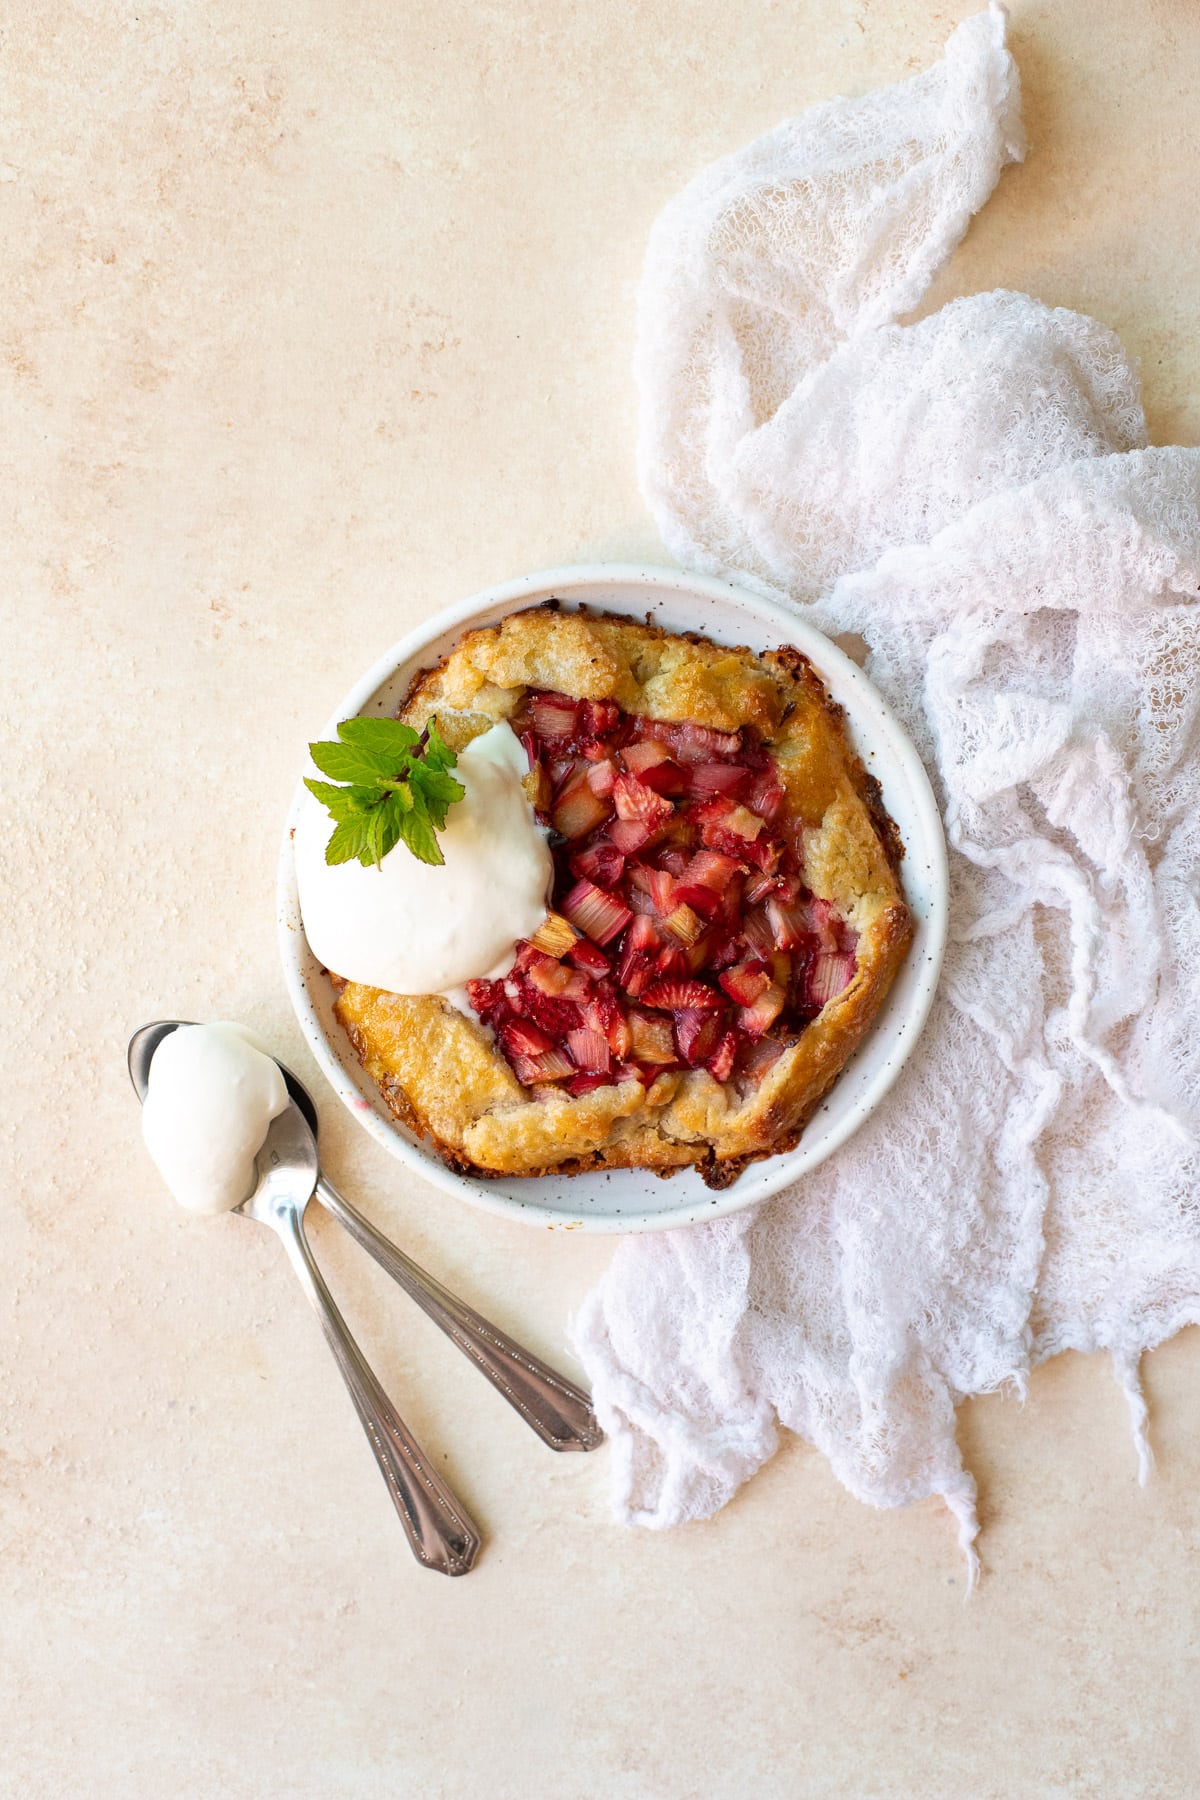
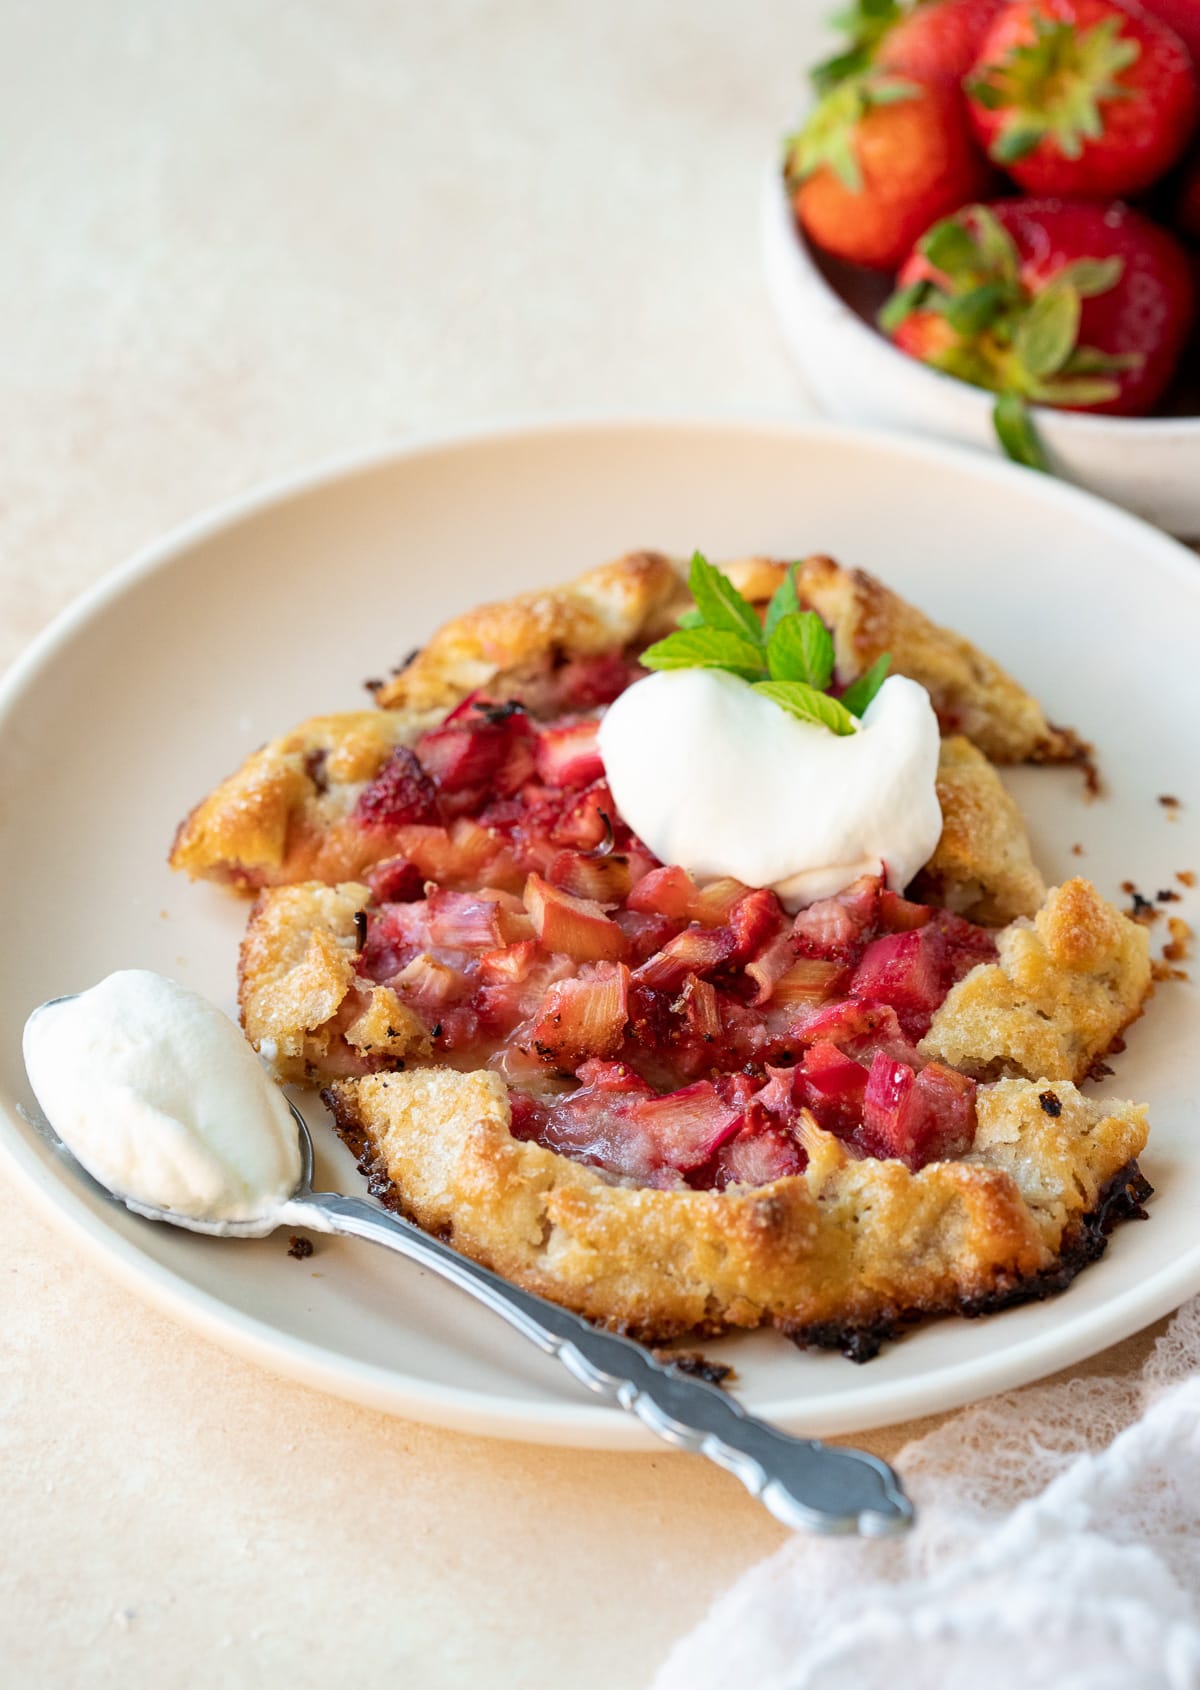
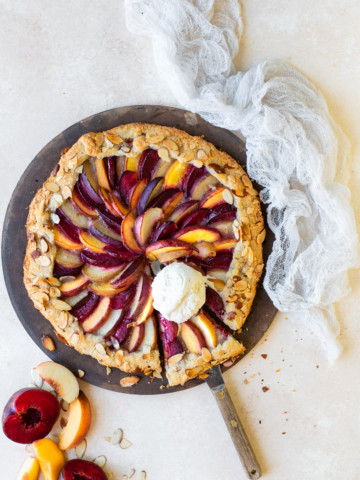
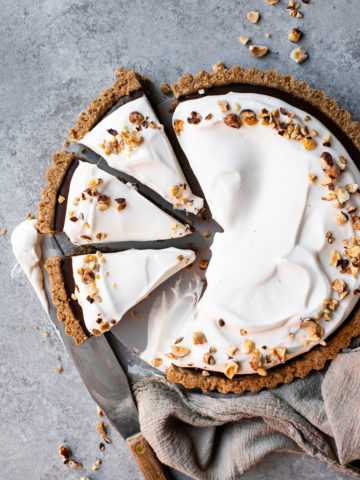
Much like pie, these strawberry rhubarb galettes are best served warm from the oven, when the crust is at its most crisp, flaky, and buttery. And really, who can resist the temptation of a freshly-baked dessert anyhow? This is the prime time to top them with a scoop of whipped cream or vanilla ice cream and dig in (see this stone fruit galette for a tempting visual).
That being said, these mini galettes are certainly still good on day two (or three!). In fact, the extra time really allows the flavors in the strawberry rhubarb filling to develop. So what you may lose (slightly) in texture, you'll make up for in flavor!
Recipe FAQ
If you plan to serve these galettes warm, I suggest baking them about half an hour prior to serving. If you don't mind serving them at room temperature, you can bake them earlier in the day, but I would still serve them on day one for the best presentation.
You can, however, prep the galette dough ahead of time, and refrigerate or freeze it until you're ready to assemble your galettes. Just make sure you allow it to thaw slightly before rolling it out. If it doesn't roll easily, it's too cold.
Like pie dough, galette dough can easily be frozen before baking. If you choose to do this, flatten the dough into a disc about 2" thick prior to freezing. Wrap it tightly in plastic wrap and store it in a freezer-safe zip-top bag.
As mentioned above, you'll need to thaw the dough before you can use it. I'd recommend moving it to the refrigerator to thaw overnight, and then letting it sit at room temperature just until its pliable enough to roll. Don't let it get warm though; the butter in the dough needs to stay cold!
If you do have any leftovers, I recommend storing them in an airtight-zip top bag or container in the refrigerator. They'll keep for a couple days that way. The best way to reheat them without ruining their structural and textural integrity is to pop them in a warm oven (or toaster oven).

More gluten-free galette recipes
I heavily favor fruit galettes over pies - mostly because they're less fussy - so I have plenty of recipes for you to choose from when rhubarb isn't in season!

Are you making one of my fruit galettes? I'd love to hear your feedback! You can rate and review this strawberry rhubarb galette recipe in the comment section below. Plus, tag me in a photo on Instagram so I can see how it turned out!
Mini Strawberry Rhubarb Galettes {gluten-free}

Think of these mini fruit galettes as a simpler, lighter take on strawberry rhubarb pie. You won't miss out on any of the juicy fruit filling or flaky, buttery crust, but instead of being reserved for dessert only, these gluten-free galettes double as a sweet brunch option. Their mini size makes each portion perfect for one person!
- Prep Time: 55 minutes
- Chill Time: 45 minutes
- Cook Time: 25 minutes (up to 30 minutes)
- Total Time: 2 hours 5 minutes
- Yield: 7 mini galettes
- Category: pies and tarts
- Method: baking
- Cuisine: French
- Diet: Gluten Free
Ingredients
Crust:
- 1 ½ cups, spoon and level (6 ⅜ ounces) gluten-free all-purpose flour with xanthan gum
- 1 ⅛ cups (4 ½ ounces) almond flour
- 2 tablespoons granulated sugar
- ⅜ teaspoon salt
- 15 tablespoons (7 ½ ounces) cold salted butter
- 5-6 ounces ice water
- 1 ½ teaspoons vanilla extract
- ½ teaspoons almond extract
Filling:
- 3 ⅜ cups (1 lb) finely chopped rhubarb
- 3 cups (15 ounces) finely chopped strawberries
- 1 cup + 1 tablespoon (7 ½ ounces) granulated sugar
- ¼ cup (1 ounce) corn starch
- 1 ½ teaspoons freshly-squeezed lemon juice
- 1 ½ teaspoons vanilla extract
- ¼ cup plus 2 teaspoons (1 ⅛ ounces) almond flour
Glaze:
- 2 tablespoons salted butter, melted and briefly cooled
- 1 large egg
- raw or demerara sugar, for sprinkling
Instructions
Make the Crust Dough:
- Whisk dry ingredients: In a medium mixing bowl, whisk together the gluten-free flour, almond flour, granulated sugar, and salt.
- Grate in butter: Use the large-hole side of a cheese grater to grate in the cold butter. Gently toss in with your hands to coat the butter in the flour, making sure there are no large chunks.
- Add liquid ingredients: Add 5 ounces ice water, vanilla extract, and almond extract. Use a spatula to fold in the liquid ingredients until the dough begins to come together. Use your hands to finish bringing the mixture together into a single ball of dough, adding the remaining 1 ounce ice water as needed. Be careful not to overwork the dough.
- Chill dough: Cover dough with plastic wrap and transfer to the refrigerator to chill for 45 minutes.
Prep the Filling:
- Combine filling ingredients: In a clean, medium mixing bowl, combine 3 ⅜ cups finely chopped rhubarb, 3 cups finely chopped strawberries, 1 cup + 1 Tbsp. granulated sugar, ¼ cup cornstarch, 1 ½ tsp. lemon juice, and 1 ½ tsp. vanilla extract, tossing together gently until evenly combined. Refrigerate until ready to use, straining out any excess juice before using.
Assemble and Bake:
- Prep rolling surface: Cut two piece of parchment paper sized to fit a full-size cookie sheet. Dust each generously with flour.
- Portion and roll dough*: Divide the chilled dough into 6 equal portions. Working with one portion at a time and keeping the rest refrigerated, dust top with flour and roll out into a 6" round. Repeat with three more portions of dough so you have four crusts rolled out on a single piece of parchment. Roll out the final 2 portions of dough on the second piece of parchment.
- Trim dough: Use a paring knife to trim the outer border of each crust so the edges are clean. Use the leftover scraps to roll out one final crust on the second piece of parchment. Carefully lift or slide each piece of parchment onto a cookie sheet.
- Add filling: Spread 2 tsps. almond flour over each crust, leaving about a ½" border around the perimeter. Divide the filling evenly over the almond flour on each galette. Finish by folding the edges of the crust over the outer border of fruit filling.
- Preheat oven: Transfer both baking sheets to the refrigerator to chill for about 15 minutes. Meanwhile, preheat oven to 400ºF with oven racks in the bottom and top-third positions.
- Glaze: Just before baking, combine 2 Tbsp. melted, salted butter and 1 large egg in a small bowl, and whisk until smooth. Brush over the crust on each galette and sprinkle generously with raw sugar.
- Bake: Bake galettes in preheated oven for 25-30 minutes, until crusts are golden. Serve warm, with whipped cream or ice cream.


Notes
*When rolling the galette dough, you can also roll each portion out on a small square of parchment and then transfer those squares over to a larger baking sheet. The benefit to this approach is that the rolled-out galettes can go back in the refrigerator immediately, since each one is now individually portable.
Always keep the galette dough refrigerated as much as possible when you're not actively working with it.
If the dough starts to stick at any point while rolling or assembling, put it back in the refrigerator to chill for 5-10 minutes before continuing.
Storing: Store any leftovers in an airtight container in the refrigerator.
Jac
I've never made a galette before and excited to try. Glad I found this recipe as it looks great. Thanks!
Nart at Cooking with Nart
These look amazing! I'm a huge fan of rhubarb but unfortunately, we don't have it here in Thailand. I know these are strawberry rhubarb galettes but any ideas as to what I could use in place of rhubarb?
alexandra
Galettes are pretty versatile, so you can easily swap out fruit. You would just need to adjust the corn starch and sugar based on the liquid content and sweetness level of the fruit you use. Something like green apples would probably be a good 1:1 substitution though, and not require other adjustments!
Beth
My daughter and I love the combination of strawberries and rhubarb, so delicious! We are definitely going to make this recipe tomorrow! Definitely going to be a huge hit here!
cyndy
Oh I adore galettes and love the idea of making mini galettes. Rhubarb and strawberries together are such a classic combo. These are so pretty, as well.
Michelle
I love this idea of making mini galettes! The colour is so pretty and they're perfect for Mother's Day!