
Whether you're taking a break from dairy or don't eat it at all, you shouldn't have to miss out on the joys of dessert served with a creamy whipped topping. This dairy-free whipped cream alternative has the same sweet, silky taste and fluffy texture as its traditional counterpart, so you won't miss a thing! It takes just minutes to make and it's a perfect choice for anyone on a lactose-free or vegan diet.

There are a million and one things that taste better with a generous dollop of whipped cream or Cool Whip: chocolate brownies, peppermint white mochas, peach cobbler... need I go on? But if you're dairy-free or vegan, any traditional whipped topping is sadly a no-go.
Fortunately, a single ingredient can save the day - coconut milk! I'll show you how to make coconut whipped cream that's just as light, airy, and easy to whip up as its dairy-filled counterpart. And don't you worry - the flavor is nearly identical!
Jump to:
What is Dairy-Free Whipped Cream?
This recipe is very similar to basic whipped cream, with the main difference being that it's made with cream from a can of coconut milk. We'll beat the coconut cream with a little sweetener, vanilla extract, and salt to make a non-dairy whipped topping that you can use just like you'd use the regular stuff!
Ingredients You'll Need for This Recipe
Let's take a closer look at the ingredients mentioned above!
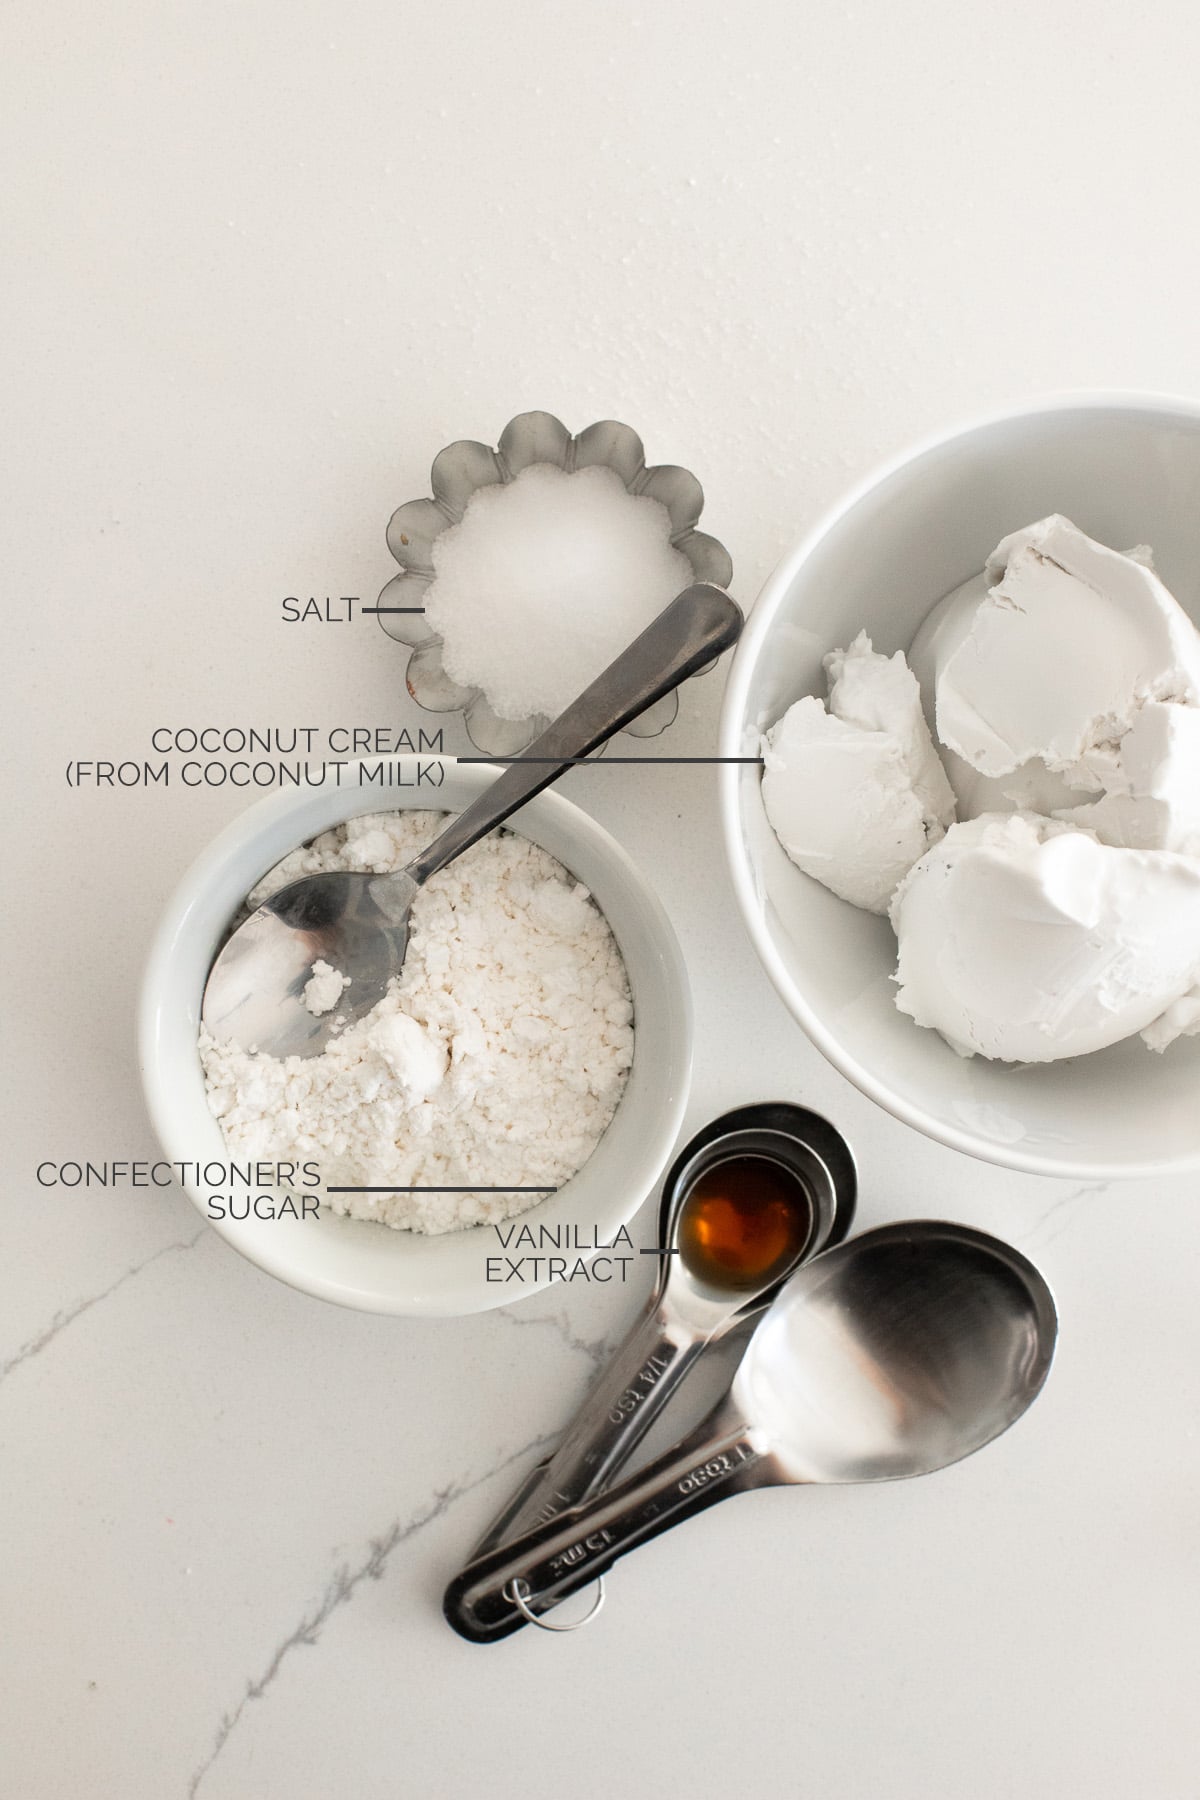
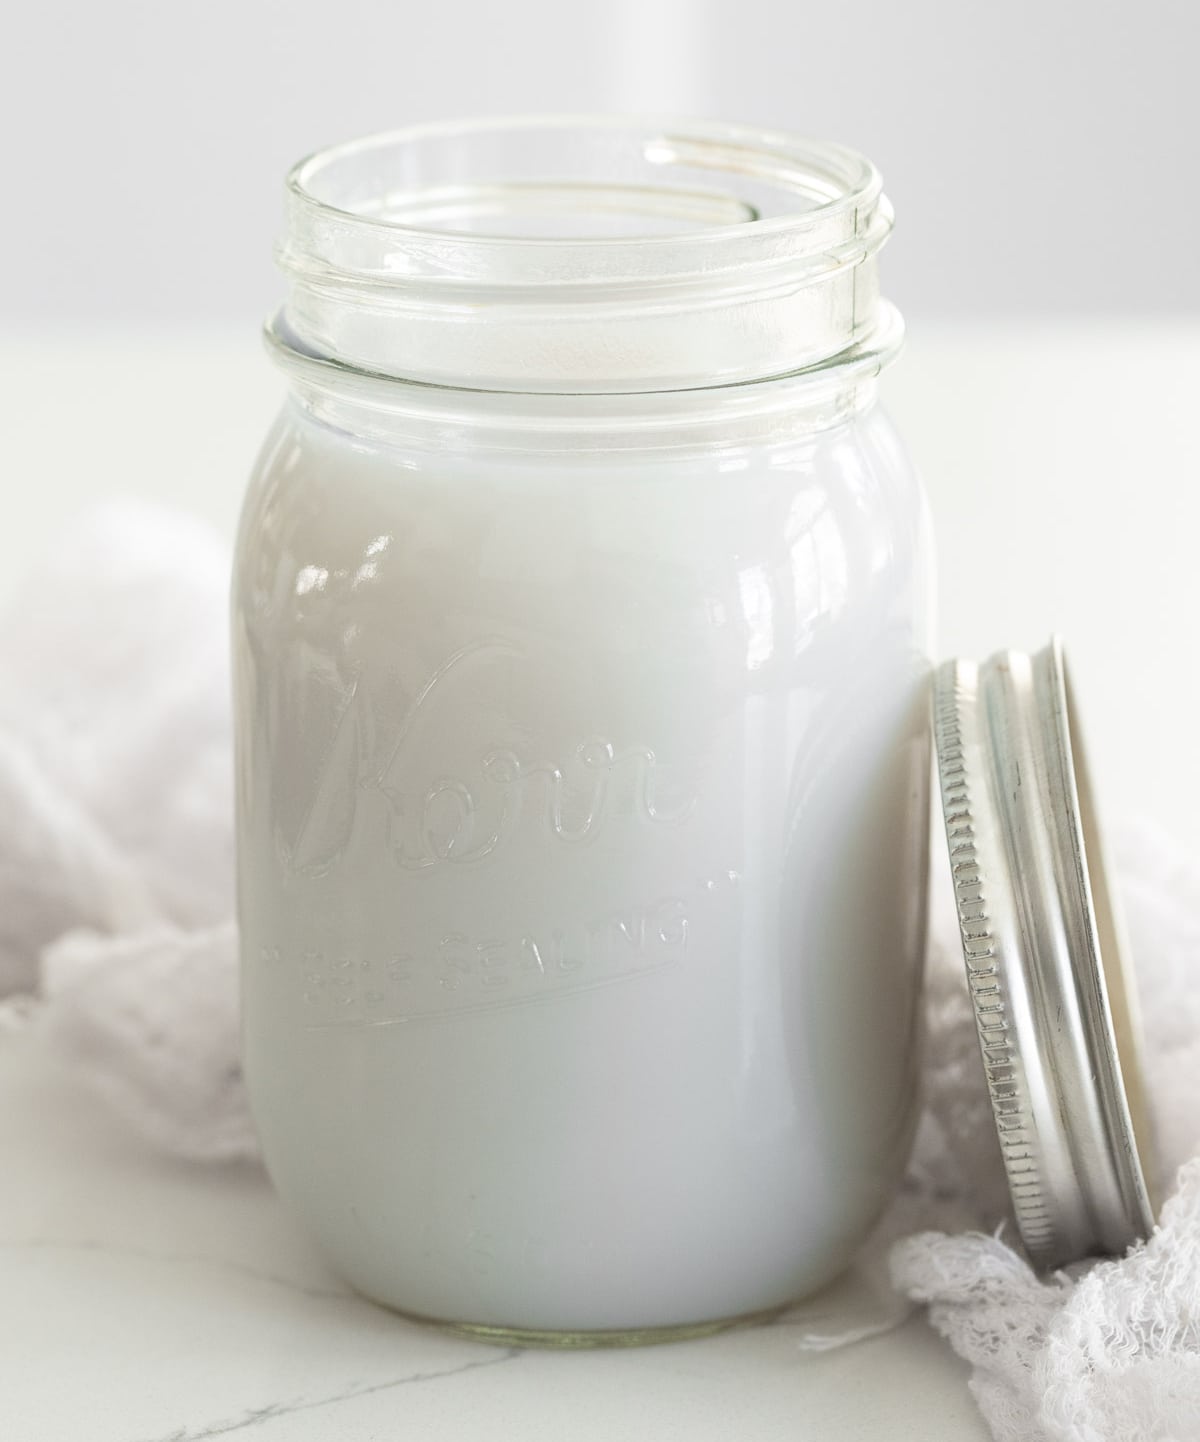
Coconut Milk: Use full-fat, canned coconut milk only - light coconut milk won't whip! It should also be unsweetened.
Some brands work better than others, so if this is your first time making this recipe, it's not a bad idea to pick up a few varieties. Native Forest, Thai Kitchen, and Arroy-D tend to work well, but if your local grocery store doesn't have any of those, you're not out of luck! In the tips section below, I'll give you some tricks for choosing which brand(s) to buy.
You'll need to refrigerate the can of coconut milk for at least 12 hours before attempting this recipe. Room-temperature coconut milk won't whip properly!
Sweetener: For basic dairy-free whipped cream with the most traditional flavor, I like to use powdered/confectioners' sugar as my sweetener. However, if your coconut cream is thick enough, you can use a liquid sweetener such as maple syrup. This will give you a slightly different but every bit as delicious flavor profile.
Salt & Vanilla Extract: While these two ingredients are technically optional, I find that they give this vegan whipped cream recipe a more authentic flavor.
How to Make Dairy-Free Whipped Cream
Step one: Open the (chilled!) can of coconut milk and scoop out all of the thick coconut cream, leaving the liquid behind. It's a good idea to reserve at least some of this liquid in case you need to thin out your whipped cream later.

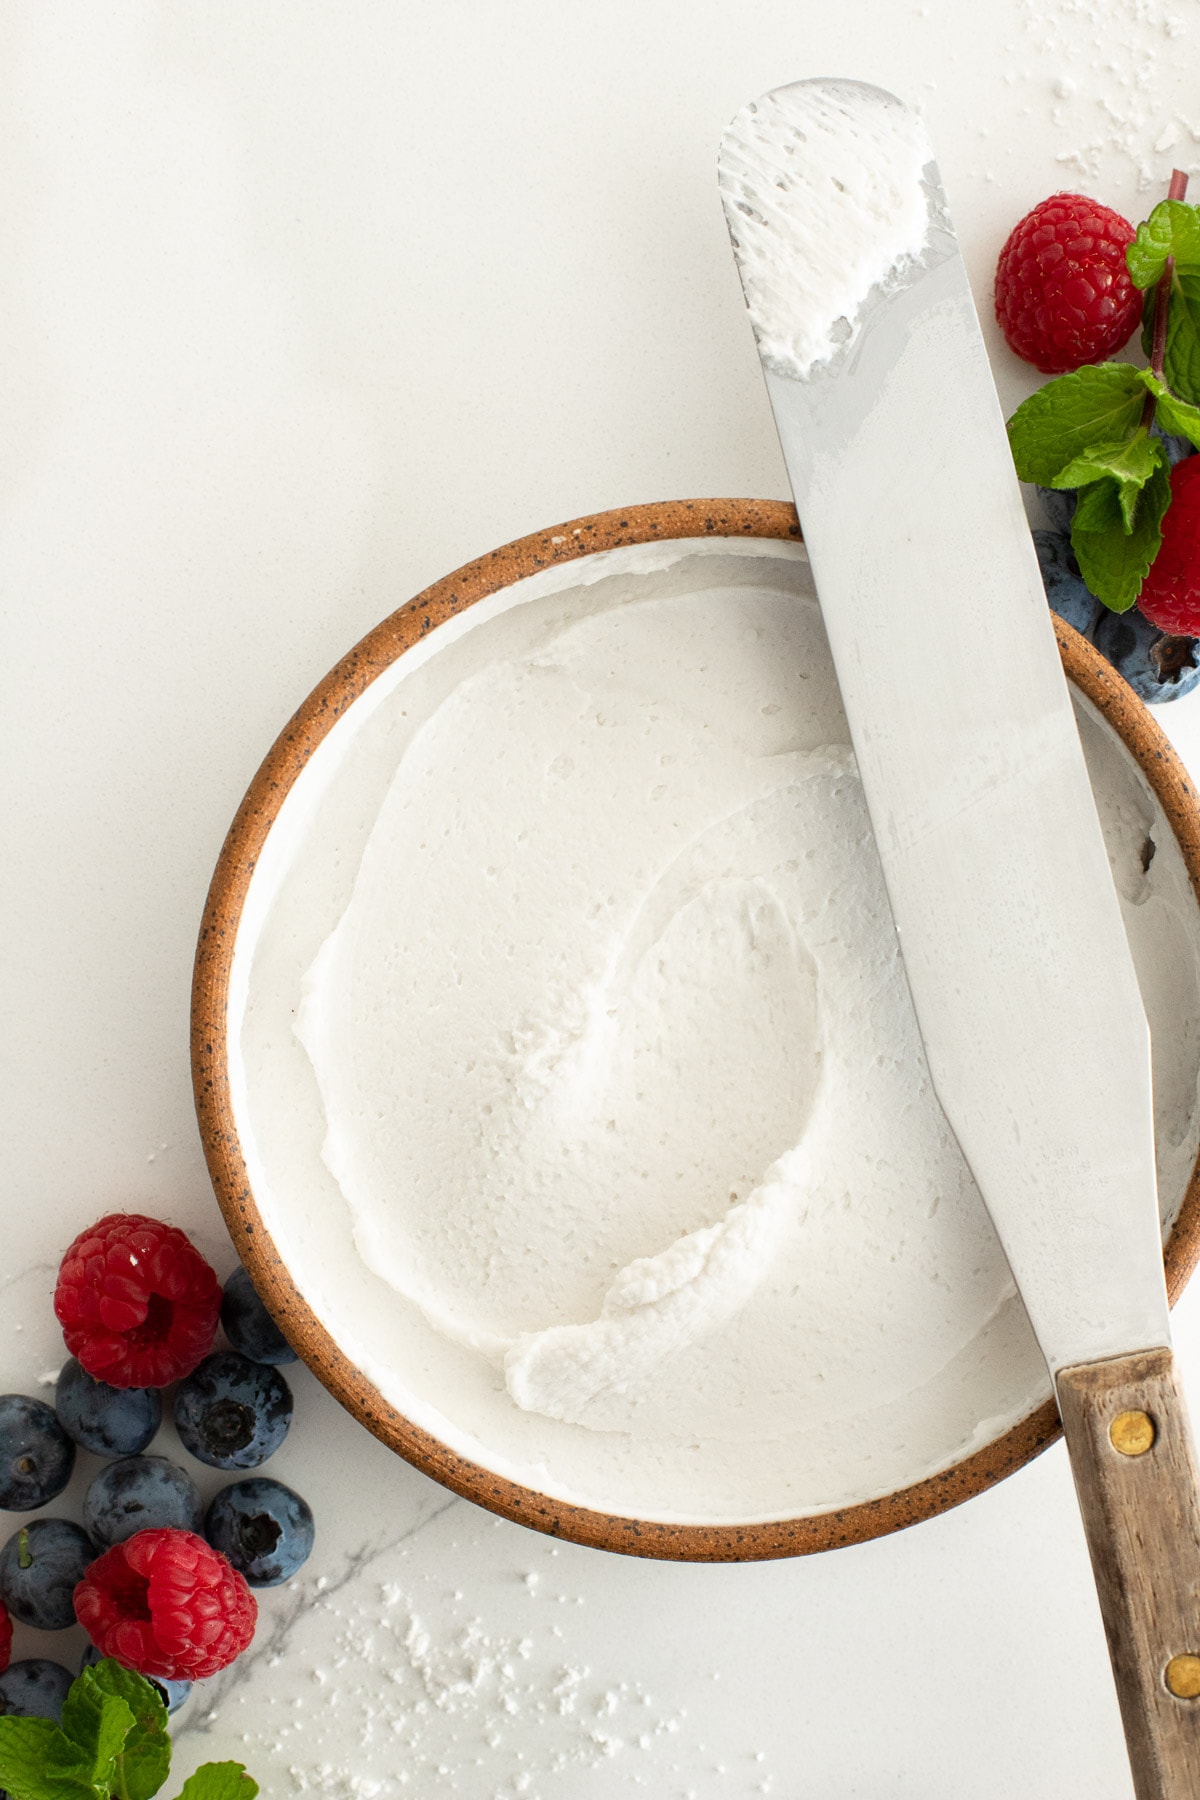
Step two: Using the bowl of a stand mixer with the whisk attachment or a mixing bowl and electric hand mixer, beat the coconut cream on medium-high speed until it's smooth and creamy. Add powdered sugar (or sweetener of choice), vanilla extract, and salt, and continue to beat just until the add-ins are incorporated and the cream is thick, smooth, and fluffy.
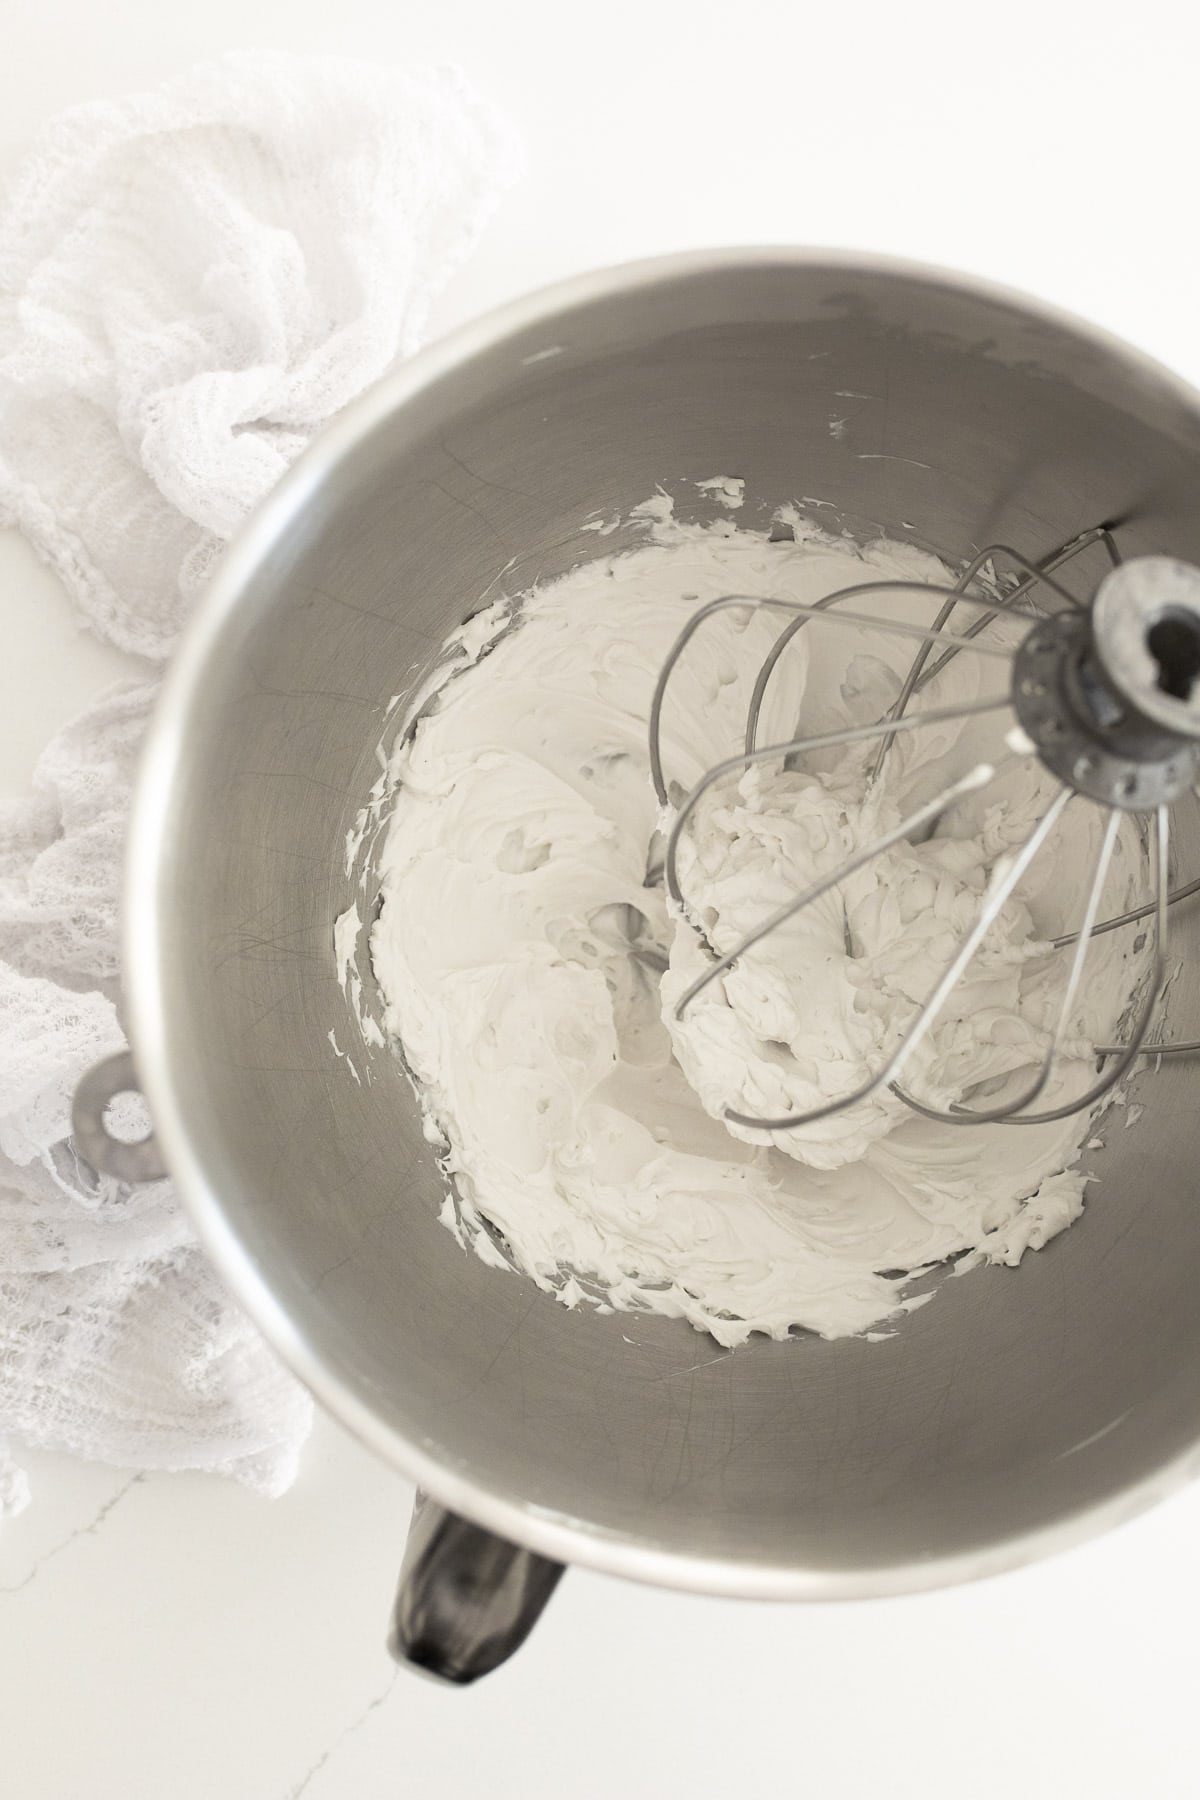
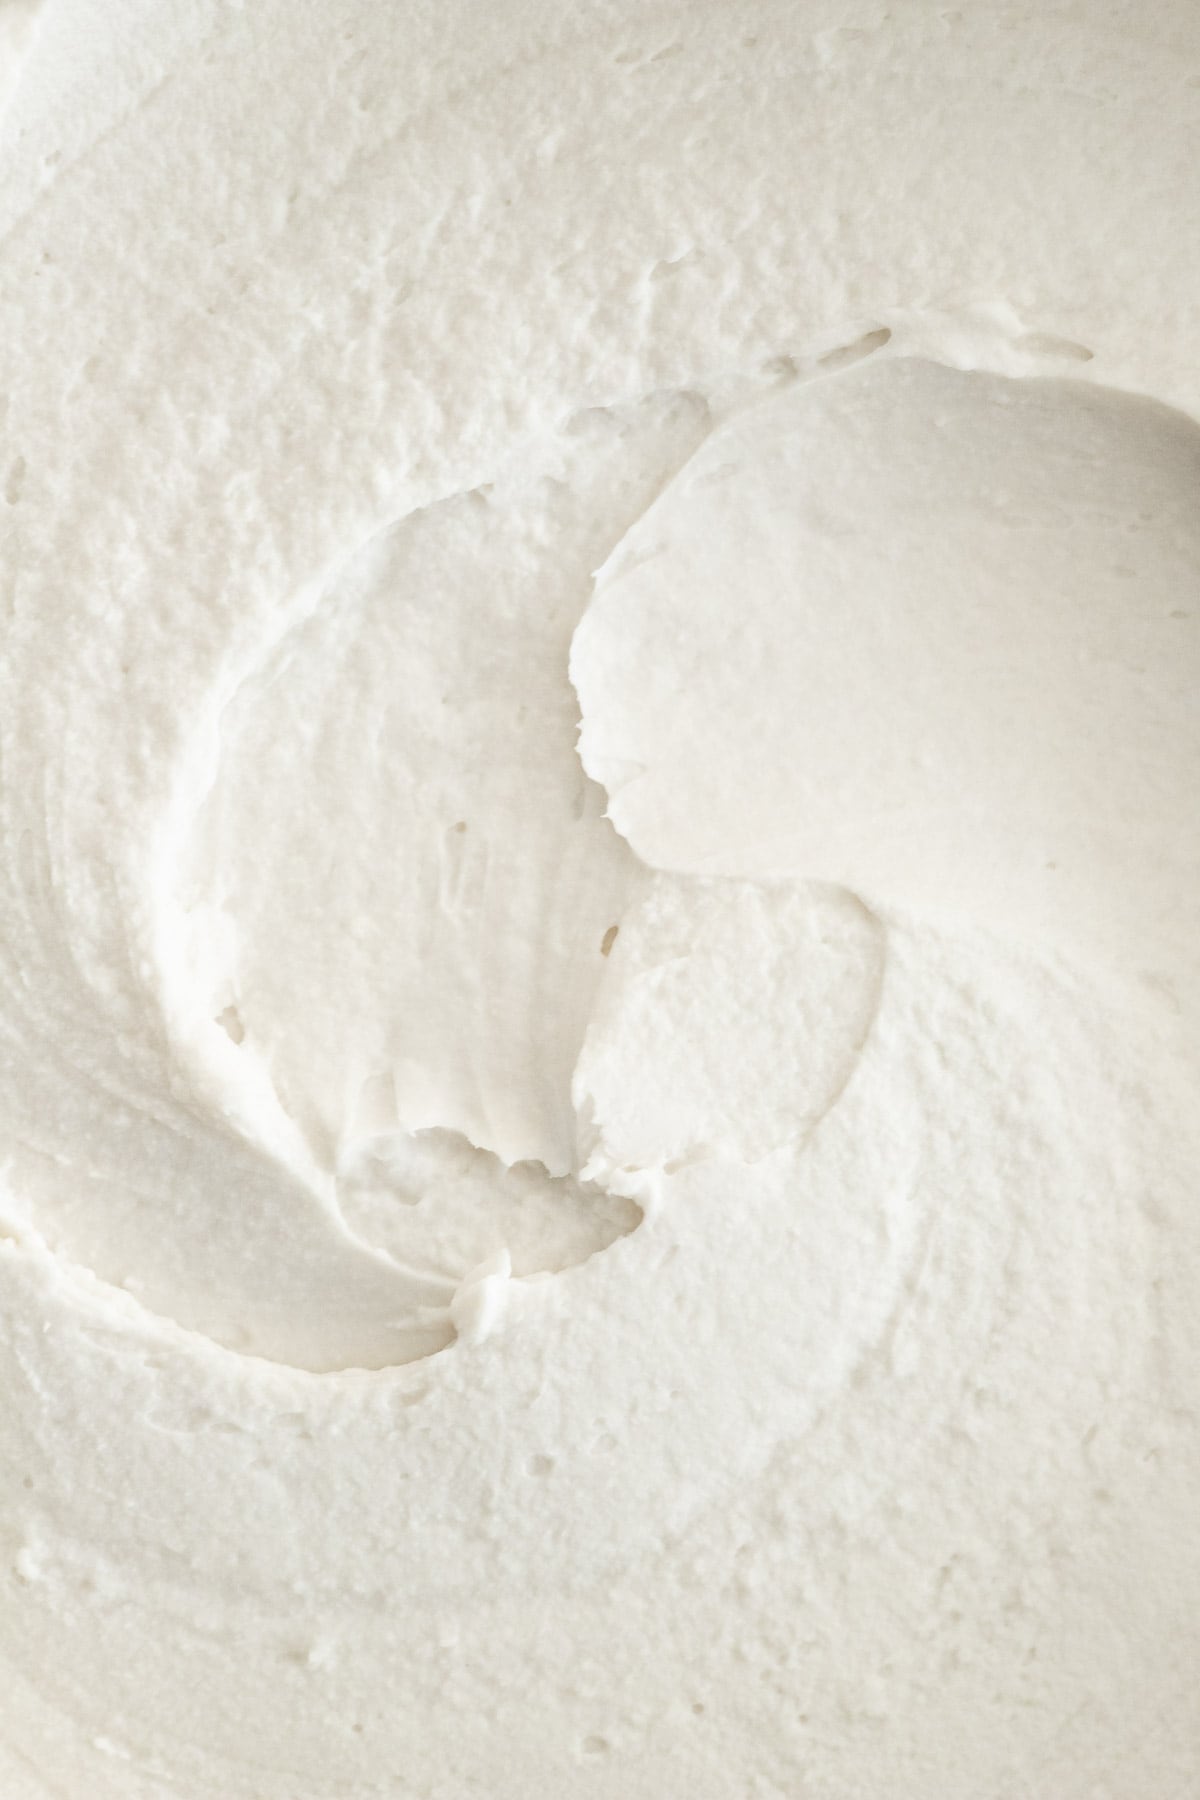
If the mixture is thicker or stiffer than you'd prefer, add the reserved liquid ½ teaspoon at a time, continuing to whip until it reaches your desired texture.
Foolproof Tips
- When buying coconut milk, check the ingredients! The fewer ingredients the better, and the first ingredient should be coconut. It also helps to give the can a quick shake - if you don't hear much liquid sloshing around, that's a good sign.
- Some stores carry unsweetened coconut cream, which will also work for this recipe. Just don't confuse it with cream of coconut - great for coconut margaritas, but not so great for our purposes here.
- For best results with this recipe, chill your bowl and beater(s) in the fridge or freezer for about 30 minutes before whipping coconut cream. This will help the cream whip properly and remain thick - it works for whipping heavy cream too!
- Turn the coconut milk can upside down before opening it. Since the solid coconut cream will have risen to the top of the can, opening it upside down allows you to easily strain off the liquid, leaving the cream behind.
- Besides being useful for thinning out whipped coconut cream that's too stiff, the leftover coconut water can be used in smoothies, protein shakes, cocktails, baked goods, and other recipes in place of water or milk. Try it as an oat milk substitute in these peanut butter banana muffins!
- If you want to add more sweetener than the amount called for in this recipe, do so gradually. Too much sugar can make your whipped cream overly soft - especially if you're using a liquid sweetener!
- If you've done everything right, thoroughly chilled your coconut milk, and still end up with either a) no cream to whip, or b) cream that whips into a grainy mess, it's probably not you. Coconut milk can be very inconsistent from one brand to the next, and even from one can to the next. Experiment with different brands to find one that works well for you, and stock up once you do!
Storing Coconut Whipped Cream
You can store this dairy-free whipped cream in an airtight container in the refrigerator for 1-2 weeks. It may stiffen up after being chilled; if it does, just give it an extra whipping before using it, adding a small amount of reserved coconut milk water if needed.
Recipe Variations
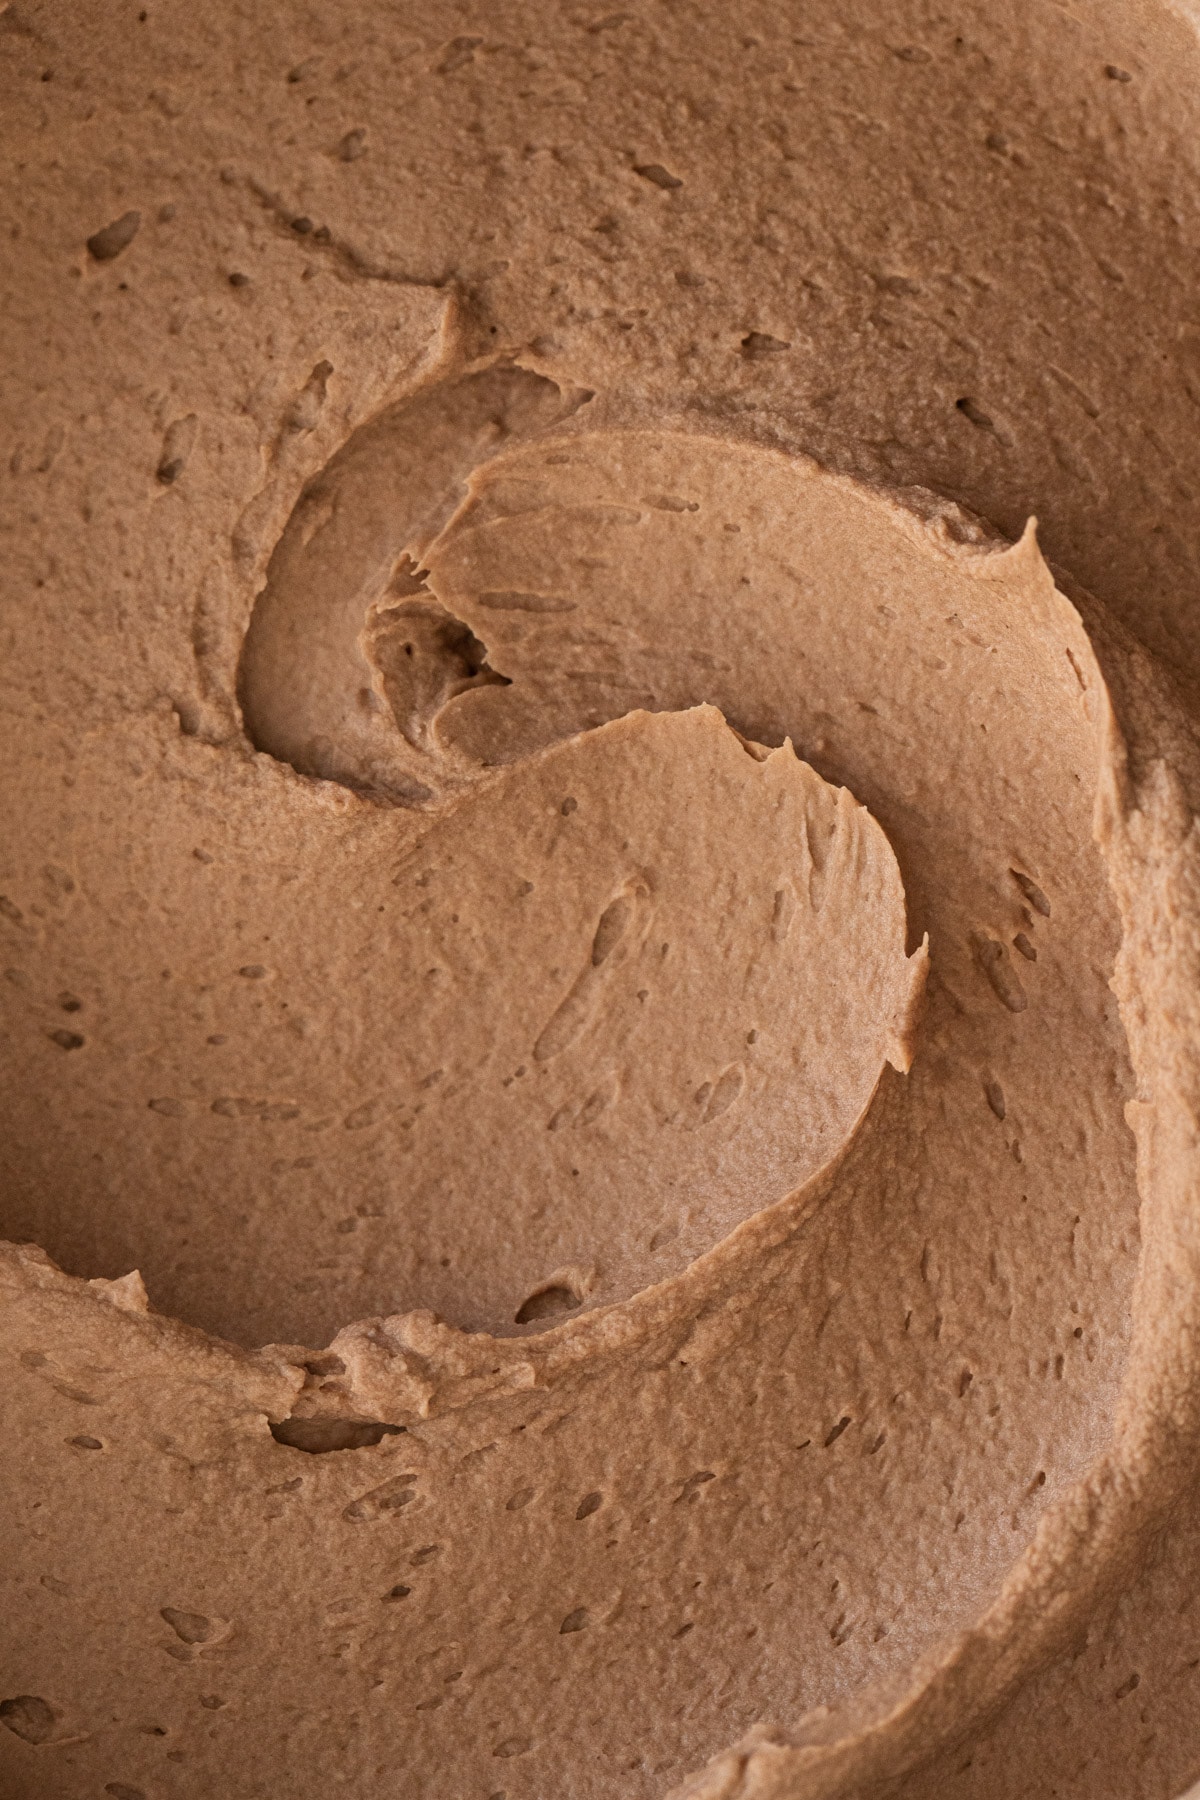
To make vegan chocolate whipped cream, just add cocoa powder! For one can of coconut milk, I recommend adding 1 ½ tablespoons of natural (non-Dutch) cocoa powder. I also like to increase the confectioner's sugar to 4 ½ tablespoons, increase the vanilla to ½ teaspoon, and add an extra pinch of salt.
To make this coconut whipped cream recipe refined sugar-free, you can substitute the powdered sugar for 2 tablespoons of maple syrup. This is a great paleo whipped cream option too! (Caveat: there is some debate about consuming vanilla extract on a paleo diet. Depending on your thoughts on this matter, you may need to leave that ingredient out.)
Make a dairy-free sugar-free whipped cream by using a powdered sugar-free sweetener such as erythritol or monk fruit.
How to Use Dairy-Free Whipped Cream
You can use this as a coconut whipped cream frosting on cakes and cupcakes, a dairy-free option for garnishing brownies and other dessert recipes, or a creamy accompaniment to coffee and hot cocoa. And since the shelf life of a can of coconut milk is much longer than heavy whipping cream, it's a great idea to keep a can in your refrigerator so you can make a creamy whipped topping at a moment's notice!
If you're looking for inspiration, here are a few recipe ideas:
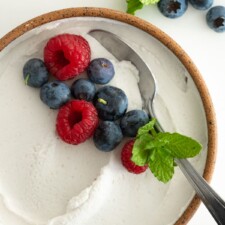
- Serve it with fresh berries atop this easy vegan chocolate pudding or a slice of vanilla pound cake.
- Use it for the garnish on these mini pumpkin cheesecakes or this chocolate raspberry ice cream cake.
- Layer it over the ganache in this easy Nutella tart or over the pudding in this coconut cream pie.
- Dollop it over a dairy-free variation of my Irish Cream latte, iced caramel latte, or coconut latte.

Recipe FAQ
This does have the slightest hint of coconut flavor, but it's imperceptible once you've combined it with other flavors in a dessert or beverage. Chances are, your taste testers won't even notice that it's anything different than what they're used to.
Yes, this - and most all whipped toppings - are gluten-free.
Yes! Dairy-free whipped cream should be thick enough to hold its shape for piping. Feel free to go crazy garnishing your desserts!
More DIY Recipes
Since it's so easy to make, this recipe is a great alternative to any non-dairy whipped cream or coconut whipped topping you can find in stores. I also love that it uses just a few, simple ingredients, rather than so many of the artificial flavors and sweeteners used in pre-packaged products.
If you're interested in homemade versions of more foods you might otherwise buy, here are a few of my favorite things to DIY!


Have you made this recipe?
If so, I'd love to hear your feedback; you can leave a rating and review in the comments section below! It's also so helpful if you help spread the word by sharing this post on your favorite social media channel. If you happen to snap a photo of what you've baked, be sure to share it on Instagram and tag me (@brighteyedbaker) so I can give you a shoutout!
Recipe Card
Dairy-Free Whipped Cream
Ingredients
- 14 ounces full-fat coconut milk chilled 12+ hours
- ¼ cup confectioners' sugar sifted
- ¼ teaspoon pure vanilla extract
- 1 pinch of salt
Instructions
- Open chilled can of coconut milk. Scoop out the thick coconut cream, reserving the liquid for later use.14 ounces full-fat coconut milk
- In the bowl of a stand mixer fitted with the whisk attachment, or using a bowl and handheld electric mixer, whip coconut cream on medium-high speed until smooth and creamy. Add powdered sugar, vanilla extract, and salt, continuing to beat just until add-ins are incorporated and whipped cream is thick, smooth, and fluffy. If the mixture is thicker or stiffer than you'd prefer, add the reserved liquid ½ teaspoon at a time, whipping until it reaches your desired texture.¼ cup confectioners' sugar |¼ teaspoon pure vanilla extract |1 pinch of salt
Notes
Choosing the right brand of coconut milk:
- Look for unsweetened, full-fat coconut milk (or coconut cream) with coconut as the first ingredient. Brands that typically work well for this recipe include Arroy-D, Thai Kitchen, and Native Forest. A word of caution: many people do not have success with Trader Joe's coconut milk.
Storing dairy-free whipped cream:
- Store in an airtight container in the refrigerator for up to 2 weeks. If the whipped cream is too stiff to use after chilling, whip it again to loosen it up, adding a small amount of reserved coconut milk "water" if needed.
Recipe variations:
- Chocolate Whipped Cream: Add 1 ½ tablespoons natural cocoa powder. Use 4 ½ tablespoons of confectioner's sugar, ½ teaspoon of vanilla extract, and an extra pinch of salt.
- Naturally-Sweetened Whipped Cream: Substitute confectioner's sugar with 2 tablespoons of maple syrup. Honey also works but will have a more pronounced flavor, and is not vegan.
- Sugar-Free Whipped Cream: Substitute confectioners' sugar with a powdered sugar alternative such as erythritol or monk fruit.
Nutrition
Nutrition information is an estimate per serving, calculated using standard ingredients. Actual values may vary based on brands used, measurement methods, and more.


Denise
I love the keto chocolate chip mug cakes and this is what I use occasionally, but I sometimes have it by itself to satisfy my sweet tooth.
alexandra
Agreed! Dairy-free whipped cream is great for a keto mug cake, but also great on its own!
Sandra
This is brilliant!