Learn how to brown butter in just 5 minutes! It’s a kitchen skill that’s simple to master and completely transforms butter’s flavor into one that’s rich, nutty, and caramelized. You can use this technique for both sweet and savory dishes - virtually any recipe that calls for butter!
Butter makes a recipe good, but brown butter makes it great. With just a few simple steps, you have the power to take a dish that might otherwise taste basic - and maybe even a little boring - and give it that WOW factor.
Browning butter is an easy process to perfect and a fantastic one to have in your kitchen repertoire, so if it’s new to you, now’s the time to change that!
Jump to:
What is Brown Butter?
Otherwise known as beurre noisette, a French term that translates to “hazelnut butter”, brown butter is simply melted butter that’s been cooked just long enough to toast (or brown) the milk solids contained within it. In doing so, the butter takes on a deep hazelnut color and sweet, nutty flavor. It's like liquid gold in a recipe - a secret ingredient that produces amazing results.
You can brown both salted and unsalted butter and use it in place of regular butter in nearly any recipe. Since we’re all about baking here, I’ll show you some of my favorite ways to use this magical ingredient in sweeter applications!
How to Brown Butter
First things first: let’s learn how to make brown butter!
Start by adding sliced butter to a frying pan. The size of your pan will depend on the quantity of butter you’re browning - a medium pan is perfect for a single stick of butter.
Place the pan on the stove over medium heat and let the butter melt, stirring occasionally with a whisk or spatula.

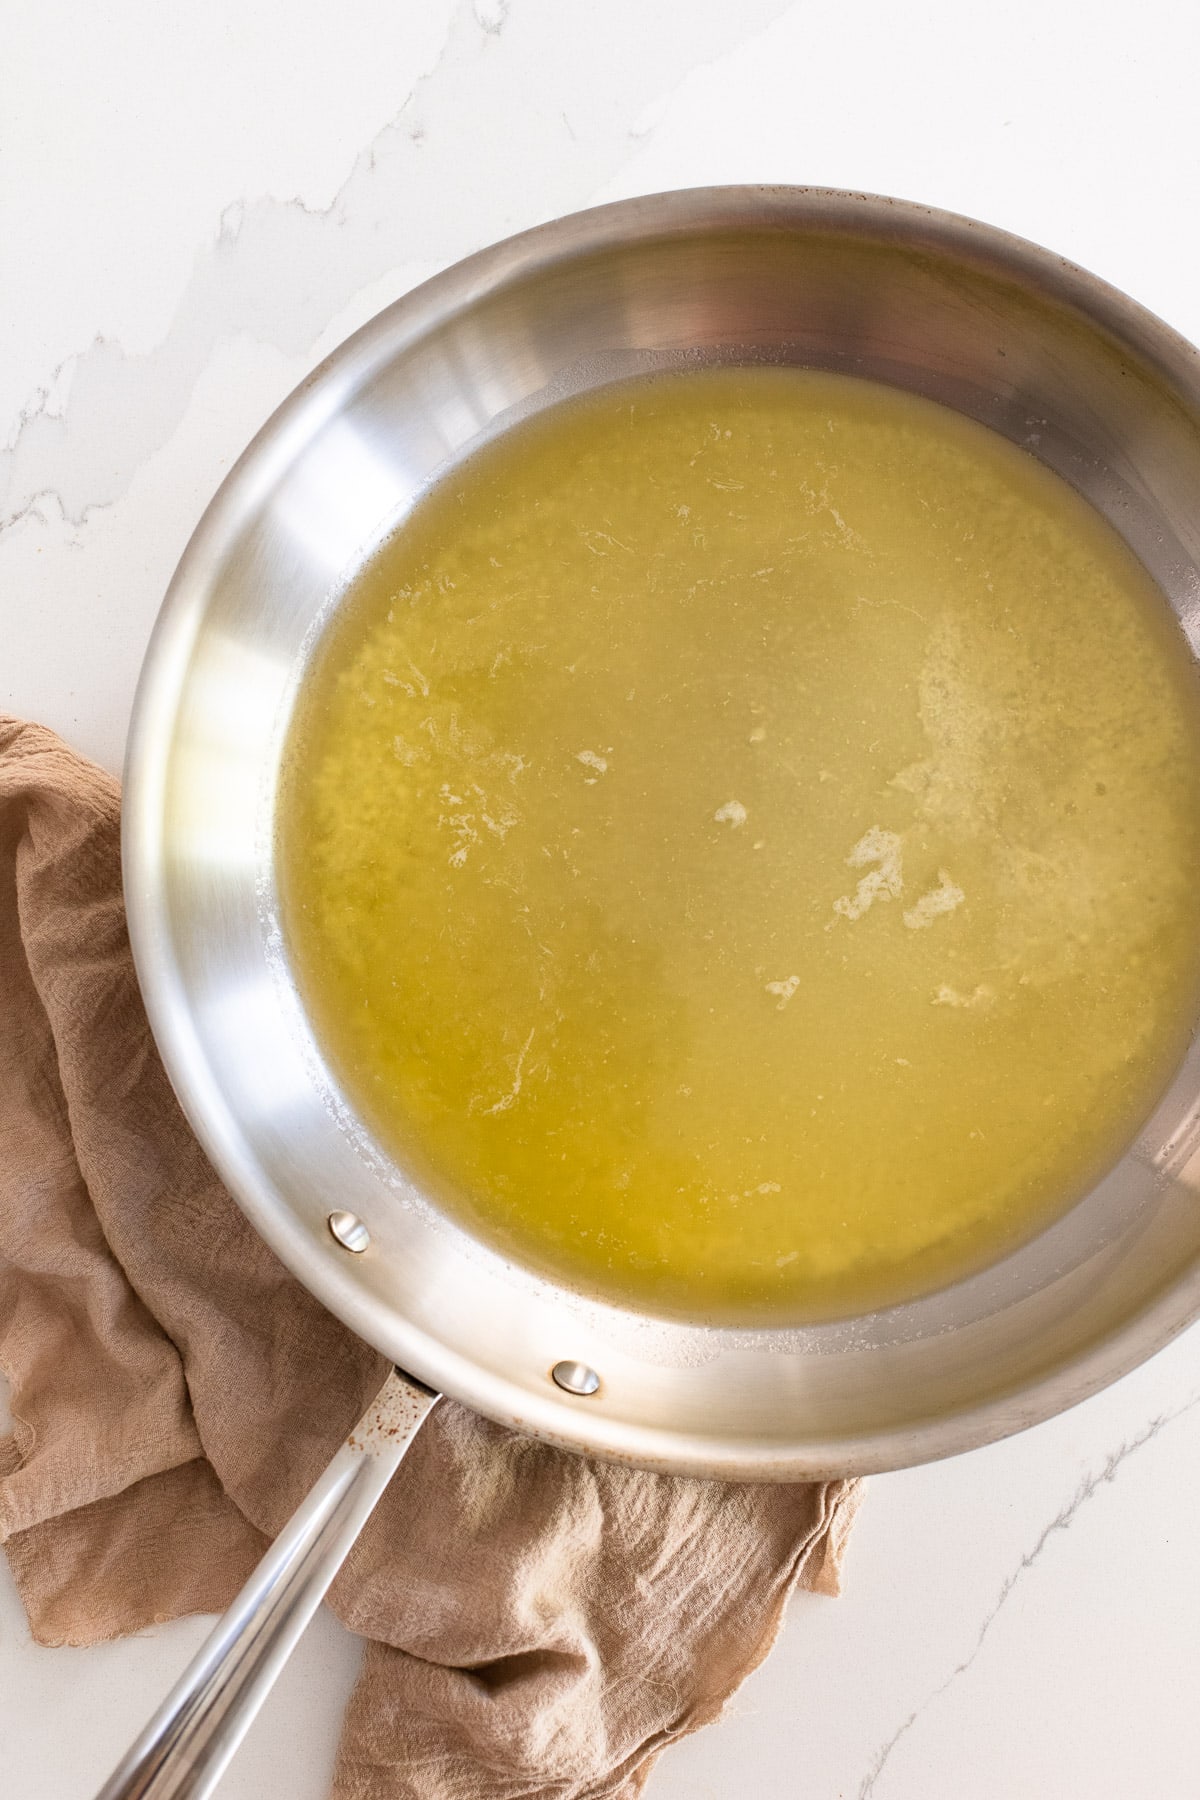
Once the butter melts, it will begin foaming. This happens when the water in the butter boils and evaporates, which means the browning process is about to start. At this point, stir constantly, keeping a close eye on things. Butter can go from brown to burnt quickly!

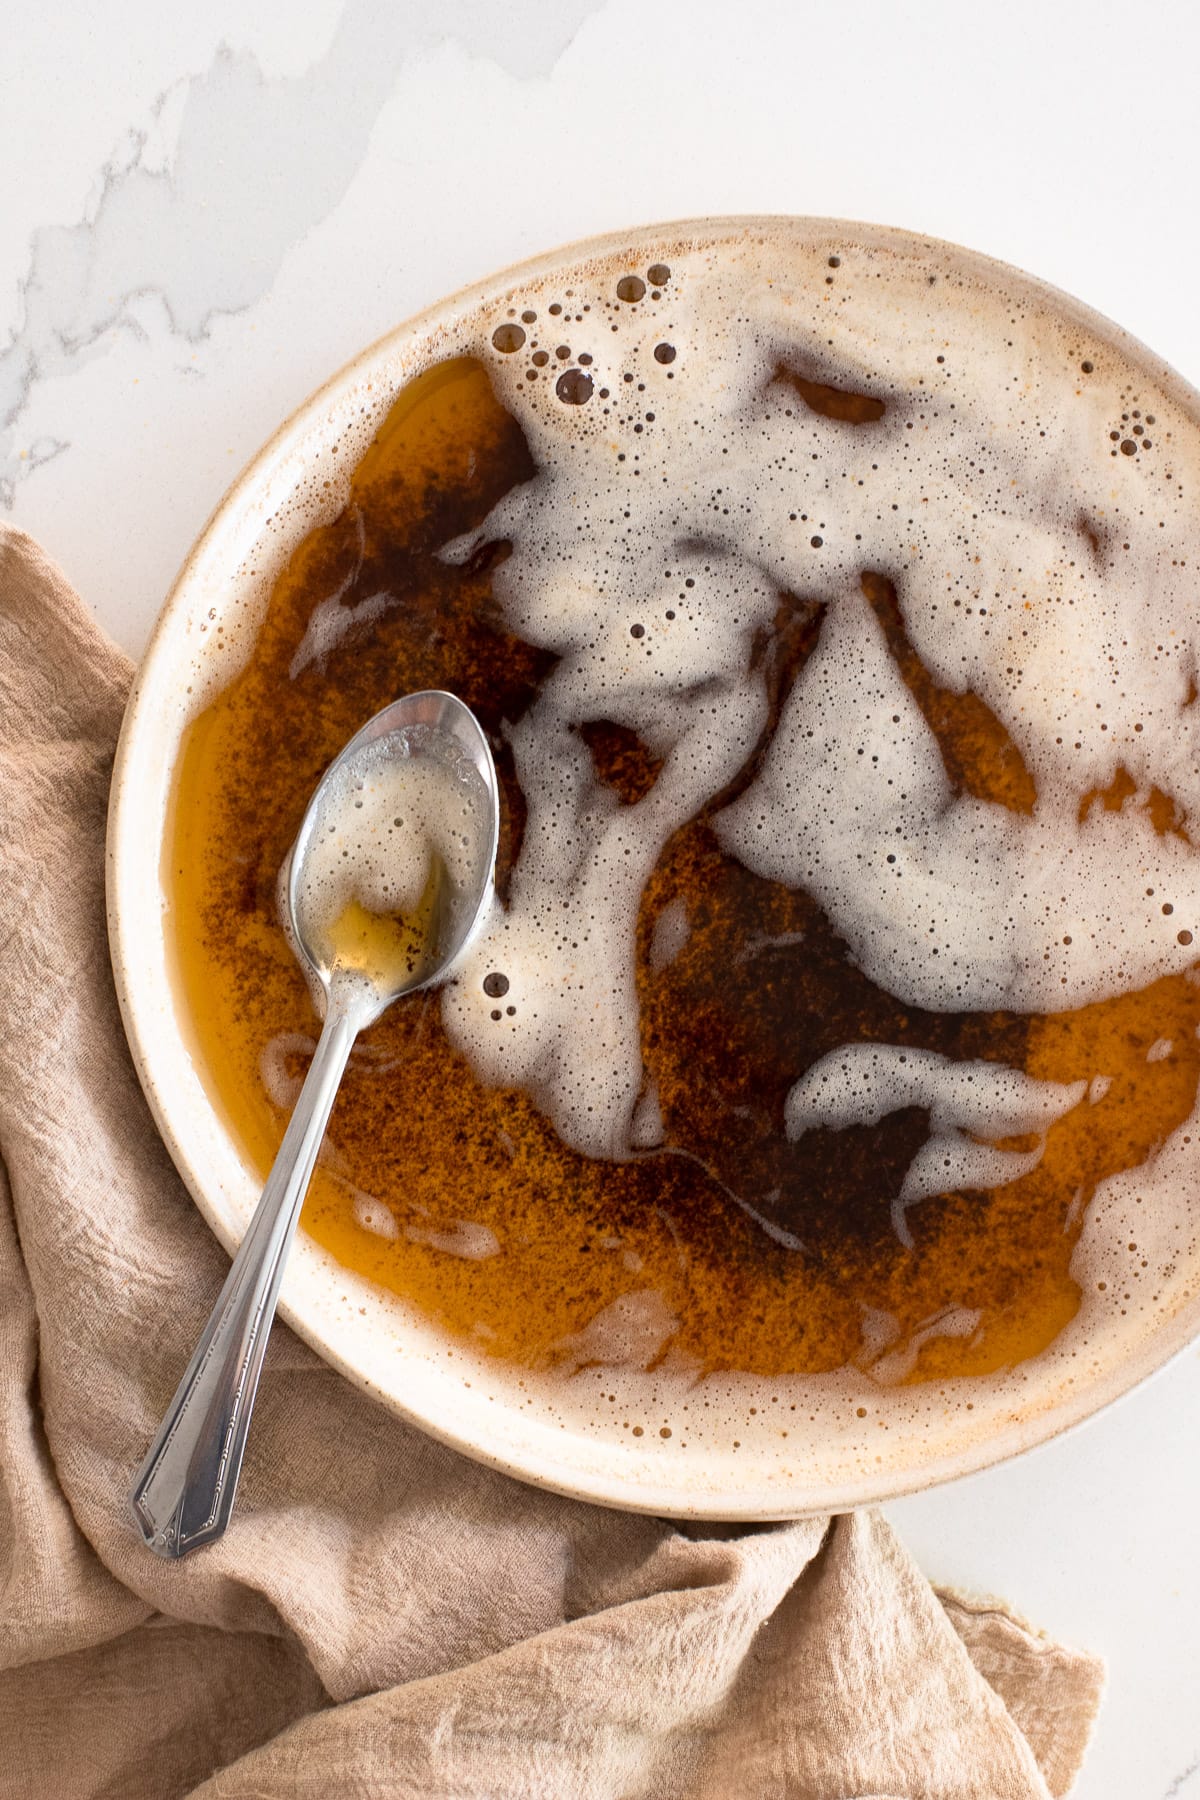
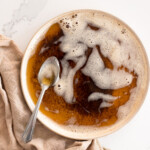
As the foaming subsides, you’ll see golden-brown specks forming at the bottom of the pan - this is how you’ll know when the butter is browned. You’ll also notice that the butter has taken on a nutty aroma. These are your cues to remove the pan from the heat and immediately transfer it to a heatproof bowl to stop the cooking process.
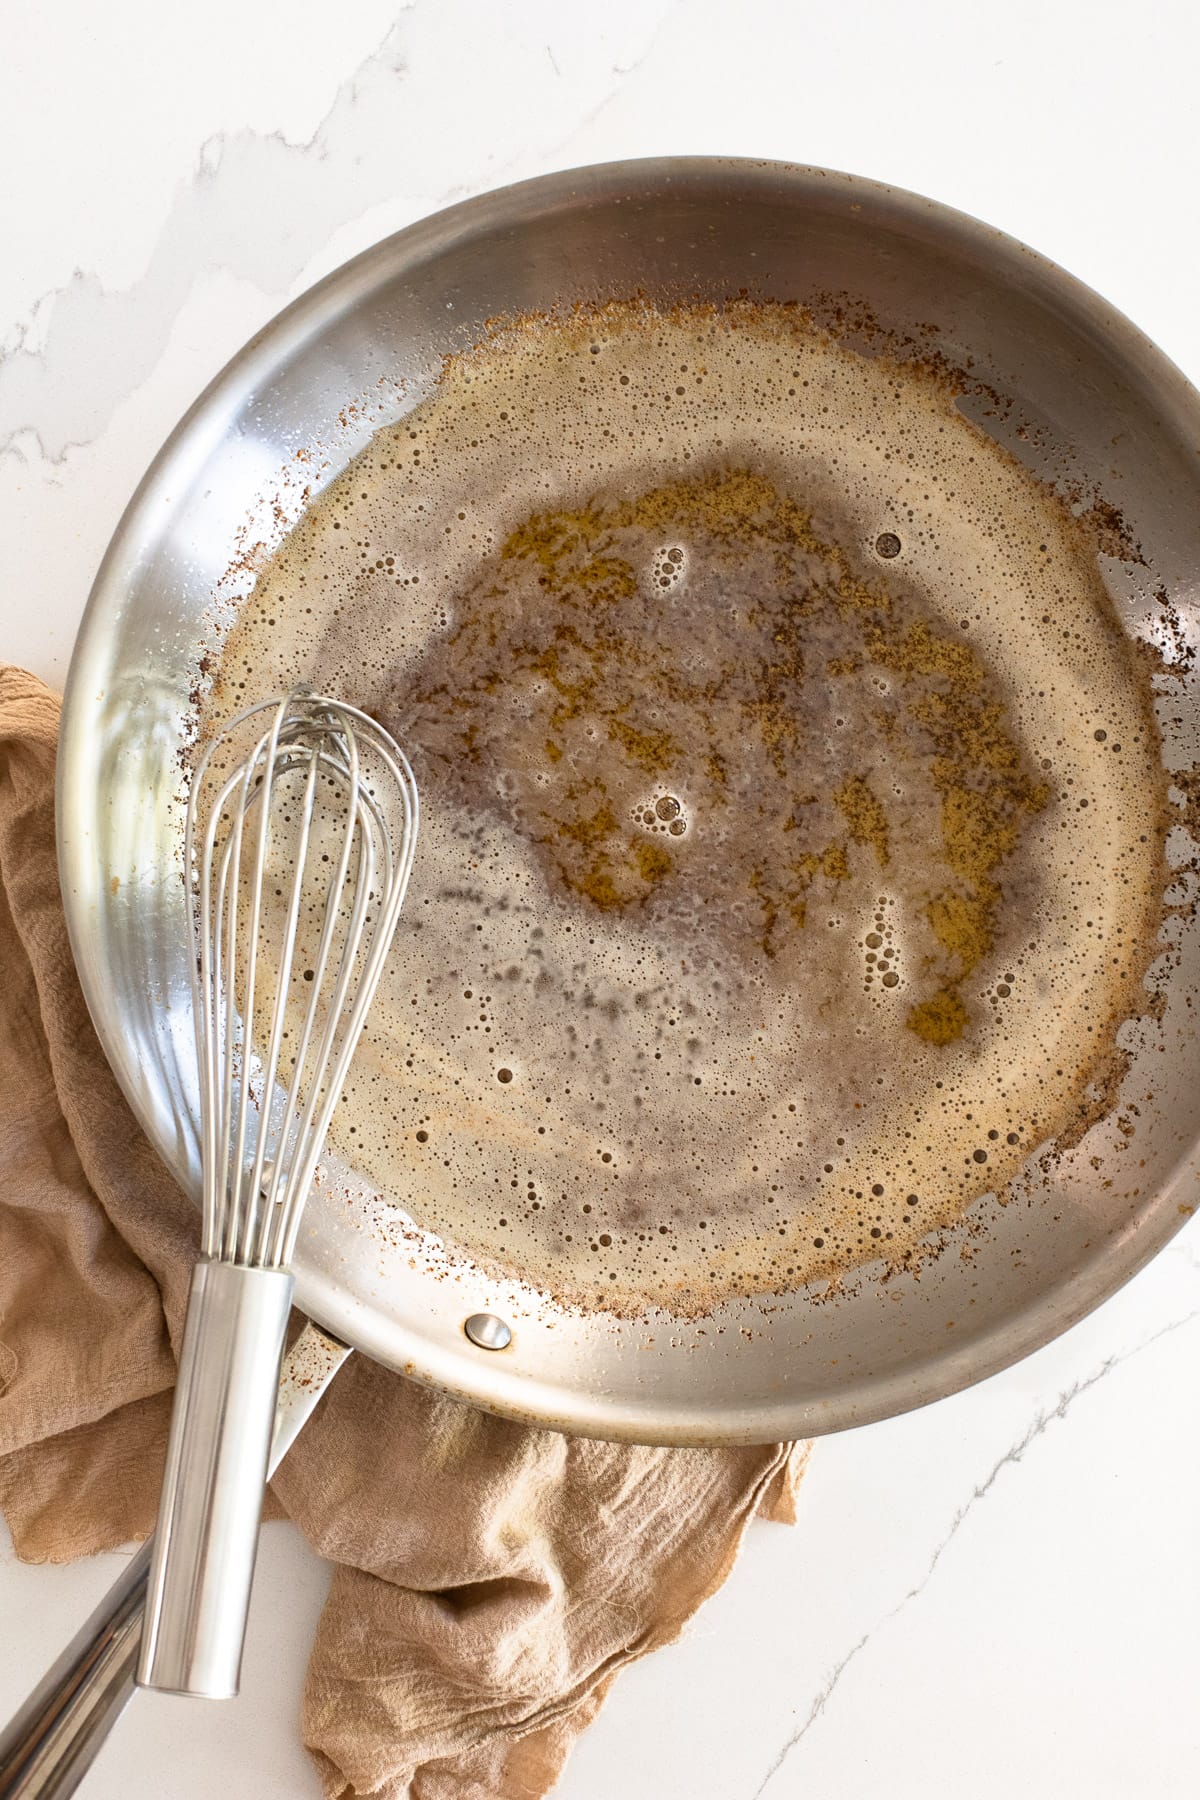
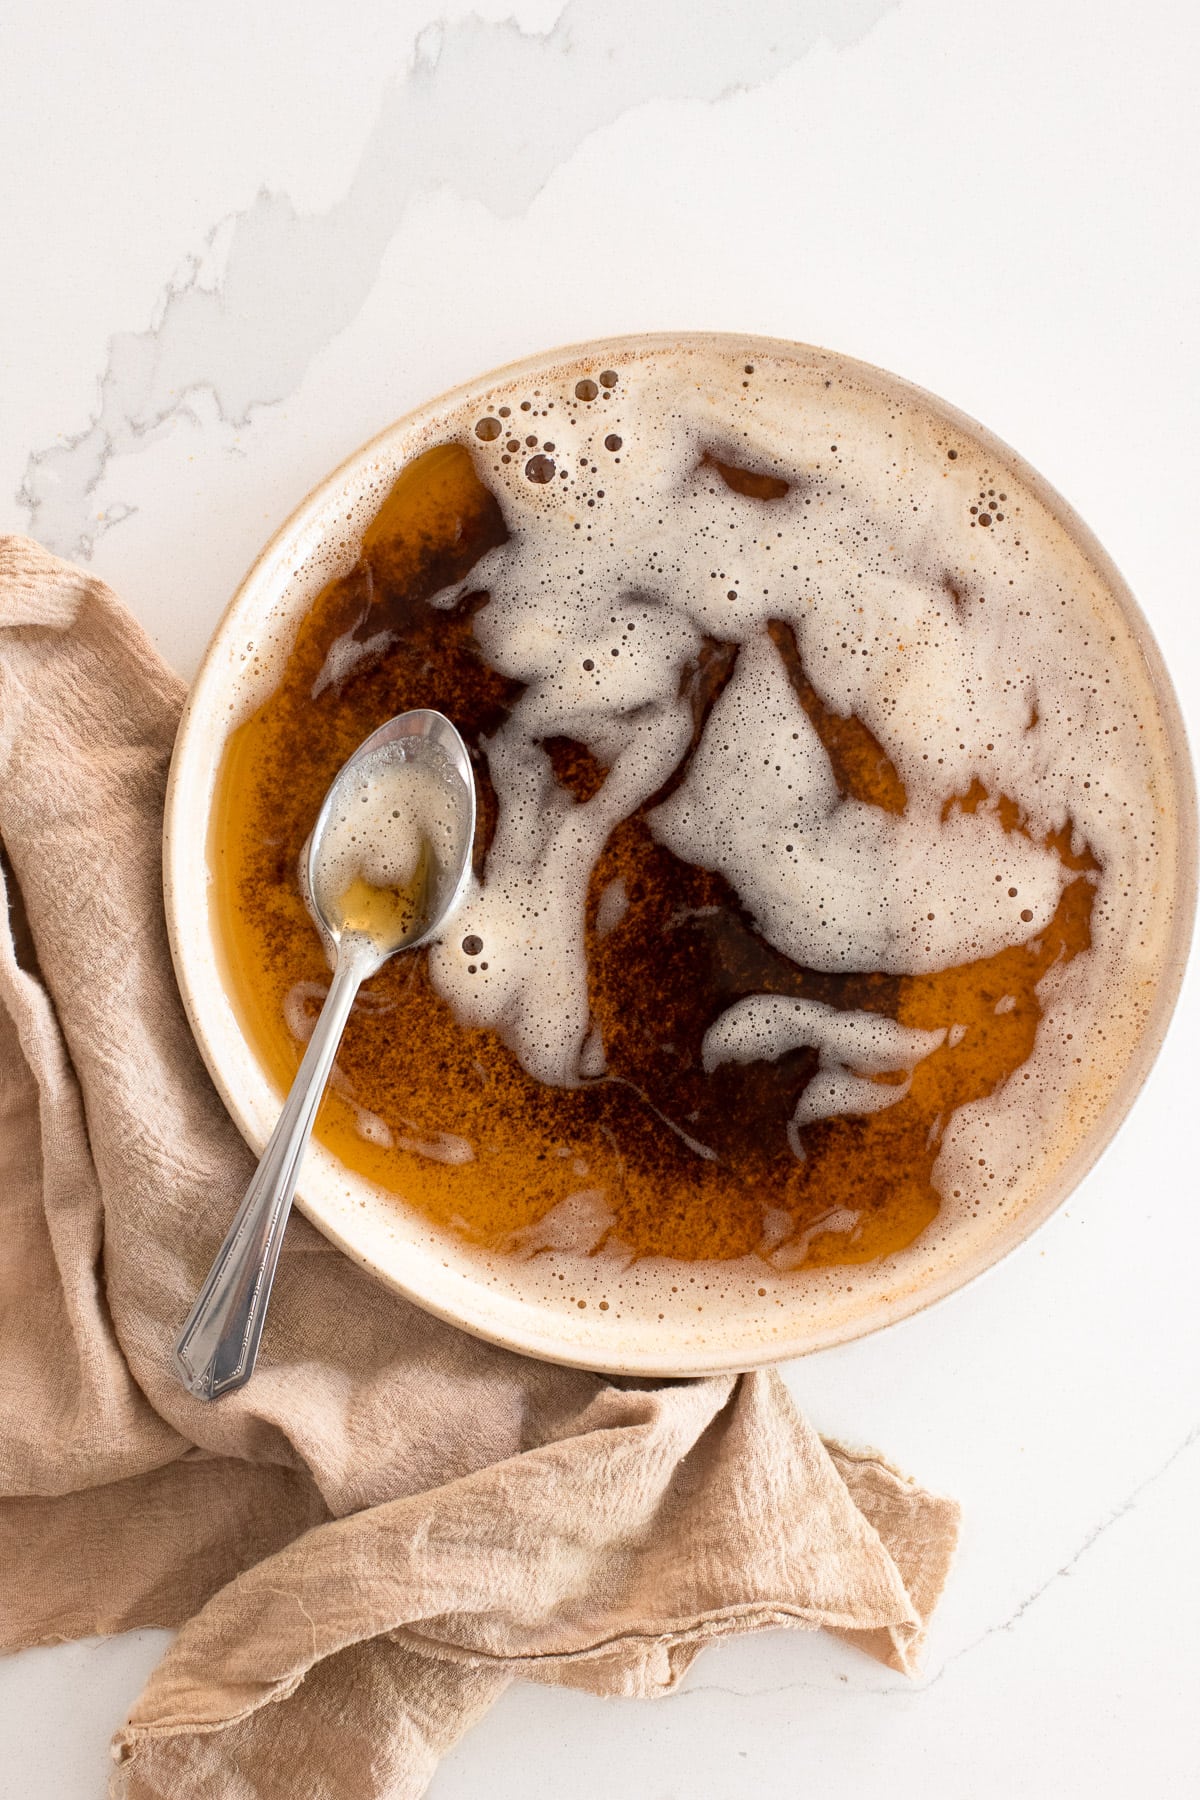
In most cases, you’ll want to let the butter cool for at least a few minutes before using it, but this will ultimately depend on the recipe you intend to use it for.
Brown vs Burnt Butter
If the milk proteins in butter get so hot that they turn black - rather than a deep golden or rich amber color - you’ll known they've been burned. You’ll also know by the smell - brown butter smells warm, sweet, and nutty. Burnt butter will simply smell burnt.
The easiest way to avoid this problem is to remove brown butter from the stove and the hot pan as soon as you see the milk solids turn golden-brown.
Tips for Browning Butter
If this brown butter recipe is new to you, it might be helpful to brush up on these tips and tricks for perfecting the process:
- Use real butter! Butter browns because of an interaction between proteins and sugars when exposed to heat (scientifically known as the Maillard reaction). Using dairy-free or vegan butter won’t produce the same results.
- Pick a heavy-bottomed fry pan to ensure even melting. Use a light-colored pan (like this stainless steel All-Clad) for best results; dark pans make it difficult to tell when the butter is properly browned.
- Use a medium frying pan for a single stick (½ cup) of butter and move up to a large pan for 2 sticks.
- Don’t walk away from butter while it’s browning! Much like making caramel sauce, this process happens quickly. It’s also a good idea to stir or whisk the butter frequently while browning to make sure it melts and cooks evenly.
- There’s no need to strain brown butter before using it. In fact, all the flavor comes from the brown bits that settle at the bottom of the pan during the cooking process, so don’t leave those out!
- You can use brown butter melted or chilled. If your recipe calls for cold butter or butter that's been softened to room temperature, transfer it to a container with a large surface area and refrigerate as needed. The larger surface area will allow the butter to chill faster.
- You can make brown butter in advance and refrigerate it for 1-2 weeks or freeze it for up to 3 months. Store it in an airtight container to keep it fresh.

Substituting Brown Butter
You can substitute regular butter with browned butter in nearly any recipe. Just make sure that it’s in the right state; i.e. melted, softened, or chilled.
Keep in mind that butter loses most of its water content when it's browned, which means that you will actually end up with a slightly smaller quantity than you started with. For example, if your recipe calls for 8 tablespoons of butter, melted, it might be a good idea to brown 9 tablespoons. Alternatively, you can add a small amount of water or milk to the butter after browning to account for the moisture loss.
To keep things simple, I always indicate the amount of butter I started with when browning butter for any of my recipes.
Frequently Asked Questions
About 5-7 minutes; the exact amount of time will depend on your stove.
No. Brown butter is typically used as a flavor enhancer in a recipe, especially recipes with other nutty, caramelized, or buttery flavors. Substituting regular butter will change the flavor slightly, but won’t affect the success of a recipe.
For sure! That said, salted butter does tend to burn a bit faster than unsalted. It also produces more brown butter foam, which can potentially make it harder to spot those toasted milk solids before they burn. So while it’s definitely doable, it may be easier to stick with unsalted butter - at least until you master the process of making brown butter.
Yes - if refrigerated or frozen, brown butter will return to a solid state.
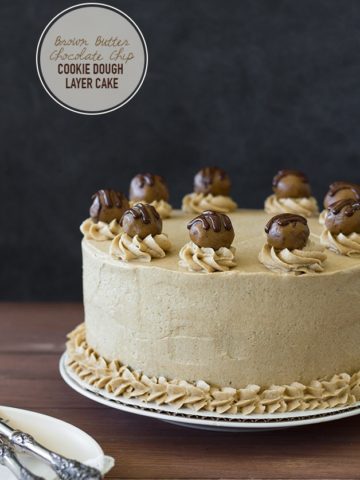
Yes! Chill it until it has solidified - but is still soft enough to press a finger into - and then cream or whip it as you would normally. This is a great option for chocolate chip cookies and also works well for frosting. See my brown butter cookie dough cake for an example!
What to Make with Browned Butter
Brown butter is often used for savory recipes like butter-based pasta sauces and roasted vegetables, but I find it especially incredible for sweet applications like cookies, cakes, blondies and other dessert bars, quick breads (especially banana bread), and muffins.
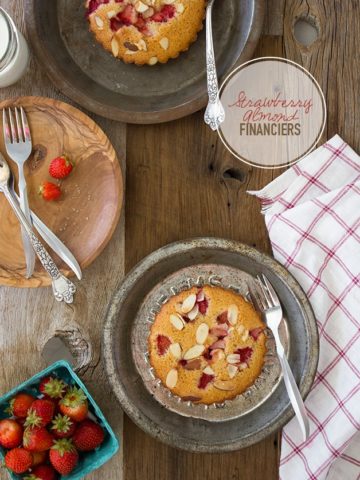
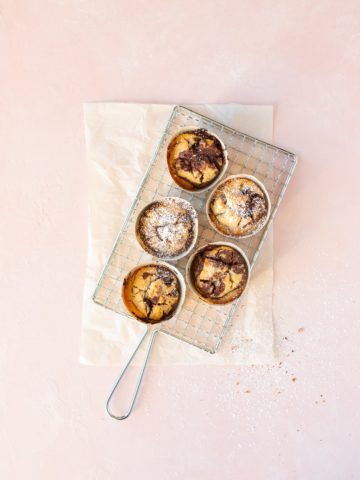
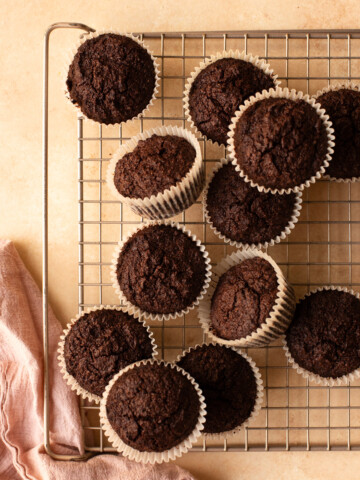
Its toasted, butterscotch-like flavor is a great compliment to brown sugar, vanilla, cinnamon, nuts, and similar ingredients to bring rich, warm depth to a dish. If you’re looking for inspiration, here are a few of my favorite recipes to use it in:
How to Brown Butter
Learn how to brown butter with this easy step-by-step tutorial. It takes about 5 minutes, and gives butter a warm, rich, nutty flavor that's absolutely magical in both sweet and savory recipes!
- Prep Time: 1 minute
- Cook Time: 4 minutes
- Total Time: 5 minutes
- Yield: ½ cup 1x
- Category: ingredients
- Method: stovetop
Ingredients
- ½ cup (113 grams) butter (salted or unsalted), cut into tablespoons
Instructions
- Place the sliced butter in a medium frying pan set over medium heat. Stir or whisk frequently as the butter melts.
- Once melted, the butter will start foaming. Stir/whisk constantly, cooking just until you see golden-brown specks form at the bottom of the pan.
- Remove browned butter from heat and immediately transfer to a heatproof bowl or container to stop the cooking process. Allow to cool for at least a few minutes before using.
Notes
- For best results, use a light-colored pan to brown butter.
- Brown butter can be made in advance and stored in an airtight container in the refrigerator for up to 2 weeks, or in the freezer for up to 3 months.
- To substitute brown butter in a recipe, use it in the same state that the recipe calls for (melted, softened, chilled, etc.). Butter loses moisture in the browning process, so you will end up with slightly less butter than you started with. You can account for this by browning slightly more butter than your recipe calls for, or supplementing the moisture loss with a small amount of water or milk.



Sandra says
Nice post. I tend to forget the added aroma and flavor of browned butter.