
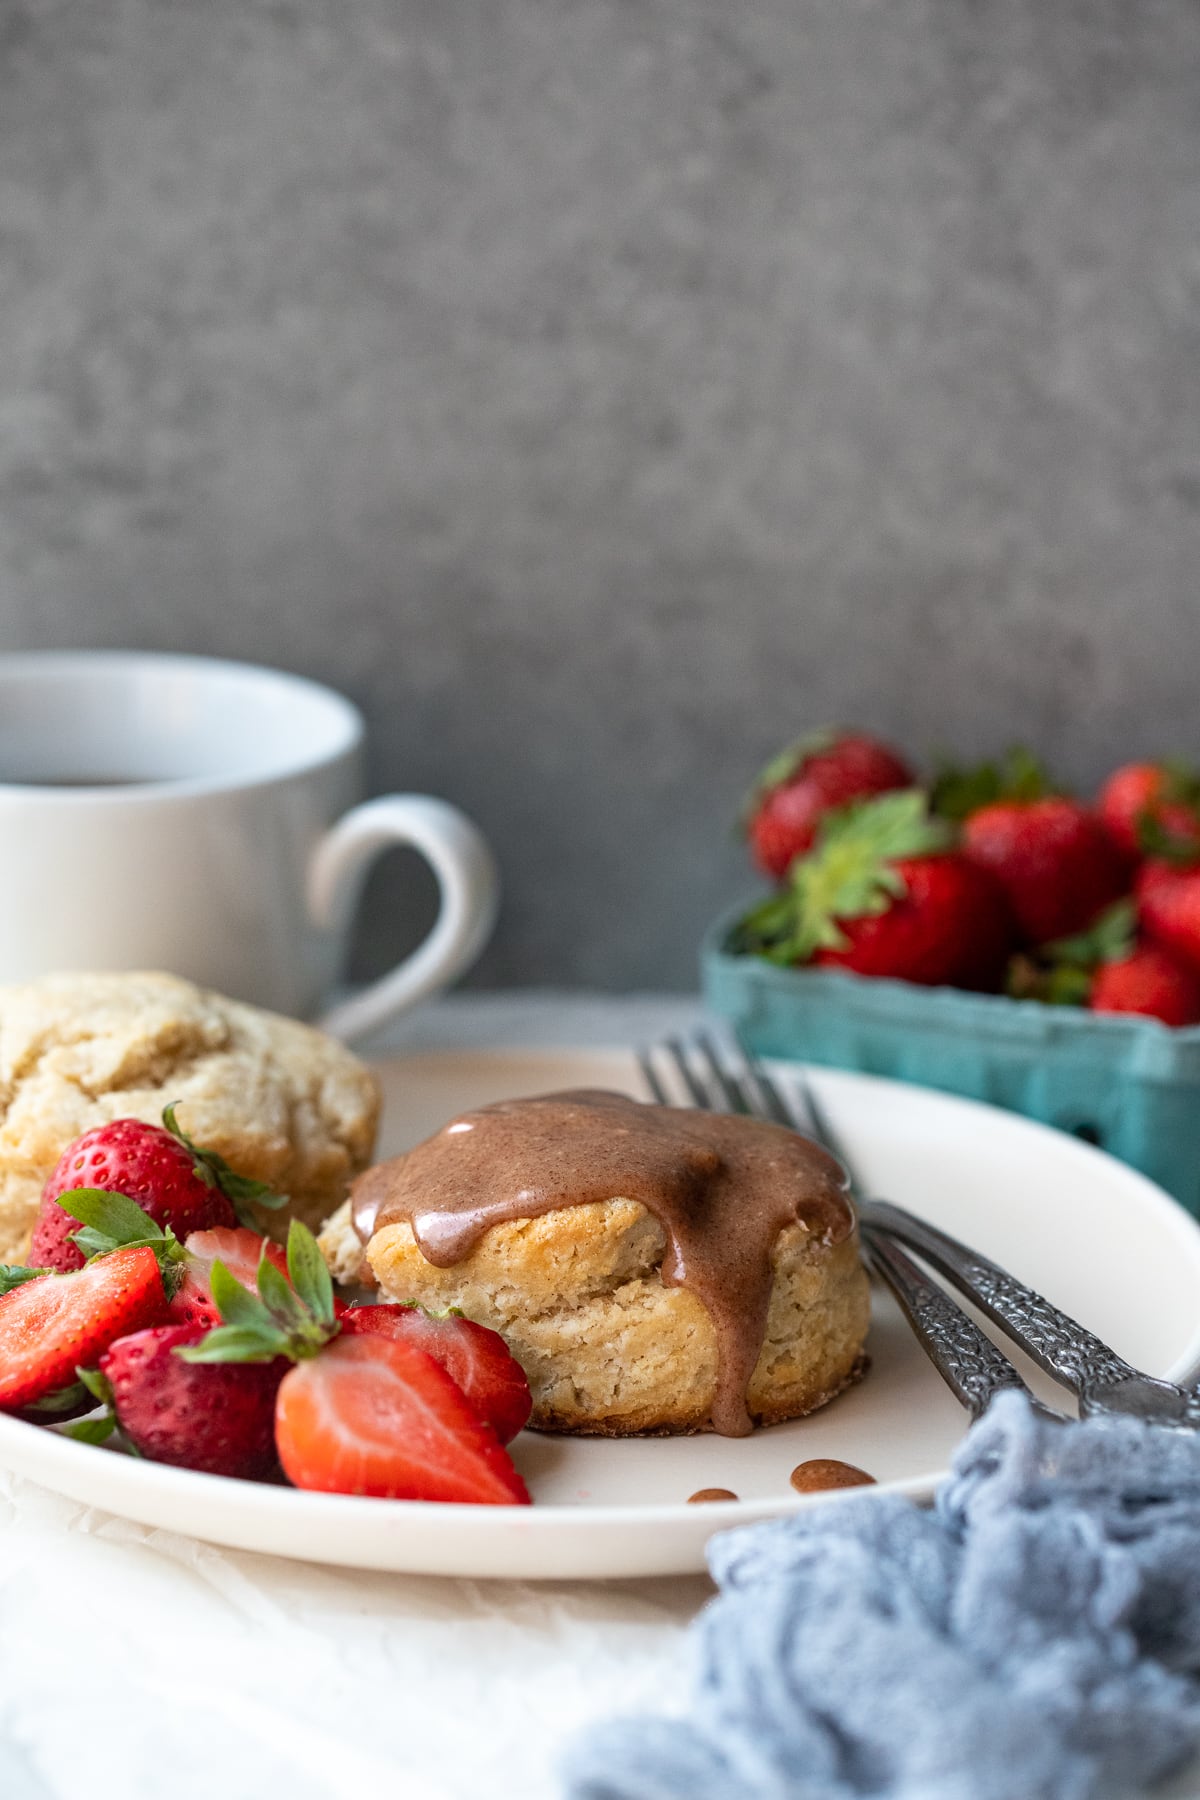
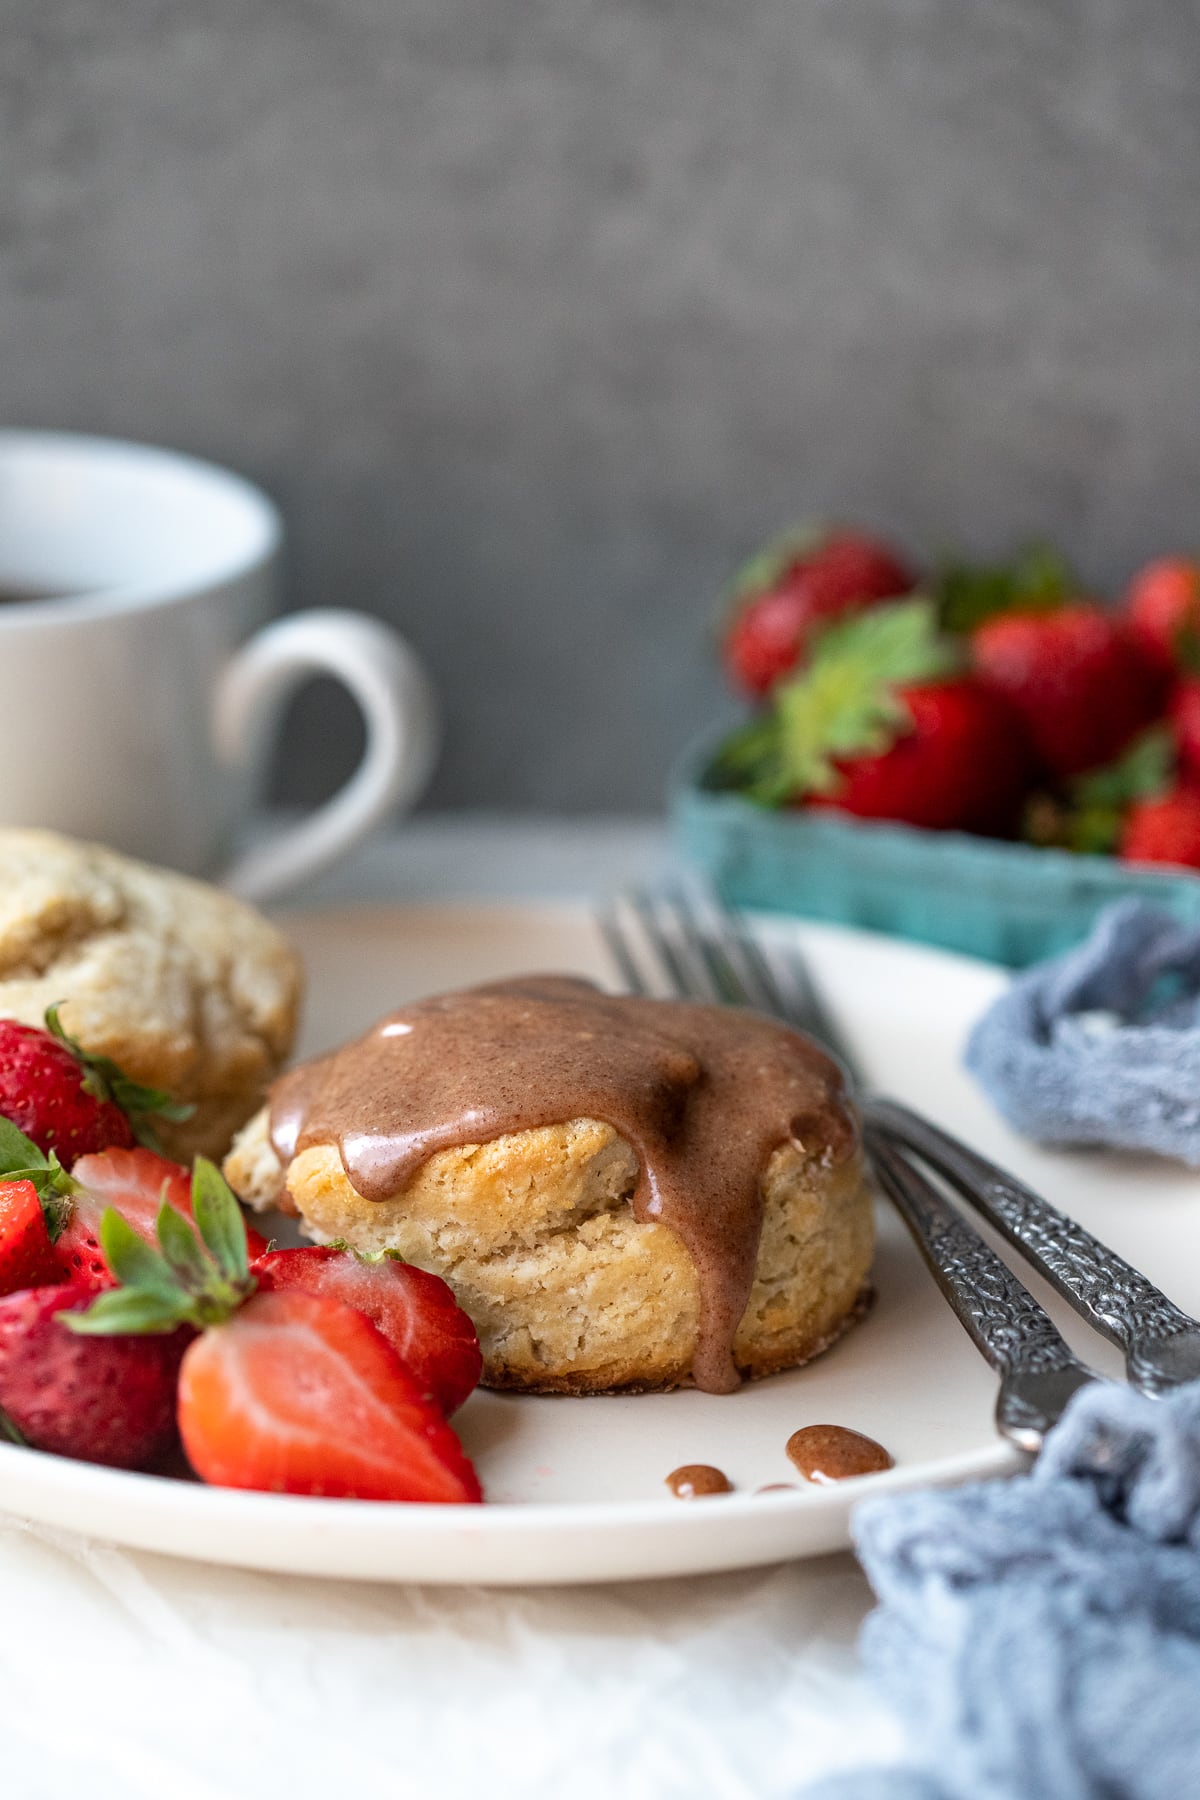
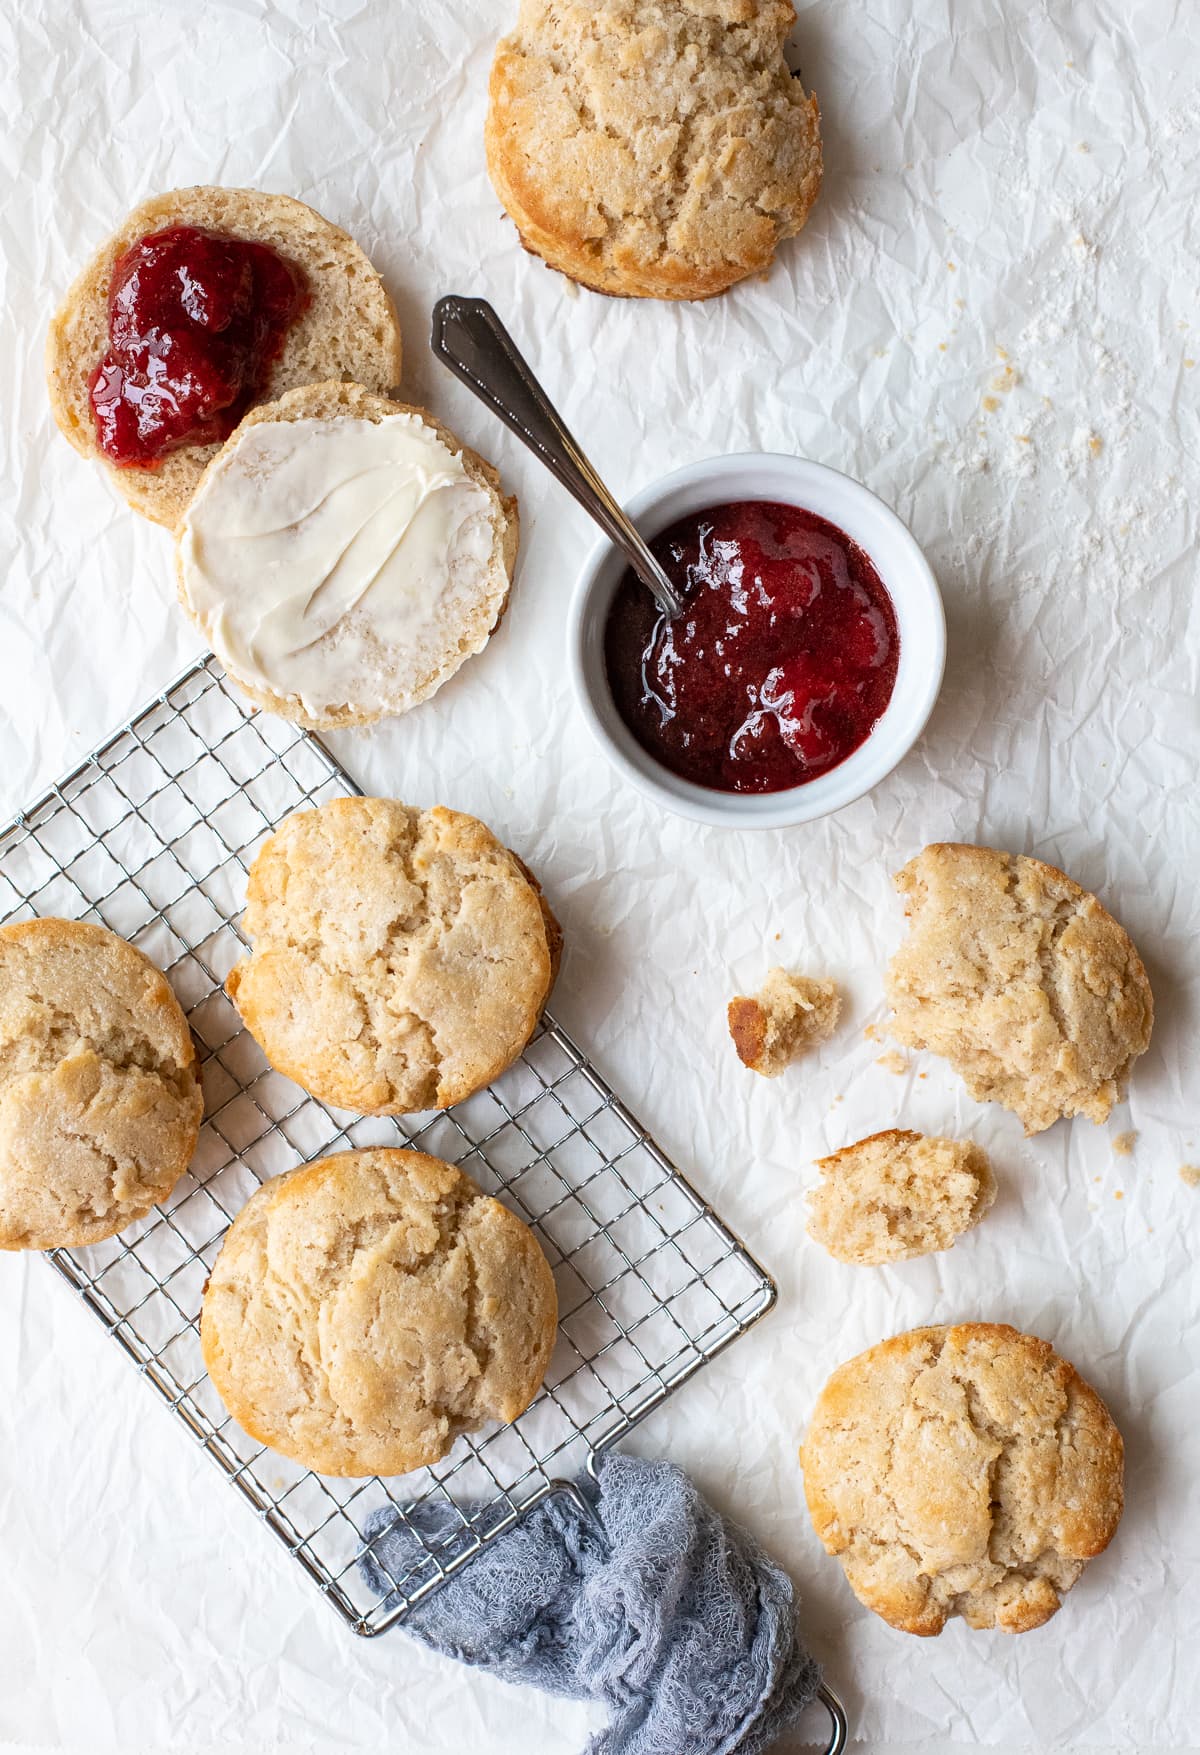
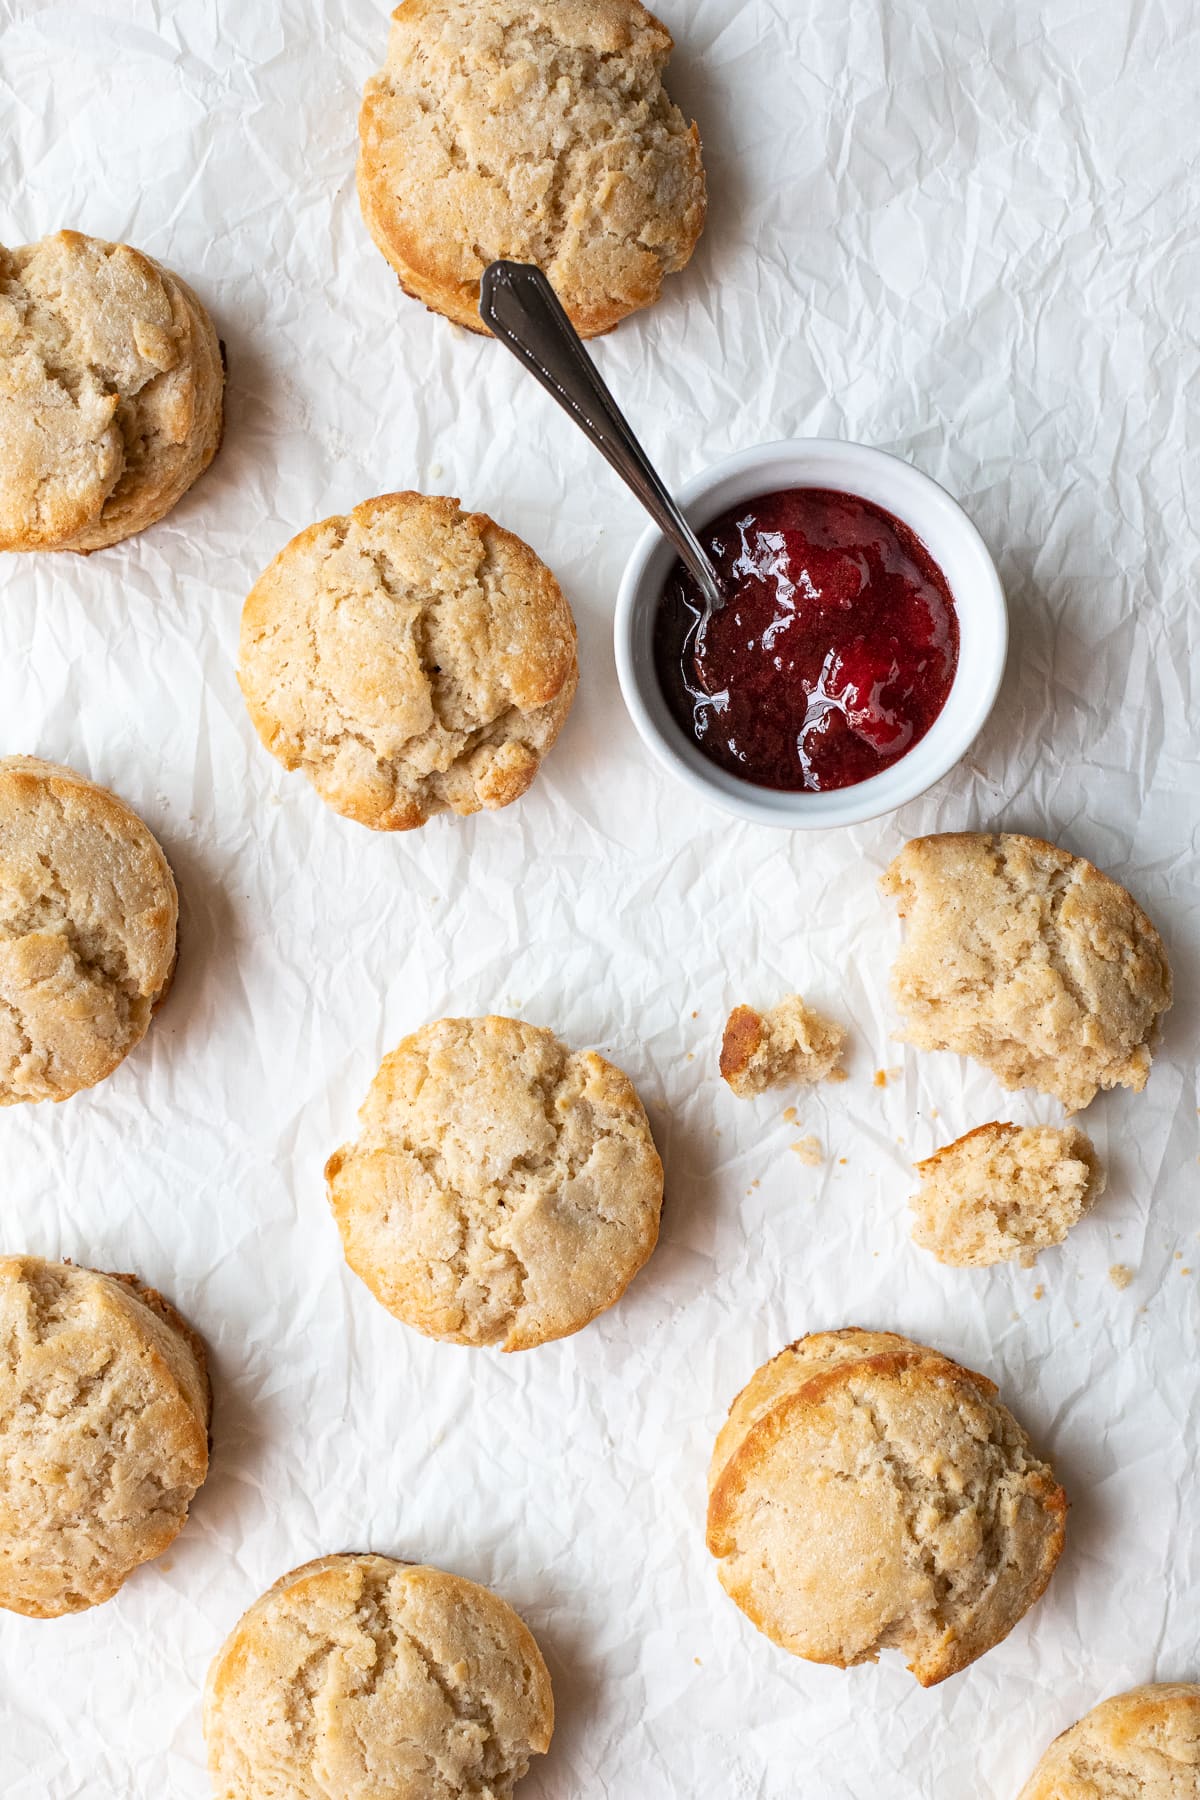
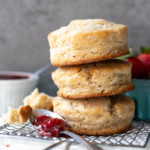
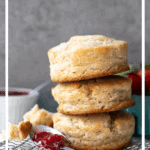
These are the PERFECT buttermilk biscuits, and they just so happen to be gluten-free! They're buttery, light, and fluffy, complete with crisp, flaky edges. Serve with a simple combo of butter and jam, or top with homemade cinnamon icing for an extra-special breakfast treat.
Like many people, I grew up on Bisquick biscuits. They were nothing fancy, but they were the equivalent of pancakes or waffles in that they were a treat we only got to eat on the rare, extra-special weekend morning. My mom was smart; she made them seem gourmet by topping them with a cinnamon icing she would quickly whip up. I remember thinking it must be a super-special recipe because they were her SIGNATURE breakfast dish. Looking back I can assure you that while they were delicious, the homemade route is absolutely the way to go for fluffy, buttery, flaky biscuits that taste good with or without icing. And if you're gluten-free, that's not a problem; these gluten-free buttermilk biscuits are every bit as good as any I've had with gluten in them!
Much like scones, there's a science to a good biscuit. But once you nail the basics, it's easy to churn them out without much effort. If you're still in Bisquick territory, don't worry; I'll teach you how it's done!

Jump to:
Tips for making tall, fluffy and flaky gluten-free biscuits
Use the right ratio of liquid to dry ingredients. For biscuits and scones, it's extra-important that your dough isn't too dry or too wet. A dry dough will (predictably) make them turn out dry. A wet dough will lead to biscuits that are too sticky to cut and don't rise properly. Ideally, your dough should be just slightly sticky to the touch. Since gluten-free baked goods tend to dry out easily, I use a little more buttermilk in my gluten-free biscuits to make sure they stay tender. To guarantee your ratio of liquid to dry ingredients is spot on, it's extra helpful to measure by weight using a kitchen scale. If you don't have a scale, I highly recommend you read my guide on how to properly measure flour. Flour is the easiest ingredient to measure incorrectly, so it's important to get that right!
Keep your dough as cold as possible. To do this, start with COLD butter and buttermilk, work efficiently, and never leave your dough out at room temperature longer than necessary. The idea behind keeping the dough cold is really about keeping the butter cold. Cold butter will melt in the oven, creating pockets of steam that make your biscuits light, fluffy, and extra-flaky. It's the same concept I use for my galette recipes, or any recipe where I'm looking for a flaky, buttery texture.
Grate the butter into your dry ingredients. This follows along with the tip above. Using a box grater to grate your butter into your flour mixture is one of my favorite tips for scones and pie crusts, and it works well here too. It's a simple way to ensure that the butter stays cold while getting broken up into small pieces that can be easily dispersed into the dough. Lots of small bits of cold butter = more pockets of steam when baking = flakier results.
Use baking powder. Baking powder is great for generating a tall rise on baked goods. This biscuit recipe uses a generous amount of baking powder to ensure they bake up tall and fluffy. (It's a trick I use often in my muffins recipes as well to achieve those sky-high, domed muffin tops! )
Don't overwork your dough. Handling this dough too much will not only warm it up quickly, it will also cause it to get tough. Tough biscuits won't rise as well, and will lack their signature, tender texture. For this reason, it's important to be gentle with your dough. Handle it as little as possible while shaping and cutting.
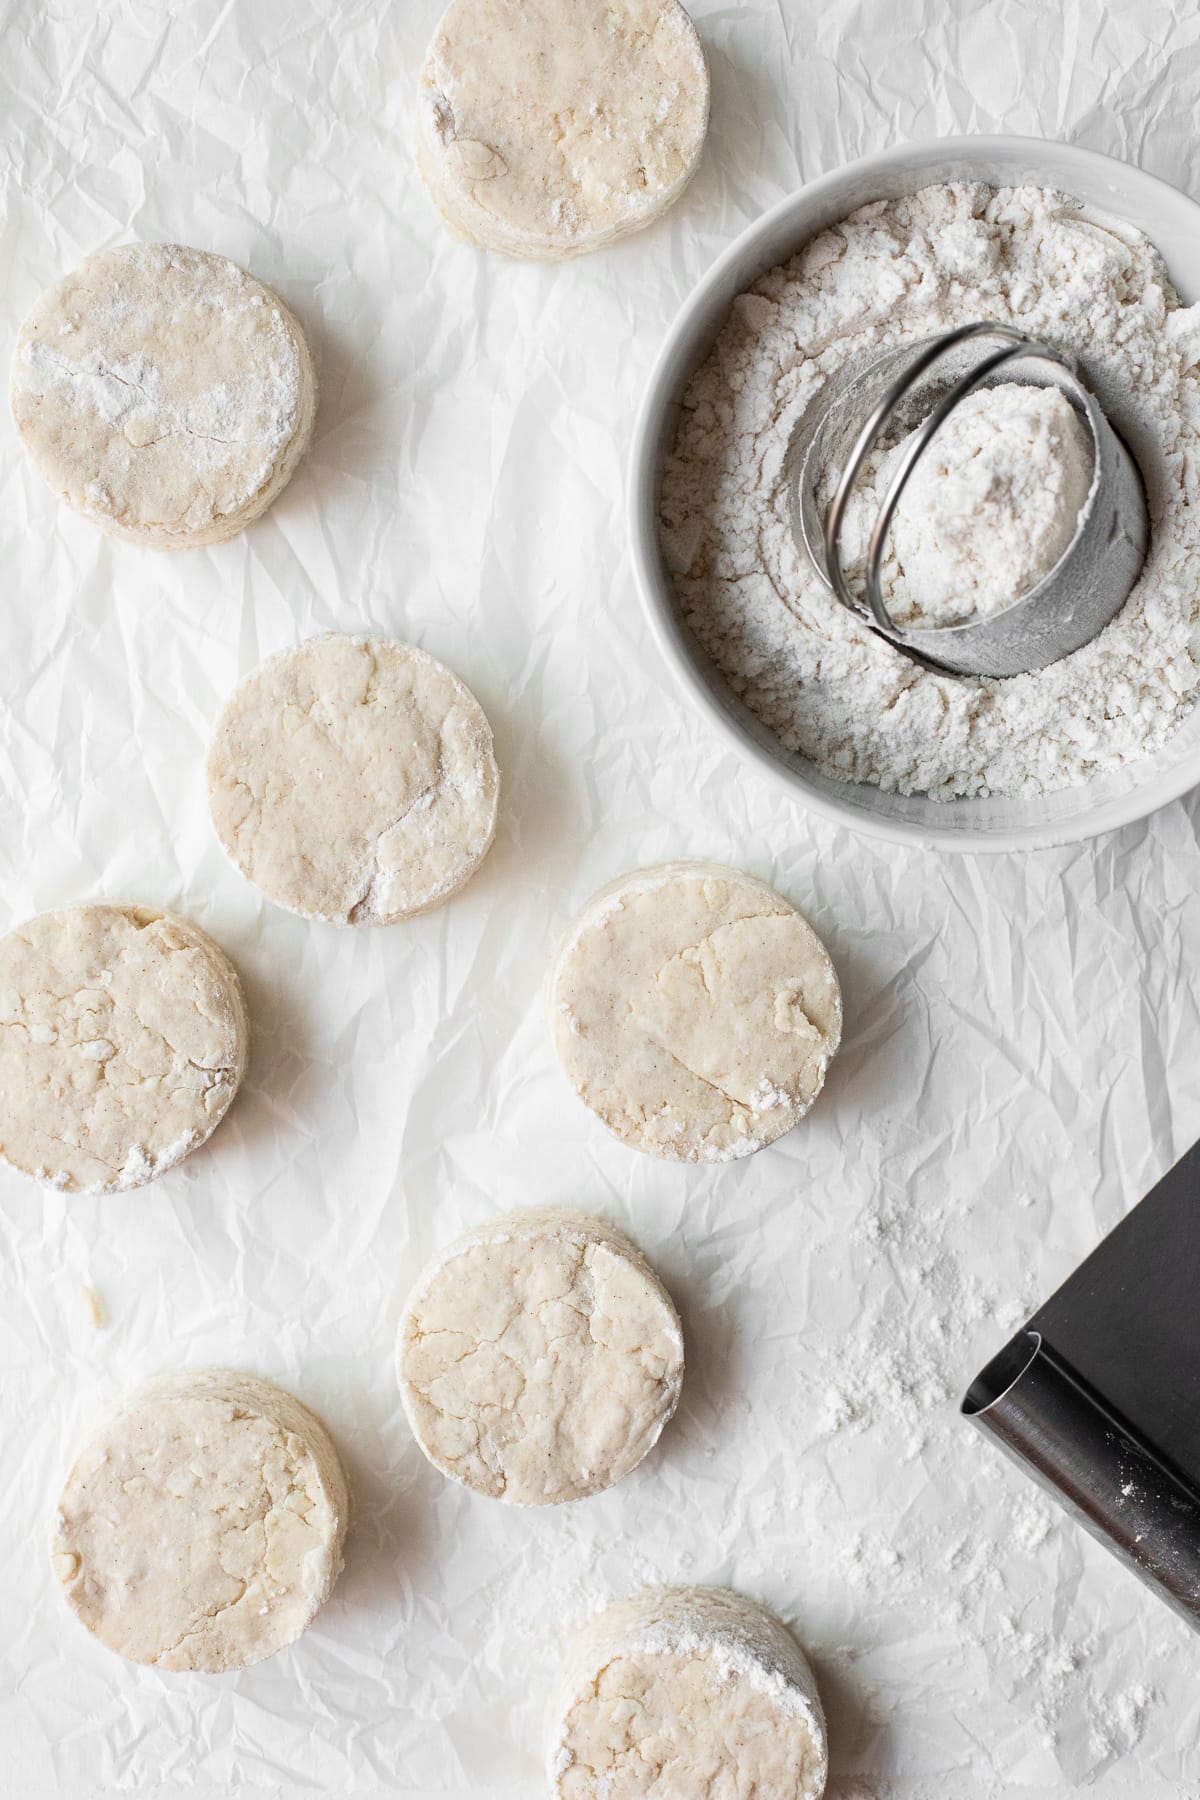
Prep your biscuit cutter, and be precise with your cuts. When cutting your biscuits, it's important that your cutter doesn't pull on the dough at all. If the dough sticks to the cutter or gets twisted in the cutting motion, your biscuits will be misshapen and may not rise as well. Because of that, it's important to prep your biscuit cutter. Butter it before using, and dip it in flour between each cut. It's also crucial that you press straight up and down with each cut.
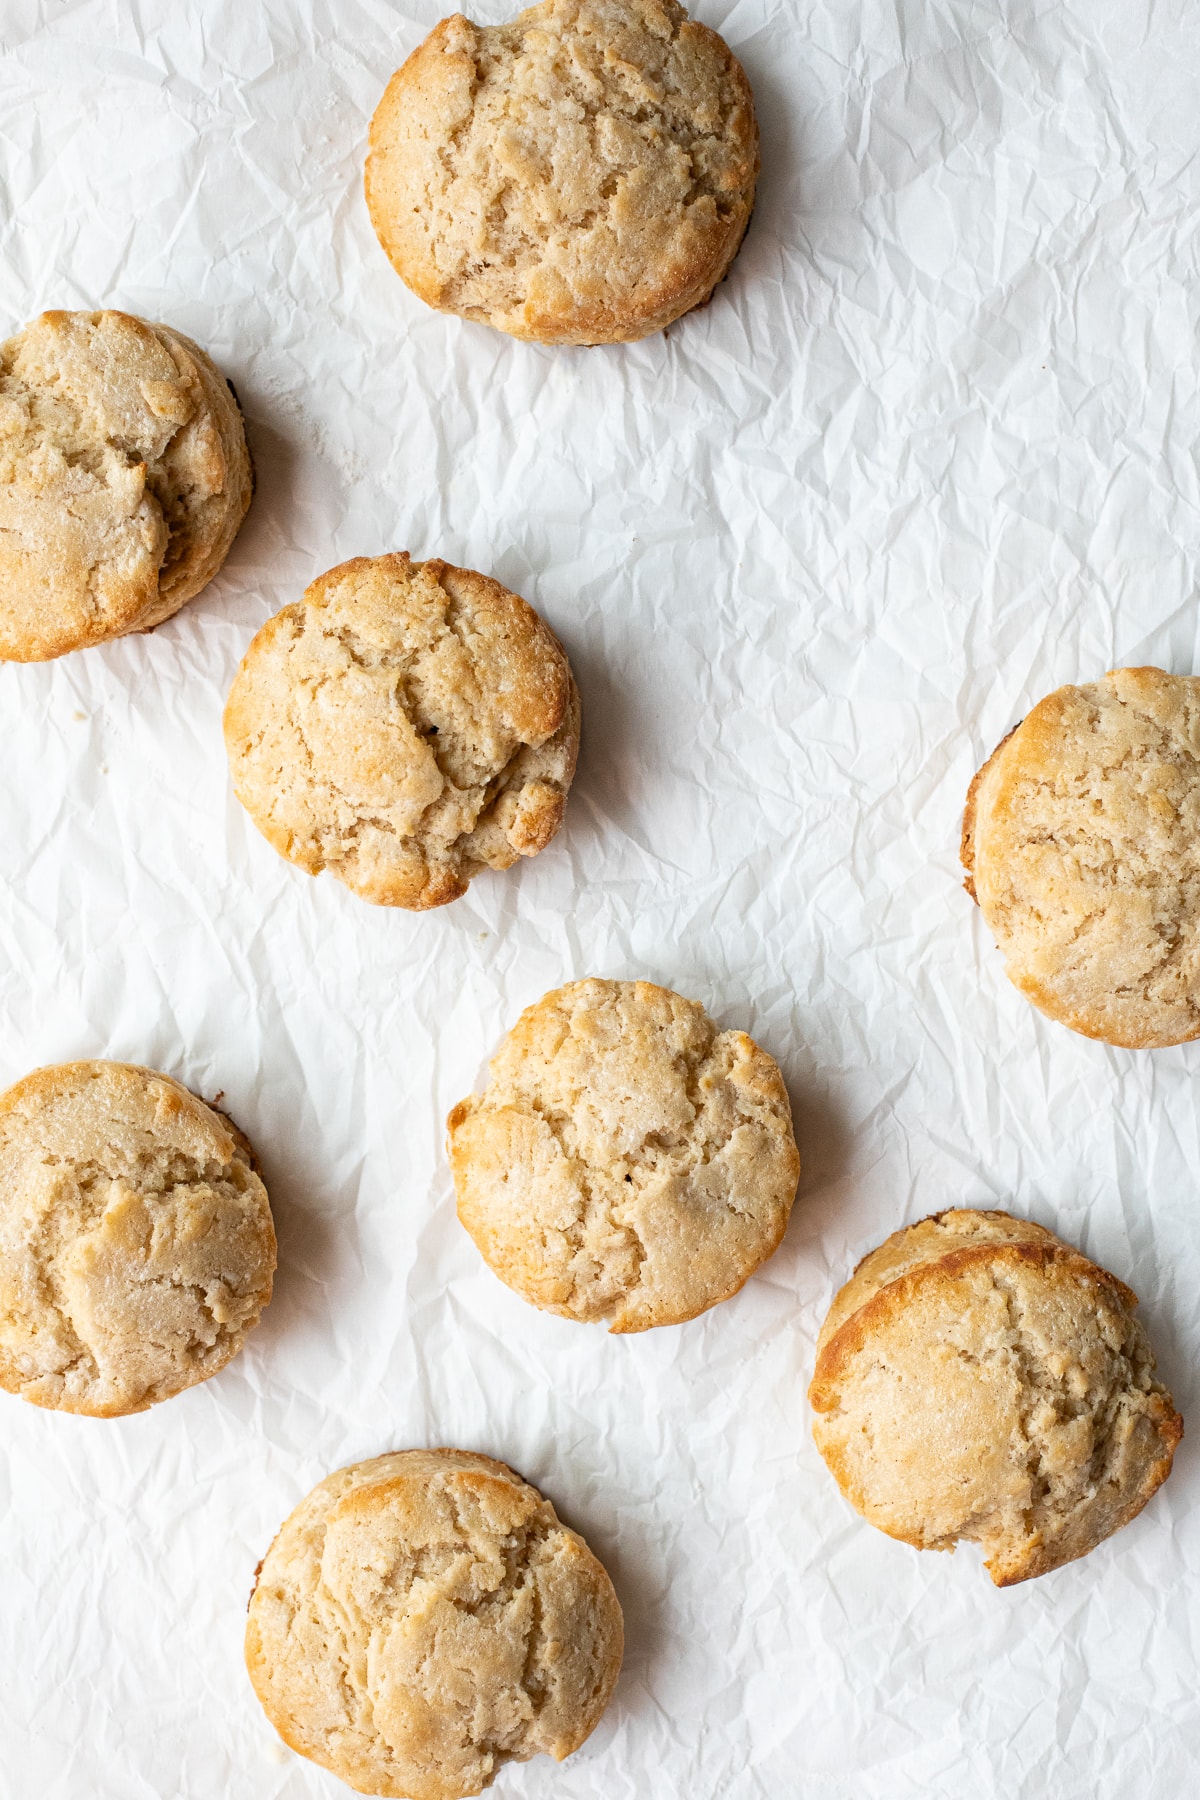
Bake at high heat. This is another trick I use with muffins as well. Baking the biscuits at high heat (425ºF) will cause them to rise quickly, and ensure the edges get golden and crisp while the interior stays soft and tender.
How to serve buttermilk biscuits
The beauty in these buttermilk biscuits is that they're incredibly versatile. You can keep it simple and serve them with butter and jam (or compote), opt for something sweeter with a dollop of whipped cream and a spoonful of candied kumquats, top them with a simple icing, or use them in a classic breakfast sandwich with cheese, bacon, and eggs. If you go the sweet route, they're also excellent served with fresh berries on the side. Since I grew up eating my biscuits with homemade cinnamon icing, I've also included the instructions for that in the recipe below. Nostalgia, ya know? But really - it's a sweet, buttery icing glaze laced with cinnamon and vanilla that's sooooo good served atop these biscuits.
Can these biscuits be made ahead/frozen?
Biscuits are ALWAYS best served fresh and warm from the oven, and these gluten-free ones are no exception. But because there's not always time to whip up a batch of biscuits in the morning, I like to freeze these before baking them, and pop them in the oven just before I'm ready to serve them. Once you've cut the dough into rounds, simply freeze them for an hour until solid, and then transfer to an airtight-zip top bag for long-term freezer storage. When you're ready to cook the biscuits, just preheat your oven, remove them from the freezer, brush with a mixture of cream and butter, and bake! It's a simple trick that allows you to have fresh biscuits at any moment.

Storing & reheating
I said it before but I'm going to say it again: biscuits are best served fresh. The dichotomy between crisp, flaky exterior and soft, tender interior is lost as they cool and sit over time. That being said, if you have leftovers, I recommend you keep them in an airtight zip-top bag at cool room temperature. The best way I've found to reheat them and retain some of that contrast in texture is to slice them in half and toast them in a toaster oven.
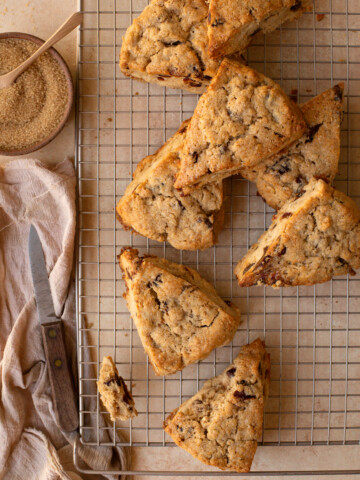
More biscuit & scone recipes
The distinction between biscuits and scones is a blurry, heavily debated one, but the two are equally delicious! Here are a few of my favorites:
Fluffy Buttermilk Scones - If you're looking for a recipe that's similar to this one but not gluten-free, try these buttermilk scones. They may lean a little more scone than biscuit, but the difference is subtle.
Gluten-Free Blueberry Buttermilk Scones - These are the ultimate summer scones - soft and tender on the inside, perfectly crisp and golden on the outside, and bursting with juicy blueberries.
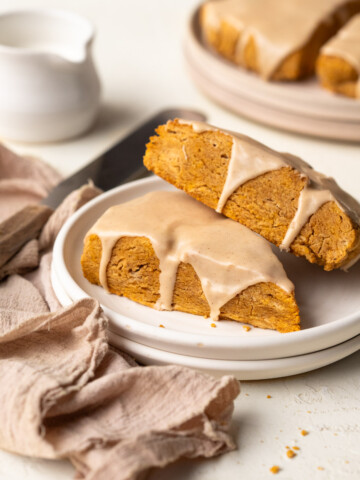
Glazed Pumpkin Scones - The quintessential fall scone, with a tender pumpkin crumb and a sweet, spiced glaze. This recipe is also gluten-free!
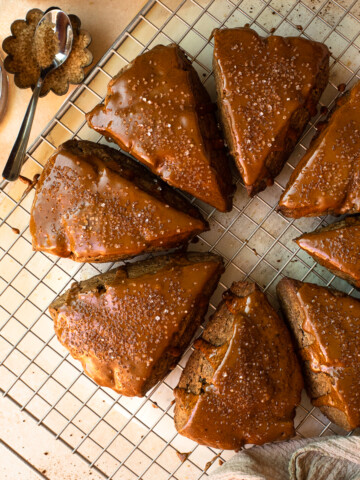
Coffee and Brown Sugar Scones - This is one of my most popular scone recipes, and for good reason! They're made with espresso powder and brown sugar in the dough, plus freshly brewed coffee in the glaze, making them perfect to serve with your morning latté.
Gluten-free buttermilk biscuits
These are the PERFECT buttermilk biscuits, and they just so happen to be gluten-free! They're buttery, light, and fluffy, complete with crisp, flaky edges. Serve with a simple combo of butter and jam, or top with homemade cinnamon icing for an extra-special breakfast treat.
- Prep Time: 25 minutes*
- Cook Time: 12-15 minutes
- Total Time: 40 minutes
- Yield: 8 biscuits
- Category: biscuits and scones
- Method: baking
- Diet: Gluten Free
Ingredients
Biscuits
- 2 ½ cups, spoon and level (10 ⅝ ounces) gluten-free all-purpose flour with xanthan gum
- ¼ cup (1 ¾ ounces) granulated sugar
- 4 teaspoons baking powder
- ½ teaspoon baking soda
- ¼ teaspoon salt
- ¼ teaspoon cinnamon (optional)
- ½ cup (4 ounces or 1 stick) salted butter, cold
- 1 ⅛ cups (9 ½ ounces) buttermilk, cold
For Brushing:
- 2 tablespoons heavy cream
- 1 tablespoon (½ ounce) salted butter
For serving (optional):
- softened butter
- jam
- fresh berries
- cinnamon icing (recipe below)
Cinnamon Icing
- 6 tablespoons (3 ounces) salted butter, melted
- 1 ½ cups (6 ounces) confectioner's sugar
- 3 tablespoons heavy cream
- 1 tablespoon cinnamon
- 1 ¼ teaspoons vanilla extract
- pinch of salt
Instructions
Biscuits
- In a medium mixing bowl, thoroughly whisk together the flour, sugar, baking powder, baking soda, and salt. Using the large-hole side of a box grater, grate in the cold butter. Use hands to gently toss into the mixture so that the butter is coated in flour. Add half of the buttermilk and fold in briefly and gently with a spatula - just enough to moisten the dough a bit. Add the remaining buttermilk and fold in just until incorporated; the mixture will be a bit shaggy and will not come together completely.
- Line a baking sheet or large tray with plastic wrap and flour hands and plastic wrap lightly. Use hands to gently bring the dough together as best as possible, and then turn out onto the plastic wrap and carefully finish pressing together into a disc about 1 ⅛"-1 ¼" thick. Wrap in plastic wrap and freeze for 1 hour (no more, or the dough will get too cold to cut).
- Line a second baking sheet with parchment paper. Butter a 2 ¼" round biscuit cutter and dip into a bowl of flour to coat, tapping off any excess.
- Remove dough from freezer and use biscuit cutter to cut into individual rounds. Be sure to press straight up and down with each cut (don't twist) and dust the biscuit cutter with more flour between each cut. Transfer cut biscuits to the prepared baking sheet, spaced apart. Once you've cut as many biscuits as possible from the dough, use your hands to gently bring the scraps together, knead lightly, and pat back into a disc. Repeat the cutting process. Any remaining scraps can be shaped into a rough biscuit-sized round by hand and baked as-is.**
- Transfer biscuits to refrigerator to chill. Meanwhile, preheat oven to 425ºF. Combine the cream and butter for brushing in a small, microwave-safe bowl. Microwave for 10-15 seconds, just until the butter has melted. Whisk together until smooth.
- Just before baking, brush biscuits with cream and butter mixture. Bake in preheated oven for 12-15 minutes, until the tops are lightly golden and a toothpick inserted into the center of one comes out clean. Serve warm from oven, with desired toppings/garnishes.
- Biscuits are best the day they are baked, but leftovers can be stored in an airtight zip-top bag at cool room temperature. Slice in half and toast before serving.
Cinnamon Icing
- In a small mixing bowl, combined melted butter, confectioner's sugar, heavy cream, cinnamon, vanilla, and salt. Whisk until completely smooth. Spoon onto warm biscuits (the heat may thin out the glaze, but it tastes best warm!).
Notes
*Prep time does not include chill time
**To freeze biscuits and bake later: After step 4, place biscuits in the freezer until frozen solid (about 1 hour). Transfer to an airtight zip-top bag and freeze until ready to bake. Then proceed to step 5. Adjust baking time as needed - they make take an additional minute or two to cook through.

Comments
No Comments