
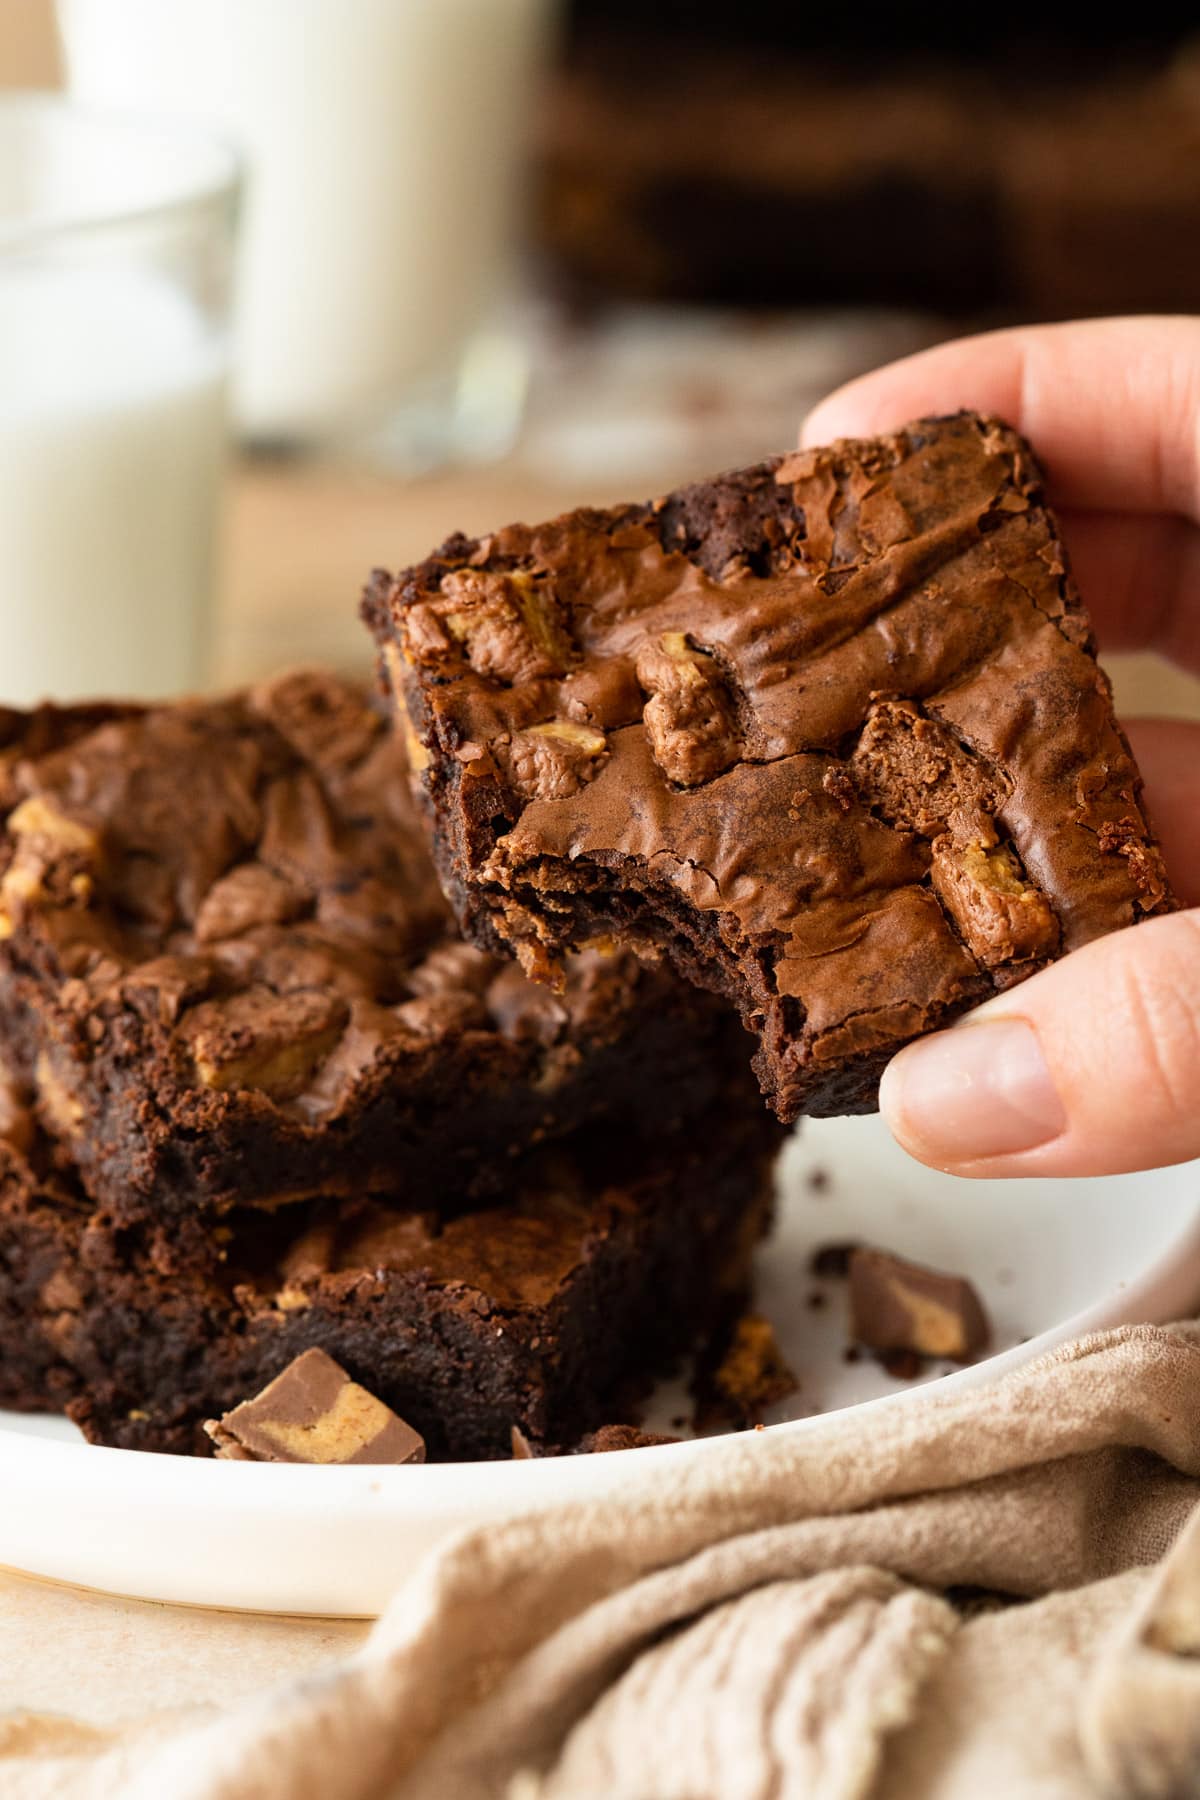
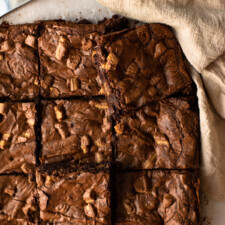
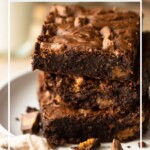
These peanut butter cup brownies are the ultimate dessert for lovers of all things peanut butter and chocolate. They're rich and extremely fudgy, with chunks of Reese's peanut butter cups in every bite. And since they're flourless, they're naturally gluten-free! Still need more convincing? This easy brownie recipe requires less than 10 ingredients, and just 25 minutes of prep time!

If rich, ooey-gooey, peanut butter and chocolate-loaded brownies with perfectly crinkly tops aren't your thing, this recipe isn't for you. HOWEVER, if all things chocolate is your vibe and combining homemade brownies with peanut butter cups sounds like the best thing ever, let's dig in.
Why you'll love this recipe
- Simplicity - these easy peanut butter cup brownies come together in just 25 minutes, using 9 basic ingredients.
- No cakey texture - Much like my favorite Easter brownies, this is a strictly chewy, fudgy brownie recipe - and it's great for any time of year.
- Gluten-free friendly - these flourless brownies are made from a base of butter, melted chocolate, and a small amount of cocoa powder. This - in conjunction with a lack of any leavening agents - is also what makes them so fudgy.
- Classic flavors - There's a reason why Reese's are such a popular candy. Everyone loves the chocolate peanut butter combo! This recipe amplifies those flavors to the MAX.
Jump to:
Ingredients for peanut butter cup brownies
Here's what you'll need to make these Reese's-stuffed brownies:
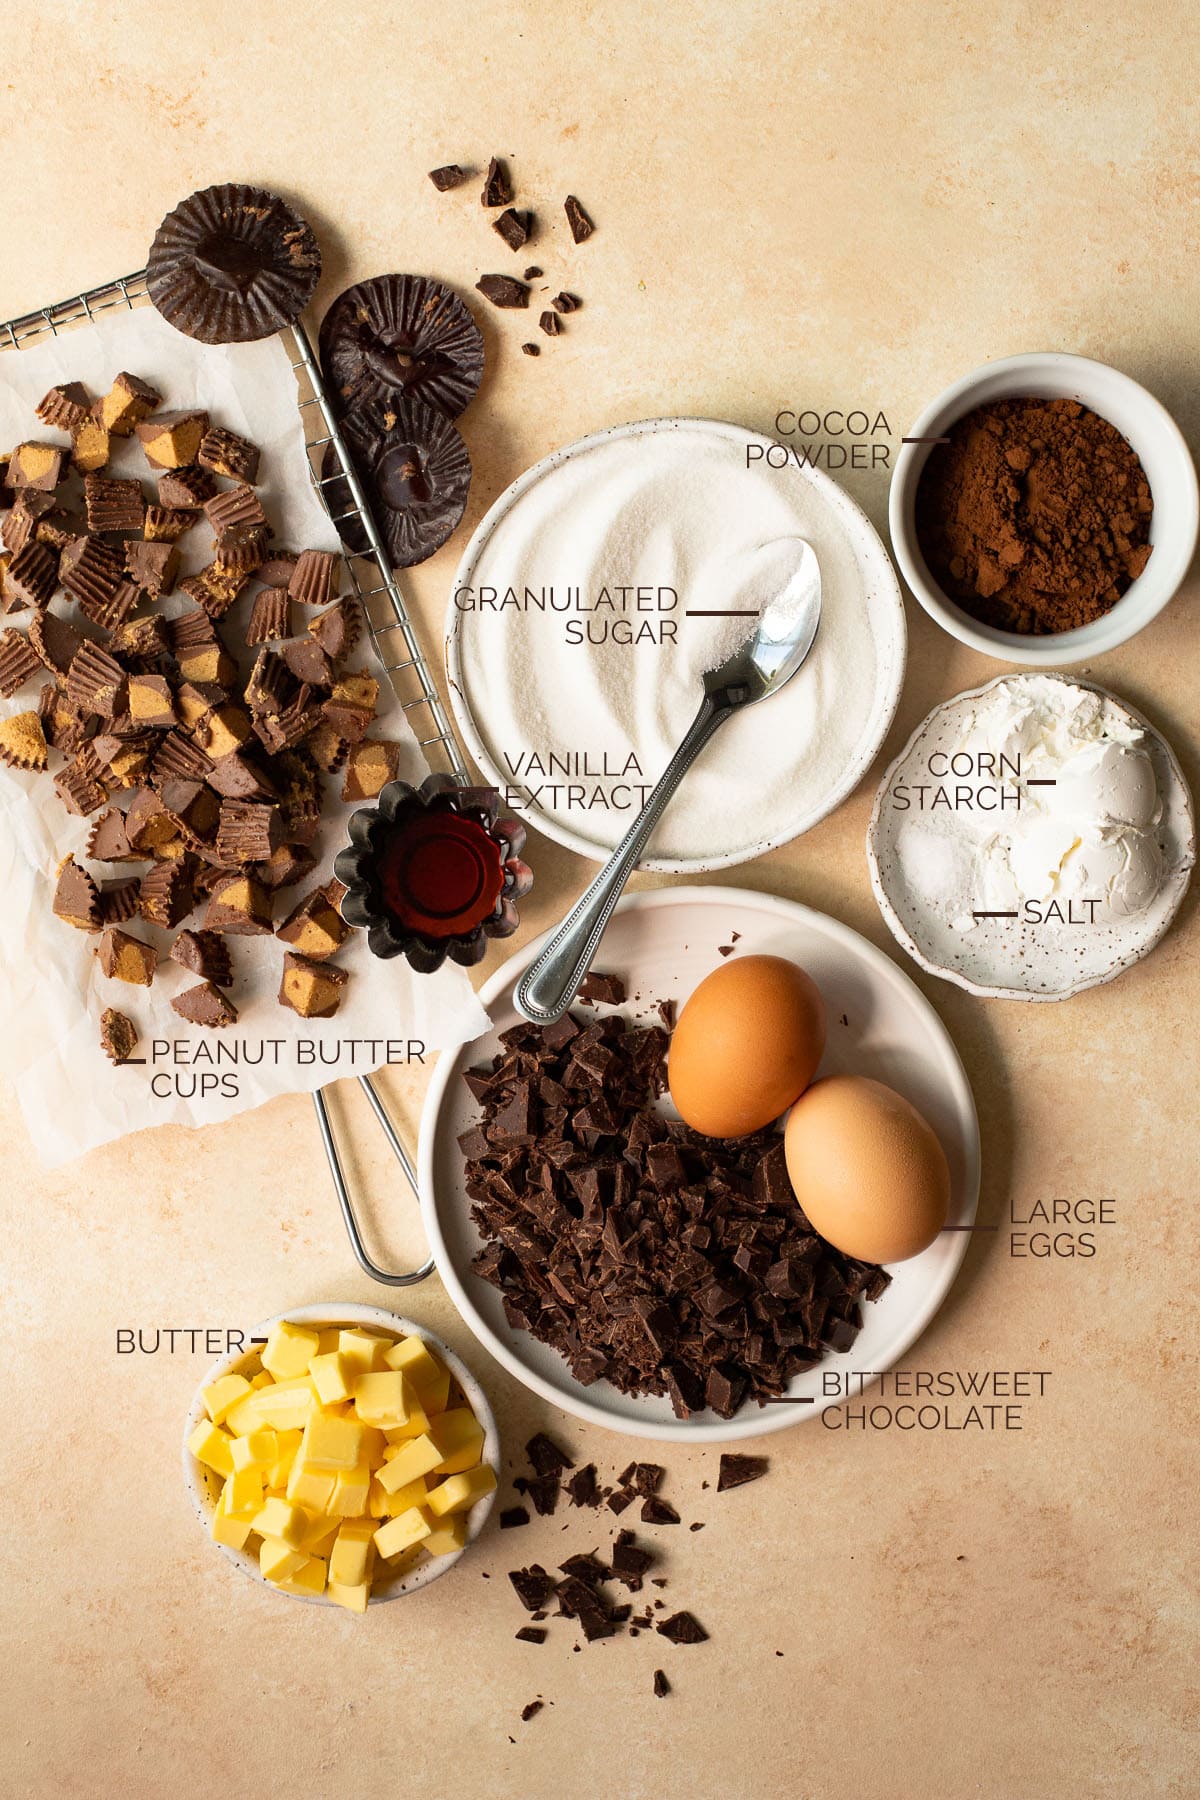
What you need to know:
- Salted or unsalted butter will work for this recipe - feel free to use what you have.
- Much like with my double chocolate muffins, I'd urge you to use the highest-quality dark chocolate and cocoa powder you can get your hands on. It will really make a difference in the overall flavor of your brownies.
- For the brownie base, you can use a bar of baking chocolate or chocolate baking chips.
- Regular or Dutch-process cocoa can be used.
- Make sure your eggs are at room temperature, since this will allow them to mix with the other ingredients properly. You can accomplish this quickly by placing the eggs in a cup of warm water for 5-10 minutes.
- Although I used miniature peanut butter cups, you can really use any size since we'll chop them up first. Or, use Reese's minis and skip the chopping entirely! You can also use dark chocolate peanut butter cups to intensity the chocolate flavor even more.
How to make peanut butter cup brownies
Step one - Preheat your oven to 350ºF. Line an 8" square baking pan with aluminum foil or parchment paper. If using foil, spray it with non-stick cooking spray.
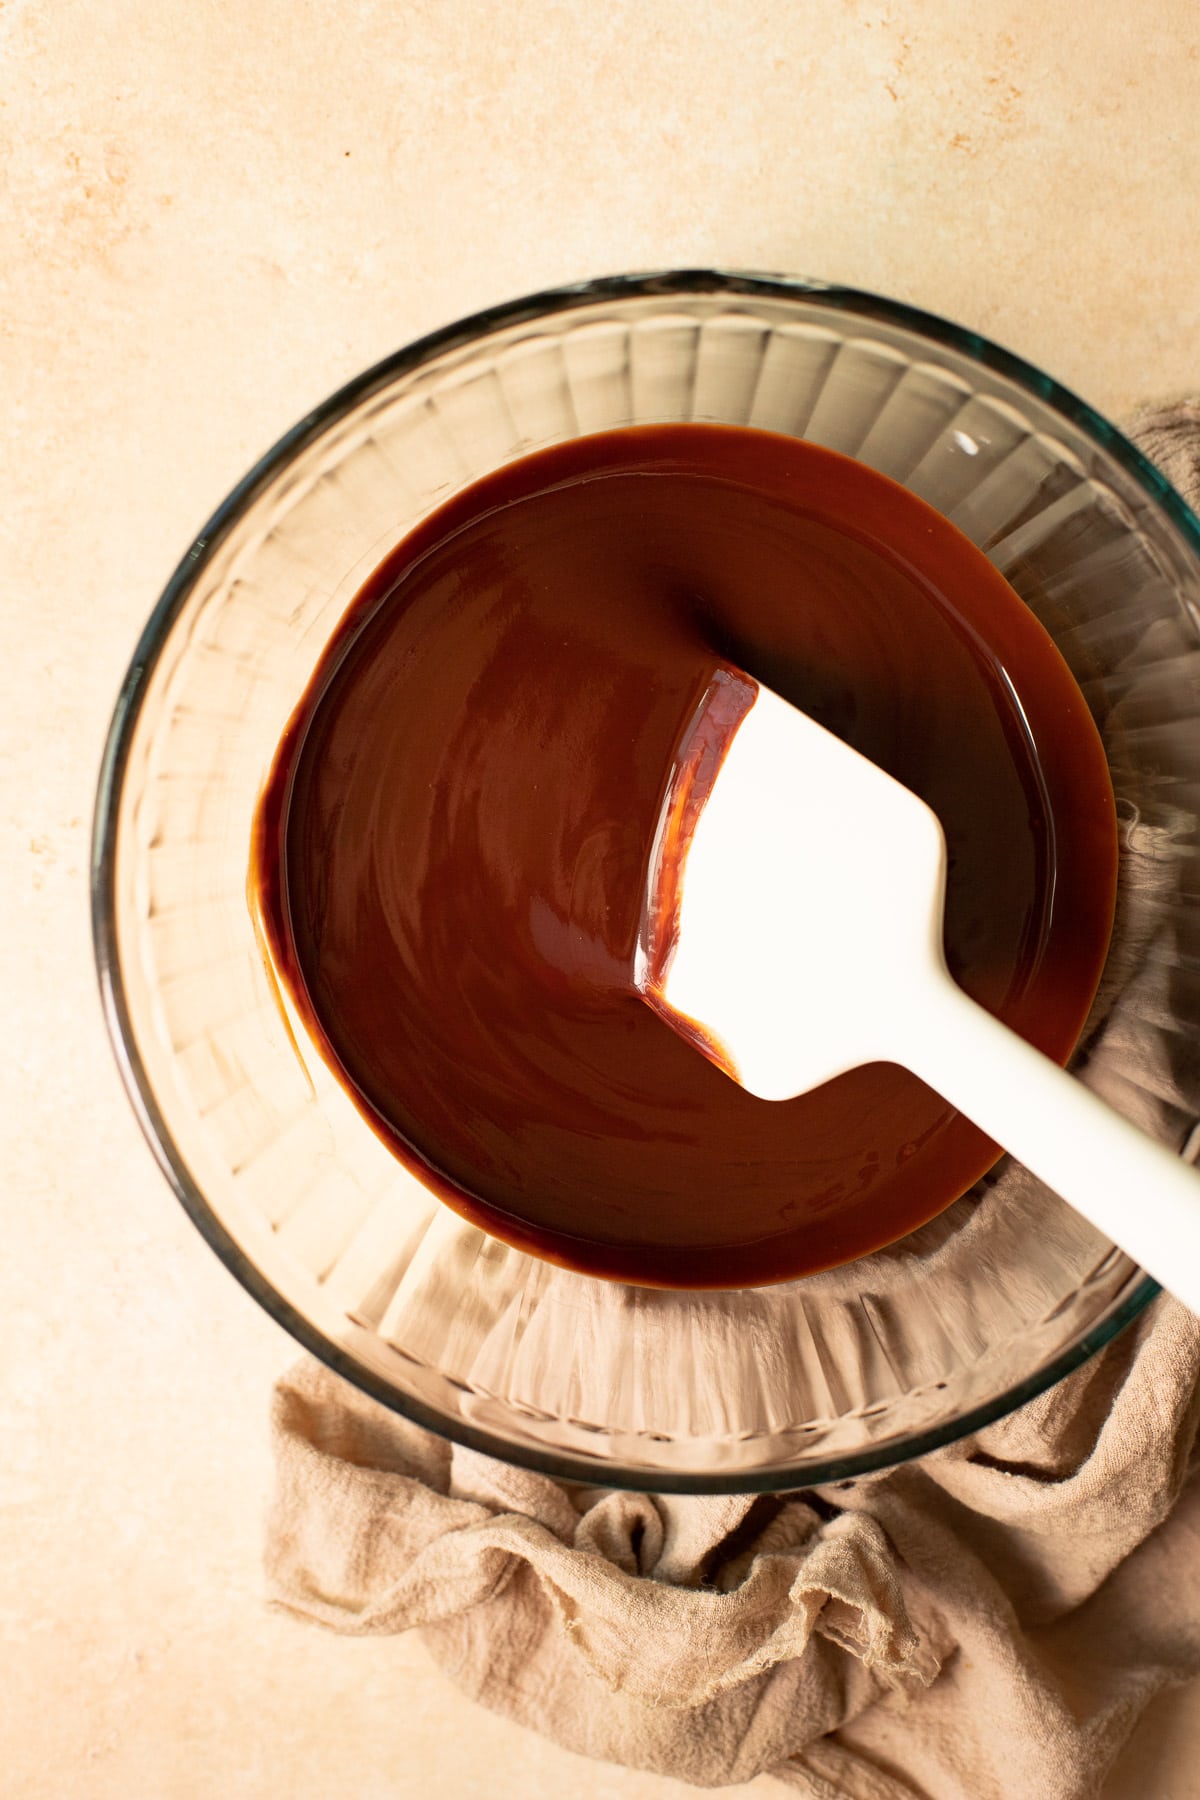
Step two - Melt butter and chocolate. Combine cubed butter and chopped chocolate (or chocolate baking chips) in a microwave-safe bowl. Microwave for 30-second increments, stirring in between, until smoothly melted. (You can also do this on the stovetop if preferred.)
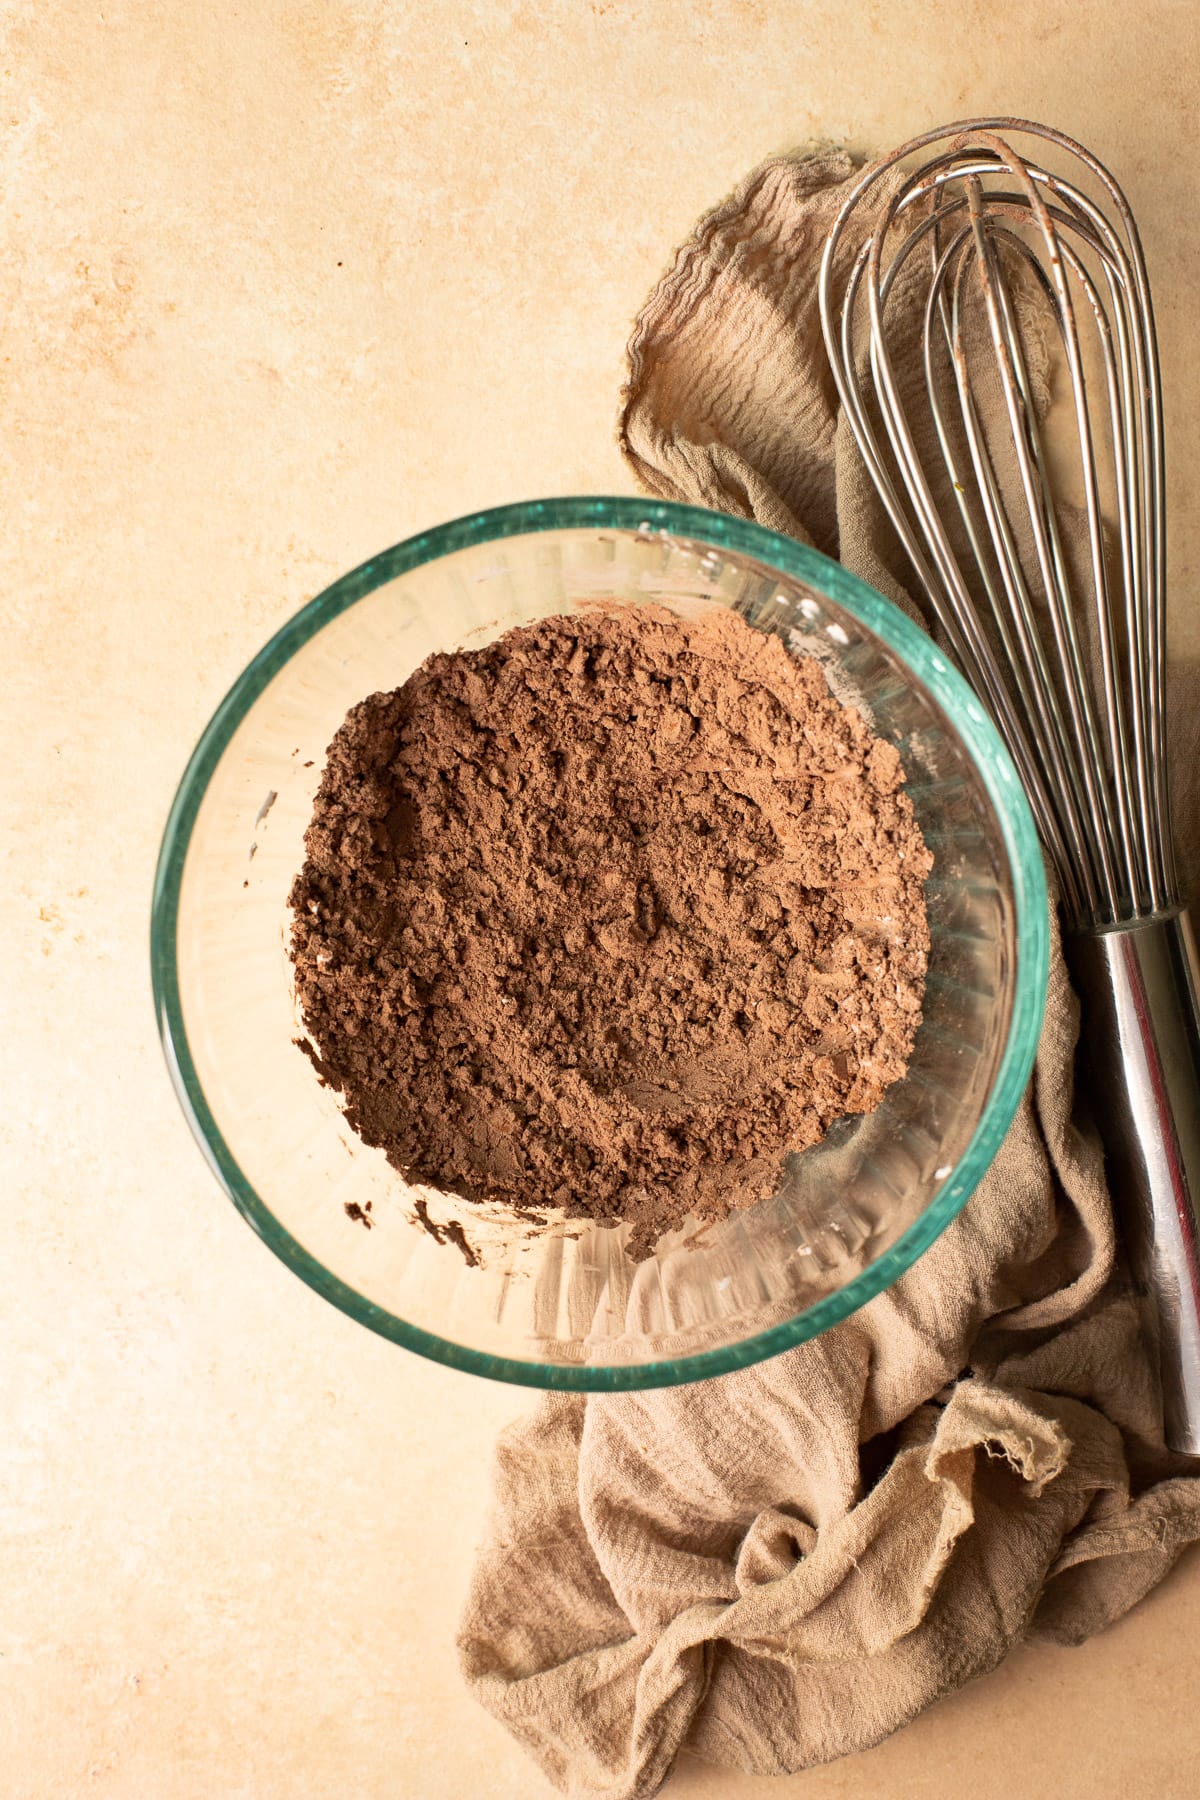
Step three - Combine the dry ingredients. In a small mixing bowl, whisk together cocoa powder, corn starch, and salt.
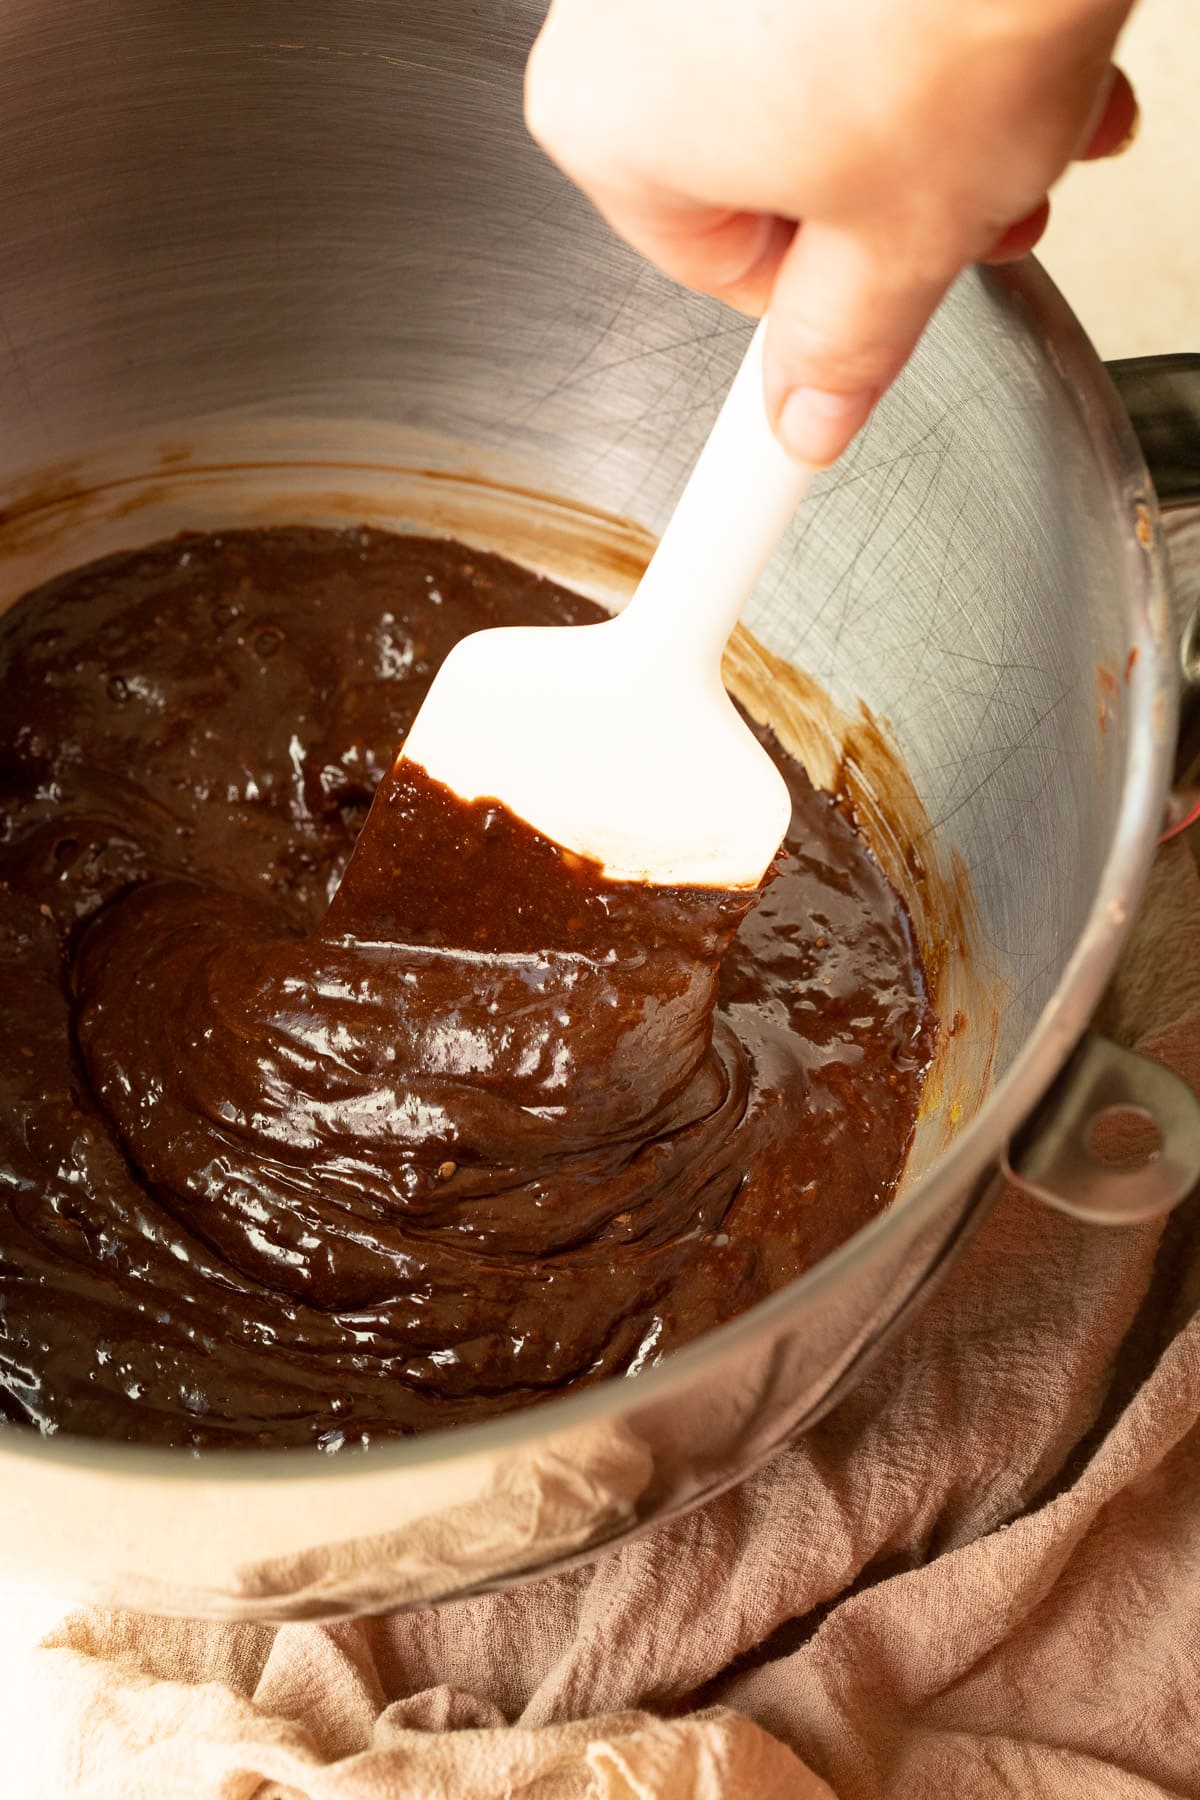
Step four - Whip the eggs and sugar. Using a stand mixer fitted with the wire whip attachment, begin beating the eggs on medium speed. While beating, slowly pour in the sugar. Increase mixer speed to medium-high and continue to beat until the mixture ribbons down from the whisk when its lifted.

This can take several minutes, so be patient! It's the key to getting that shiny, crinkly layer on the top of your brownies. (I also use this trick for my peppermint brownies!)
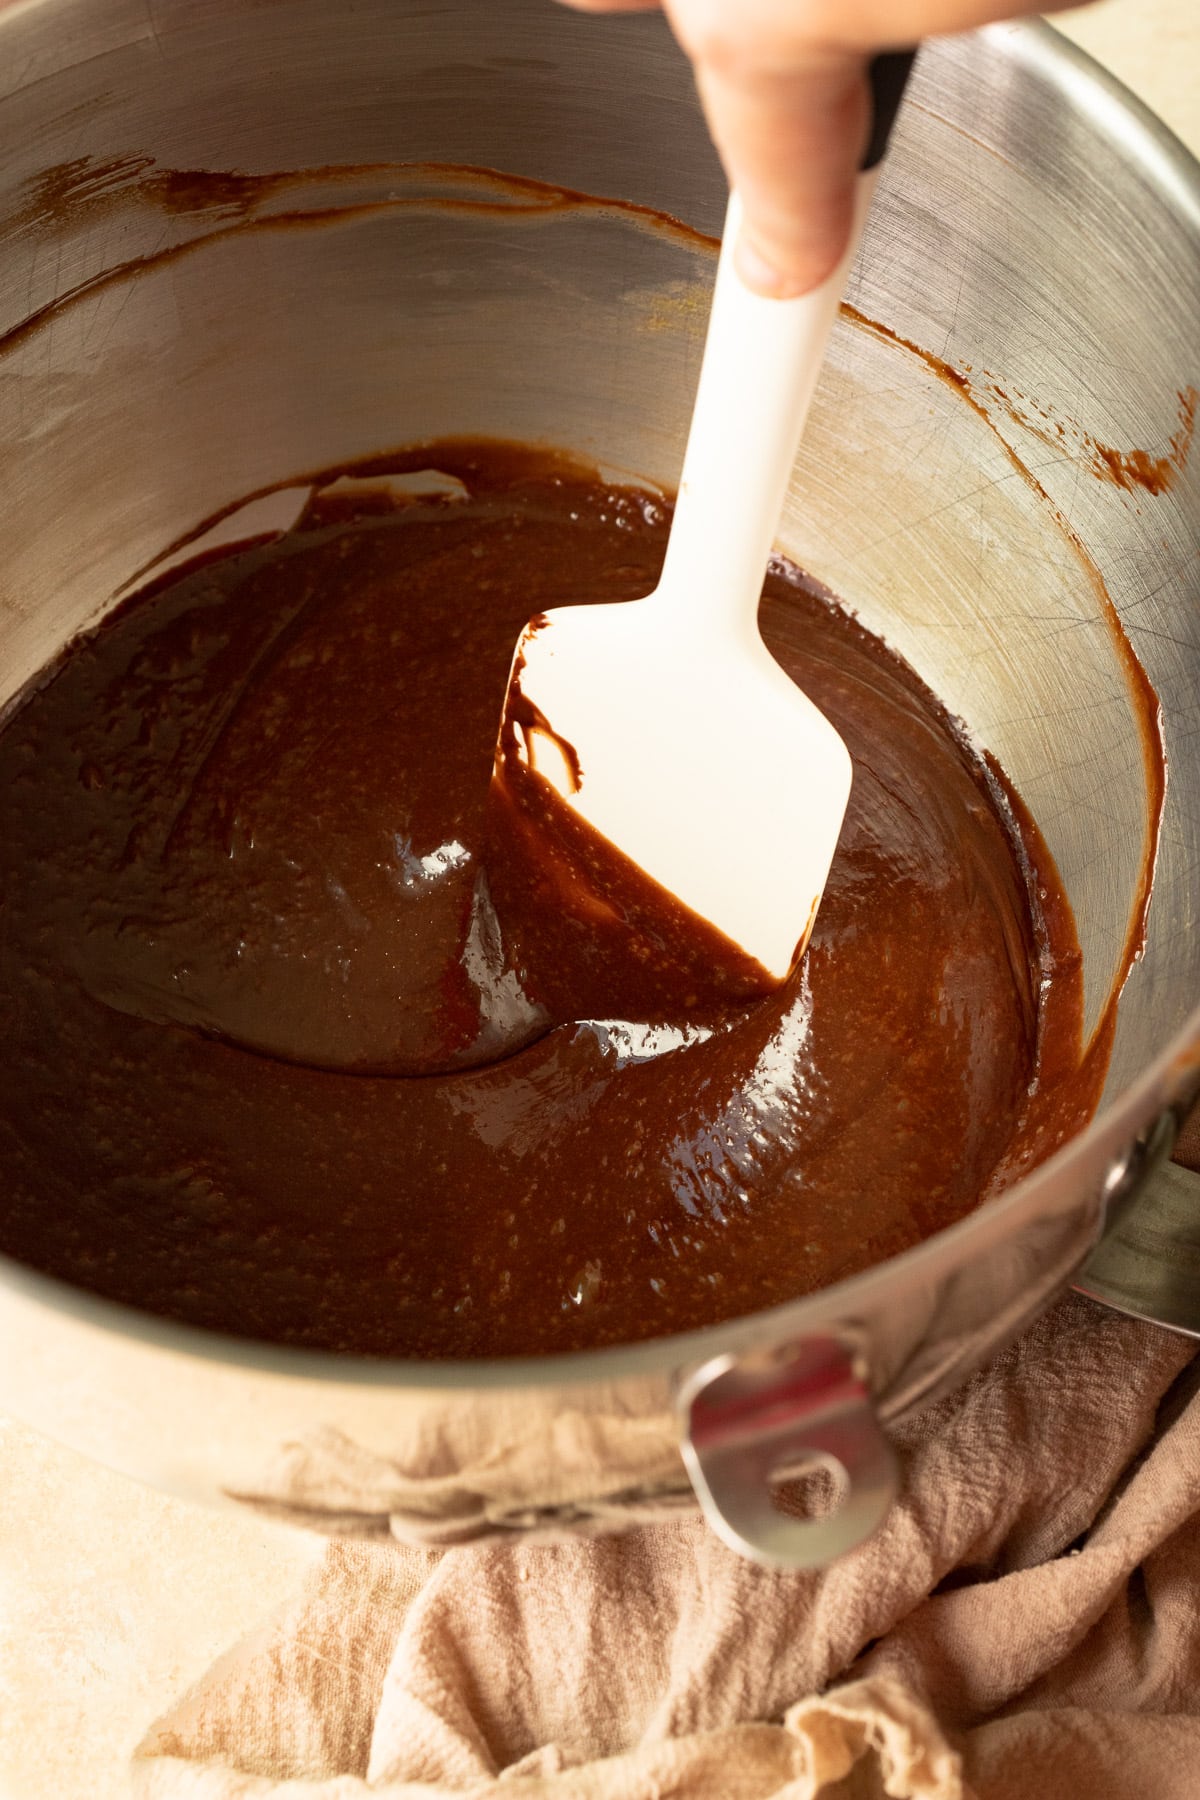
Step five - Add the remaining ingredients. With the mixer speed on low, slowly pour in the melted butter/chocolate mixture and vanilla extract, mixing in until incorporated. Finally, add the cocoa mixture and peanut butter cups, folding in by hand just until all ingredients are evenly combined.
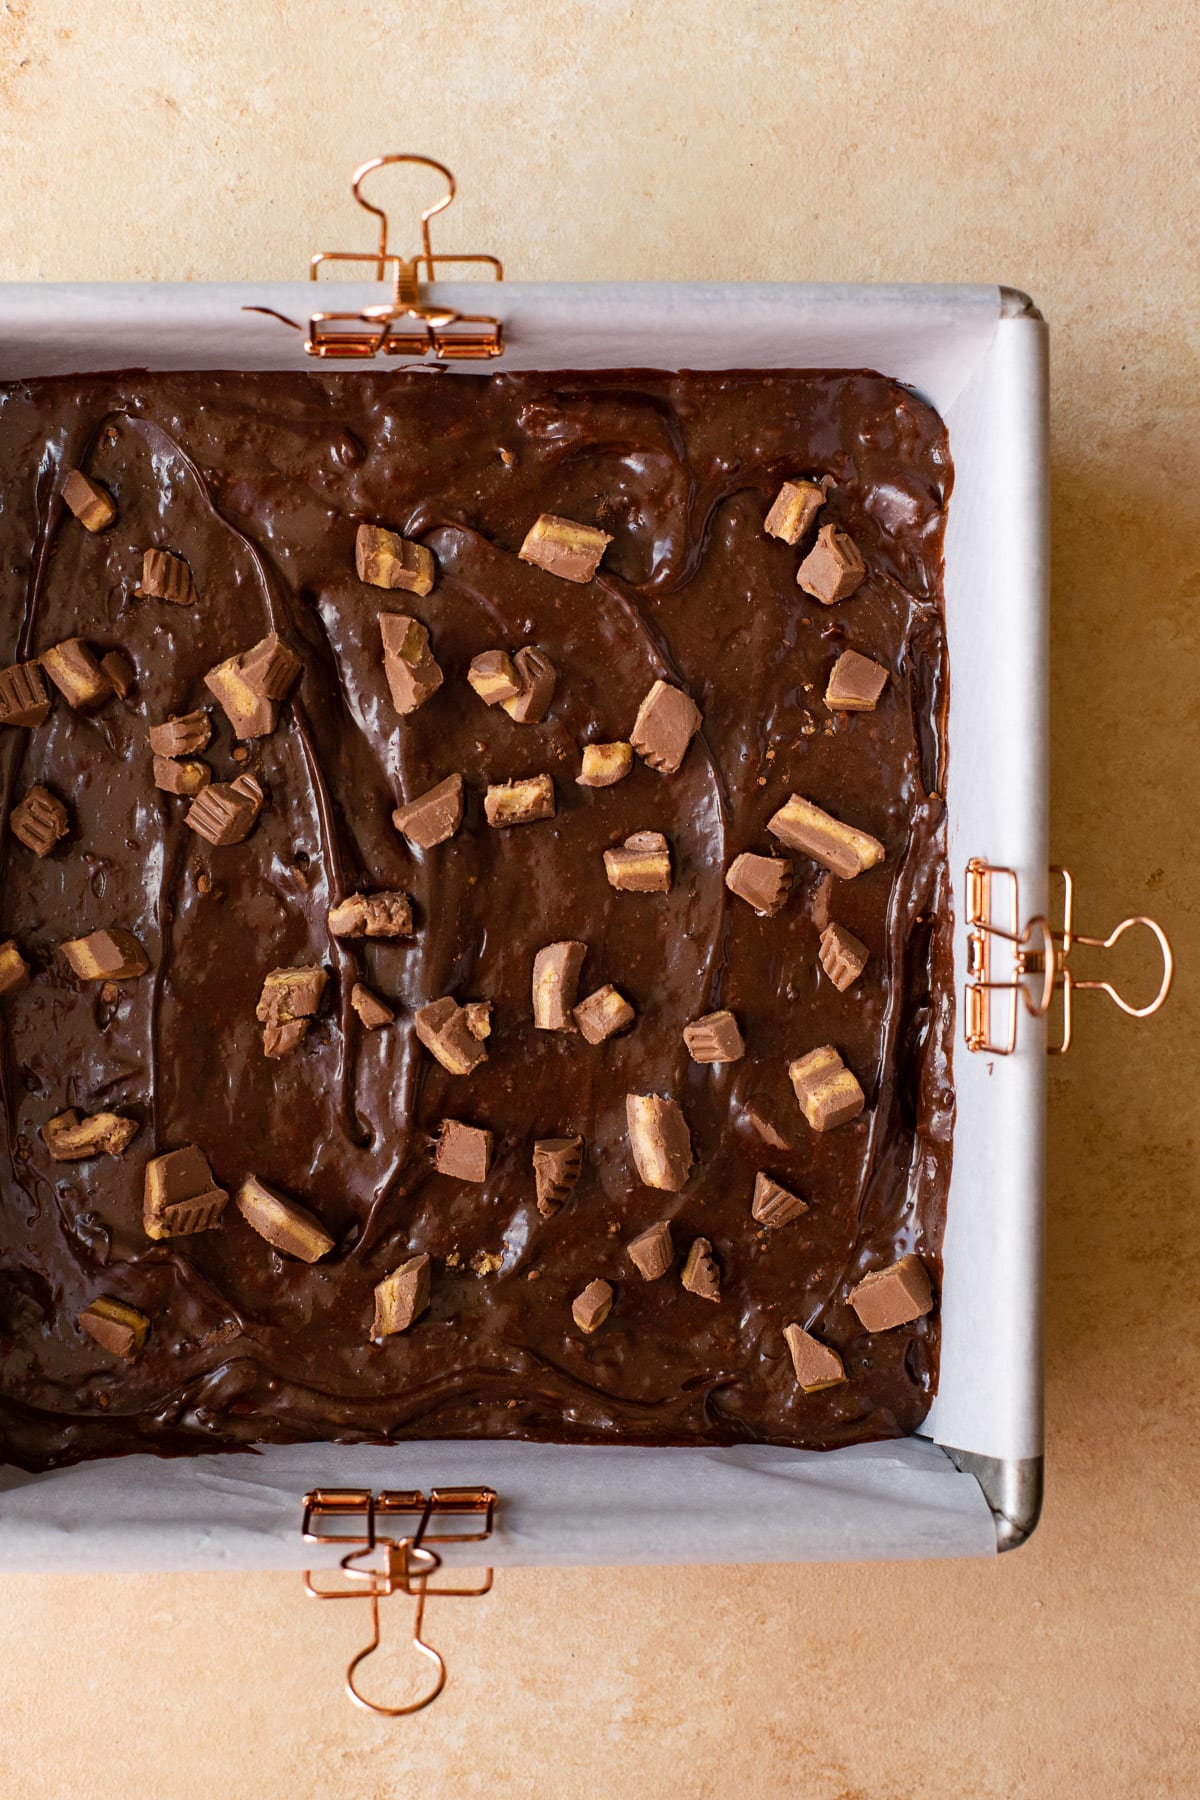
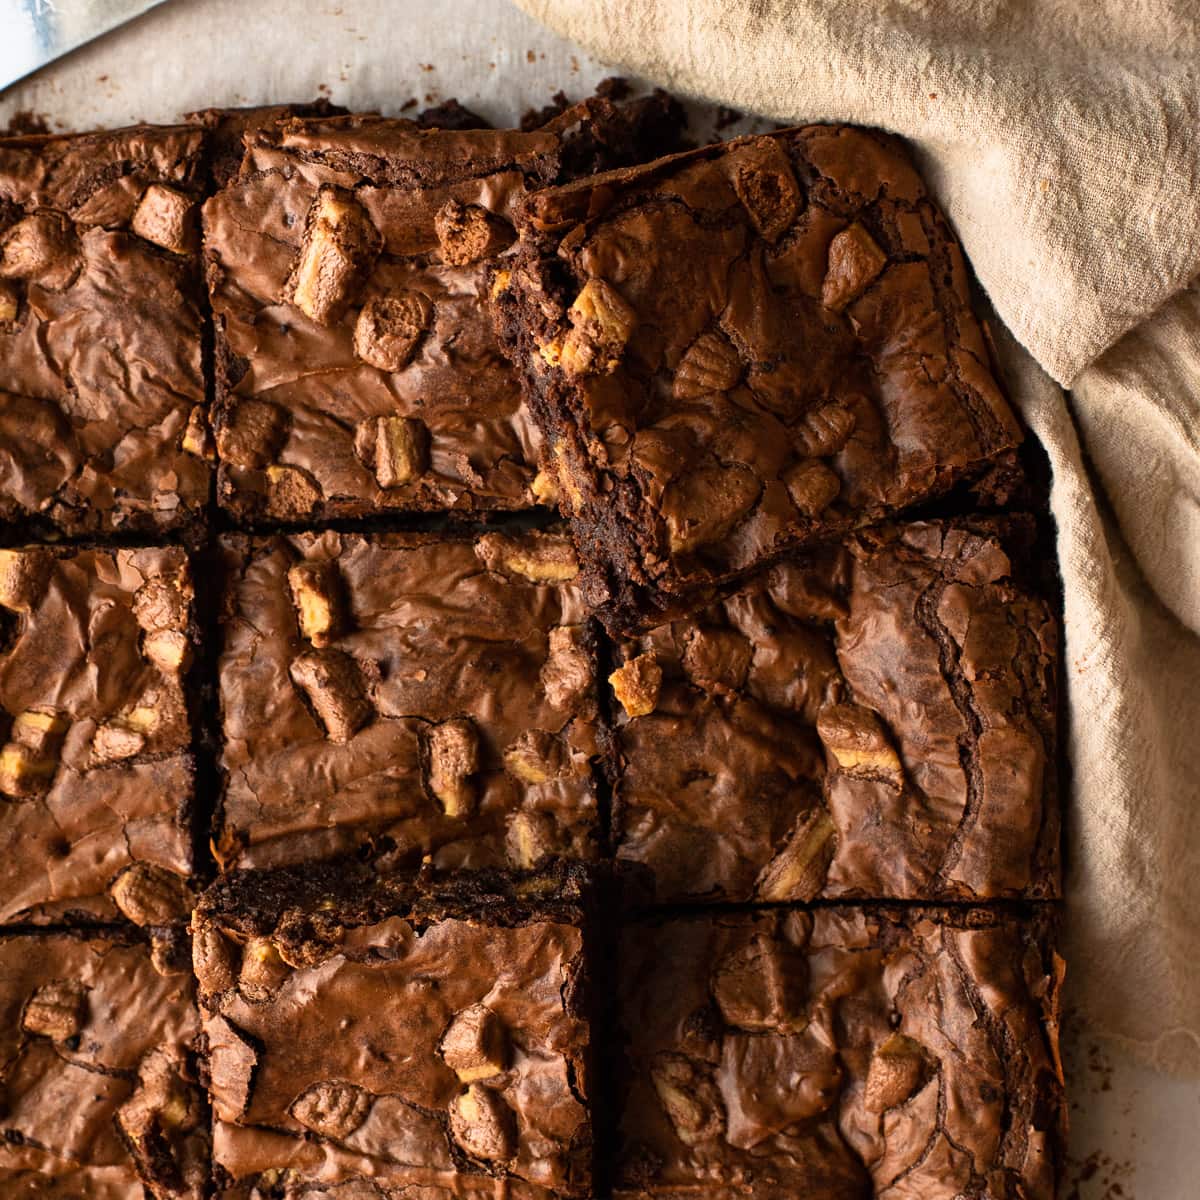
Step six - Transfer batter to pan. Pour batter into the prepared baking pan, smoothing out the surface with your spatula as needed. Optionally, you can sprinkle the top with extra pieces of peanut butter cups now (like I did here), OR just after they're done baking (similar to what I do with the chocolate chips in these oatmeal cookies).
Tip!
If you use parchment to line your baking pan, you can fold the sides over the edges of the pan and hold them in place with metal binder clips to keep things clean and tidy.
Step seven - Bake. Bake the brownies at 350ºF for 25-30 minutes. You'll know your brownies are done baking when the edges appear set and are beginning to pull away from the sides of the pan, and the center is puffy. A toothpick inserted into the center should come out with moist crumbs. This is key to avoid overbaking brownies and maintaining that fudgy texture.
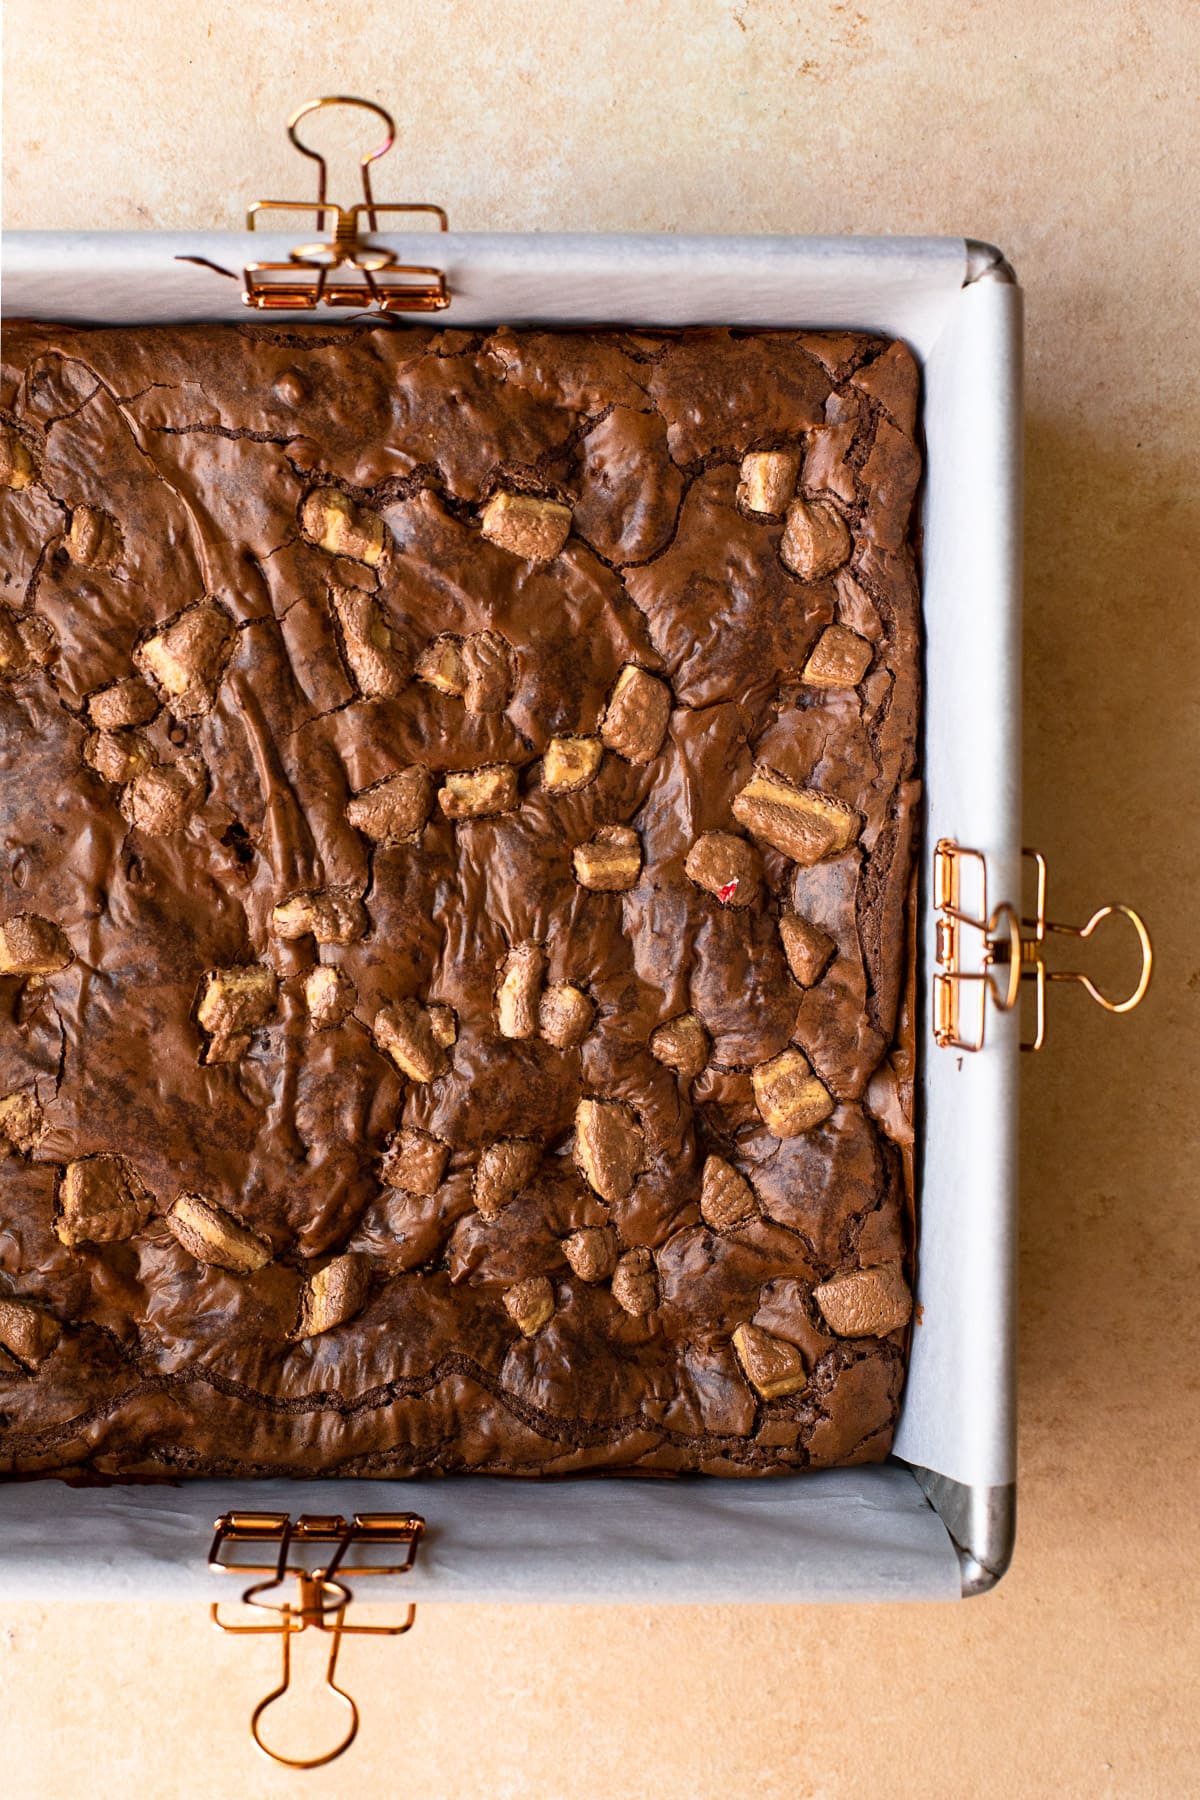
At this point, you can sprinkle chopped peanut butter cups on top of your brownies if you didn't do so before baking!
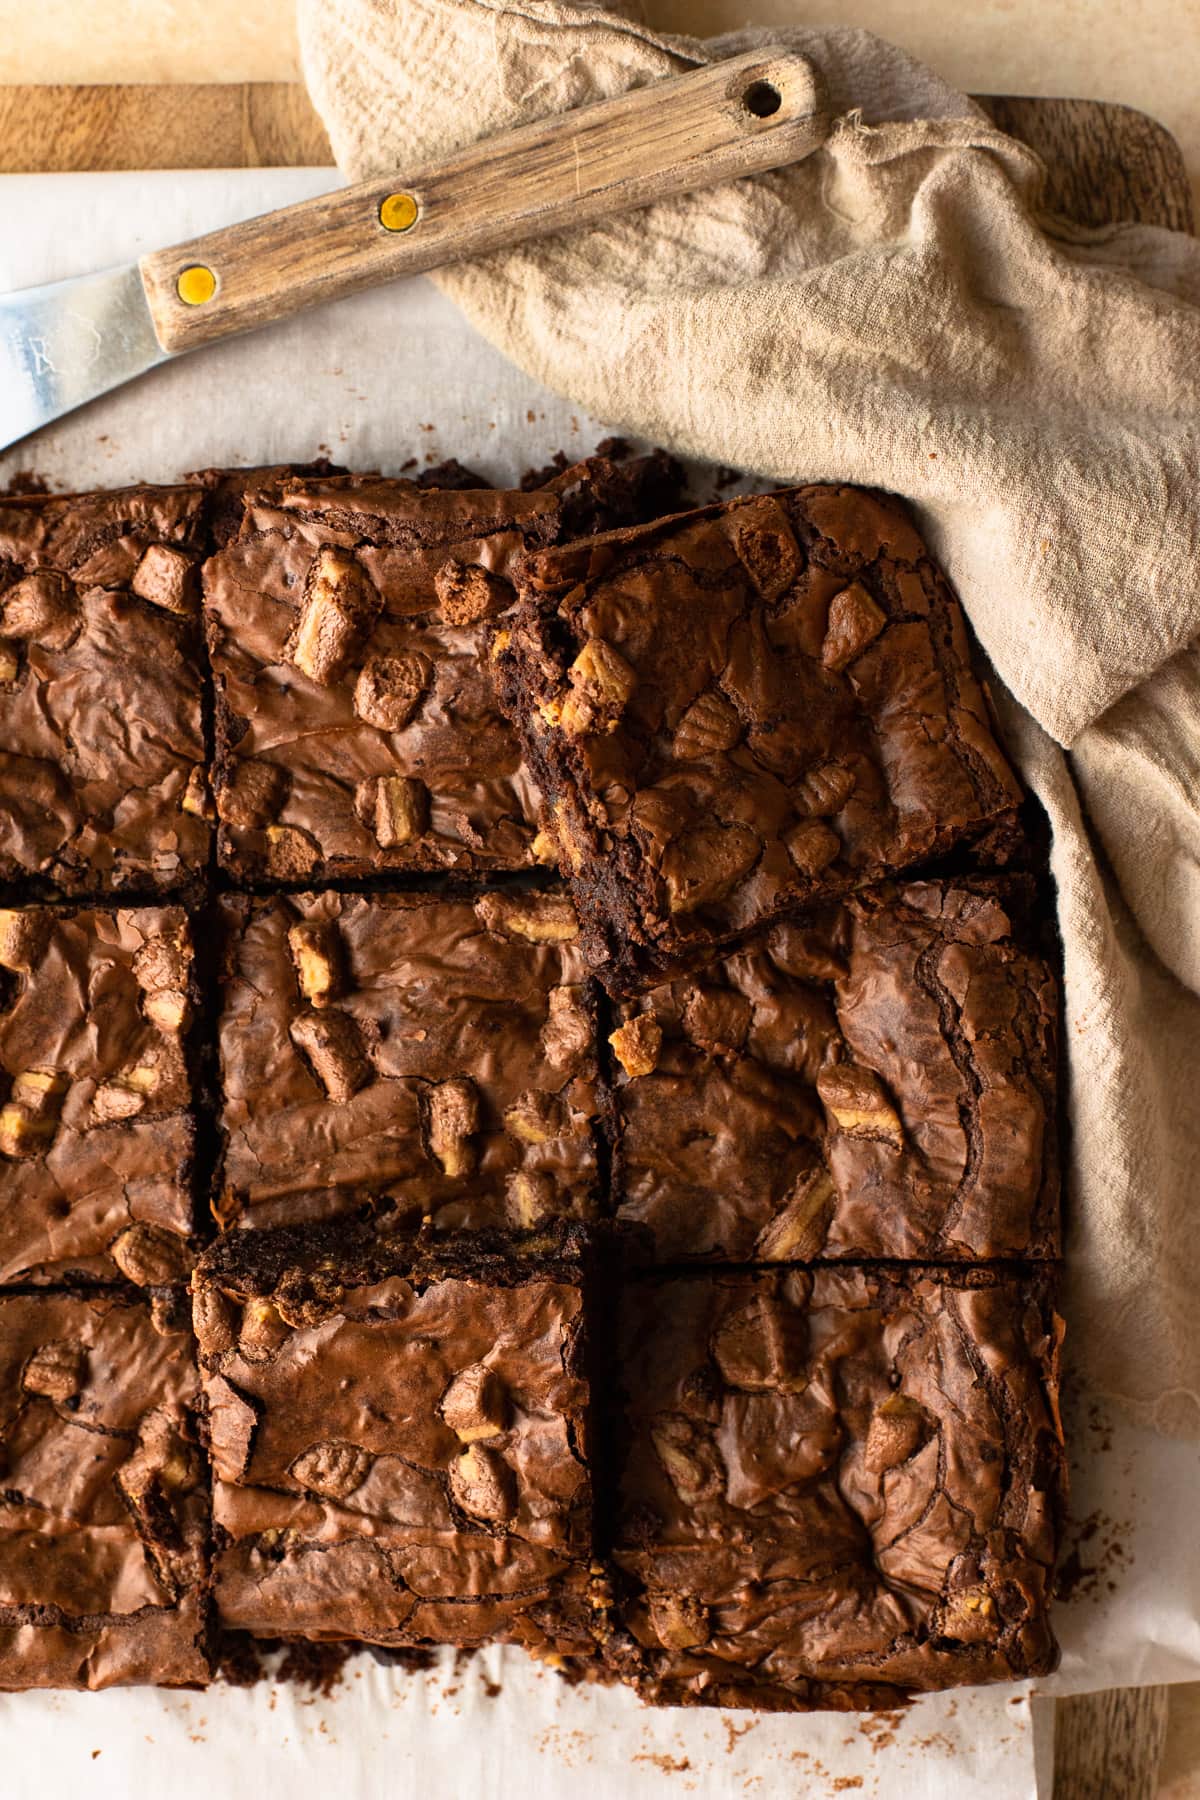
Step eight - Cool and slice. Set your brownie pan on a wire rack and let the brownies cool completely. Then, use the foil/parchment to lift them out of the pan. Slice them with a sharp knife. If you want extra-clean slices, try putting your brownies in the refrigerator for 30-60 minutes before slicing.
How to store brownies
As with most baked goods, I find that brownies are best stored in an airtight container at room temperature. These will keep well for 5-7 days and should easily maintain their gooey, fudgy texture throughout that time.
Recipe FAQ
Although I haven't tested it, I do think you could swap the butter in this recipe for oil - coconut oil, avocado oil, vegetable oil, or canola oil are all good options for most baking recipes.
For dairy-free peanut butter cup brownies, I would suggest using dairy-free butter or oil, a good dairy-free chocolate such as Enjoy Life, and dairy-free peanut butter cups.
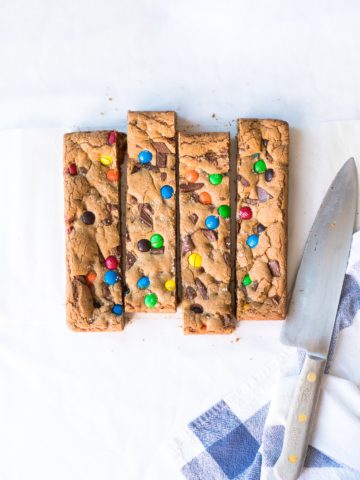
Absolutely! Like my candy bar blondies, these flourless chocolate brownies are a great base for any sort of mix-ins. If you don't want to lose the peanut butter flavor, try adding chopped up Butterfingers, Snickers, or Reese's Pieces. Or, switch up the flavors and use chocolate chips, M&M's, or anything else you can think of!
More must-make brownie recipes
If these Reese's brownies are calling your name, you'll probably love these recipes too!
And although they're not brownie, I'd be remiss not to point you towards these peanut butter chocolate chip cookies (also stuffed with Reese's!) They're in my top-5 peanut butter desserts of all time, and SO good.
Have you made this recipe?
If so, I'd love to hear your feedback; you can leave a rating and review in the comments section below! It's also so helpful if you help spread the word by sharing this post on your favorite social media channel. If you happen to snap a photo of what you've baked, be sure to share it on Instagram and tag me (@brighteyedbaker) so I can give you a shoutout!
Recipe Card
Peanut Butter Cup Brownies
Ingredients
- 6 tablespoons butter cubed
- 6 ounces bittersweet chocolate chopped
- ¼ cup cocoa powder
- 3 tablespoons corn starch
- ¼ teaspoon salt
- 2 large eggs room temperature
- ⅔ cup granulated sugar
- 1 tablespoon vanilla extract
- 1 heaping cup chopped peanut butter cups plus extra for sprinkling on top
Instructions
- Preheat oven to 350ºF and line an 8" square pan with parchment paper or aluminum foil. If using foil, grease with nonstick spray.
- Combine butter and chocolate in a microwave-safe bowl. Microwave for 30-second increments, stirring in between, until smoothly melted.6 tablespoons butter |6 ounces bittersweet chocolate
- In a small mixing bowl, whisk together the cocoa powder, corn starch and salt.¼ cup cocoa powder |3 tablespoons corn starch |¼ teaspoon salt
- In the bowl of a stand mixer fitted with the wire whip attachment, begin beating the eggs on medium speed. While beating, slowly pour in sugar. Increase speed to medium-high and continue beating for several minutes until mixture is light in color and ribbons down from the beater when lifted. Wipe down bowl and beater as needed.2 large eggs |⅔ cup granulated sugar
- Add remaining ingredients: With mixer on low speed, add the butter/chocolate mixture and vanilla extract, mixing in until combined. Add the dry ingredients and peanut butter cups and fold in with a rubber spatula just until evenly incorporated.1 tablespoon vanilla extract |1 heaping cup chopped peanut butter cups
- Transfer to pan: Pour batter into prepared pan and use spatula to smooth out top surface. If desired, sprinkle with extra peanut butter cups (you can also do this after baking if preferred).
- Bake brownies in preheated oven for 25-30 minutes, until a toothpick inserted into the center comes out with only a few moist crumbs, and edges are slightly pulling away from sides of pan.
- Cool and slice. Place pan over a wire rack and allow brownies to cool completely. Then, use foil/parchment to lift from pan. Slice with a sharp knife. For even cleaner slicing, transfer to fridge for 30-60 minutes before slicing.
Notes
Ingredients notes:
- Salted or unsalted butter can be used.
- Chopped chocolate can be substituted with chocolate baking chips.
- Regular or Dutch-process cocoa powder will work for this recipe.
- Reese's Minis can also be used and do not need to be chopped. Or, sub your favorite candy of choice!
For dairy-free brownies:
- Use dairy-free butter (oil will also likely work), dairy-free chocolate, and dairy-free peanut butter cups.
Storage and shelf life:
- Brownies are best if stored in an airtight container at room temperature. They will keep for 5-7 days.
Nutrition
Nutrition information is an estimate per serving, calculated using standard ingredients. Actual values may vary based on brands used, measurement methods, and more.


Greg
Absolutely delicious. Chocolate and Peanut butter are ALWAYS a great combination and this recipe captures it perfectly. 10/10 and this is coming from someone who doesn’t often like brownies very much.
Audrey Reeves
Can you use peanut butter instead of peanut butter cups? If you did, would you have to add extra chocolate?
alexandra
Hi Audrey,
You could probably swirl in peanut butter, although I haven't tried this myself. If you go this route, I would suggest adding the brownie batter to the pan and then dolloping peanut butter on top and gently swirling it in with a knife. I would use anywhere between 1/4-1/3 cup of peanut butter. Or, you could easily use peanut butter chips! I don't think adding extra chocolate is necessary, but if you want, you could add chocolate chips or chopped chocolate as a mix-in. Hope this helps!
Melissa Griffiths
WHOA. These would be the end of all my diet dreams. But what a beautiful end they'd be!
alexandra
Hahaha so true!
Karly
Hellooooooo gorgeous! I absolutely must try these soon, seeing how I'm already drooling just from the photos. In love!