
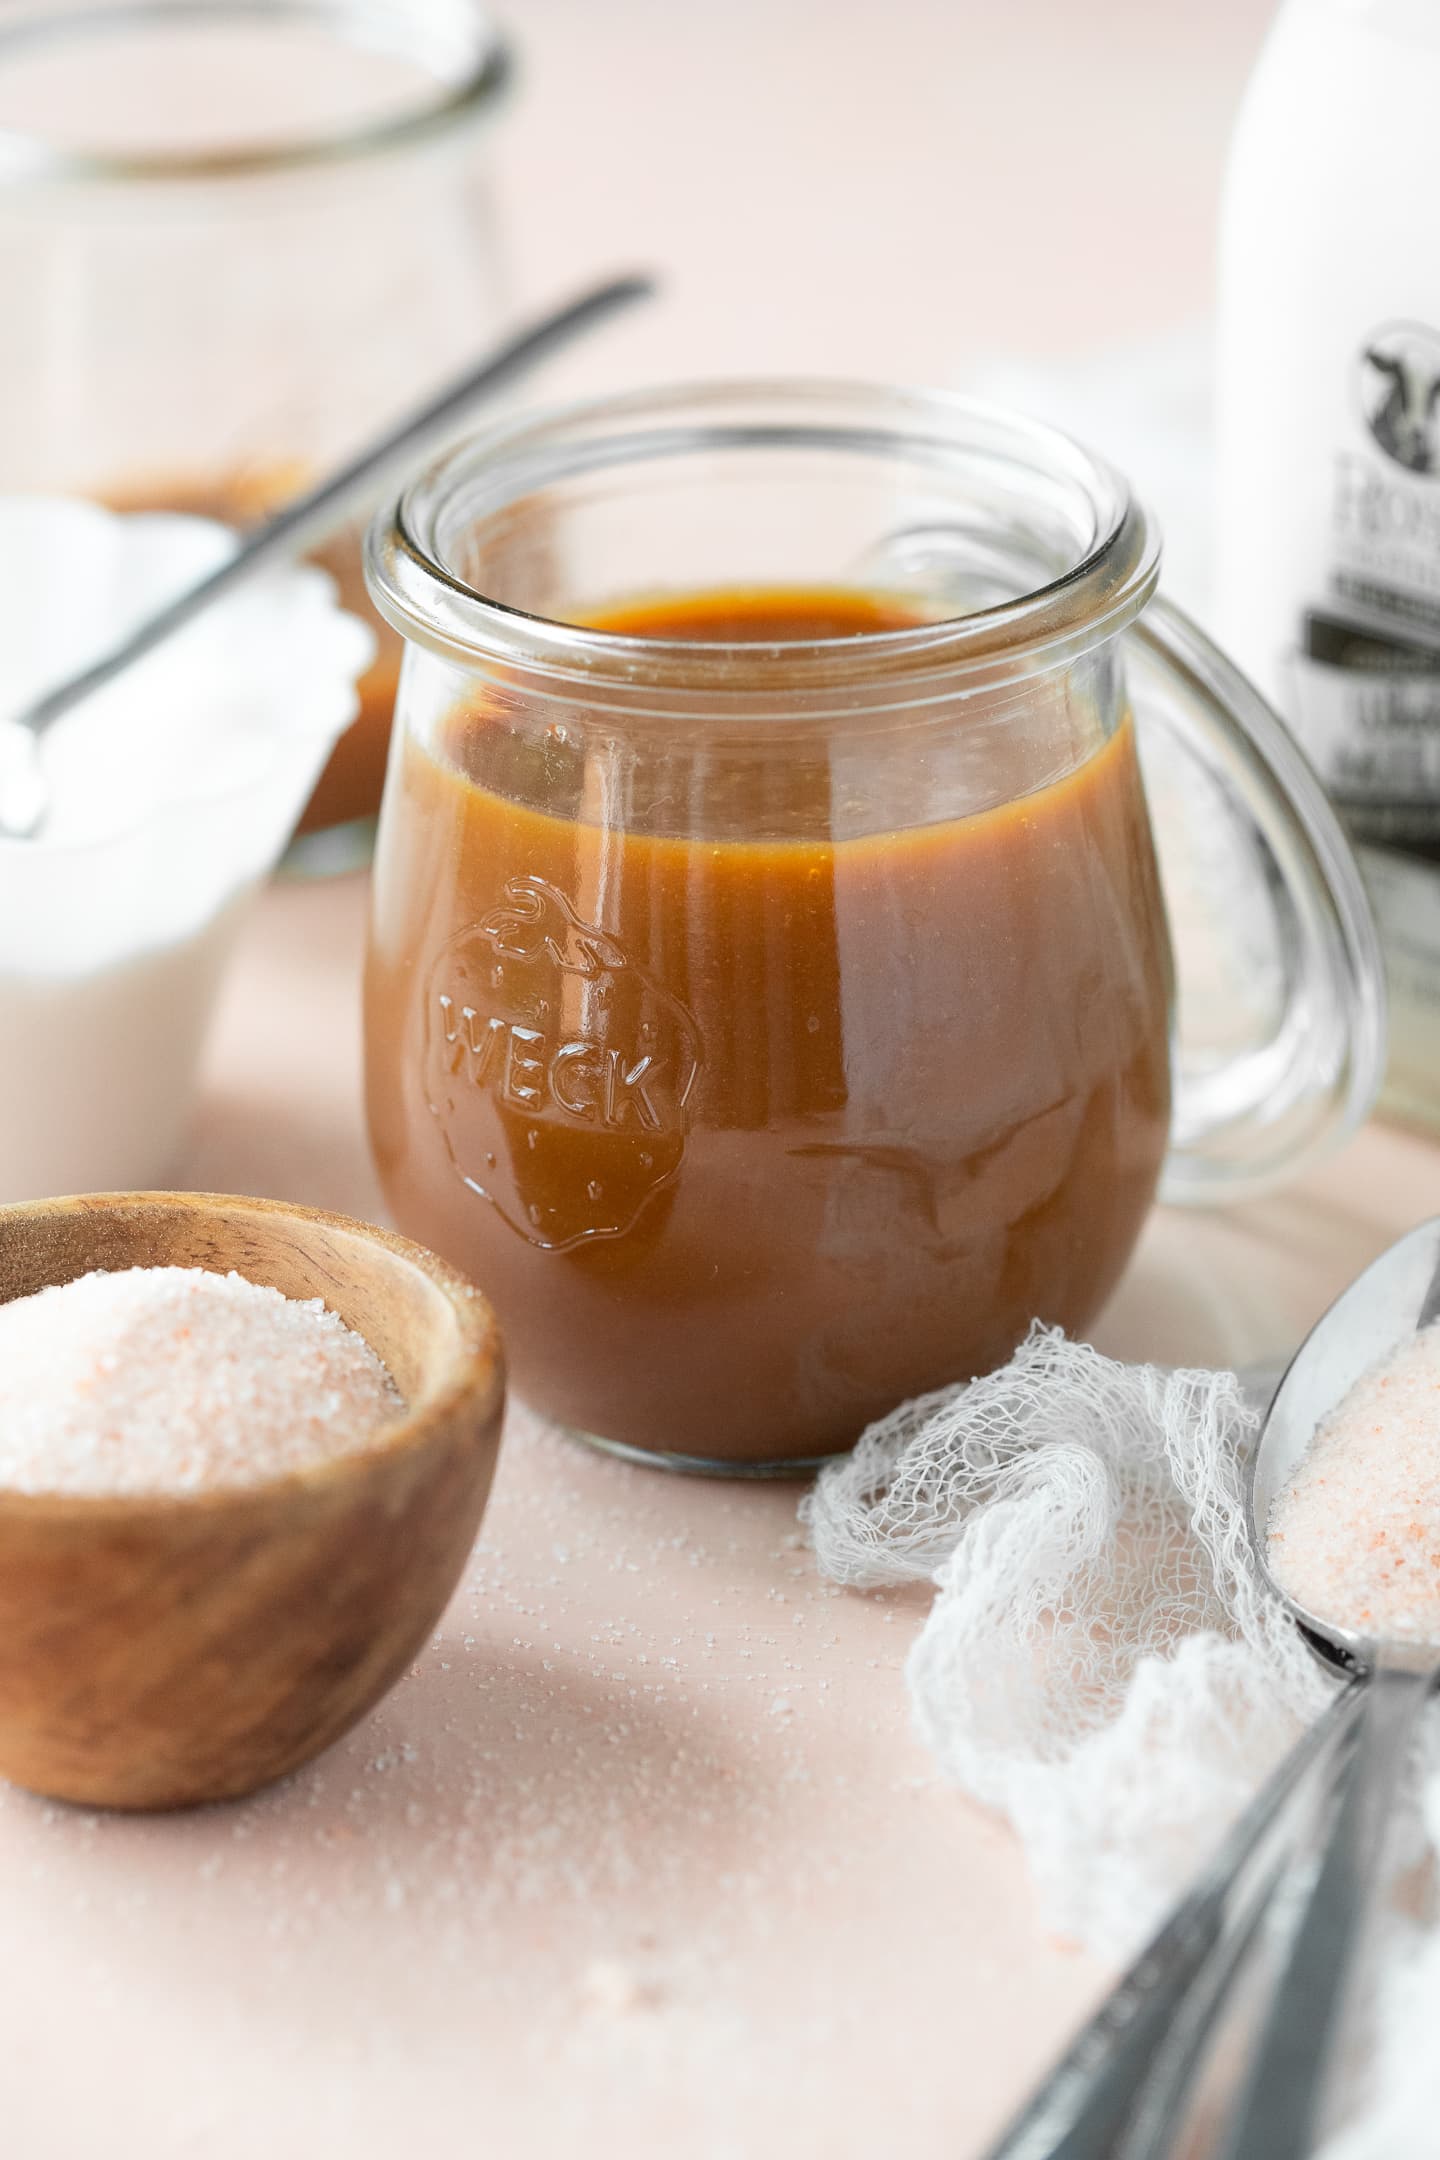
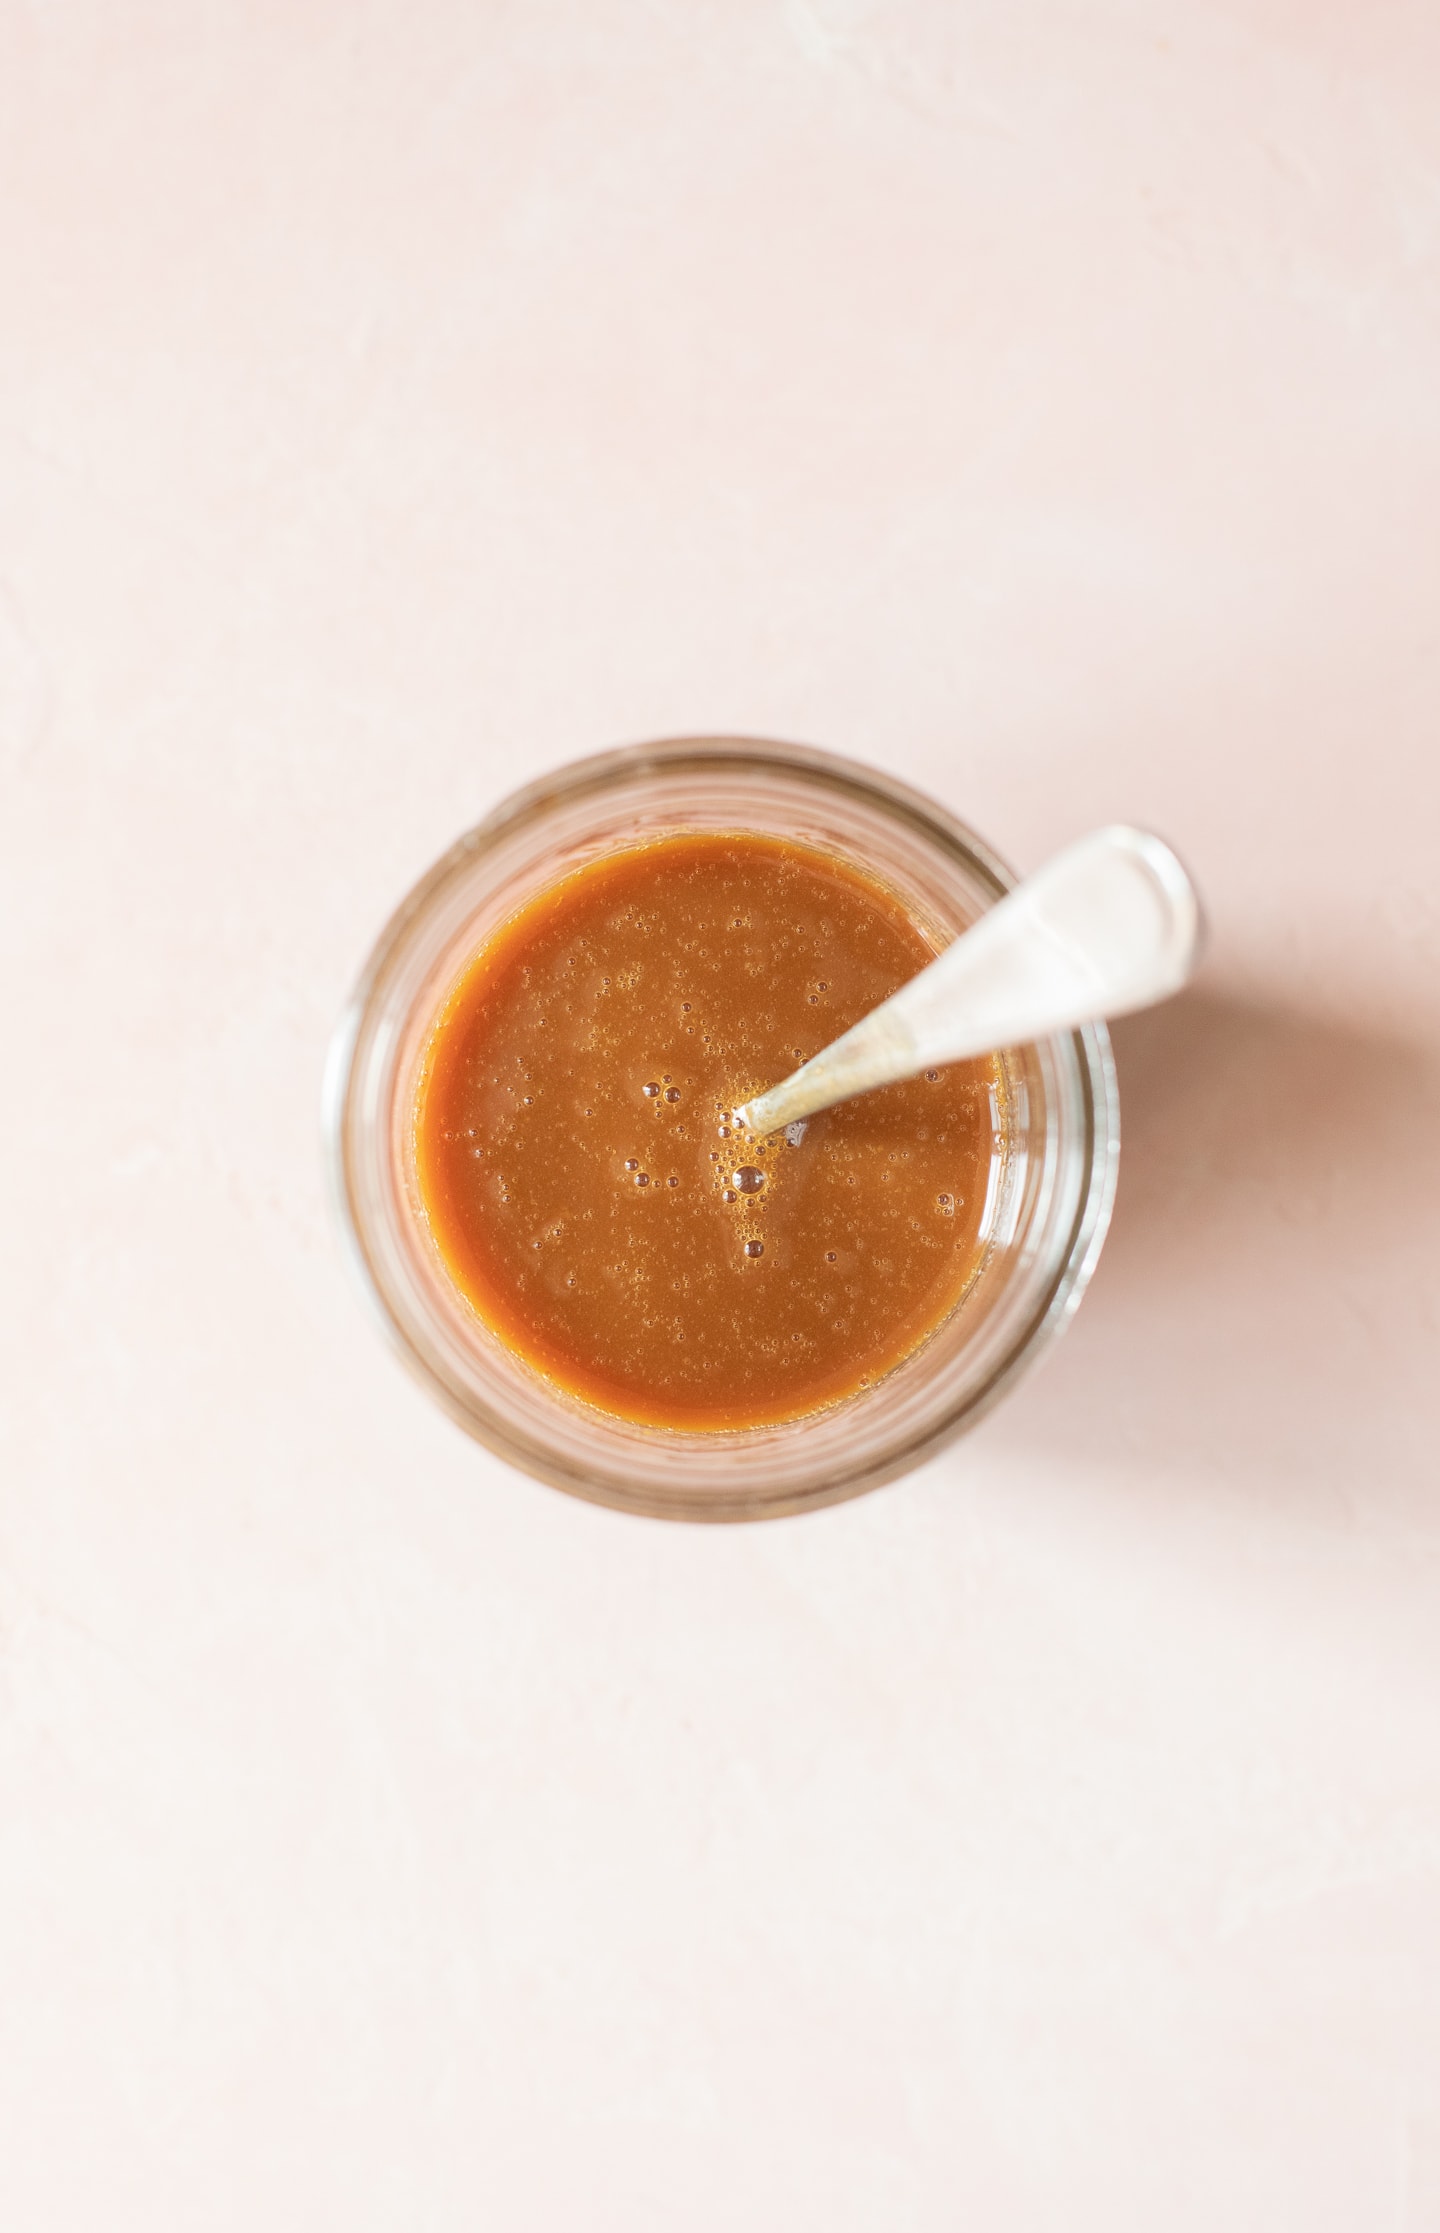
Learn how to make a simple and delicious caramel sauce made with only sugar, milk, and sea salt. No cream or butter needed!
Quick Note: This is an updated version of a post that originally appeared on Bright-Eyed Baker in 2012. Updates include new text and photos, as well as some details added to the instructions for clarity.

Jump to:
Back in the day, when consuming copious amounts of sugar at once didn't seem like an awful idea, my coffee drink of choice was a caramel frappucino. I later moved to a skinny caramel frap, and then to caramel macchiatos, but my love of all things coffee + caramel persisted. It's for that reason and that reason only that I developed this recipe for making caramel sauce with milk.
I tried multiple other recipes - some using a dry method, some a wet method; some with heavy cream, and some with butter. But here's the thing: they were all problematic for one reason or another. One burned. Another was so thick you definitely couldn't pour it into a latté. And every recipe using cream or butter along with the requisite sugar just seemed a little too heavy for an every-morning drink.
So here we are now, after *many* failed batches, with a very simple caramel sauce made without any cream or butter. Making caramel sauce with milk is extremely unconventional, and there's a reason for that: milk has a lot less fat than heavy cream, which makes the process trickier. But it can work, it's still delicious, and after a little practice it's really not difficult at all.
What is dry-method caramel?
Like I mentioned before, there are two basic methods for making caramel: a wet method and a dry method. The wet method involves mixing sugar with water before cooking it; as the sugar melts, the water evaporates. With the dry method, the sugar is heated by itself until it starts to caramelize and turn liquid. Some people find the dry method more difficult, but I personally prefer it.
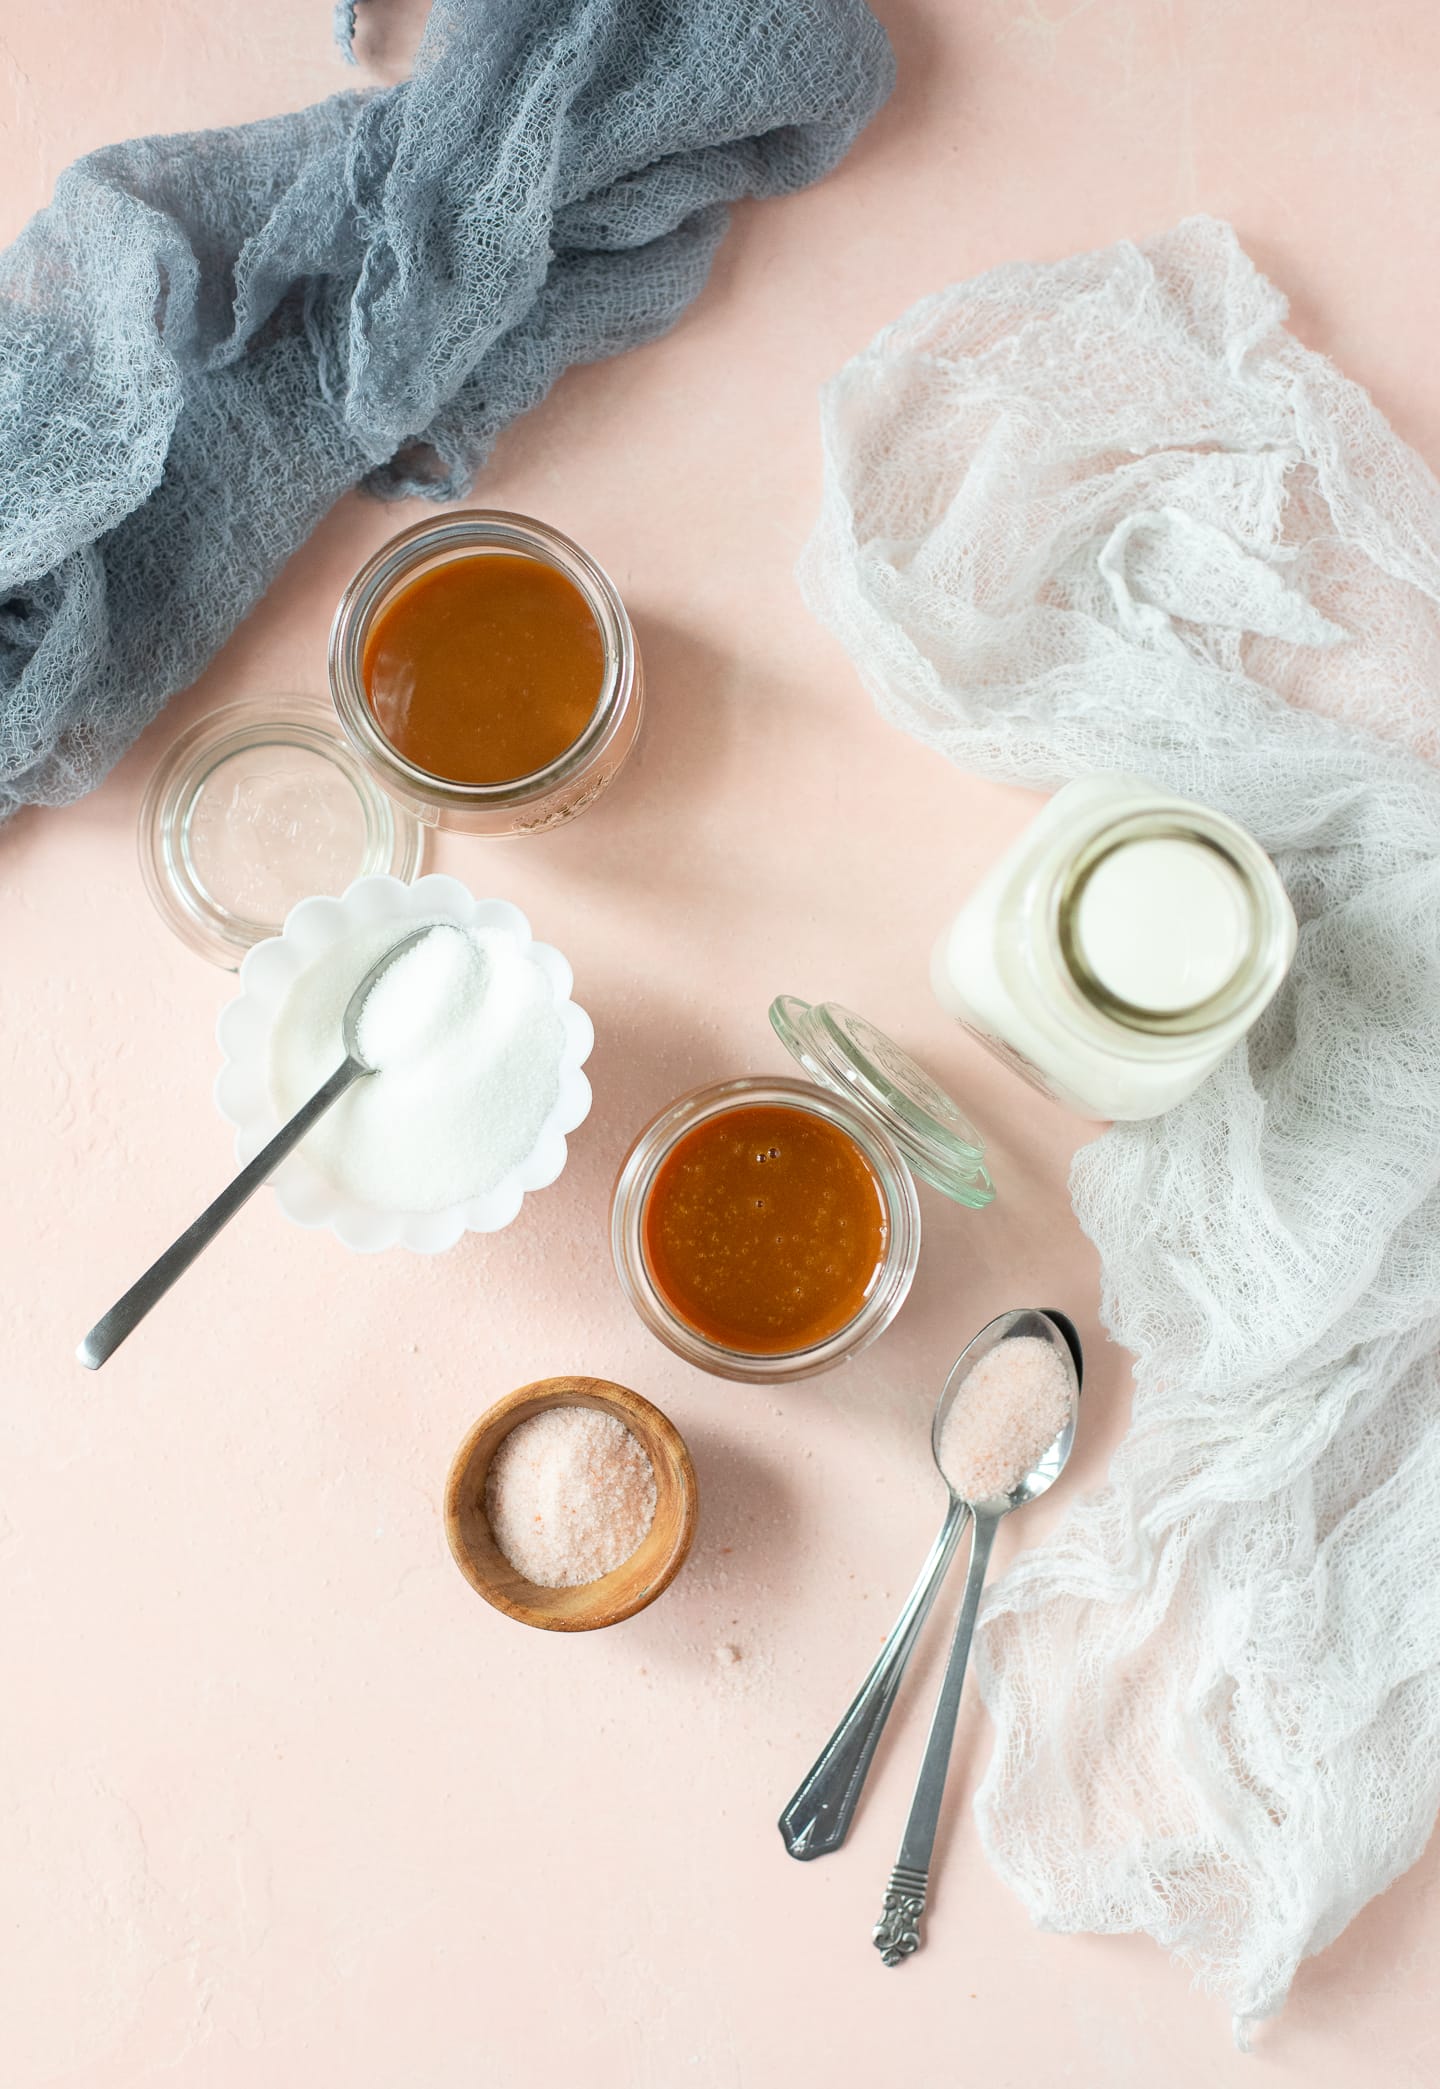
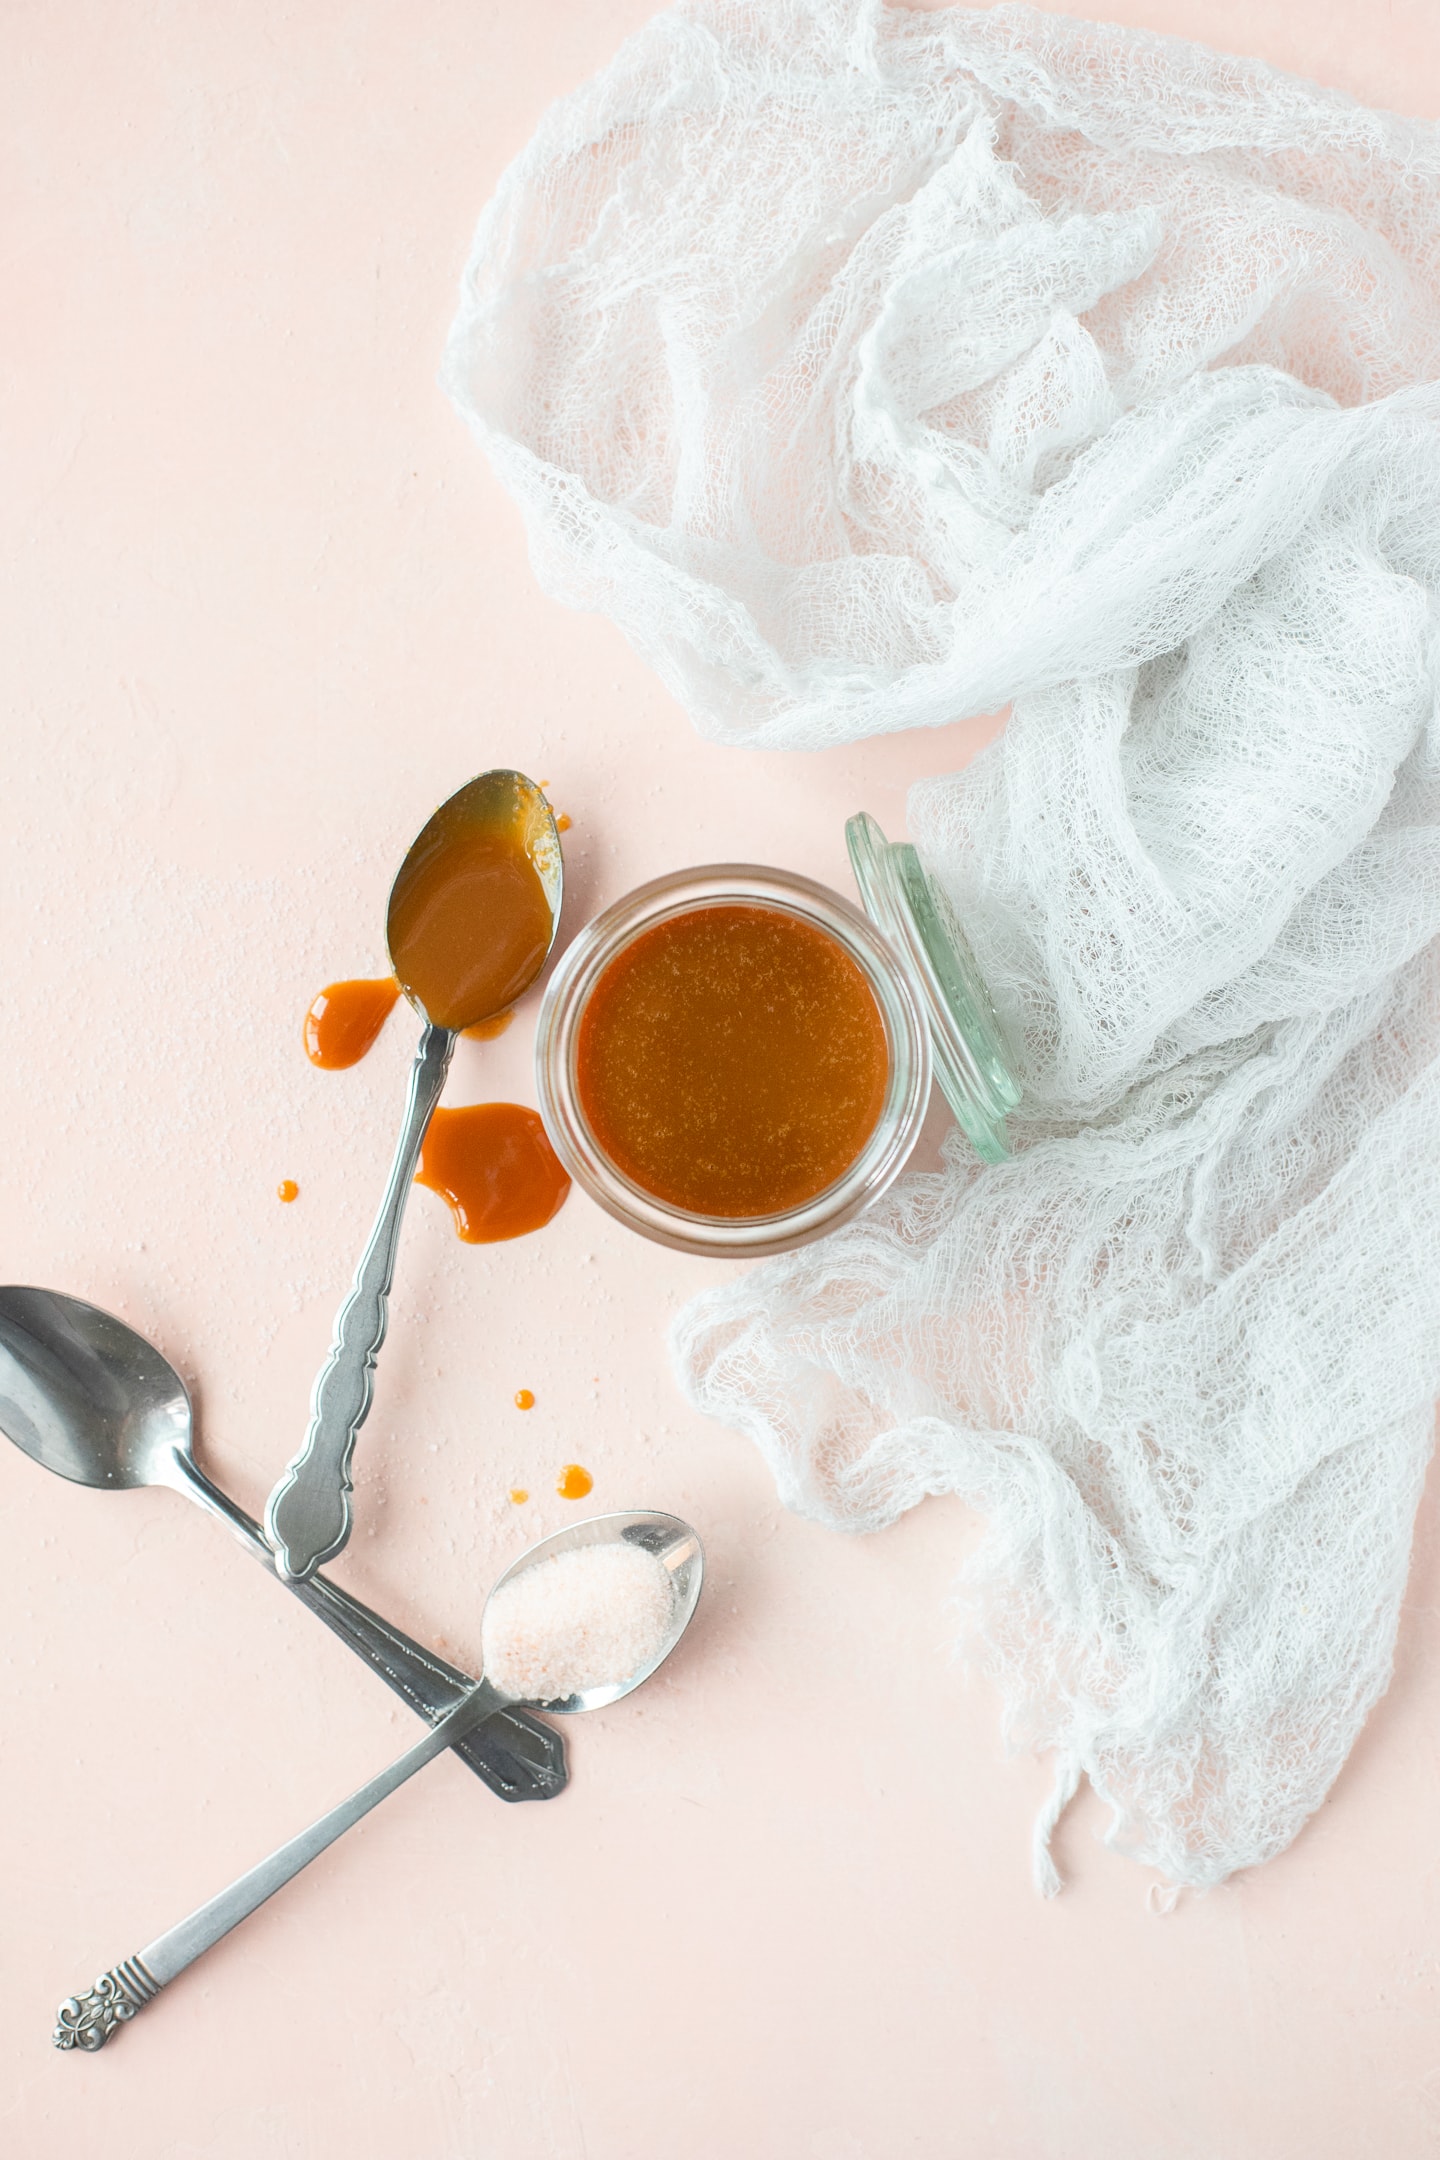
Ingredients
There are only three simple ingredients you need for this recipe: sugar, milk, and sea salt. I've personally tested this recipe with 2% and whole milk, but readers have shared in the comments that they've used all sorts of other milk. See the recipe notes for other types of milk that I've been told work.
Tips for making caramel sauce
This recipe can be tricky until you get the hang of it. Here are some tips I highly recommend you read before starting:
Start with clean tools. Make sure your pot and spatula are clean and dry. Your sugar should also be completely pure; if it has come into contact with bits of flour, etc., that could effect how well it liquifies. Clean conditions help prevent the sugar from crystallizing.
Use a heavy-bottomed, TALL pot. Trust me on this one! A thin pan will lead to burnt caramel, and a pan that's too shallow can lead to a dangerous mess, since the hot caramel will steam and bubble vigorously when you add milk to it.
Wear an oven mitt. Even with a tall pot, I recommend wearing an oven mitt on the hand that you'll use to stir in the milk. You need to keep the caramel stirring constantly once the milk has been added, but the steam can get so hot that this can become close to impossible with a bare hand.
Don't multi-task. Don't try to make caramel at the same time as you're doing something else. The process moves quickly and is extremely time-sensitive. If you're not paying close attention you'll most likely burn your caramel or cause it to seize or curdle, and nobody wants that!
Don't stir the sugar. I can't stress this enough: while the sugar is heating up and starting to liquify, DO NOT STIR. The only thing you want to use your spatula for at this point is to push the liquid sugar on top of the solid sugar so it doesn't burn. Hold off on any stirring until all of the sugar has liquified.
Don't burn the caramel. I realize this seems obvious, but it also needs to be said. Once the sugar turns to liquid, continue to cook it just until it turns a rusty golden-brown color. Then STOP.
Don't give up! Real talk: your first attempt at making caramel might not be a complete success. BUT, I can tell you from my own experience (and that of so many readers who have commented on this recipe!) that the second attempt is usually much better.
For more helpful pointers, check out my top ten tips for making caramel without cream!
Troubleshooting caramel
There are two main issues you might run into while making this caramel sauce:
The milk curdles: One issue with using milk in a caramel sauce is the possibility of it curdling. This can be caused by a few things: the sugar getting too dark or burnt (and acidic) before adding the milk, using old milk, and/or not stirring the caramel constantly once the milk has been added. In any case, you can usually save a curdled caramel sauce by using an immersion blender to smooth it out again.
The caramel seizes: It is not at all uncommon for your caramel sauce to seize when milk is added to it. When this happens, the liquid caramel hardens into a semi-solid clump and you're left with a pot full of milk and a clump of caramelized sugar. Don't panic! Just put the caramel back on the stove and stir it continuously until the clumps melt back into the sauce. It may take a while but it should eventually happen.
Can I double the recipe?
I would highly recommend that you not double this recipe unless you've made it many times already and are 100% comfortable with the process. Too much sugar in a pot becomes hard to cook evenly, and this can lead to all sorts of difficulties.
Making a thicker sauce
If you don't cook the caramel sauce for more than a couple minutes after adding the milk, it will be thin, which is perfect for mixing into coffee. But if you're looking for a thicker caramel sauce, just cook it longer (about 10-15 minutes after adding the milk) while stirring constantly.
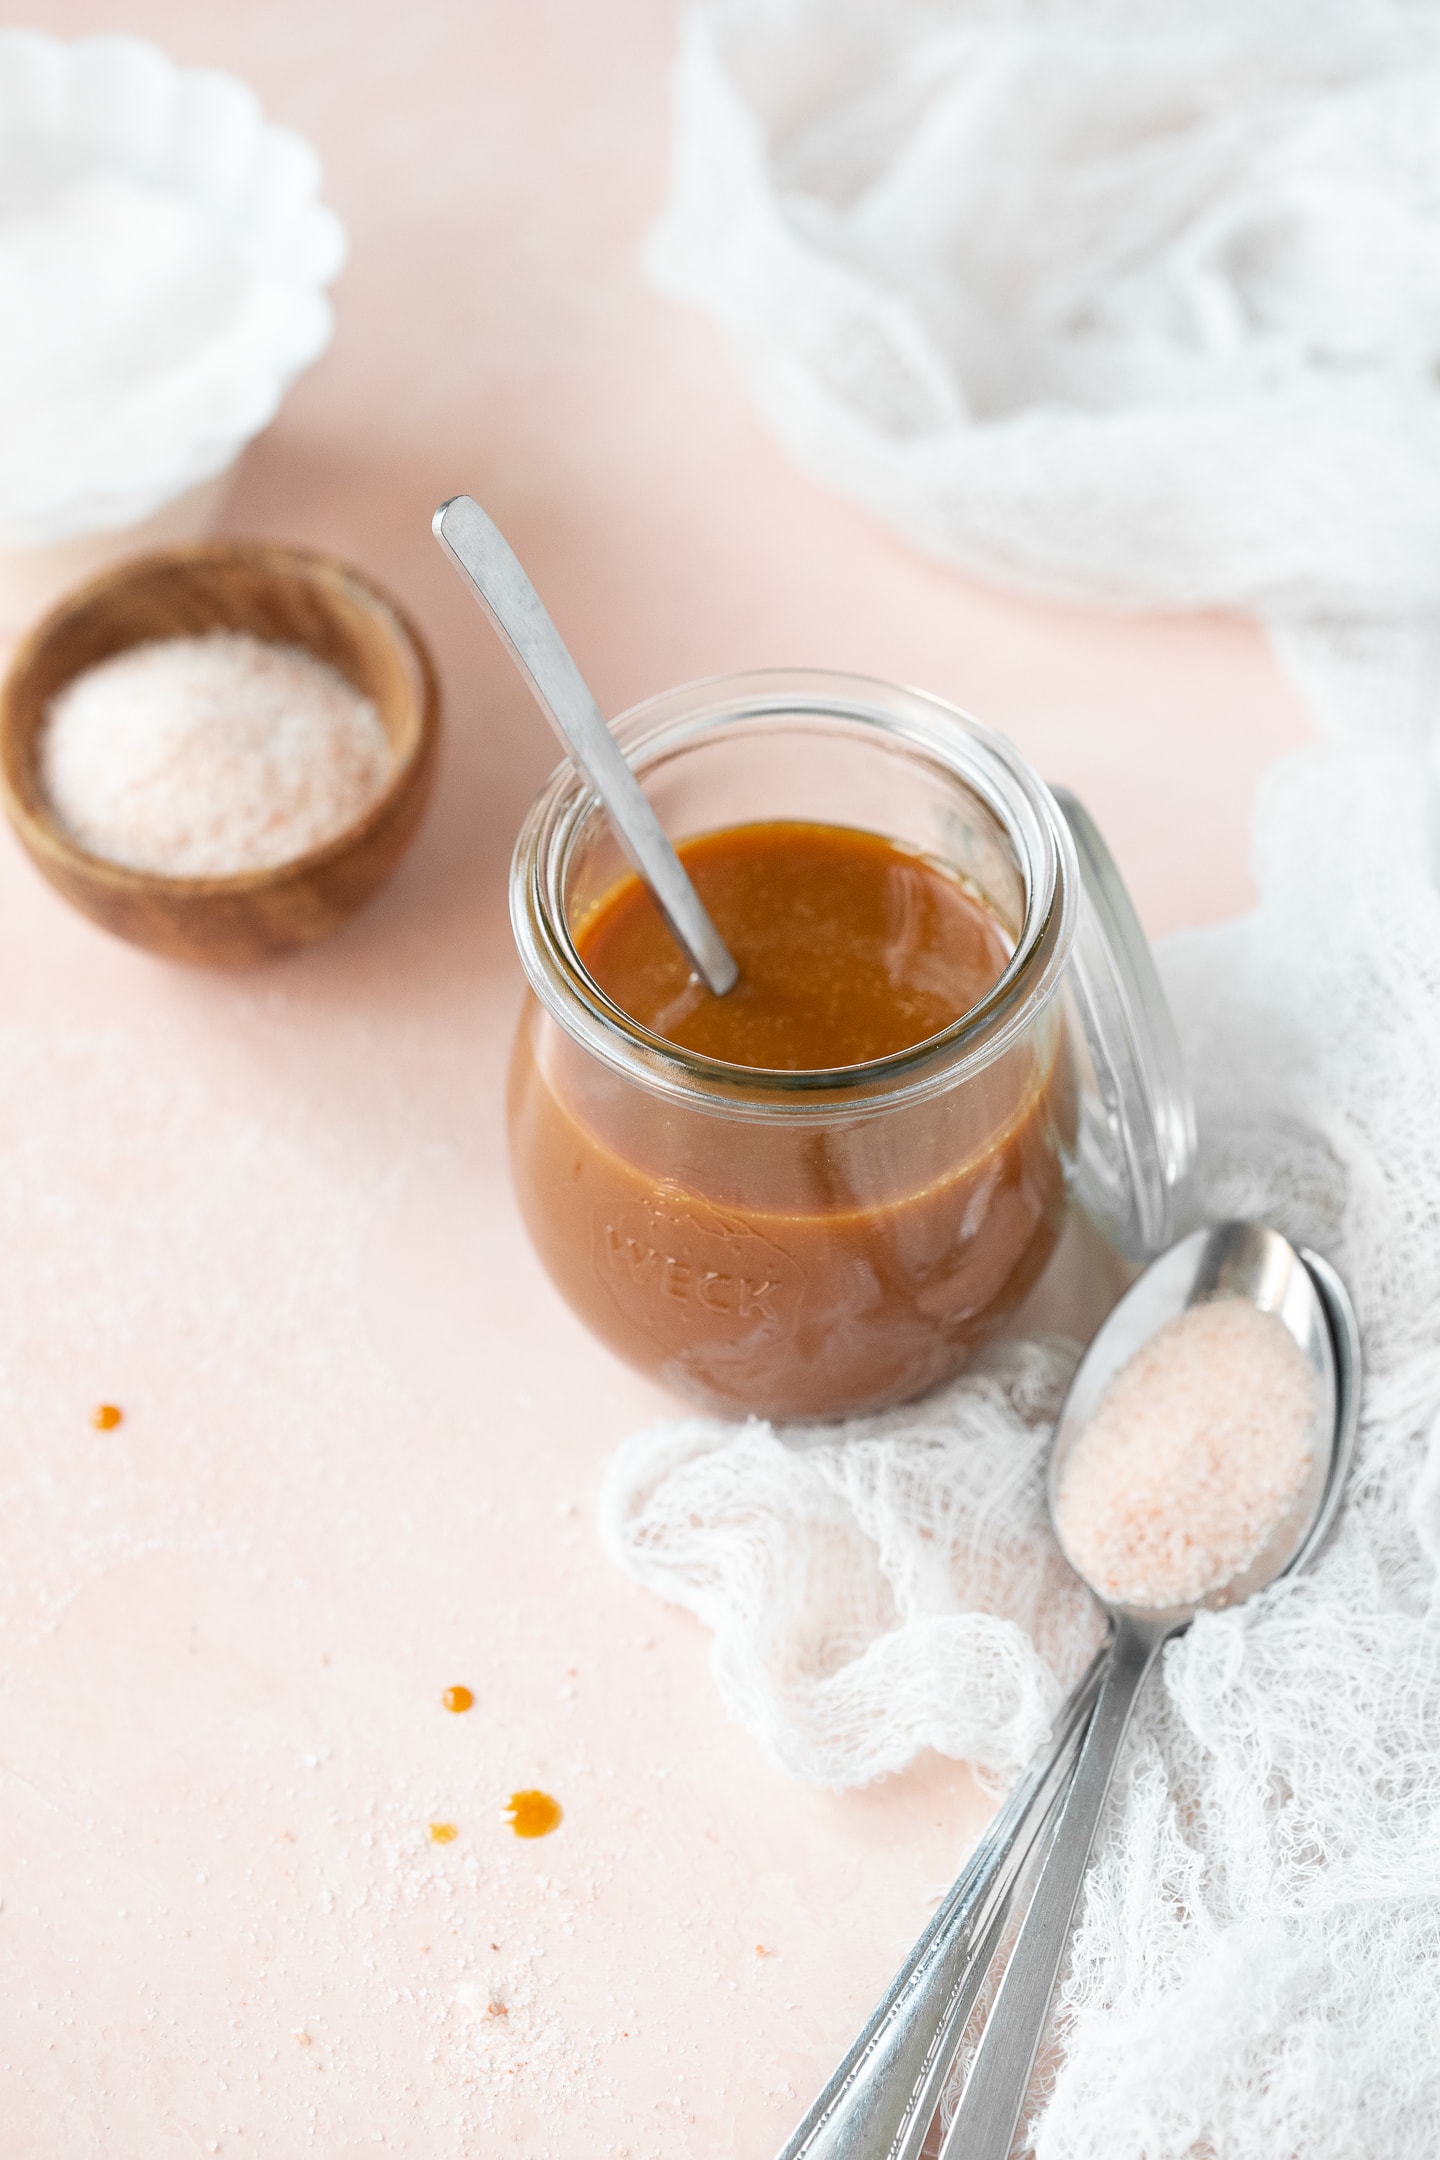
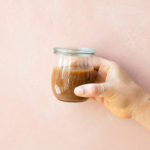
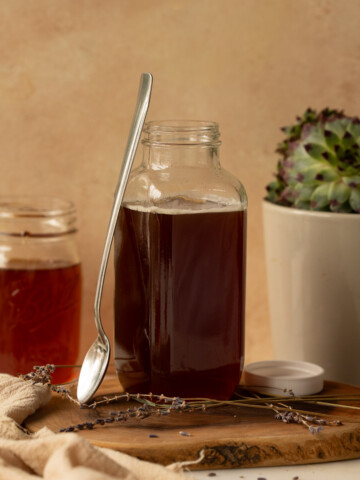
Storing caramel
This caramel sauce can be stored in a jar in the refrigerator and should last for several weeks, if not longer. But I have no doubt you'll use it faster than that!
More caramel recipes
Once you've got the hang of making caramel, it's easy to adapt the method to different recipes. Here are some recipes using caramel that you can try:
Caramel Latté Ice Cream - A silky, luscious ice cream that tastes like the frozen version of an ultra-creamy caramel latte. Cannot recommend enough.
Salted Caramel and Candied Pecan Biscotti - Classic biscotti gets an exciting twist with the addition of crunchy candied pecans, a heavy caramel drizzle, and a sprinkle of sea salt to top it all off.
Boozy Chocolate Caramel Cups - Mini chocolate cups filled with rum-spiked caramel. It's homemade candy at its finest!
A final tip
Read through the entire recipe below before you start making this caramel sauce! The process moves very quickly and you'll be much more likely to succeed if you know what to expect.
PrintCaramel Sauce with Milk
A simple and delicious caramel sauce made with only sugar, milk, and sea salt. No cream or butter needed!
- Prep Time: 5 minutes
- Cook Time: 20 minutes (up to 30)
- Total Time: 25 minutes (up to 35)
- Yield: 1 to 1-¼ cups caramel sauce*
- Category: candy
- Method: stovetop
- Cuisine: American
- Diet: Low Fat
Ingredients
- 1 cup granulated sugar
- 1 ¼ cups milk**
- ¼ - ½ teaspoon sea salt***
Instructions
- Heat sugar in saucepan: Place the sugar in a large, tall, heavy-bottomed pot, shaking it so that the sugar is in a thin, even layer. Place the pot over medium-low heat. Set a timer for 8 minutes while the sugar starts to heat up. During this time, leave the sugar untouched.
- Continue cooking: Check on the sugar once the 8 minutes are up. If you're starting to smell it, or see areas where it appears light brown or translucent, it's about to start turning liquid. If this happens, skip to step 3 now. Otherwise, set the timer for another 8 minutes, but this time, keep an eye on the sugar. Around 8 minutes later you should see it starting to liquify.
- Warm milk: Meanwhile, prepare for the next few steps, as they will come quickly. Warm the milk in a microwave-safe container for about a minute, and stir to even out the temperature. Place the warm milk near the stove along with a trivet (where you can quickly place the pot of caramel once ready), and a heat-safe spatula.
- Finish melting sugar: As soon as you see the sugar turning liquid, take your heat-safe spatula and carefully start to scoop the liquid sugar over the solid sugar. Continue to do this as more sugar turns liquid; the idea is not to stir the sugar, but just to keep the liquid parts from burning. Once all of the sugar has turned liquid, stir gently until it turns a rusty golden-brown color. This should only take a few seconds; be careful not to let it burn.
- Add milk to sugar: As soon as the caramel turns the appropriate color, remove it from the stove, place it on the trivet, and quickly stir in half of the warm milk. It's important to keep stirring the caramel during this time. The milk will cause the caramel to steam and bubble rapidly, so be careful as you stir. Continue to stir as the bubbling subsides, and then stir in the remaining milk.
- Return to heat: Some (or much) of the caramel may have hardened when the milk was added. If so, or if you want a thicker caramel, return the pot to the stove. Stir constantly over medium-low heat until any hardened caramel has melted back into the mixture. Be sure to carefully pry any hardened bits off of the bottom or sides of the pot as necessary, melting these pieces back in as well. Be patient; it may seem like they aren't going to melt, but with time it should.
- To make a thicker caramel: If you want a thicker caramel, better for drizzling onto baked goods, cook the caramel, stirring constantly, for an additional 10-15 minutes after adding the milk. Be careful not to let it come to a boil. It will not look very thick while it's hot, but as it cools, it will thicken substantially.
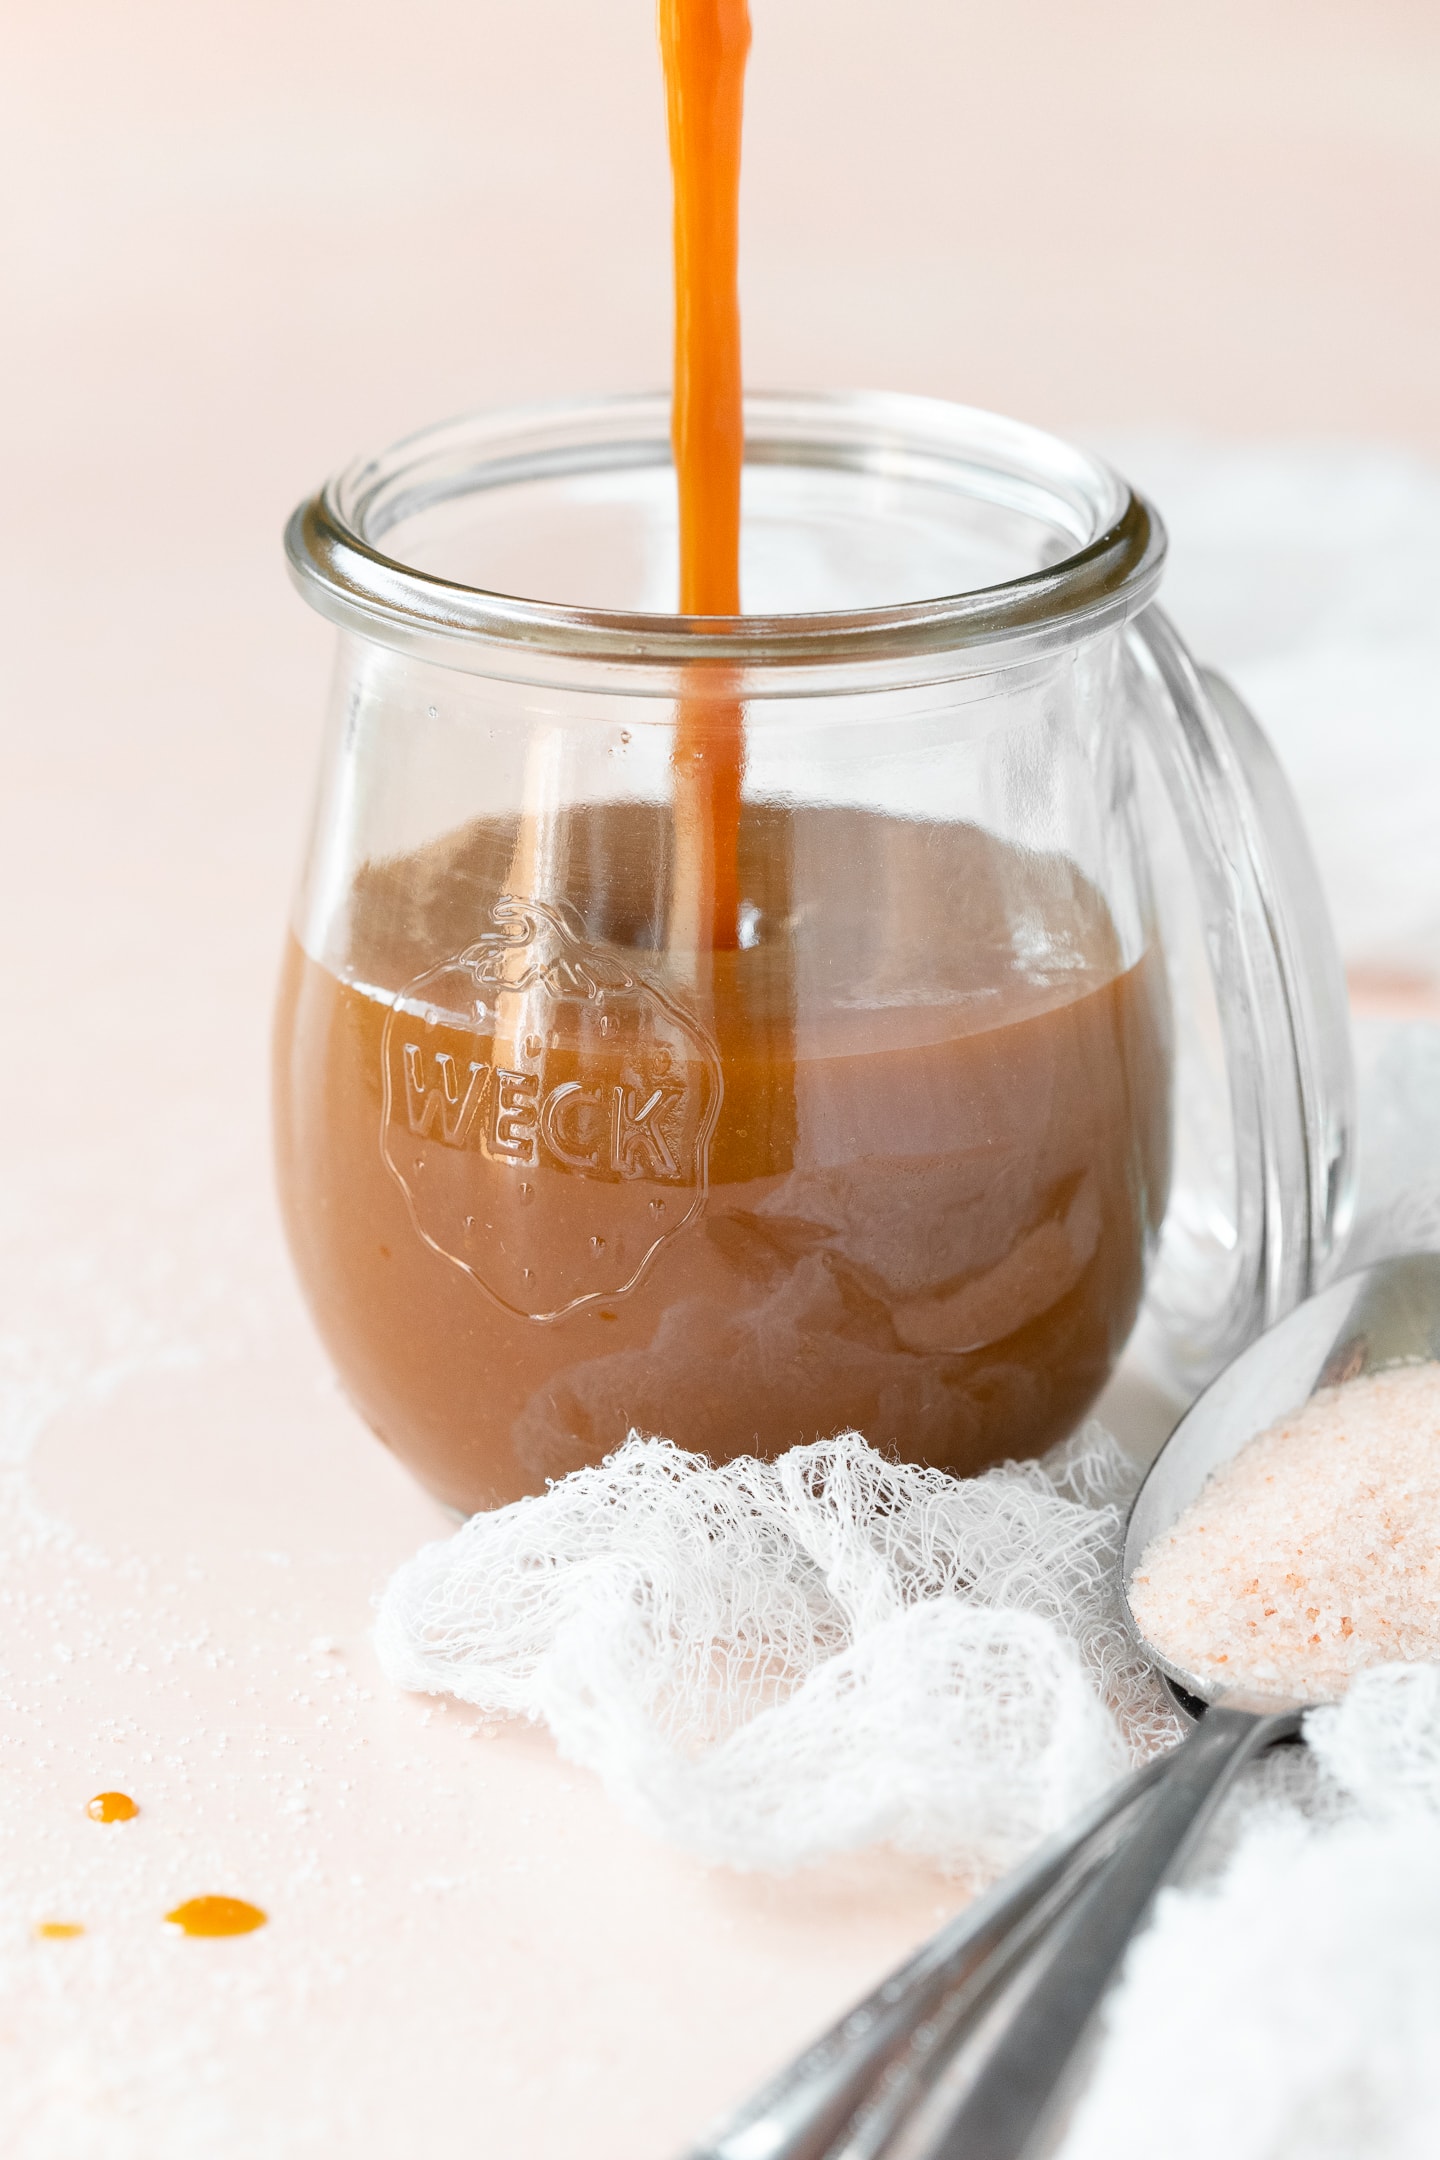
- Add salt and cool: Once all hardened pieces of caramel have melted (as needed) and the caramel has cooked longer (as desired), remove the pot from the heat. Whisk in the sea salt. Pour the caramel into a heat-proof container (if using glass, you can put a metal spoon in it to prevent shattering). Cover and place in the refrigerator to store; it will thicken as it cools.
Notes
*A thinner caramel sauce will yield about 1-¼ cups, while a thicker caramel sauce (cooked longer) will yield about 1 cup.
**I typically use 2% milk or whole milk. Readers have told me that the following will also work: 1%, skim milk, rice milk, goat's milk, almond milk, soy milk, and lactose-free milks such as Lactaid. (I haven't tested these alternatives myself.)
***For more of a "salted caramel", use ½ teaspoon of sea salt. Otherwise, ¼ teaspoon should do it.
Basic Recipe Adapted From: The Perfect Scoop via Annie's Eats


Kelley
This was the easiest, tastiest caramel recipe! Your instructions were so easy to follow and the caramel after cooking for the extra 10-15 was perfect on top of florentine cookies. Thanks so much!
PS also want to stress please be careful after you add the milk. The immediate rise and steam I was not expecting to be that intense.
alexandra
I'm so glad you like the caramel! Making it for florentines sounds incredible - they're one of my favorite cookies. :)
And yes - you're right about the steam when adding the warm milk to the sugar; it's very intense and you do need to be careful!
Steph
This recipe is excellent! Just need patience to get that sugar to start melting and when cooking it again after you add the milk, but when you have no cream or butter this is perfect! The detailed instructions were easy to follow as well. So glad I found it!
Janne
I don't know if it's my fault or not but mine stayed super runny and watery like. But it is good.
alexandra
Hi Janne,
Caramel sauce made with milk does tend to be runnier than alternatives made with butter and/or cream, but you can cook it down to achieve a thicker texture. Hope this helps!
HALLELUJAH
Lord Jesus you are a life saver. I wasted 2 packs of cream and a lot of sugar and butter and all of them curdled. This is the only recipe that actually turned out well. Thank you so much
Pink
Great easy and delicious
alexandra
I'm so happy to hear that! Thanks for the review!
Tara
This recipe is really easy and the caramel tasted good, however the texture was wrong - it was quite grainy. Also I found that perhaps it wasn’t the best caramel to use for the dessert I was making - banoffee pie. It took a long time to thicken and the thicker it got the grainier it become. I can see this being great for an ice coffee. How can I get a smoother caramel with this recipe?
alexandra
Hi Tara,
I haven't experienced this texture issue myself, but it sounds like it might be an issue with the milk splitting. I'd recommend the following: 1. Make sure your milk is fresh. Also make sure it's quite warm before you pour it into the caramel. 2. Make sure you're not cooking the sugar too much before adding the milk; the darker it gets, the more acidic it becomes, which can mess with the texture. 3. Make sure you stir constantly once the milk is added, especially if you're cooking it down for an extended period of time. If your caramel DOES turn out grainy despite your best efforts to avoid that, try blending it with an immersion blender briefly (or maybe even a regular blender on low speed?) to smooth it out.
All that being said, since this recipe is made without cream, it's going to be harder to turn it into a really thick caramel. If that's what you're looking for, swapping the milk for cream will be your best bet. OR you might want to try half-n-half as a middle ground.
Hope this helps!
Deborah Cunningham
This was the best recipe I've ever followed. I know candy making is tricky, but the detailed descriptions made it so nothing was a surprise throughout the process. Exactly what I was looking for, thank you so much!
alexandra
Thank YOU so much! This makes my day! I'm so glad to hear that all the details helped. :)
Mila
I loved this recipe! The tips were just what I needed, after failing many times trying to make caramel sauce in the past. I'm in love with the result! Thank you.
alexandra
Thank you so much for the glowing review! Positive feedback is so helpful in keeping this blog alive, so I appreciate it more than you know. :)
Kelsey
I agree with Isla - followed it exactly and ended up with a hard clump of caramel in hot milk :(
alexandra
Hi Kelsey,
I wish you had left your email so I could give you some suggestions, but I'll leave them here in the hopes that you come across my reply (or that it helps someone else). As I've mentioned in the post, it's somewhat common for the sugar to seize when making this caramel, which is what creates that hard clump. But, if you keep stirring over low heat, it will eventually melt back into the milk. It takes patience, but it's possible! This is much less likely to happen when you make caramel with cream, but that's sort of the trade-off for doing this with milk instead. I also have a post dedicated to my best tips for making caramel without cream or butter, which you might find helpful as well.
Rashed Hadi
Hello Alexandra,
I wanted to ask if I will be able to easily reuse it daily for making iced coffee. Will it harden in the fridge making it difficult to pour into coffee every morning?
Thanks for the recipe :)
alexandra
Hi Rashed,
If you make the recipe as-is, it should stay fluid enough to use in coffee without a problem. It's the exact recipe I use to make my caramel iced coffee!
Hope you enjoy!
Alex
Isla
I tried this recipe twice both times different problems occurred even though I followed the recipe exactly. Frankly just a waste of ingredients.
alexandra
Hi Isla,
I'm so sorry to hear that you were unsuccessful with this recipe. I'd be happy to help you troubleshoot it if you'd like to explain what went wrong! I've heard from many readers who have made this caramel and loved it, so I can only hope I'd be able to solve whatever problem you ran into!
Alex
Chih
The taste of the caramel was great but I had trouble with the texture looking a bit grainy. It’s probably an issue with execution so I was wondering how to troubleshoot this? It may be an issue with causing sugar crystals during the 4th step. Thanks!
alexandra
If you saw crystallization happening before you added the milk, then that's probably your issue. In that case, just make sure you avoid stirring the sugar as it melts. You could also have a texture issue if your milk splits when added to the sugar. To prevent that, make sure your milk is fresh and very warm before adding it to the caramel. Also make sure you're not cooking the sugar too much before adding the milk; it should be golden, but not super dark or burnt. Lastly, make sure you stir constantly once the milk is added.
If all else fails, use a blender on low speed to smooth the caramel out once it's ready!
Taylor French
I think that this recipe is awesome i just have one question, if I didn’t cook my caramel long enough before chilling can i reheat it to thicken it?
alexandra
Hi Taylor, I haven't tried it, but I think that would work! Just put it on the stove and try cooking it down further at medium-low heat, stirring very often.
Adah
I can't express enough how amazing this recipe is! I've been baking for quite some time and one thing I've learned from experience is: you don't need a lot of ingredients to make a really good dessert. And this recipe proves it. I used this recipe to make homemade Samoa Girl Scout cookies and it was delicious. The caramel tasted just like if it were made from a fancy company. One thing I'll say is there is no way to avoid the sugar from hardening right after adding the milk. But continuing to stir and get the sugar off the bottom of the pot as it dissolves is very important.
AC
Best and easiest caramel I've ever made, and I have been making it for years using the "wet" method. This recipe is rather difficult to get wrong once you get the "dry" method down. It just requires attention and patience. It's actually possible to make this caramel thick enough to make candy using 2% milk. I add a tiny bit of vanilla extract and butter at the end of the cooking process in order to make the caramel even richer-tasting. Everyone that I've made this for loved it. Thank you so much for sharing!
alexandra
Thank you so much for this glowing review! So happy to hear you've had success with the recipe!
Gray
Easiest caramel sauce I've ever made. Absolutely delicious. And it's so smooth.
alexandra
This is awesome to hear! Thank you so much!
Nancy
THIS IS THE SIMPLEST AND GREATEST RECIPE FOR CARAMEL EVER!
alexandra
So happy to hear that! Thank you for taking the time to rate and review. :)