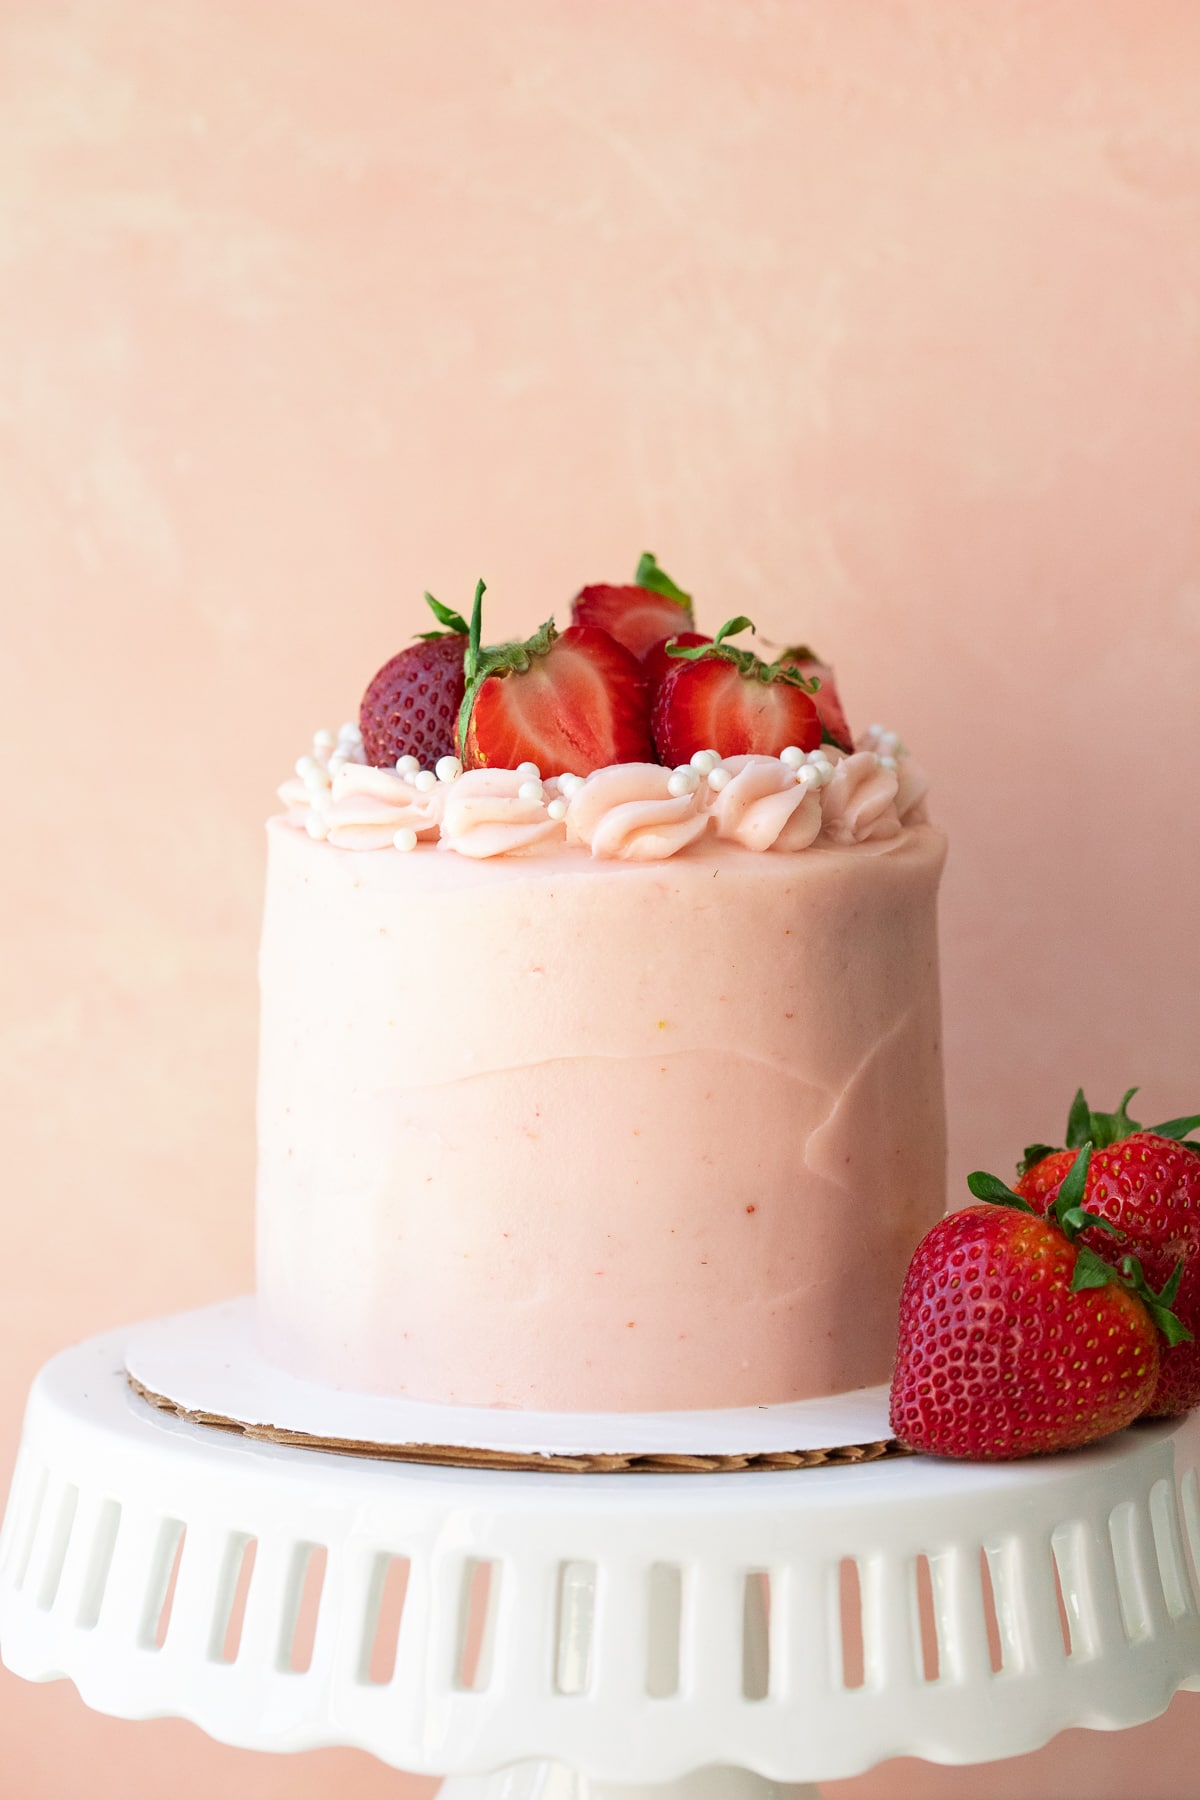
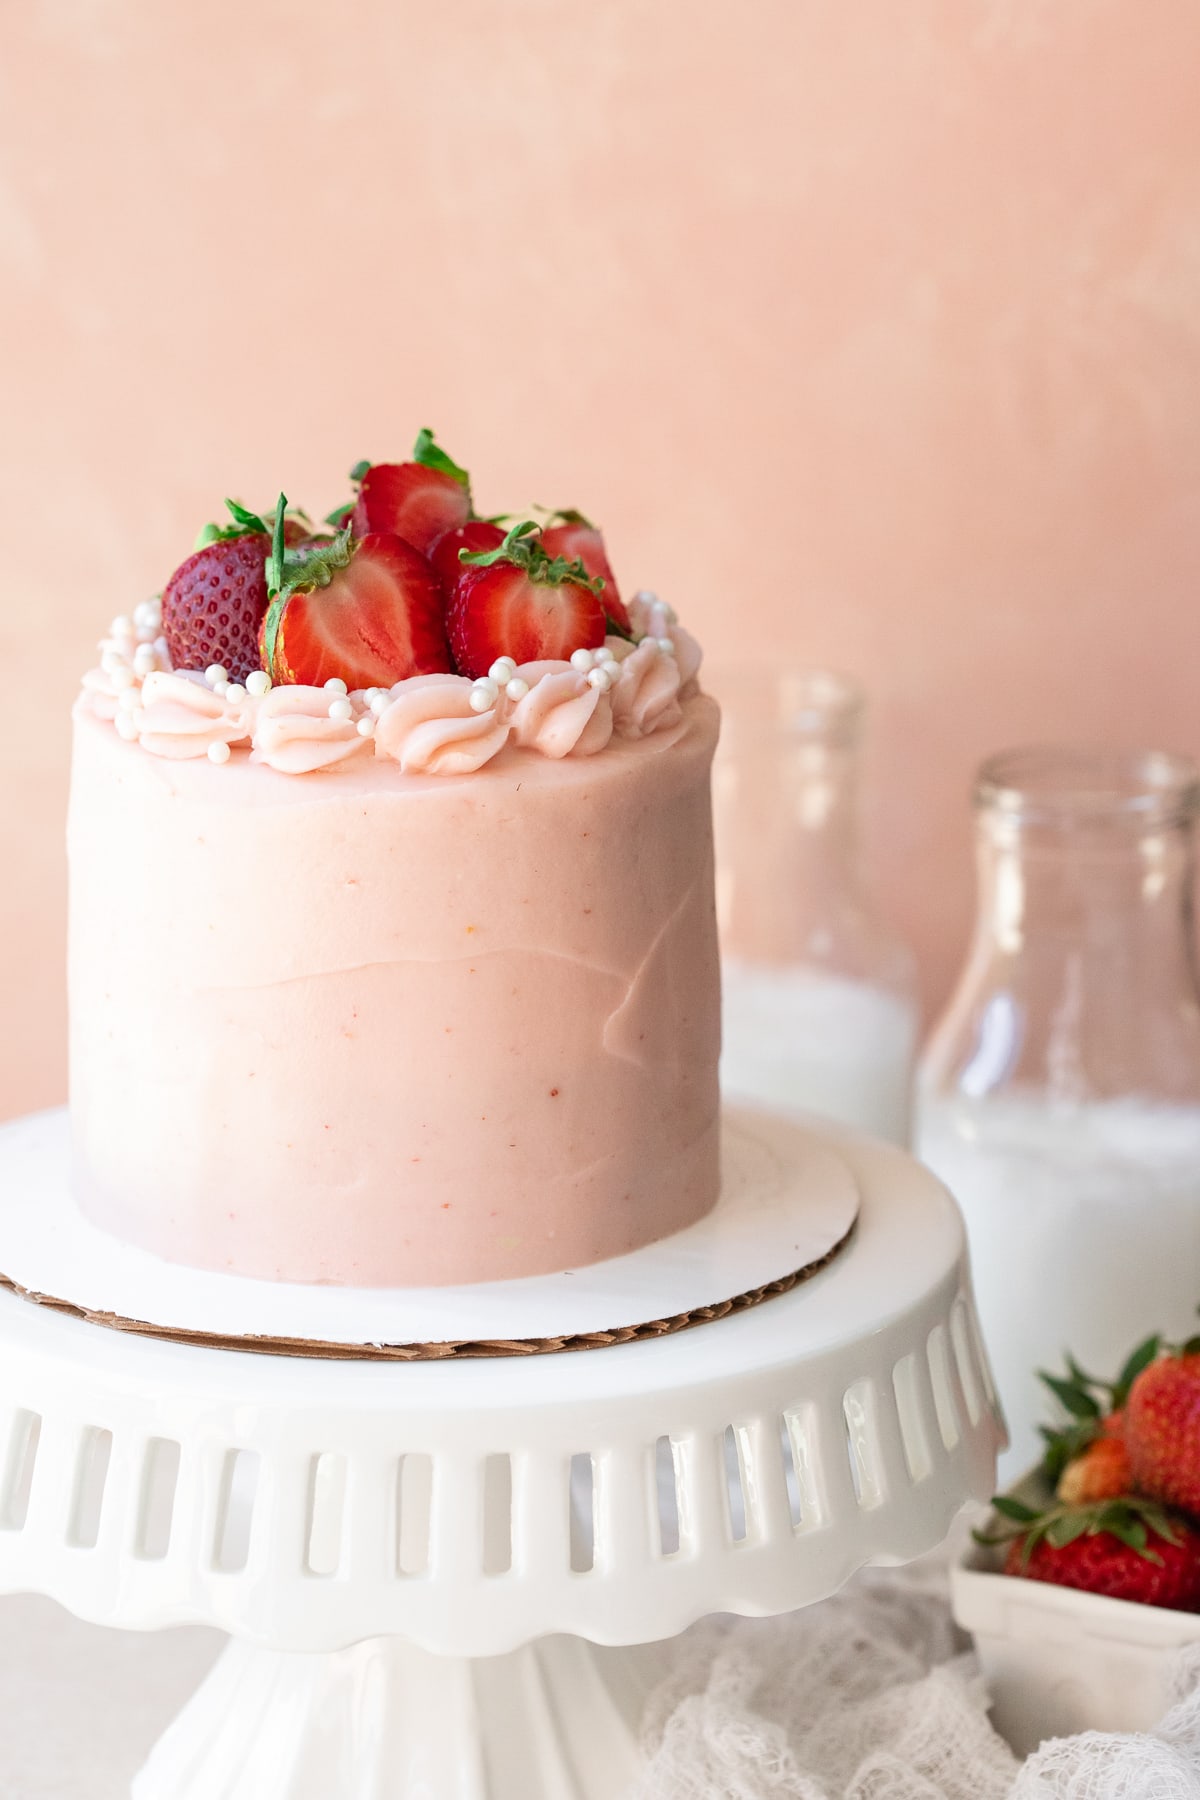
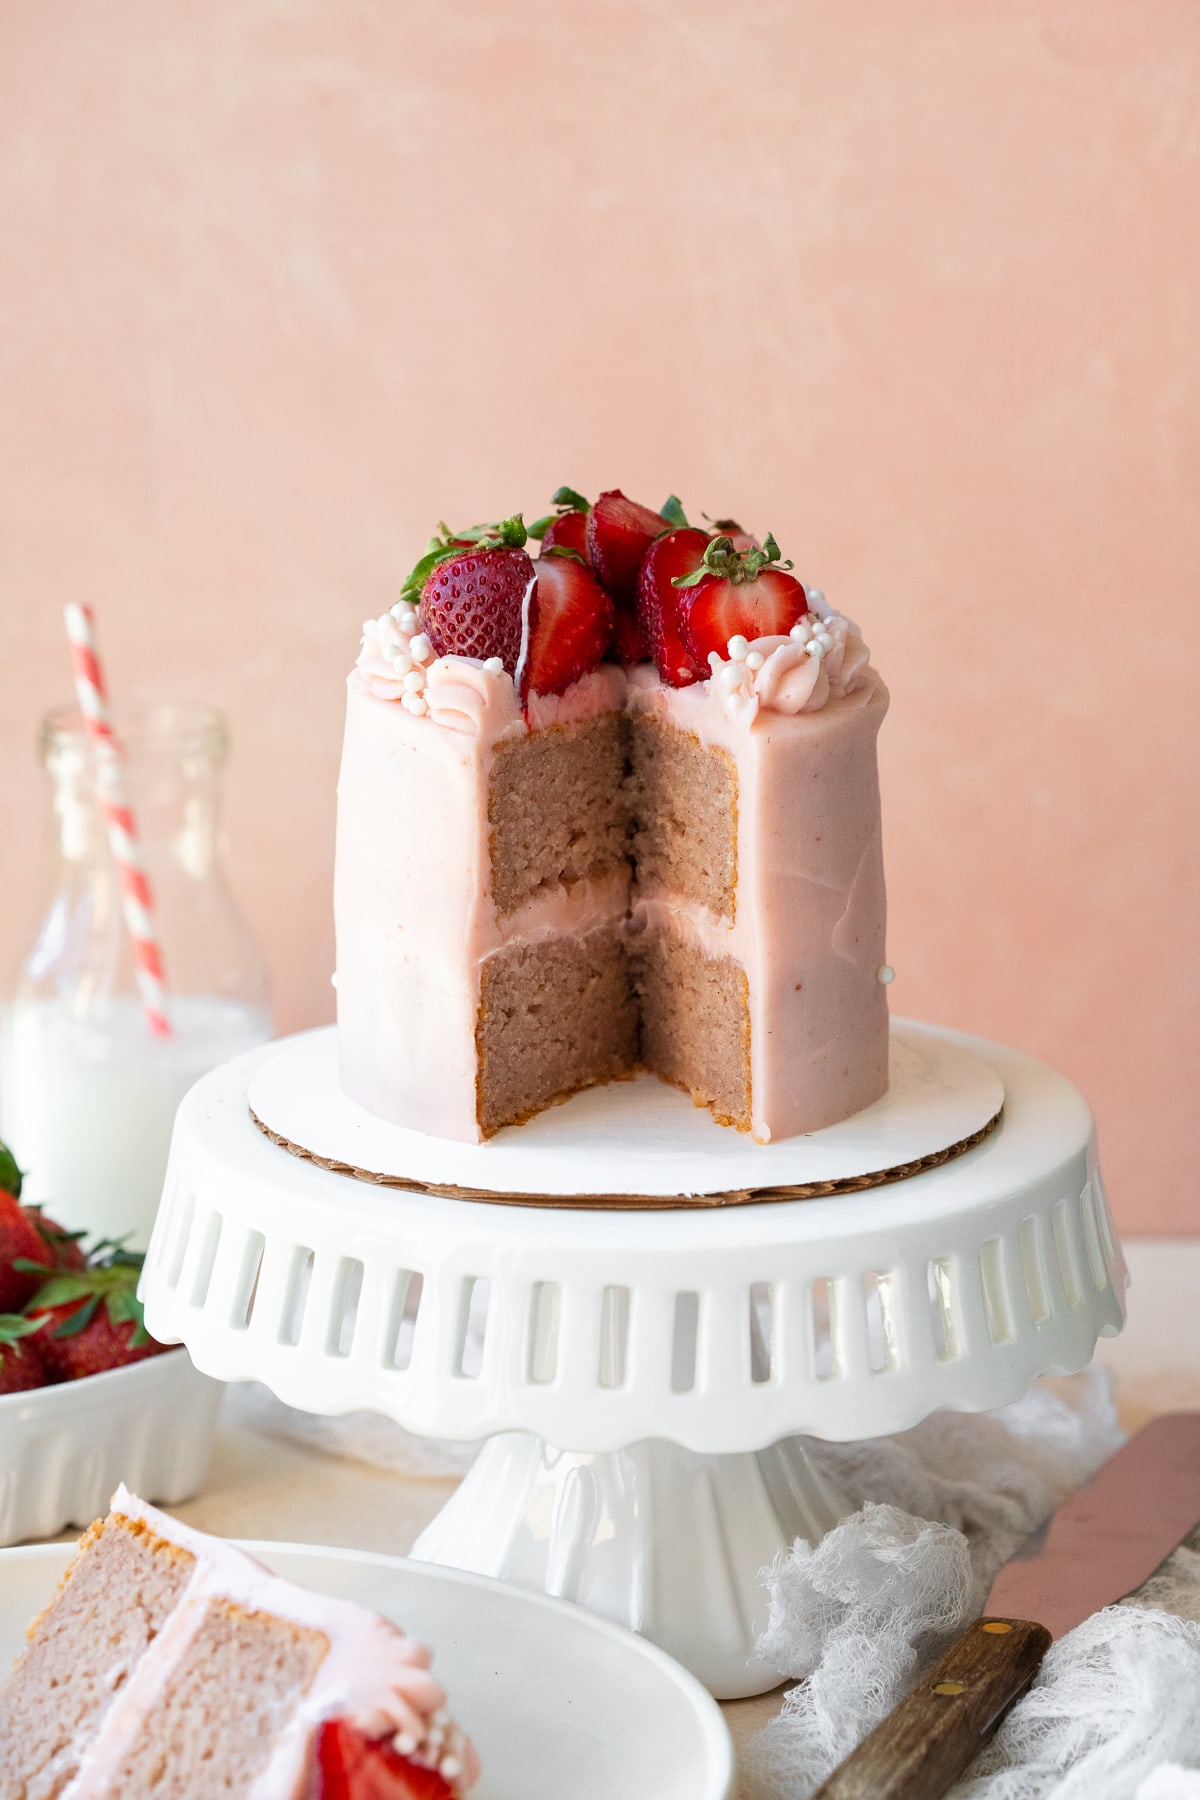
A soft, moist, gluten-free strawberry layer cake made entirely from scratch, topped with the most irresistible strawberry cream cheese frosting. It's a perfect summer dessert that can be made full-size or in mini form!
I'm officially deeming this cake the best use of juicy summer strawberries. Coming from a girl who loves chocolate desserts above all else, lemme tell you: this is everything I could ever ask for in a strawberry cake. It's made entirely from scratch, it's perfectly moist and tender, and it's layered with a frosting that honestly tastes just like a strawberry milkshake - SO good. If you're looking for the quintessential strawberry dessert, this is it.
Jump to:
Tips for making this cake from scratch
The key to a great strawberry cake made from scratch lies in a couple important factors:
Bold strawberry flavor: To really achieve a strong strawberry flavor that plays a starring role, roast the strawberries with a little sugar first. Doing this makes them a little sweeter and helps amplify their flavor. Another tip (also recommended in my strawberry apple crumble recipe!) is to make this cake with local, in-season strawberries whenever possible.
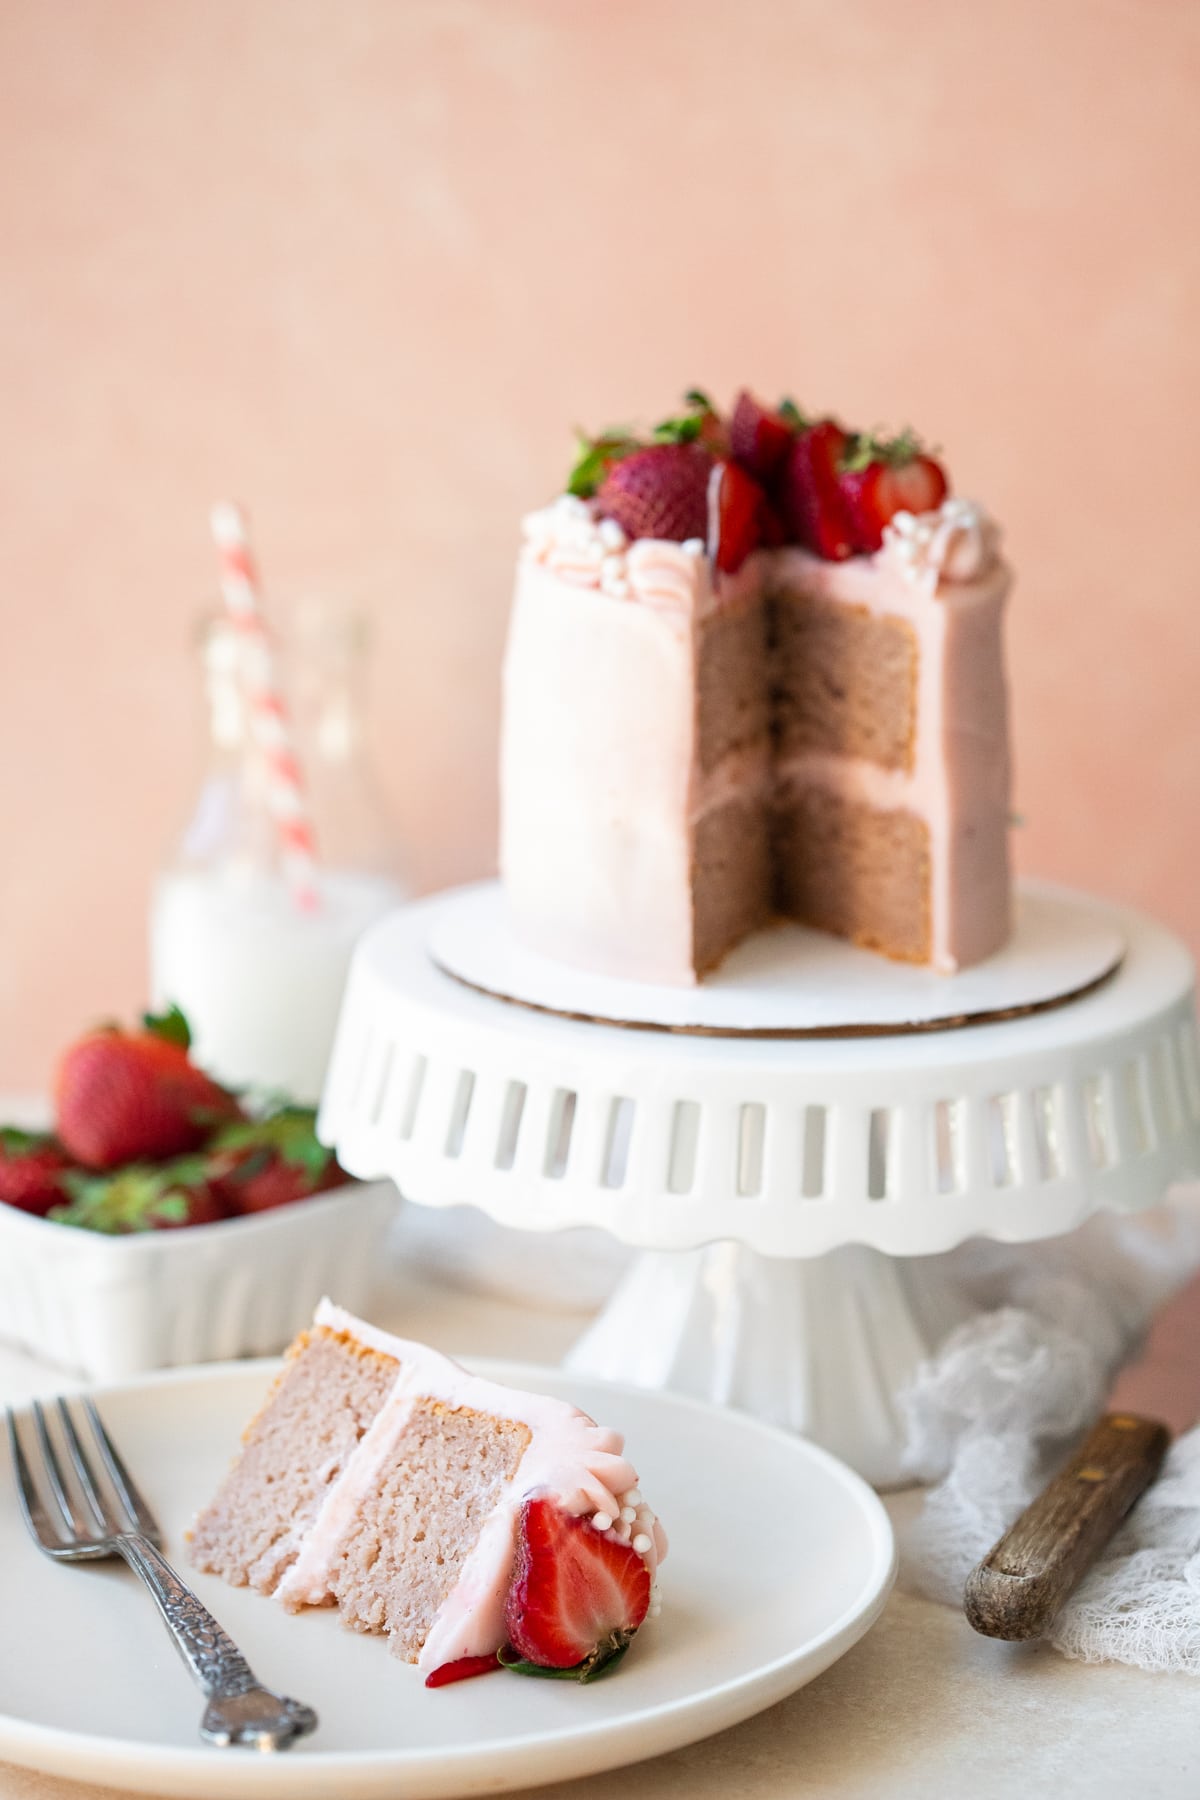
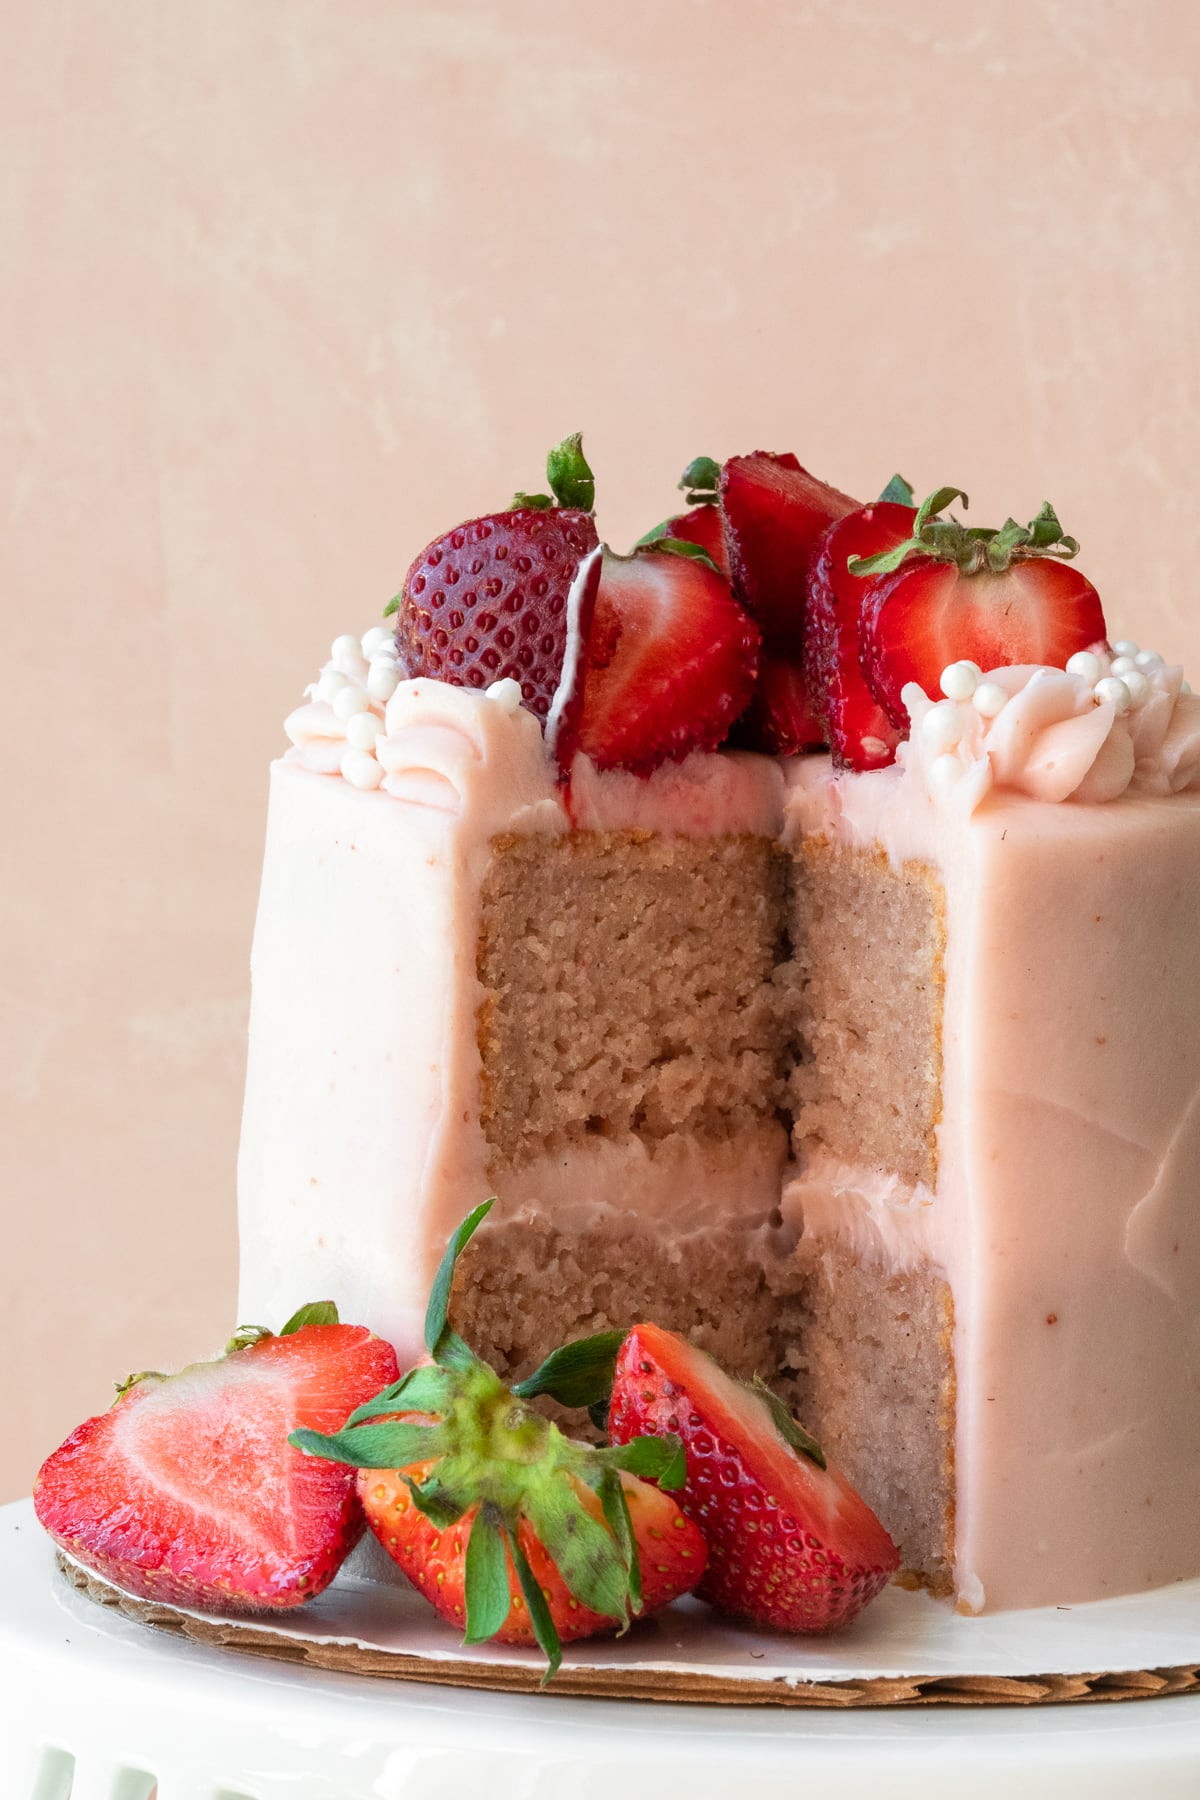
Moist & tender crumb: Nobody likes a dry cake (blegh), and gluten-free baked goods in particular tend to be on the dryer side. But not this one! While the roasted strawberries do their part to contribute moisture, buttermilk also plays a role in achieving a soft, tender crumb. Additionally, properly creaming the butter & sugar, and thoroughly mixing in the eggs and liquid ingredients, will help your cake bake up with a soft, fine texture.
These tips will help you with this strawberry layer cake in particular, but there are a few other good tips you can follow when making most any cake...
Other baking tips
Butter your pans, line the bottoms with parchment circles, and dust the sides with flour. This will ensure that it's easy to remove the cakes from their pans after baking.
Sift your dry ingredients and whisk them together well. I KNOW, sifting is an extra step that seems annoying and maybe even outdated, but it's important here. You want to make sure your dry ingredients are very well-combined before adding to the wet ingredients; sifting will also make it easier to work them in.
Use room temperature ingredients. Your butter, egg, and strawberry purée should all be at room temperature before using to ensure proper mixing. This will help your cake rise better and ultimately result in a better texture.
Bang out air bubbles before baking. After you fill your pans with batter, bang them on the counter a few times to get rid of any trapped air bubbles. Less bubbles = a finer, more ideal texture.
Use the toothpick test. You'll know your cakes are done baking when a toothpick inserted into the center of one comes out clean or (ideally) with just a couple moist crumbs. Baking times are a guideline, but visual cues are always your best bet.
Tips for making a strawberry cream cheese frosting from scratch
Much like the cake, a crucial element of making strawberry frosting from scratch is achieving a strong strawberry flavor. Because frosting doesn't allow for much liquid content (unless you want runny frosting), the trick is to cook the strawberries down into a jam before using them. This is easy to do and only take a few minutes, and you'll be rewarded with BIG strawberry flavor in your frosting.
Beyond that, here are a few more tips for making frosting:
Use room temperature (but not melting!) butter. You should be able to press a finger into it, but you don't want it to be too soft. Too cold and your frosting won't be smooth, too warm and your frosting will be runny.
Sift your confectioner's sugar! Again, I know it's annoying, but it's worth it. Confectioner's sugar tends to clump, and that will make it harder for you to get your frosting nice and smooth.
Mix on low speed. This is a tip I learned from Olive & Artisan. To avoid pesky bubbles in your frosting, beat at low speed just until it's smooth.
Making Ahead
This recipe is a little long, but the goods news is you can space it out into chunks. The cake can be made a day in advance. Just let it cool completely after baking and wrap tightly in plastic wrap until ready to assemble. I would also recommend making the strawberry jam ahead so there's plenty of time for it to cool down entirely. Make the frosting just before you plan to assemble the cake.
Scaling this recipe
The instructions in the recipe below are for a 4" mini layer cake. To scale this into an 8", full-size cake, triple the cake recipe and double the frosting recipe. You can use the buttons at the top of the recipe card to automatically scale the ingredients. Note that your cake layers will be slightly thinner - I'd suggest using cake pans that are anywhere between 1.5"-2" deep. You may also need to increase the baking time to 35 minutes. Again, use the toothpick test!
Storing
Because this dessert includes fresh fruit and has a cream cheese frosting, it should be kept chilled. Cake is always best served fresh, but any leftovers can be covered directly with plastic wrap, stored in a container if possible, and refrigerated.
More strawberry recipes
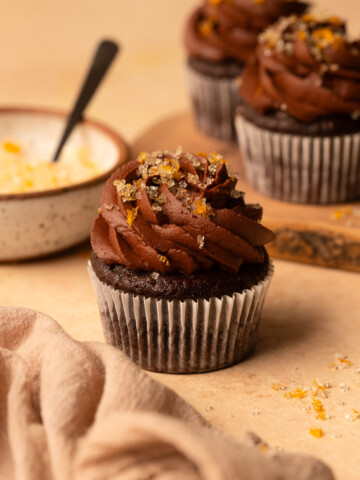
Double Chocolate Cupcakes with Strawberry Cream Cheese Frosting - These rich chocolate cupcakes are topped with a strawberry frosting that's (almost) identical to the one used here. They're perfect for anyone who needs a solid dose of chocolate in their dessert!
Strawberry Bundt Cake with White Chocolate Ganache - The bundt that inspired this recipe! If you can't be bothered with a layer cake - or just love the idea of a strawberry-white chocolate combo - try this.
Strawberry Almond Financiers - For another gluten-free recipe that's still in the cake realm but a little lighter, try these financiers. A mixture of brown butter, almond flour, almond extract, and fresh strawberries gives them incredible flavor.
Strawberry Layer Cake
A soft, moist, gluten-free strawberry cake made entirely from scratch, layered with the most irresistible strawberry cream cheese frosting. It's a perfect summer dessert that can be made full-size or in mini form!
- Prep Time: 2 hours
- Cooling Time: 1 hour 30 minutes
- Cook Time: 30 minutes
- Total Time: 2 hours 30 minutes
- Yield: one 4" 2-tier layer cake 1x
- Category: cake
- Method: baking
- Cuisine: American
- Diet: Gluten Free
Ingredients
Roasted Strawberry Purée (for cake)
- 1 cup (5 ounces) chopped strawberries
- 1 ½ teaspoons granulated sugar
- ⅓ cup (2 ⅞ ounces) buttermilk
Strawberry Jam (for frosting)
- ⅝ cup (3 ⅛ ounces) chopped strawberries
- 4 teaspoons granulated sugar
Strawberry Cake
- 1 cup, spoon and level (4 ¼ ounces) gluten-free all-purpose flour with xanthan gum, plus extra for dusting
- ⅝ teaspoon baking powder
- ⅜ teaspoon salt
- ⅛ teaspoon baking soda
- 3 ⅓ tablespoons (1 ⅝ ounces) unsalted butter, room temperature
- ½ cup (3 ½ ounces) granulated sugar
- 1 vanilla bean, split and scraped
- 1 egg, room temperature
- roasted strawberry purée (see above)
- ⅜ teaspoon vanilla extract
Strawberry Cream Cheese Frosting
- strawberry jam (see above)
- ½ cup (4 ounces or 1 stick) unsalted butter, room temperature
- 4 ounces full-fat cream cheese
- 1 ¾ cups (7 ounces) confectioner's sugar, sifted
- 1 ½ teaspoons milk or cream, room temperature
- ¼ teaspoon vanilla extract
- pinch of salt
Decorating/Garnish
- fresh strawberries
- sugar pearls (optional)
Instructions
Roasted Strawberry Purée:
- Roast the strawberries: Preheat oven to 350ºF. Place chopped strawberries in a 8-9" square baking dish (preferably glass/pyrex) and sprinkle sugar on top. Toss to coat strawberries with sugar. Bake in preheated oven for 15 minutes. The strawberries should be soft and juicy when done.
- Blend into purée: Transfer strawberries to a blender, being sure to scrape up as much of the fruit/juice as possible from the pan. Add buttermilk to blender and blend mixture until smooth. Transfer to a clean bowl and allow to cool to room temperature while making strawberry jam.
Strawberry Jam:
- Blend and cook: In clean blender, combine strawberries and sugar and blend until smooth. Transfer to a small saucepan and bring to a simmer over medium-low heat. Cook, stirring often with a spatula and adjusting heat as needed to retain a simmer, until the mixture has reduced to about 1-2 tablespoons worth of jam (this takes about 5-10 minutes on my stove).
- Strain: Strain jam through a fine-mesh sieve into a small bowl, pressing as much of the jam through as possible. Use a spatula to push the jam into a small clump, cover directly over the surface with plastic wrap, and transfer to the refrigerator to chill completely while making cake.
Strawberry Cake
- Prep pans: Keep oven at 350ºF. Prep your cake pans: butter two 4" wide x 2" high round cake pans; line the bottoms with parchment rounds and dust the sides with gluten-free flour, tapping out any excess.
- Whisk dry ingredients: Sift the flour, baking powder, salt, and baking soda into a medium bowl. Whisk together well after sifting.
- Mix wet ingredients: In the bowl of a stand mixer fitted with the paddle attachment, cream together the butter, sugar, and vanilla bean seeds until light and fluffy, scraping down the bowl and beater as needed. Add the egg and beat in until fully and smoothly incorporated, again scraping down bowl/beater as needed. With the mixer on low speed, slowly stream in the room temperature strawberry purée. Add the vanilla extract and continue to beat until the liquid ingredients are fully incorporated, scraping down as necessary. The mixture may appear to separate after adding the purée; this is okay!
- Combine: Add the dry ingredients to the wet and mix in on lowest speed until only a few streaks of flour remain. Finish mixing together by hand just until all ingredients are evenly incorporated.
- Transfer to cake pans: Divide the batter evenly between the two prepared cake pans. Smooth surface out as best as possible with a spatula, and then bang each cake pan on the counter several times to eliminate any air bubbles before baking.
- Bake and cool: Transfer pans to the preheated oven and bake for about 30 minutes, until a toothpick inserted into the center of the cake comes out clean or with just a few moist crumbs. Cool cakes in pans over a wire rack for 20-30 minutes, and then remove from pans and place directly on wire racks to finish cooling. Once cool, wrap cakes tightly in plastic wrap until ready to frost.
Strawberry Cream Cheese Frosting
- Make the frosting: In the clean bowl of a stand mixer fitted with the paddle attachment, beat together the cooled strawberry jam, butter, and cream cheese on medium-low speed just until smoothly combined, scraping down the bowl and beater as needed. Add the confectioner's sugar and beat in on medium-low until incorporated. Add the milk/cream, vanilla, and salt, and continue to beat just until the frosting is smooth, again scraping down the bowl and beater as needed. If necessary, use a spatula to finish mixing the frosting by hand and press out any air bubbles.
Assembling and Decorating
- Level cakes: Remove parchment rounds from bottom of cake. Use a large serrated knife to level both cake layers by slicing off the domed tops.
- Assemble and crumb coat: Place one cake layer cut side-up on a plate or cardboard round set on top of a rotating cake stand. Use an offset spatula to add an even layer of frosting on top. Place the second cake layer over the first, bottom-up. Apply a thin layer of frosting (crumb coat) to the exterior of the cake to fill in any gaps between the layers and seal in crumbs. Transfer cake and frosting to the refrigerator to chill for about 10 minutes.
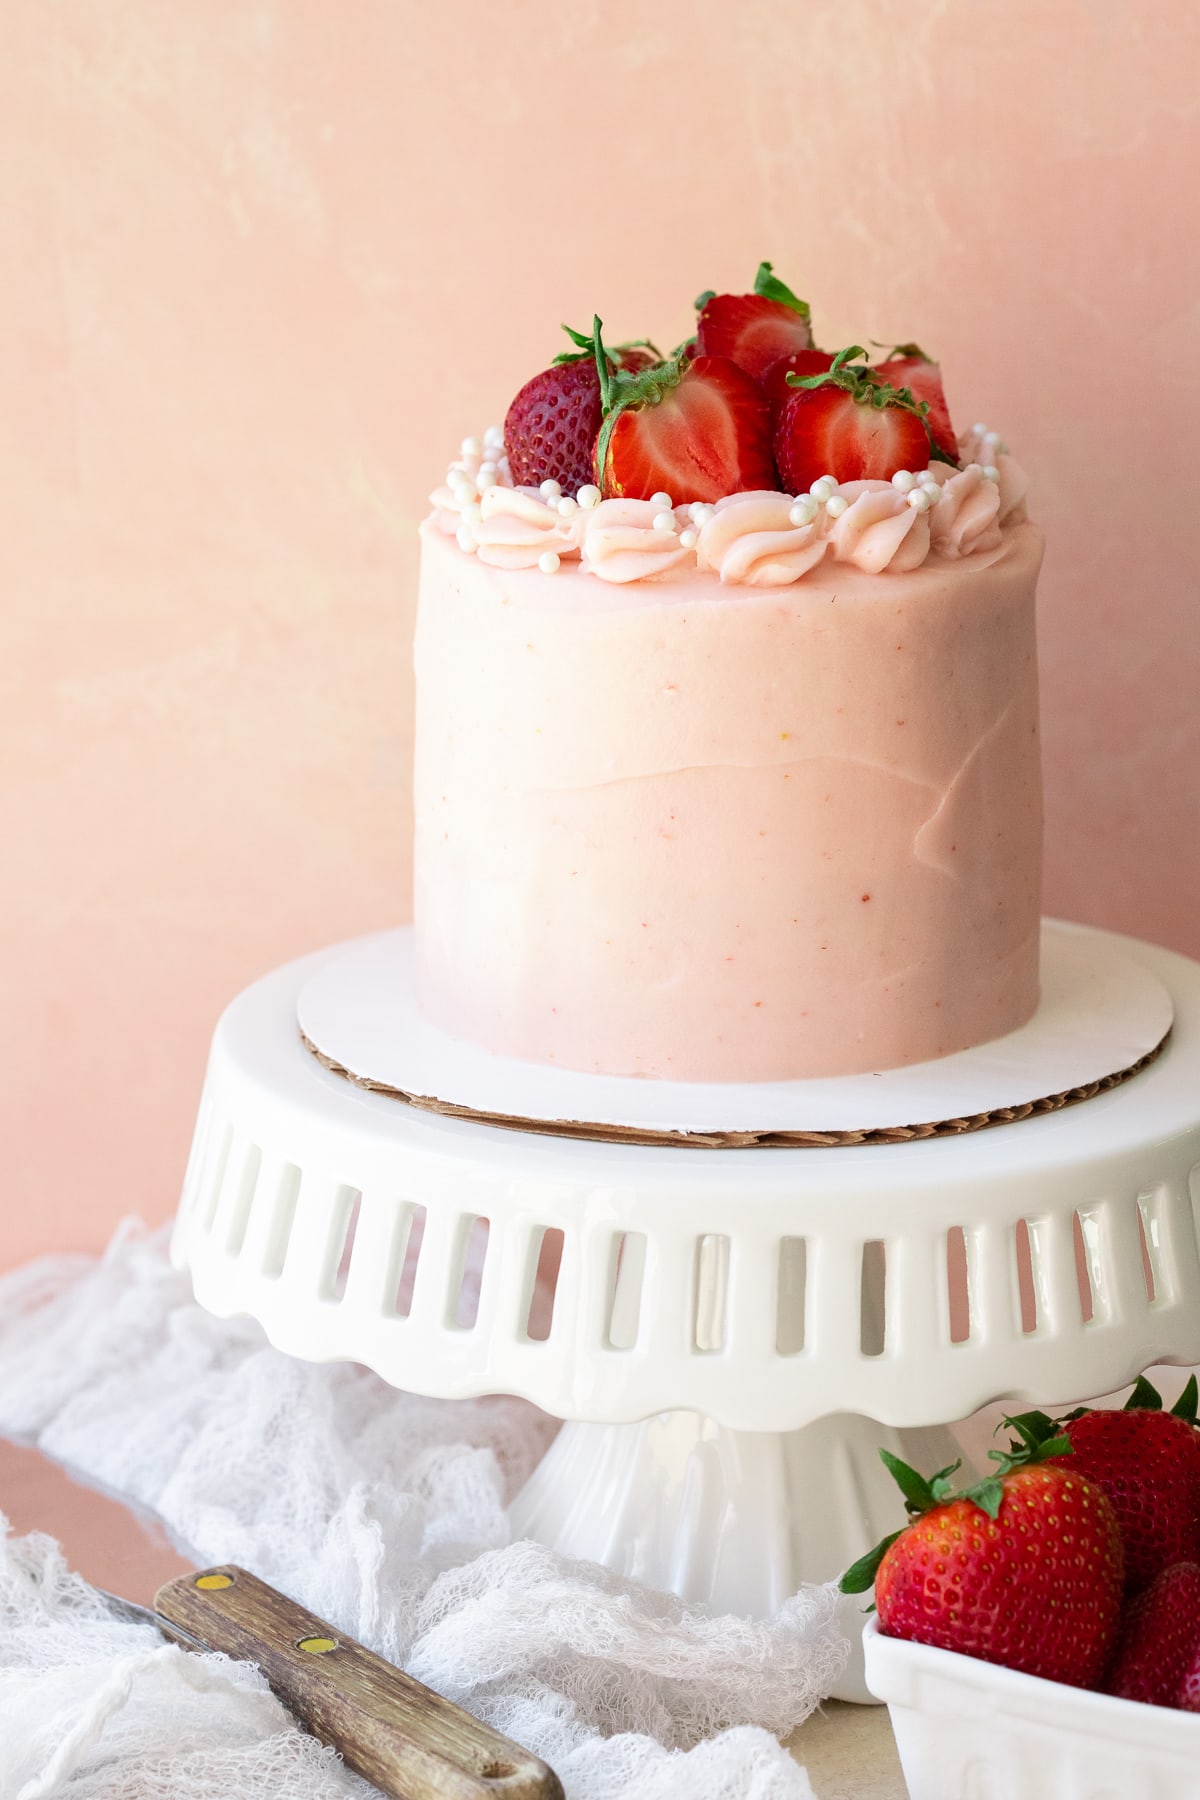
- Frost: Add a second layer of frosting to the cake, this time being sure to create a smooth, even finish all around. Transfer remaining frosting to a piping bag fitted with tip of choice (I used Ateco #846) and pipe a border of frosting around the perimeter of the cake. Top with fresh strawberries in the center and garnish with sugar pearls as desired.
Notes
To make as a standard 8-inch layer cake, triple the cake recipe and double the frosting recipe. (Tip: You can use the recipe scaling feature at the top of the recipe card to make this easier). Your layers will be slightly thinner, so pans that are anywhere between 1.5" and 2" deep should work. Bake cake for 30-35 minutes, or until it passes the toothpick test.
Storage and shelf life: This cake should be kept chilled until ready to serve. Cover any leftovers with plastic wrap placed directly over the surface of the cake and, if possible, store in an airtight container.

Deborah McKay says
Hello, math teacher here. Have you made this as a 9” cake? Because 2-4” layers yield 25 square inches of cake, and 2-9” layers is 127 square inches of cake. Tripling the recipe would yield 75 square inches of the same thickness, which is not nearly enough to make 2-9” cake layers of the same thickness as the 2-4”.
alexandra says
Hi there! My cake pans are actually 8.5" wide, which is a bit unconventional - they're also about 1.5" deep versus 2". So for a full-size cake you'll have thinner layers than you would with the 4" cake. That being said, in my attempts to suggest a more conventional cake pan measurement, I should have rounded down to 8", so I've updated the post to correct that. I also added an extra note regarding the change in pan depth. Thanks for pointing this out so I could make the instructions more clear!
Sandra says
This looks a delicious as it tastes! My mouth is watering from the memories. The pictures are beautiful, Alexandra.