These mini, no-bake pumpkin cheesecakes are the perfect fall dessert in bite-size form. They're quick and easy to make, with a crunchy ginger cookie crust (that can be made gluten-free) and creamy, mousse-like filling. The cozy flavors of pumpkin spice and molasses will have you craving these all through autumn and into the holidays!
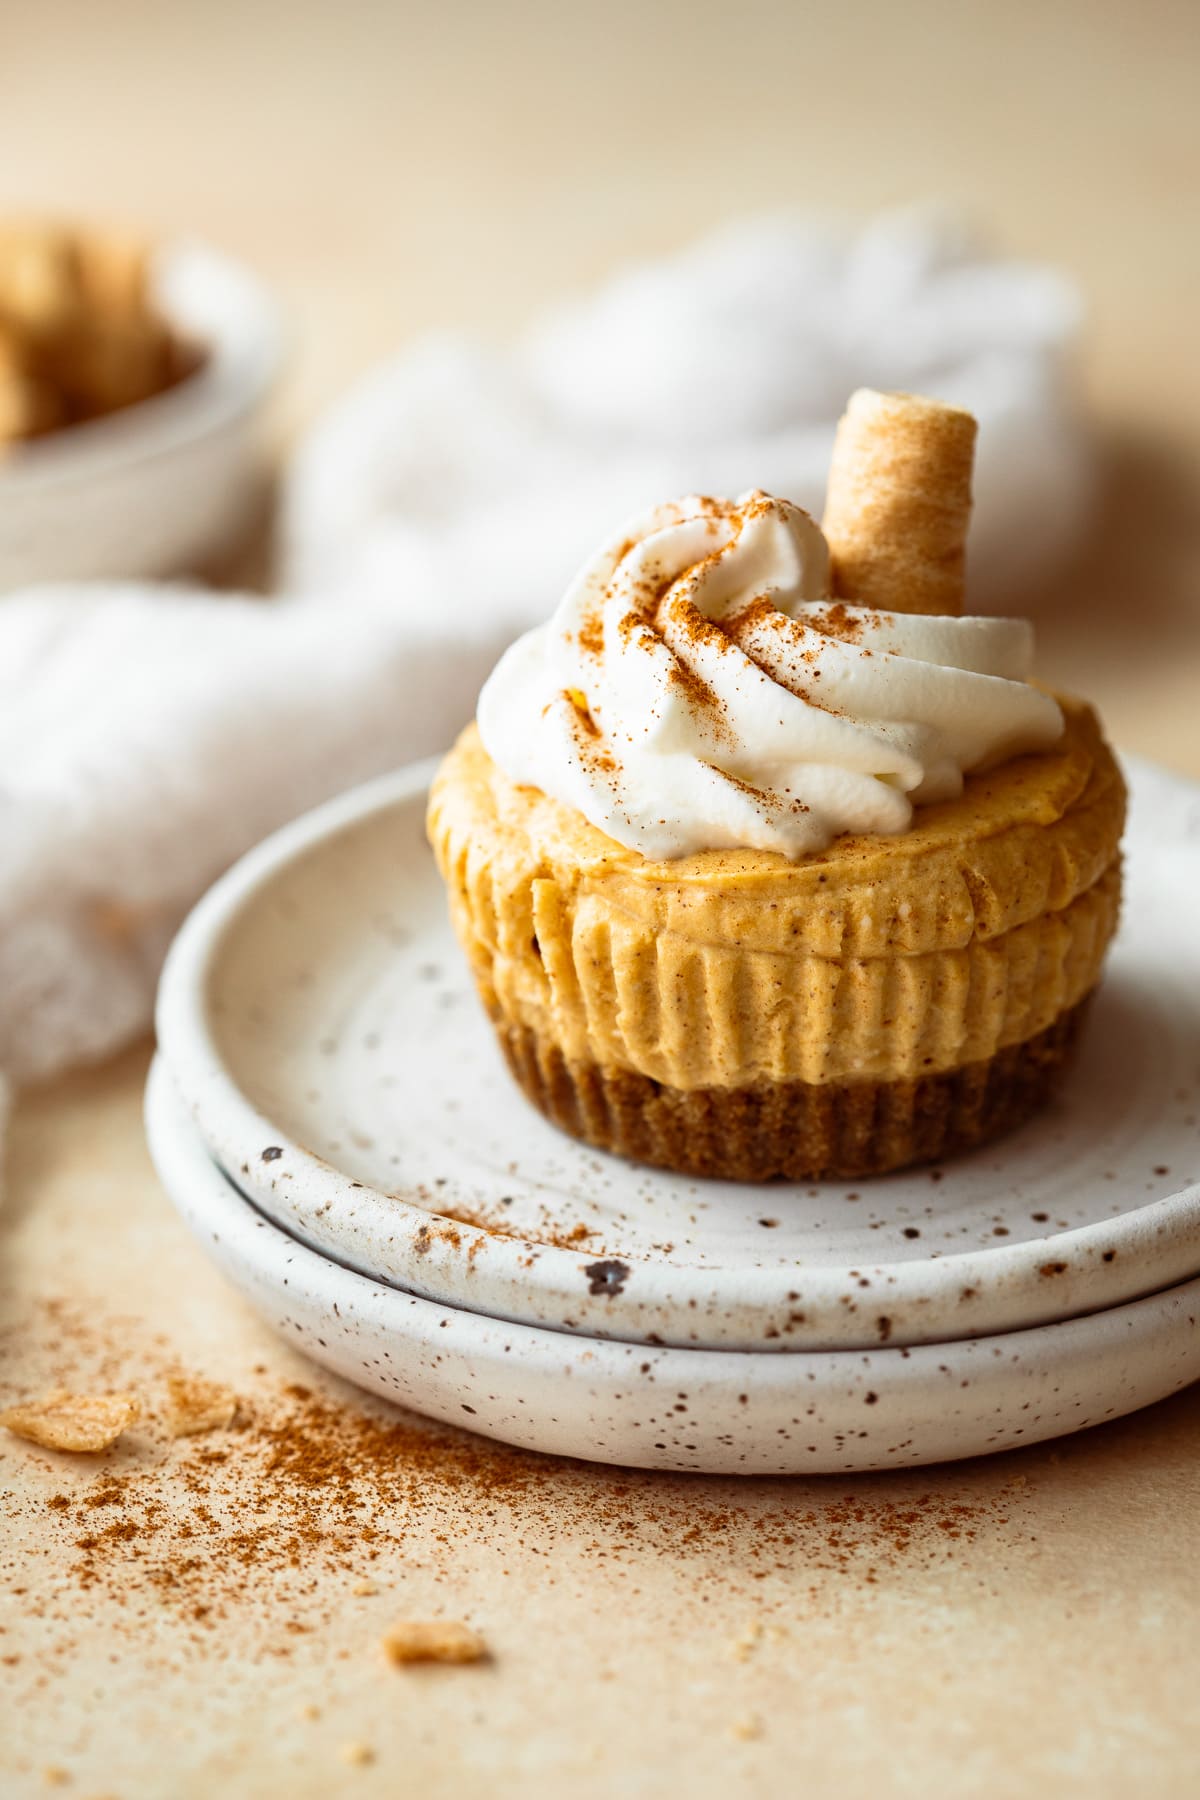
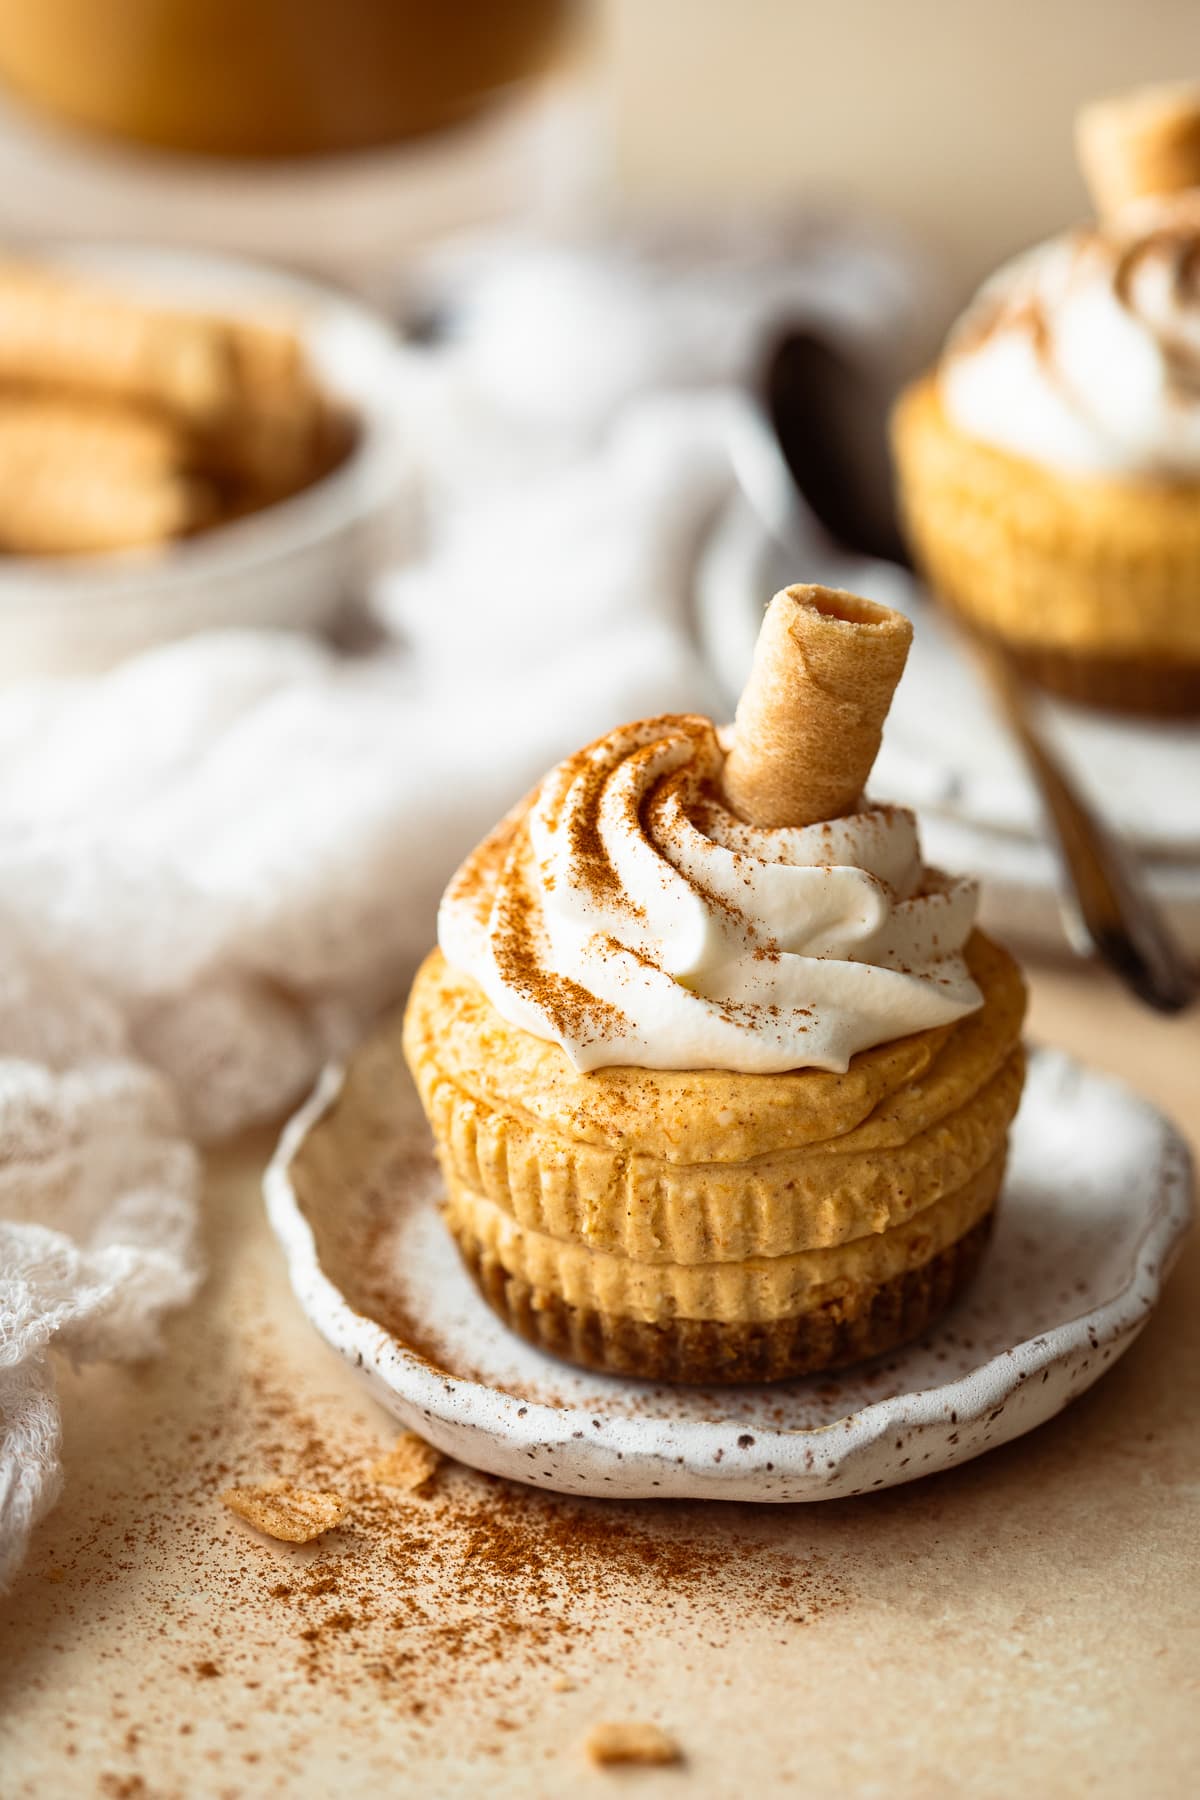
Allow me to introduce you to the ultimate fall dessert - simple, cozy, and perfect for any occasion. It's three layers of sugar and (pumpkin) spice perfection: a rich molasses-laced cookie crust, an airy pumpkin cheesecake filling, and fluffy whipped cream on top.
Jump to:
Why you'll love these easy no-bake pumpkin cheesecakes
If the idea of a from-scratch, homemade cheesecake sounds daunting, the simplicity of this recipe will blow your mind.
- These are simple to make, with about 30 minutes of prep time.
- There's no oven or water bath required - no-bake cheesecake for the win!
- They're a make-ahead dessert, which means no last-minute scrambling when you're serving a crowd. They'd be particularly perfect for Thanksgiving!
- If you have leftovers, they're also freezer-friendly.
- You won't need any special pans, springform or otherwise. These are made in a basic muffin pan, but you could even use small jars!
- They're pre-portioned into individual cupcake-sized servings, perfect for entertaining.
- They're easily made gluten-free.
- And of course, they're essentially two desserts in one - pumpkin pie and cheesecake!
Ingredients needed
If you're here for the recipes that only require a single grocery store trip, this one's for you. All the ingredients you'll need for these mini pumpkin cheesecakes should be easy to locate at your neighborhood grocery store.
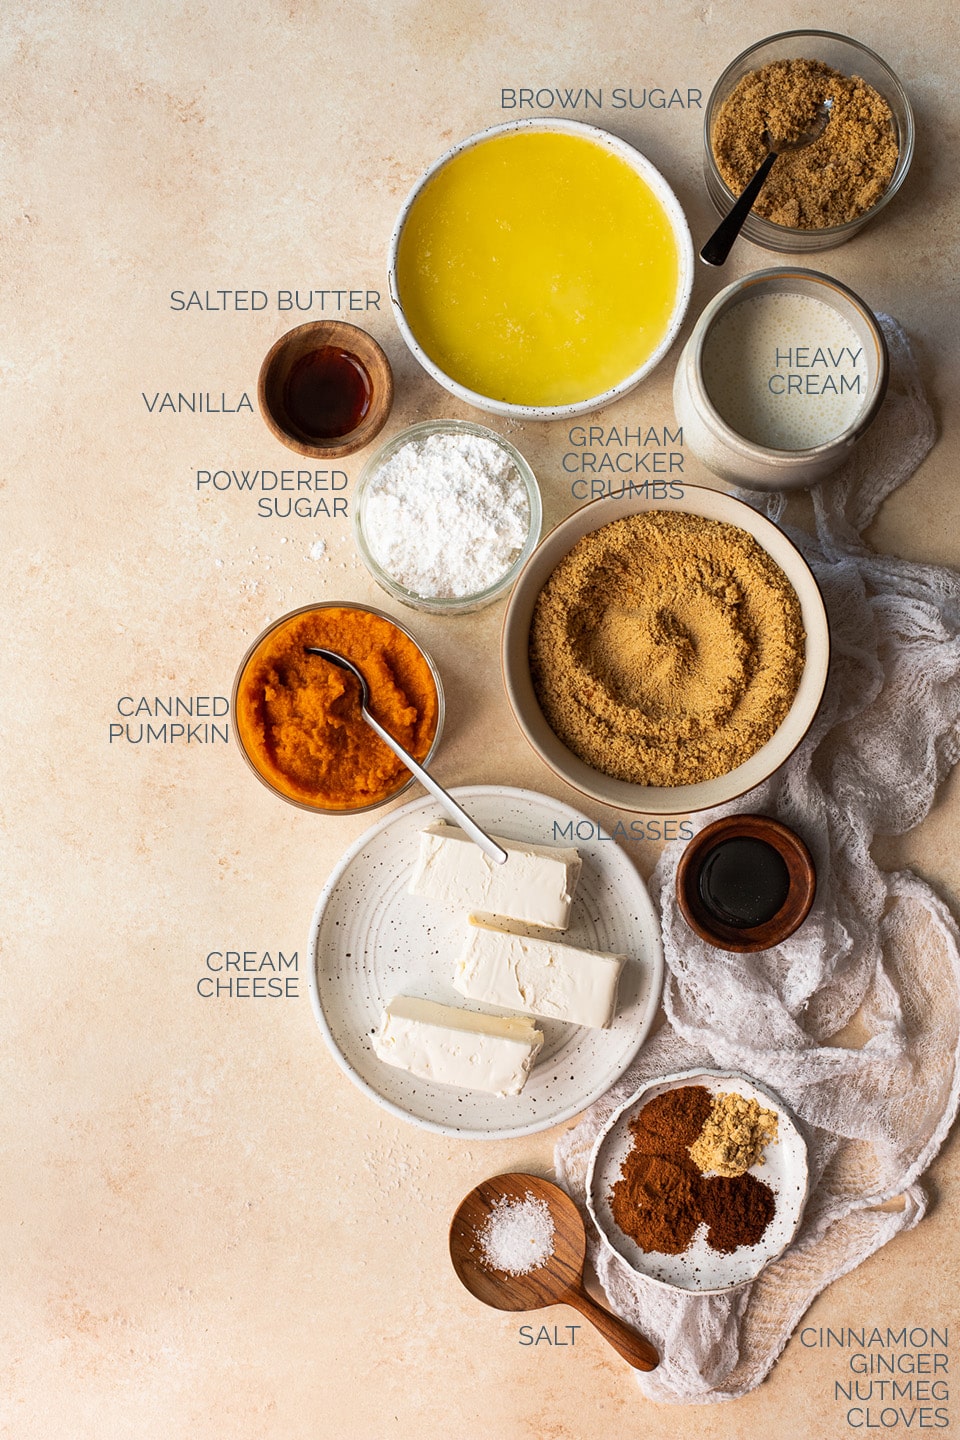
For the cookie crust:
- Cookie crumbs: You can make this crust with graham cracker crumbs, gingersnap cookie crumbs, or even vanilla wafer crumbs. The cookies you use should be on the dry, crisp side. Just crush them into fine crumbs and you're good to go.
- Opt for a gluten-free cookie to make these pumpkin cheesecakes gluten-free. I used Nairn's Gluten-Free Stem Ginger Oat Grahams.
- Butter: Use salted butter, or add 3/16 teaspoon of salt to the crust if using unsalted butter.
- Brown sugar: Any variety will work, although light or golden brown sugar will be better for the cheesecake filling!
- Molasses: I'd recommend light or dark molasses, not blackstrap.
For the no-bake cheesecake filling:
- Heavy whipping cream: Don't substitute this, since you'll need the full fat content for a nice whip that holds its shape and helps set the filling.
- Cream cheese: Use a full-fat, block-style cream cheese. It should be completely softened to room-temperature for this recipe.
- Canned pumpkin purée: Don't use pumpkin pie filling; it's not the same thing! I also don't recommend homemade purée. It tends to have a heavier water content, which could lead to a soupy cheesecake.
- Brown sugar: As mentioned above, light or golden brown sugar will work best here. Dark brown sugar might overwhelm the other flavors, and you'll want that blend of sweet cream cheese and pumpkin spice to shine through!
- Powdered/confectioner's sugar: I don't suggest substituting this, since the fine texture of powdered sugar will help ensure the pumpkin cheesecake filling turns out silky-smooth.
- Extras - vanilla extract, salt, and spices: I used a blend of ground cinnamon, ginger, nutmeg, and cloves, but you could also swap these for a total of 2 ½ teaspoons pumpkin pie spice.
Toppings and garnish:
- Whipped Cream: Always best if made from scratch, but store-bought whipped cream or whipped topping will work fine in a pinch!
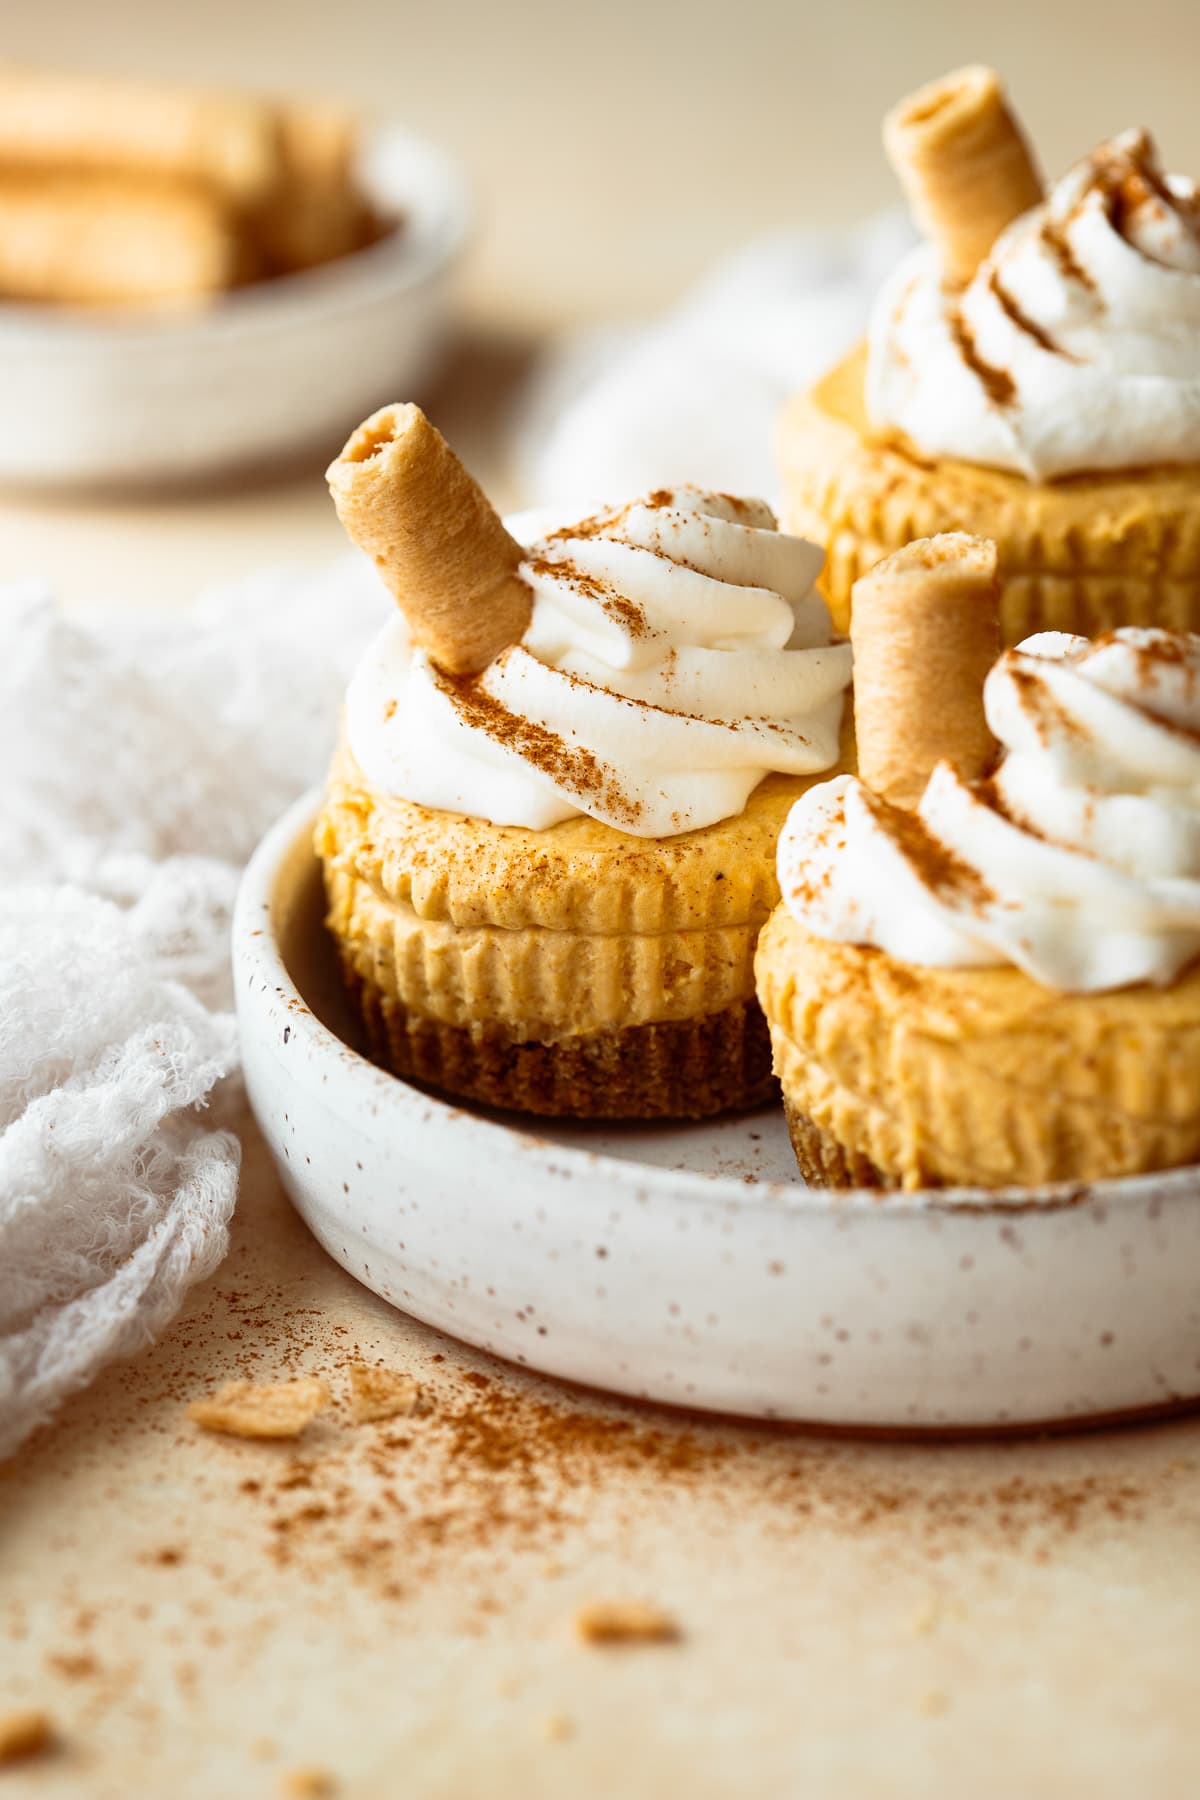
- Pumpkin Spice Coconut Rolls: These gluten-free cookies (found at Sprouts) are delish on their own, but they also make the cutest garnish for mini cheesecakes! The pumpkin spice flavor is usually available during the fall, and (obviously) pairs perfectly here.
- Cinnamon or pumpkin pie spice: Dust a little bit over the tops of your cheesecakes for an extra flourish.
Step-by-step instructions
For the cookie crust:
We'll start with the base, an easy, 4-ingredient cookie crust with warm notes of gingersnap and molasses, because this is a fall dessert after all.
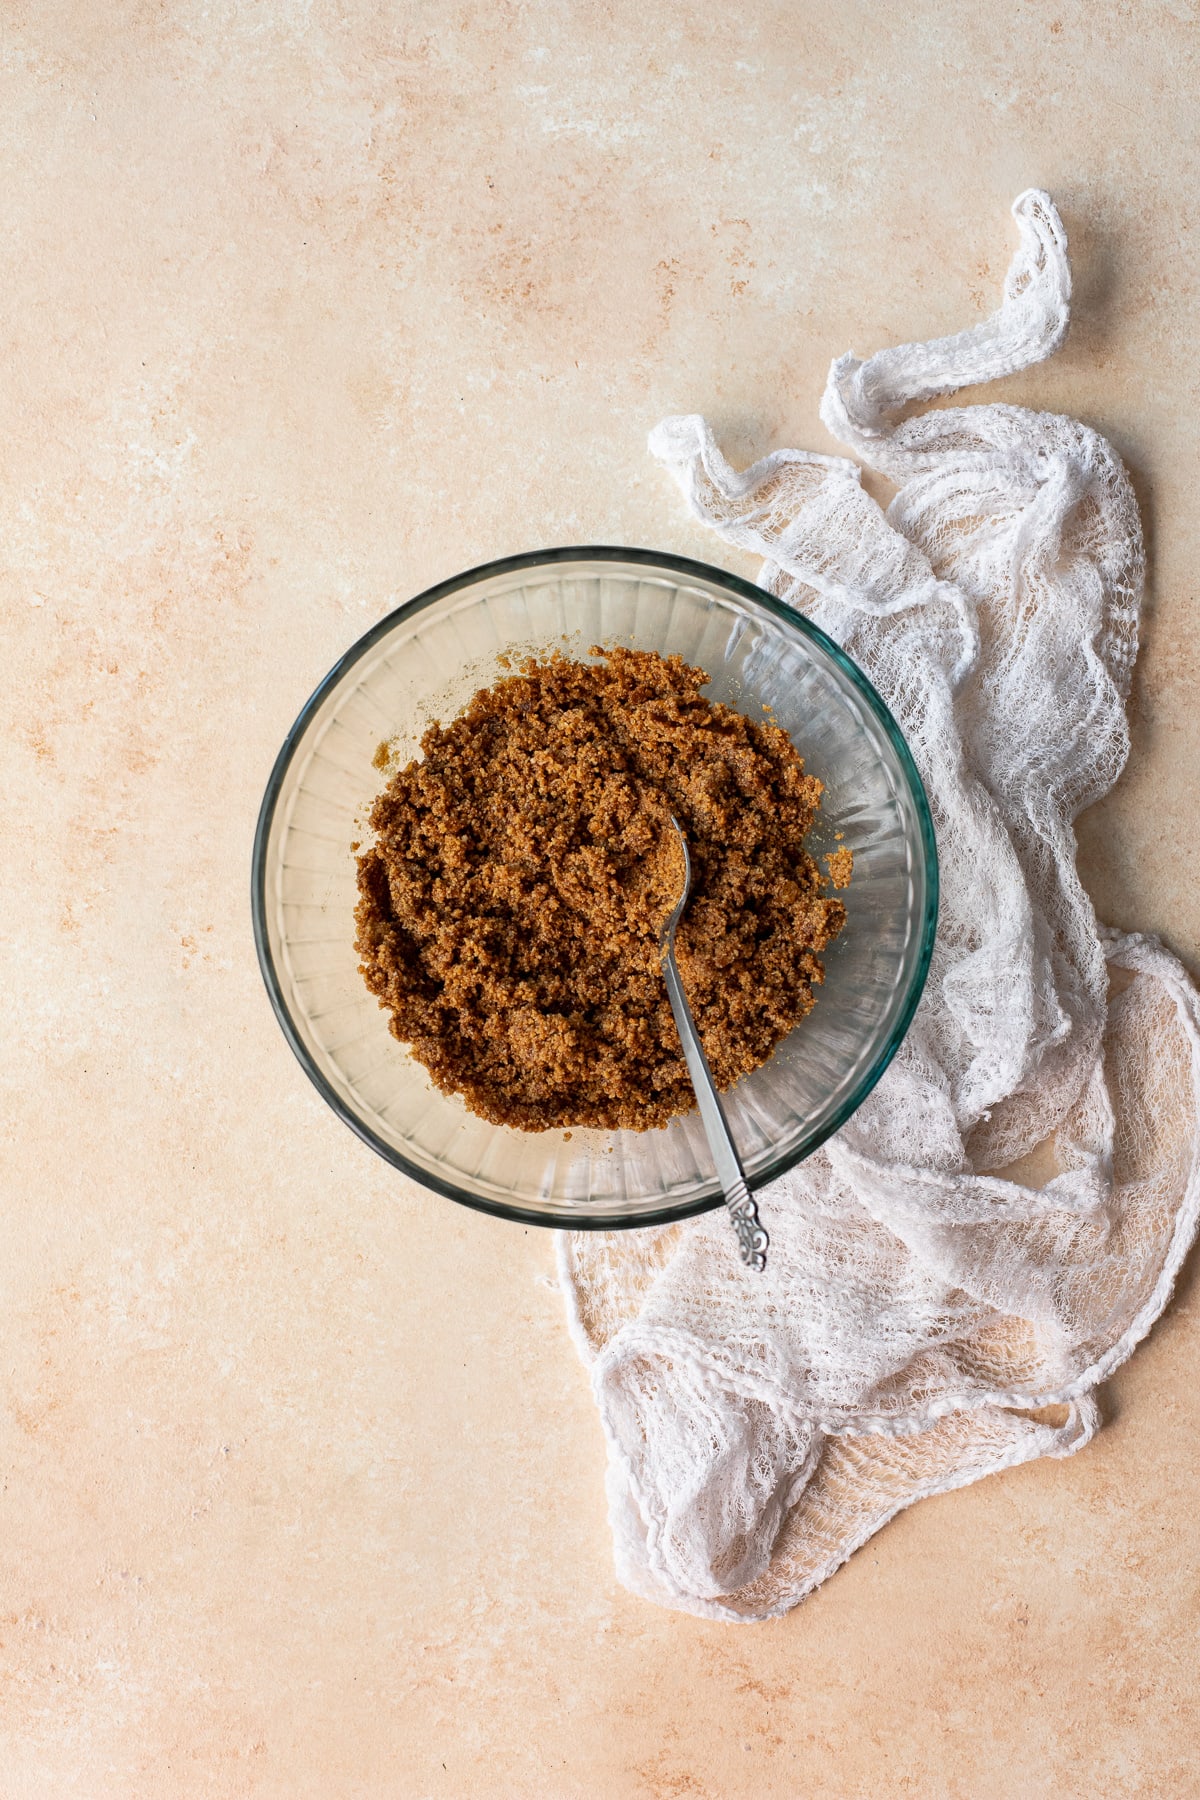
Step one - Make the crust: Whisk together the cookie crumbs and brown sugar in a small mixing bowl. Stir the molasses into the melted butter, and then add that to the cookie crumbs. Mix everything together until the mixture is damp and crumbly, like wet sand.

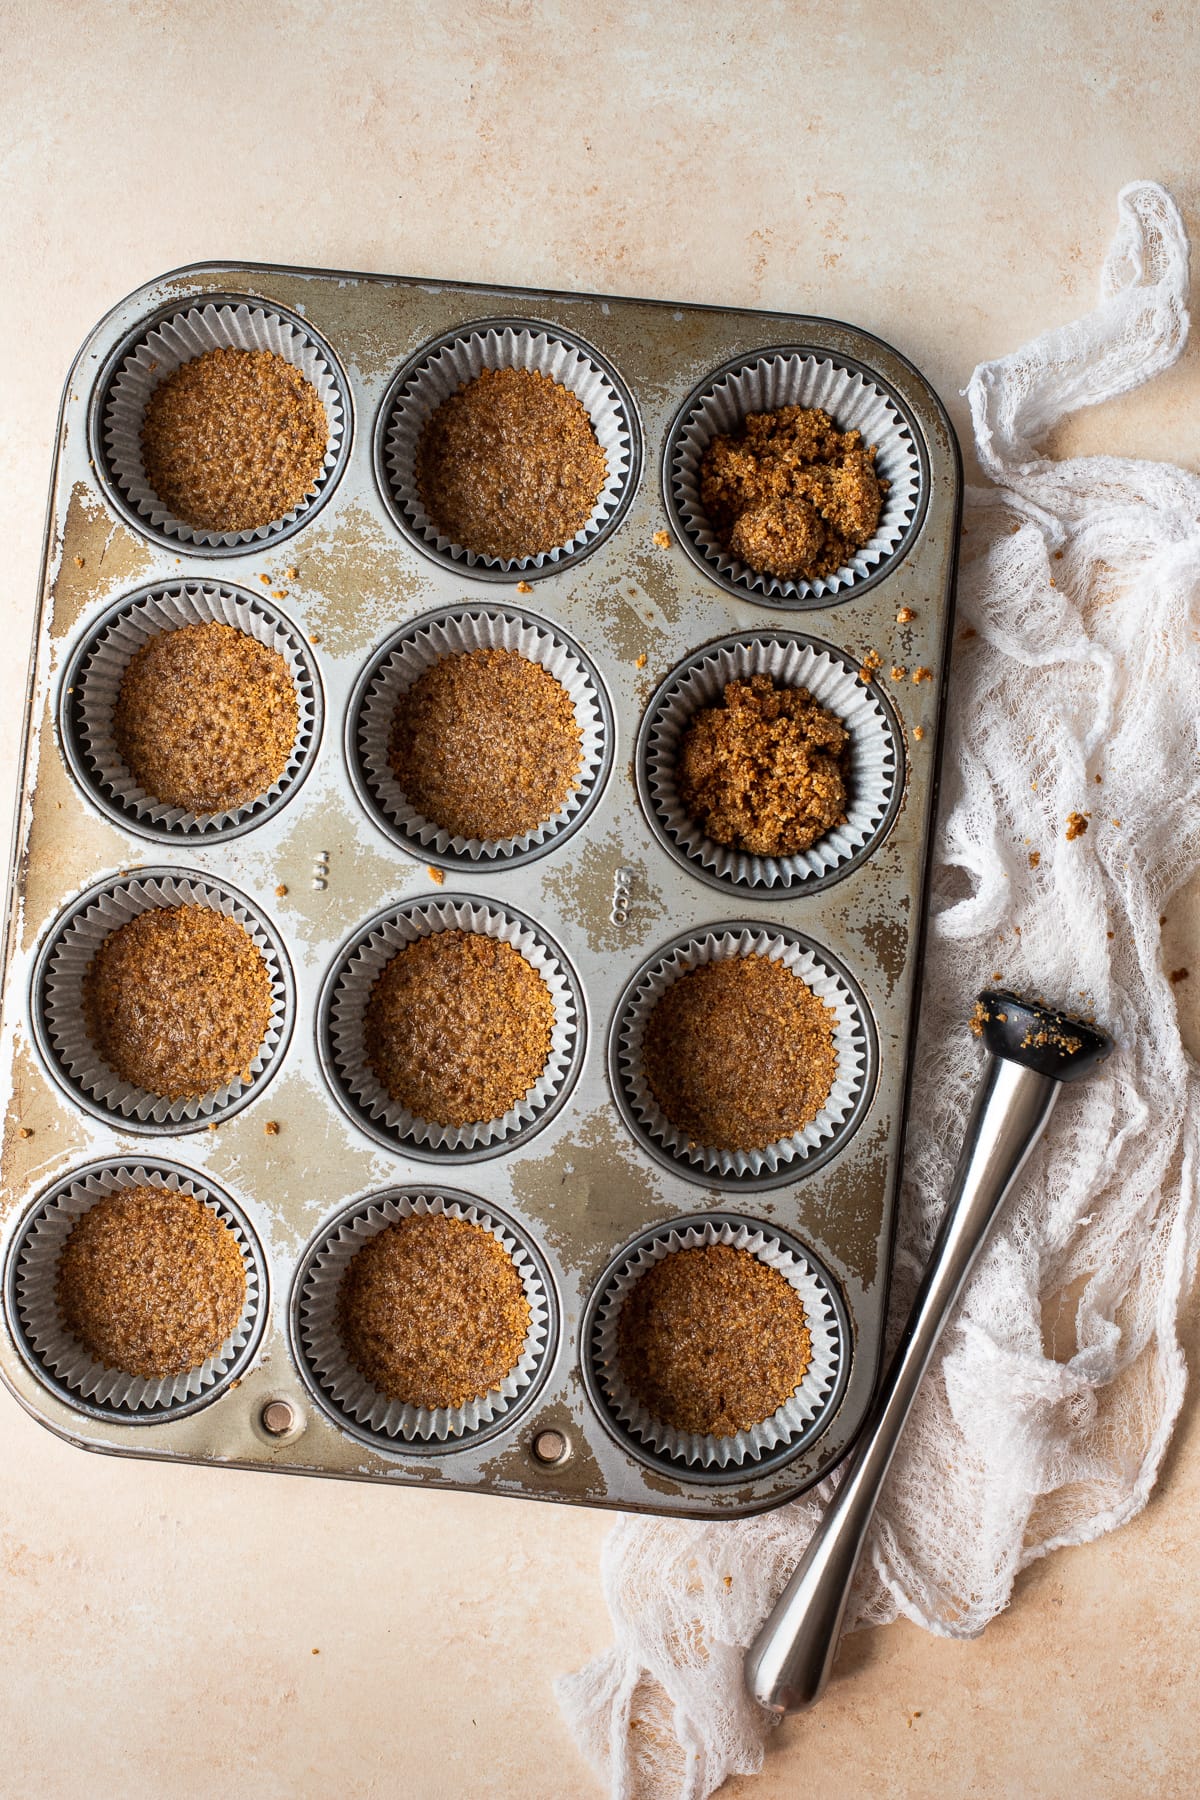
Step two - Transfer to muffin liners: Line a standard 12-cup muffin tin with paper liners. Scoop about 4 ½ - 5 (loosely-packed) teaspoons of the crust mixture into each liner, pressing it down into a flat, compact layer. I've found that a cocktail muddler works particularly well for this! Move the pan to your refrigerator so the crust can chill while prepping the filling.
For the cheesecake filling:
This eggless, no-bake pumpkin cheesecake filling could not be easier to make! It's also incredibly luxurious - creamy, airy, and mousse-like, with a subtle cheesecake tang and cozy pumpkin spice flavor.
Step one - Whip the cream: Using a bowl and handheld electric mixer, or a stand mixer, beat the (cold) heavy cream on medium-high speed, until stiff enough to hold its shape. Chill in the refrigerator while you proceed with the next step.
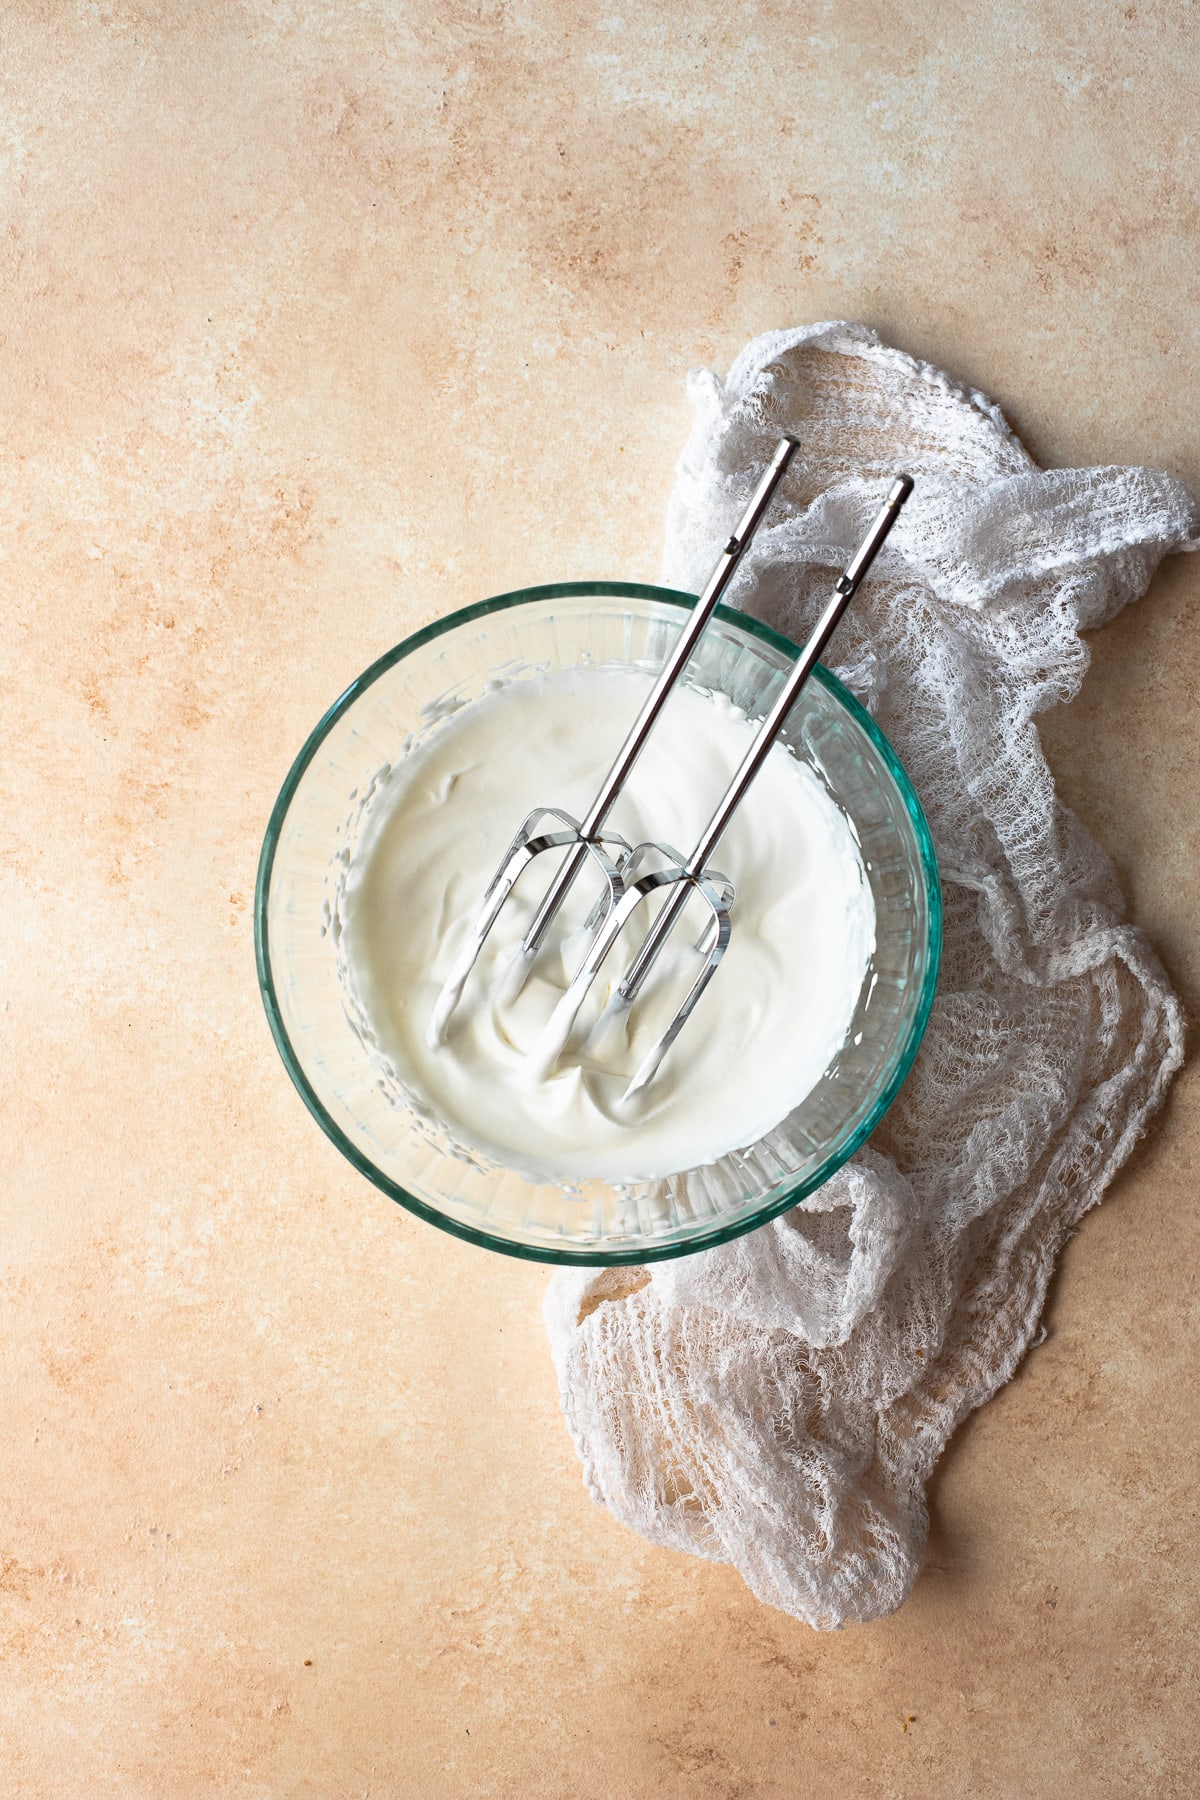
Step two - Beat together the remaining filling ingredients: Using a clean bowl/mixer, beat the softened cream cheese until smooth and creamy. Add the pumpkin purée, brown sugar, powdered sugar, vanilla, cinnamon, ginger, nutmeg, cloves, and salt. Beat them together on medium speed until the mixture is smooth.
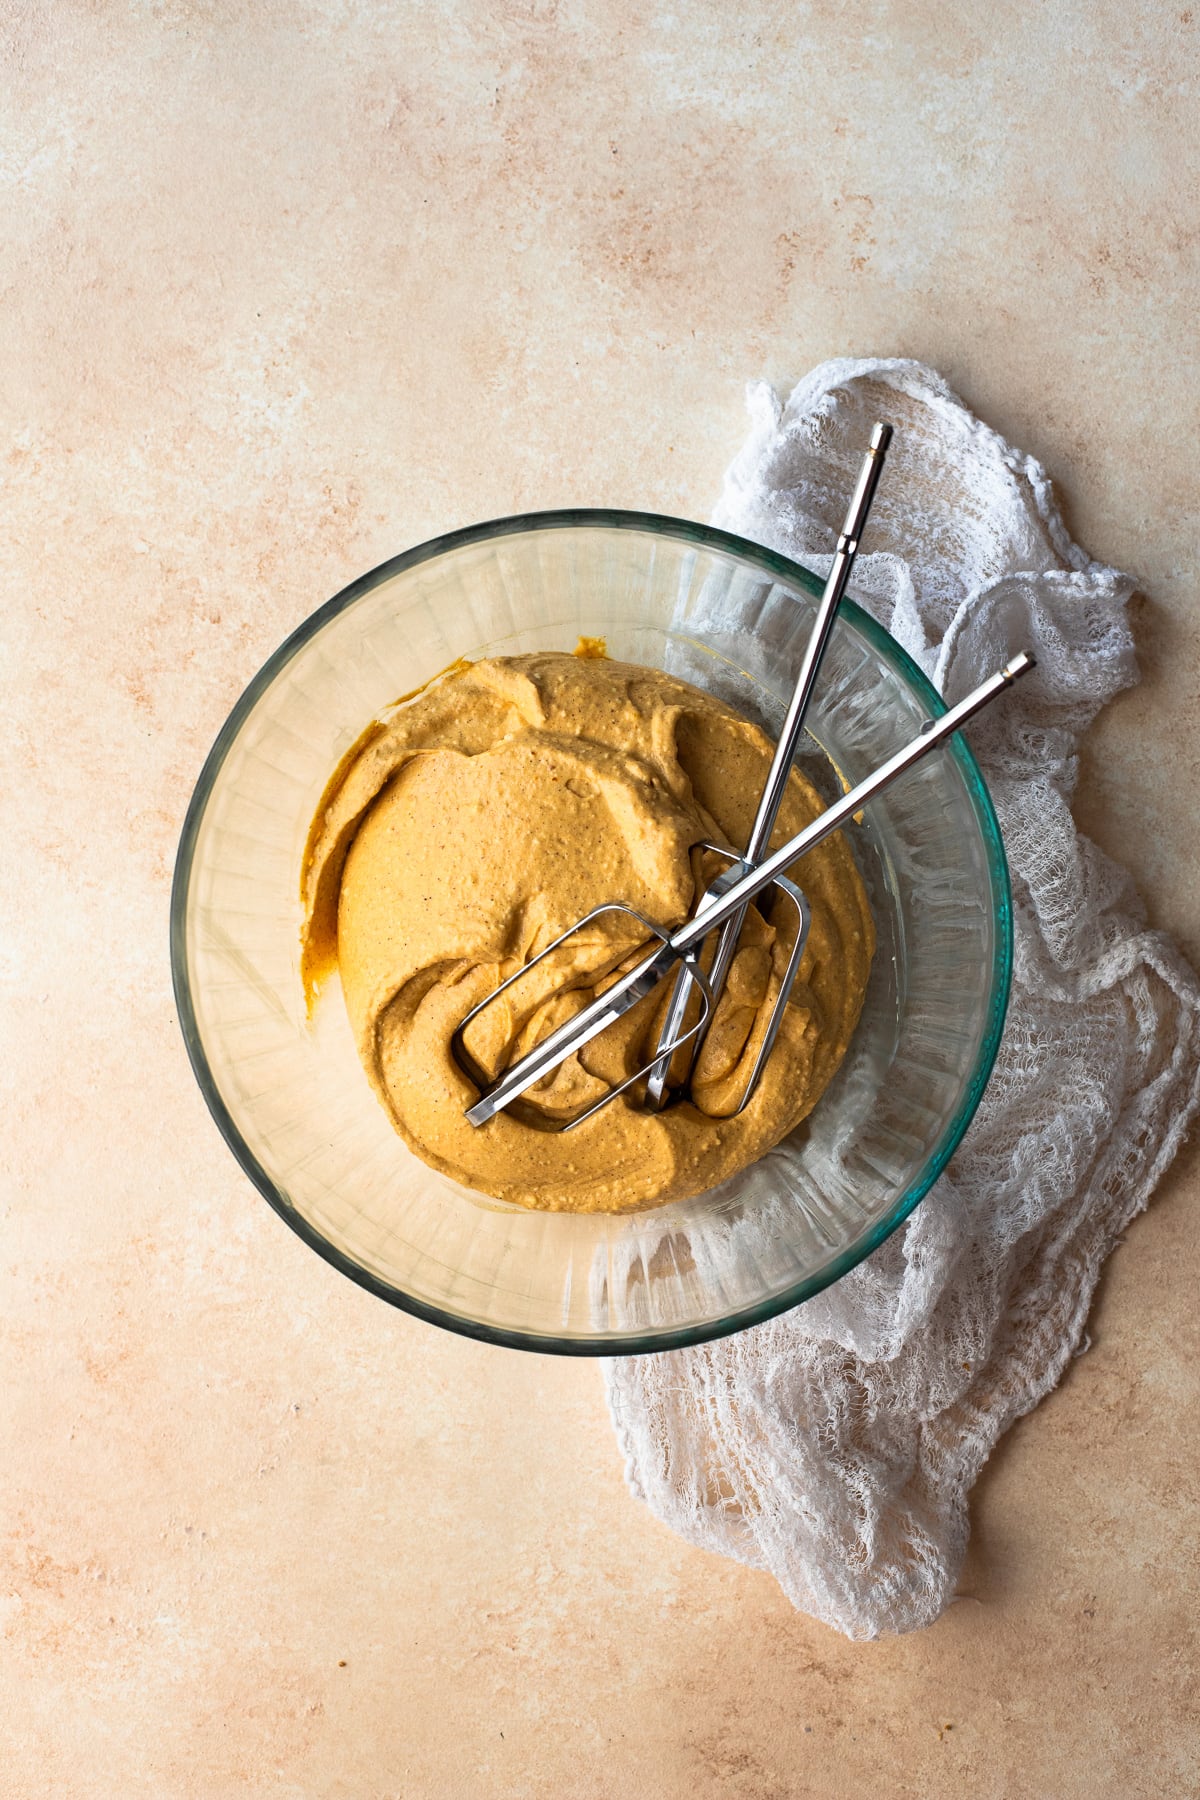
Step three - Fold in the cream: Use a rubber spatula to gently fold the whipped cream into the cream cheese mixture, continuing just until the two are evenly incorporated, with no streaks remaining.
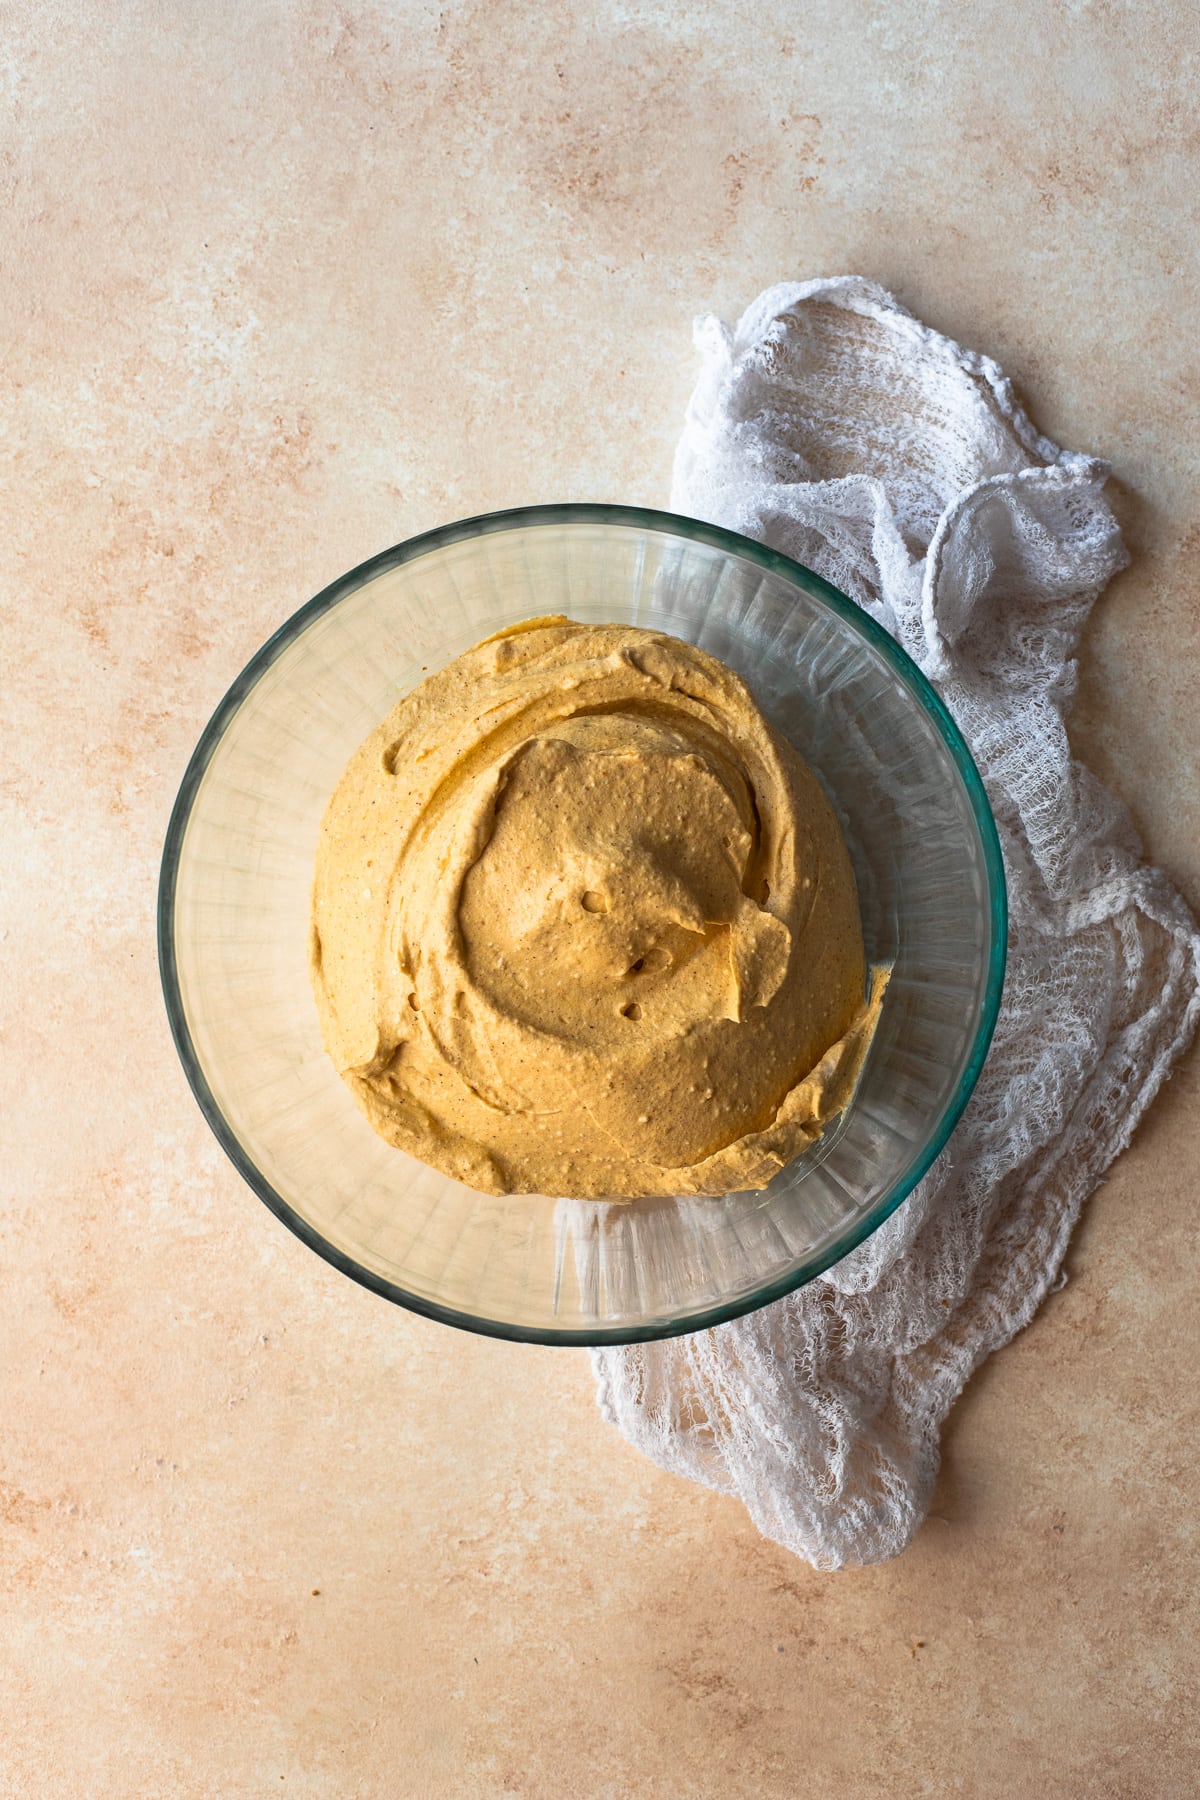
Tip! Folding
When a recipe instructs you to fold two separate components together, the idea is to use a folding motion with your spatula to gently incorporate one component into the other. In the case of this recipe, folding the whipped cream into your filling will ensure that you don't knock the air out of it.
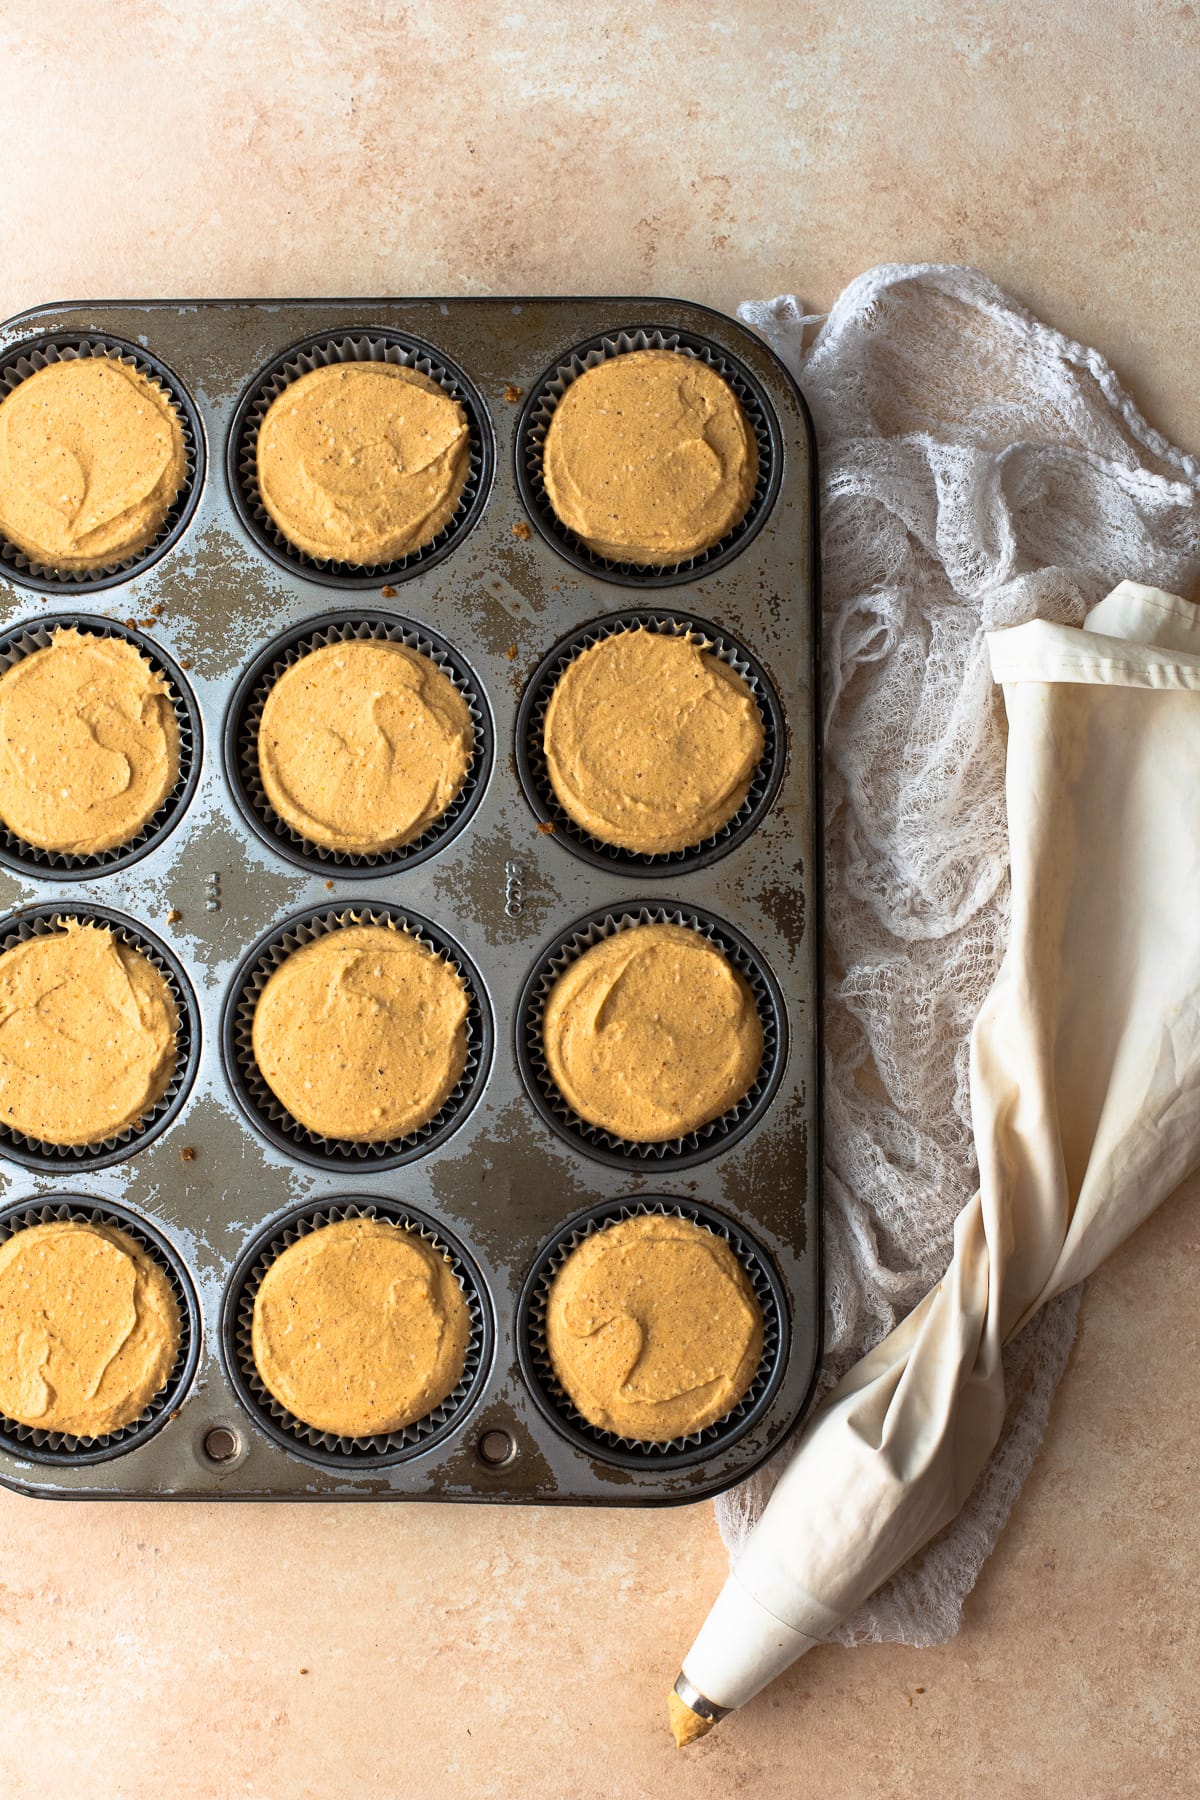
Step four - Layer into muffin liners. Pipe or spoon the filling over the crust in each muffin liner, making sure it fills the liner completely with no gaps. Use a small offset spatula to smooth out the top surface of each cupcake. Transfer them to the refrigerator to set for at least three hours before garnishing and serving.
To serve and garnish:
Carefully remove the cheesecake cups from the muffin pan (an offset spatula can help you pry them out if needed!) and peel off the paper liners before serving.
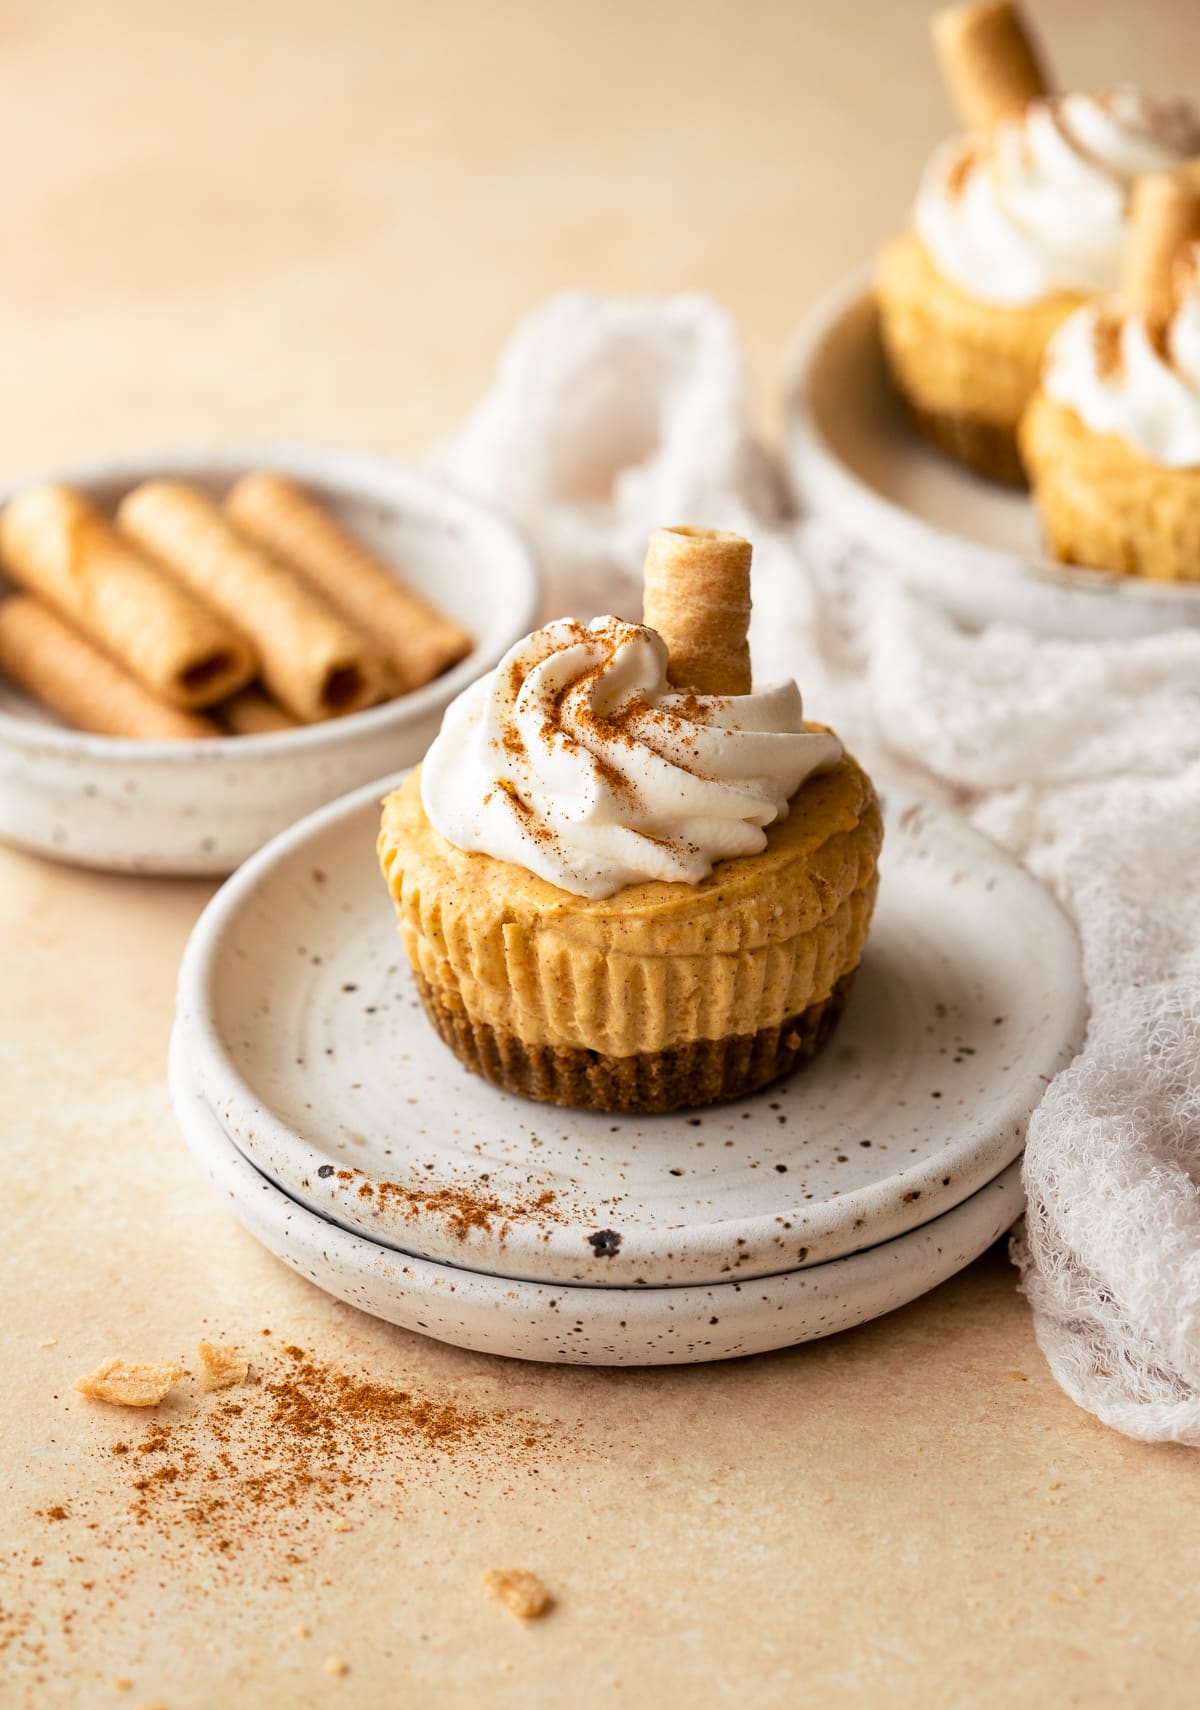
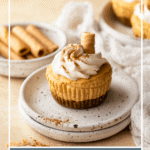
Top each one with a dollop of whipped cream, a coconut roll garnish, and a dusting of cinnamon/pumpkin pie spice if you're feelin' fancy. OR, you could really kick things up a notch and add a caramel sauce drizzle!
Variations on this recipe
There's a few ways you might want to add your own little twist to this no-bake pumpkin cheesecake recipe. Let's talk about 'em:
- Make it gluten-free: Just use gluten-free cookies for your cookie crumbs!
- Make them extra mini: For truly "bite-sized" mini cheesecakes, try making these in a mini muffin pan! This would be the perfect finger food dessert to serve at a holiday party.
- Switch up the flavors: A graham cracker or gingersnap crust is an obvious flavor pairing for the pumpkin spice flavors in this cheesecake, but you could get creative with chocolate cookies (like I did with these no-bake shooters), or even speculoos cookies! Or, try adding a little something to your whipped cream garnish, like cinnamon or maple syrup.
- Skip the muffin cups: Don't feel like dealing with muffin liners? Try making these as "deconstructed" pumpkin cheesecakes in mini glasses or jars, like I did with these no-bake cheesecake-inspired parfaits! Or use my recipe for pumpkin cheesecake bars, which are made in a simple square baking pan.
Recipe tips and FAQ:
Absolutely! Since the filling is no-bake, it actually needs time to set in the fridge, which makes this the perfect make-ahead dessert! The only thing I'd recommend doing somewhat last-minute (or at least the day you plan to serve) is add the garnish.
Once made, these can be kept in an airtight container in the refrigerator for 3-5 days.
Yes - these absolutely freeze well! I recommend freezing them in an airtight, freezer-safe container, or placing them on a baking tray to freeze until firm, and then transferring to a zip-top freezer-safe bag. De-frost completely before garnishing, or enjoy one semi-frozen!
Yes! Since these are made into individually-portioned muffin cups, you can easily halve this recipe to make the perfect small-batch dessert, or double it to feed a crowd!
More must-make fall recipes
Use up your leftover pumpkin purée with one of these favorites!
Have you made this recipe?
By adding your feedback or sharing this recipe with a friend, YOU help make this blog possible. You can leave a rating and review in the comments section below, or click any of the social icons on the left side of your screen to help spread the word. If you snapped a photo of your creation, tag me on Instagram (@brighteyedbaker) and I'll give you a shoutout in my story. And if you really like what you see, subscribe to get email notifications when new recipes are published!
Mini No-Bake Pumpkin Cheesecakes
These mini, no-bake pumpkin cheesecakes are the perfect fall dessert in bite-size form. They're quick and easy to make, with a crunchy ginger cookie crust and creamy, mousse-like filling. They can even be made gluten-free, so they're great for entertaining gluten-free guests during the holidays!
- Prep Time: 35 minutes
- Chill Time: 3 hours
- Total Time: 3 hours 35 minutes
- Yield: 12 1x
- Category: cheesecake
- Method: no-bake
- Cuisine: American
- Diet: Gluten Free
Ingredients
Cookie Crust:
- 5 ¾ ounces (1 cup plus 7 tablespoons) graham cracker or gingersnap cookie crumbs (use gluten-free if desired)
- 3 tablespoons, packed brown sugar
- 2 ¾ ounces (5 ½ tablespoons) salted butter, melted
- 1 tablespoon molasses
No-Bake Pumpkin Spice Cheesecake
- 4 ¼ ounces (½ cup + 1 teaspoon) heavy whipping cream
- 10 ounces full-fat block-style cream cheese
- 5 ½ ounces (½ cup + 3 tablespoons) canned pumpkin purée
- 2 ⅜ ounces (5 tablespoons, packed) brown sugar
- 2 ½ ounces (½ cup + 2 tablespoons) confectioner's sugar
- 1 tablespoons + ¾ teaspoon vanilla extract
- 1 ¼ teaspoons cinnamon
- ½ teaspoon ginger
- ⅜ teaspoon nutmeg
- ⅜ teaspoon cloves
- pinch of salt
Optional Garnishes
- whipped cream
- cinnamon or pumpkin spice
- caramel sauce
- Pumpkin spice coconut rolls
Instructions
Crust:
- Make the crust: Whisk together the cookie crumbs and brown sugar in a small mixing bowl. Stir the molasses into the melted butter, and then add the mixture to the cookie crumbs. Mix everything together until the mixture is damp and crumbly, like wet sand.
- Transfer to muffin liners: Line a standard 12-cup muffin tin with paper liners. Scoop about 4 ½ -5 (loosely-packed) teaspoons of the crust mixture into each liner, pressing it down into a flat, compact layer; a cocktail muddler works particularly well for this. Chill in the refrigerator while prepping the filling.
Filling:
- Whip the cream: Using a bowl and handheld electric mixer, or a stand mixer, beat the heavy cream on medium-high speed just until stiff. Chill in the refrigerator while you proceed with the next step.
- Beat together the remaining filling ingredients: Using a clean bowl/mixer, beat the softened cream cheese until smooth and creamy. Add the pumpkin purée, brown sugar, powdered sugar, vanilla, cinnamon, ginger, nutmeg, cloves, and salt and continue to beat on medium speed until smoothly and evenly combined.
- Fold in the cream: Use a rubber spatula to gently fold the whipped cream into the cream cheese mixture, continuing just until the two are evenly incorporated, with no streaks remaining.
- Layer into muffin liners: Pipe or spoon the filling over the crust in each muffin liner, making sure it fills the liner completely with no gaps. Use a small offset spatula to smooth out the top surface of each cupcake. Transfer to the refrigerator to set for at least three hours before garnishing and serving.
Serving and garnishing:
- Remove muffin liners: Carefully remove the cheesecake cups from the muffin pan (an offset spatula can help you pry them out if needed!) and peel off the paper liners before serving.
- Garnish: Top each mini cheesecake with your garnish(es) of choice and serve!
Notes
Ingredient notes and substitutions:
- Cookie crumbs: Any dry, crisp cookie crushed into fine crumbs will work; a food processor works best to crush them. I used Nairn's Gluten-Free Stem Ginger Oat Grahams.
- Butter: Add 3/16 teaspoon of salt to the crust if using unsalted butter.
- Brown sugar: I recommend light or golden brown sugar.
- Molasses: Use light or dark molasses, not blackstrap.
- Pumpkin purée: Use canned purée only, not homemade purée or pumpkin pie filling.
- Spices: You could also swap all of the spices for a total of 2 ½ teaspoons pumpkin pie spice.
Storing/Freezing:
Mini cheesecakes are best stored un-garnished in an airtight container in the refrigerator, and will keep well for 3-5 days. They can also be kept in the freezer for 1-2 months. Freeze on a baking tray until firm, and then transfer to a freezer-safe zip-top bag to store. Or, store directly in a freezer-safe container.
Nutrition facts do not include any of the optional garnishes.

Marina says
I was very precise in the weights and measurements. The gluten free base had an excessive amount of butter so I added a whole bag (8 oz) of finely crushed crumbs into the mix. The base was still weeping butter. I pressed the mix into the muffin liners and it weeped even more butter. After 7 paper towels and multiple presses I was able to sop up most of the weeping butter. I kept questioning the recipe and wondered if the base should be baked but the recipe just says to chill it. is just. As for the filling it was quite thin after gently folding in the whipped cream. I am hoping in three hours this will set up and be a success.
alexandra says
Hi Marina,
I've used this graham cracker crust recipe multiple times and haven't had an issue. It does usually look a bit wet right off the bat, but I've found that after chilling, the butter gets absorbed by the graham cracker crumbs and does a good job of keeping the crust together. That said, different graham crackers are going to absorb more/less moisture, so it's possible the brand you used would create different results. I hope all turned out well in the end - happy to help if you have more questions.
Alex
Greg says
These are absolutely delicious!
Being that I have celiac disease, and have to maintain a gluten free diet, normally life sucks. Normally I have to avoid delicious desserts, or eat something that has the flavor and texture of a cardboard box. This blog is a game changer. Every gluten free recipe is expertly crafted and delicious. These mini cheese cakes are no exception. They are so rich, perfect for a late night snack. 10/10 would recommend
alexandra says
Thanks for the glowing review! :) Happy to hear that these don't taste gluten-free haha.
Sandra says
You are so descriptive and thorough with your details and suggestions. Great job, and these look amazing. My mouth is watering to try them.
Lindsey says
Absolutely delicious! The article dropped into my email and I knew I had to make these immediately. Easy to make and loved by all - even my husband who avoids cheesecake. Like a taste of fall on a plate. Bring on pumpkin season!
alexandra says
Hi Lindsey,
Thanks so much for leaving this review! I'm especially happy to hear that your husband loved these too, despite not being a huge cheesecake fan. What a compliment! :)
Lyda Brand says
Absolutely delicious! Perfect for fall, holidays, anytime. I will try this recipe.