Welcome back to the collection of very old recipes that I'm finally getting around to posting, chocolate chip cookie edition. If you've been reading the blog lately or follow me on Instagram, chances are you've noticed that cookies are 100% not a part of my diet at the moment (sad face), so if you're wondering why they're here and whether I've even tried them myself, the answer is that I made them WAY before all this no-gluten, no-dairy, no-sugar ordeal ever hit. And I loved them enough to know there's no way I could not share them, regardless of whether I can eat them now. ← Sacrifices. ;)

Now, real talk for a second? All this brings up a point: to be perfectly honest, I'm still not sure which direction this blog should go in now that my own eating habits have changed so much. On the one hand, I would love to keep posting recipes like this - the treats that I'd like to believe most of us can enjoy in moderation - because that really is where my love of baking stems from. On the other hand, I absolutely want to stay authentic to who I am now, and food-wise (not to mention in so many other ways), that's not the girl I was when Bright-Eyed Baker got started. That being said, if you're reading and have any sort of input on what types of recipes you want to keep seeing here, please please please take a few seconds to leave a comment and tell me! It would help more than you know.
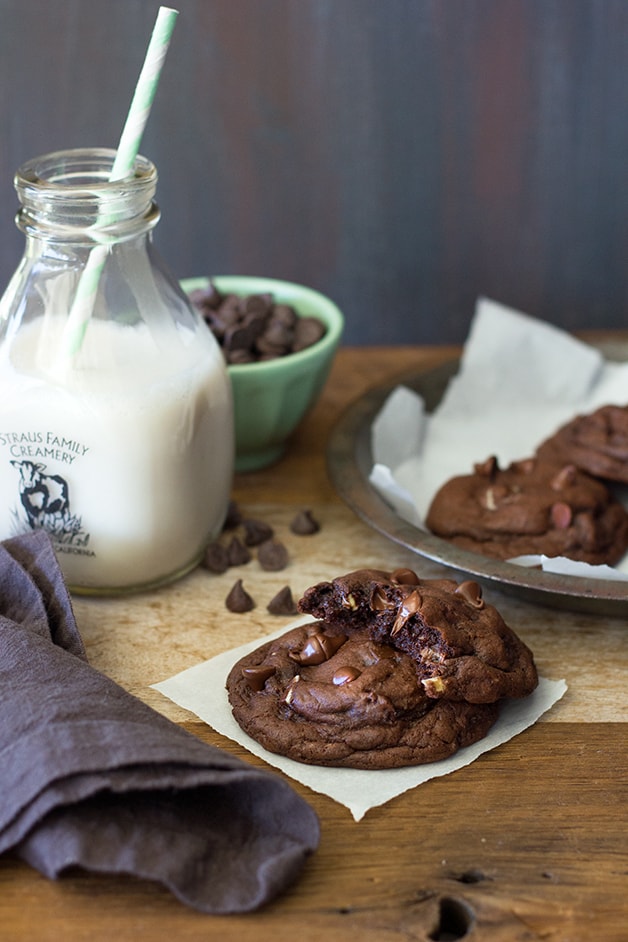
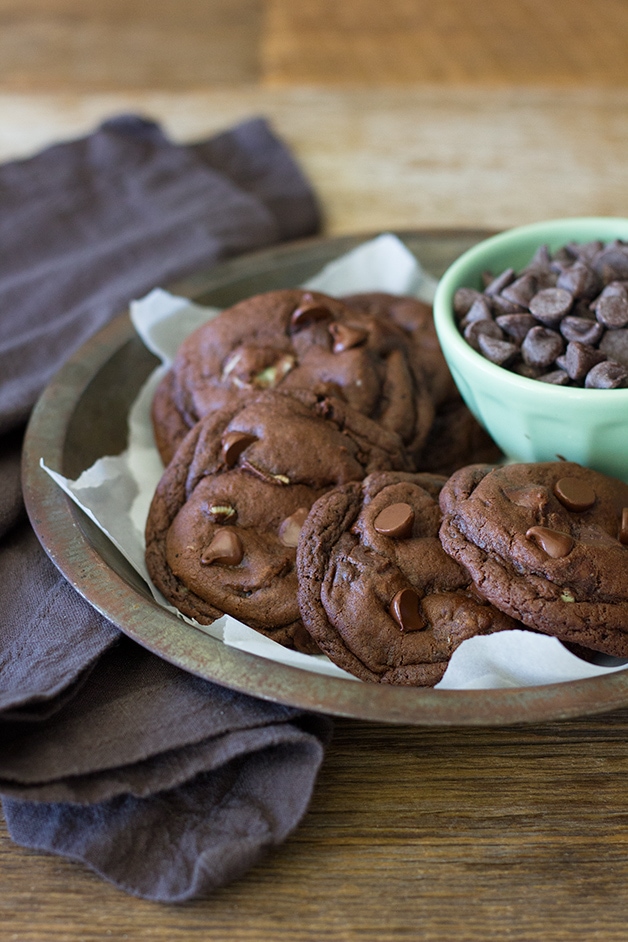
Serious stuff aside though, I know you came for the cookies, so let's get on with it, shall we?! Can you see how uber-rich and chocolate-y these are? SO thick, SO fudgy, SO ooey-gooey I can't even put it into words. They're actually based off a regular double-chocolate cookie recipe I haven't shared yet, but this version gets a little twist with Nestlé Delightfulls (basically mint-filled chocolate chips) and Andes chocolate mints. If you're a chocolate-mint fan - which I clearly am as evidenced by this ice cream and these brownies - these need to be in your life ASAP. And you can totally sub the Nestlés/Andes for a combo of chocolate chips and mint chips, so don't let that hold you back!
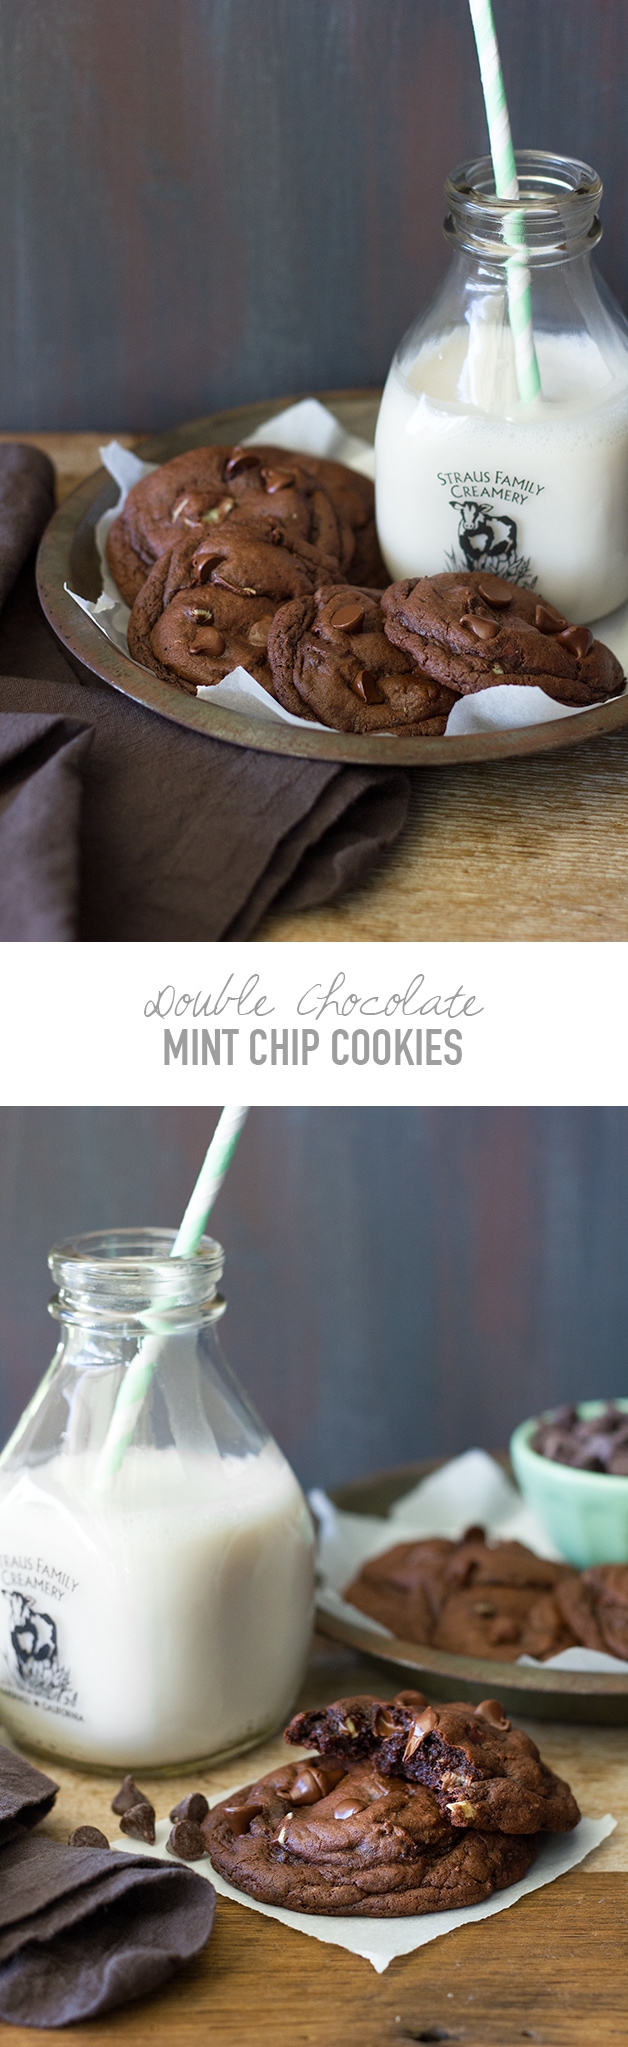
Double Chocolate Mint Chip Cookies

Super thick and fudgy, extra-chocolatey cookies loaded with mint chocolate chips and chunks of Andes chocolate mints. Fresh from the oven they're super gooey and rich, but even as they cool they're extra soft and puffy!
- Yield: about 20 cookies 1x
Ingredients
- 9 ½ ounces (2 ¼ cups, spoon and level) all-purpose flour
- 1 ¾ ounces (½ cup) dutch-process cocoa powder, sifted
- 1 tablespoon cornstarch
- ¾ teaspoon baking soda
- ½ teaspoon espresso powder
- ½ teaspoon salt
- 4 ounces (½ cup) unsalted butter, softened
- 4 ounces cream cheese, softened
- 7 ½ ounces (1 cup, packed) brown sugar
- 3 ½ ounces (½ cup) granulated sugar
- 1 whole egg plus 1 egg yolk, room temperature
- 1 tablespoon vanilla extract
- one 9-ounce package Nestlé Dark Chocolate & Mint Delightfulls*
- 2 ½ ounces Andes mints, chopped*
Instructions
- In a large bowl, whisk together the flour, cocoa powder, cornstarch, baking soda, espresso powder, and salt until evenly combined.
- In the bowl of a stand mixer, or using a large bowl and handheld electric mixer, beat the butter, cream cheese, brown sugar, and granulated sugar together until smooth, light, and fluffy. And the egg and egg yolk one at a time, beating each in until well-incorporated and until the batter is smooth again. Wipe down the bowl and beater to make sure all ingredients are combined. Beat in the vanilla.
- Add the dry ingredients to the wet and fold in with a spatula until just combined; the dough will be very thick and sticky. Add the Delightfulls and Andes mints and fold in just until evenly dispersed. Transfer the dough to an airtight container and refrigerate for at least a few hours before baking.**
- When ready to bake, preheat oven to 350ºF and line two baking sheets with parchment paper or silpats.
- Scoop dough by 2 ¼-ounce portions (about ¼ cup each), shape into tall mounds, and divide evenly between prepared baking sheets. bake in preheated oven for 10-12 minutes, just until tops of cookies no longer appear wet, switching and rotating trays halfway through.
- Allow cookies to cool on trays for about 10 minutes before transferring to a wire rack to cool completely (if you used parchment, you can just lift the entire sheet of parchment up and move to a wire rack). Once cooled, cookies can be kept in an airtight container at room temperature or in the refrigerator.
Notes
*Feel free to use any combination of chocolate-mint candies, chocolate chips, or mint chips you want here! Just keep the total amount of mix-ins the same.
**You can also refrigerate the dough longer if you want to have fresh-from-the-oven cookies at any time. The dough should keep for at least two weeks in the fridge.
For more recipes and other food-related tidbits, stick around and subscribe to receive new blog updates by e-mail or RSS. You can also find recipes by category in the recipe index.


Kathy says
I think maybe a little of both, some of your old recipes and some of how you are eating now. That will give a little something for everyone.
alexandra says
That's what I've been thinking is the best route too. Thanks so much for your input! :)
Ruba says
Well considering these are hands down the best-looking cookies I've ever seen in my life (and I've seen a lot of cookies) I'm tempted to scream "MORE DESSERTS LIKE THIS YOLO", buuuut I don't see how you could be passionate or excited about food you can't actually eat yourself so... I say keep it real and post things you would actually make for yourself. Otherwise it'll feel like someone else's blog.
alexandra says
OMG you're too sweet! And I somehow do get excited about baking things I can't even eat - it's just hard to watch other people actually eat it haha. But love your stance on the matter and I'm def going to try to focus on sharing more of the good things I've found that I can eat. Thank you!!
A says
Avid reader of your recipes- and had the same experience with my tastes as I get older, and more attached to quality splurge foods- sweets were always a special treat in my house. I appreciate the mix of recipes- even if I am not gluten and sugar free, the substitutions and ideas are still golden. Food is memories- so I'm never going to give up the memory of my grandmother showing me how to make jam, or the caramel disasters of my childhood even if I don't eat the same now- there's always company cooking (when children expect something special) or holiday cooking- when some variations on traditional recipes are always appreciated.
alexandra says
Thank you so much for your input! I completely agree with everything you said and it really helps give me an idea of where to go from here. :D I hope you continue to enjoy the recipes to come!